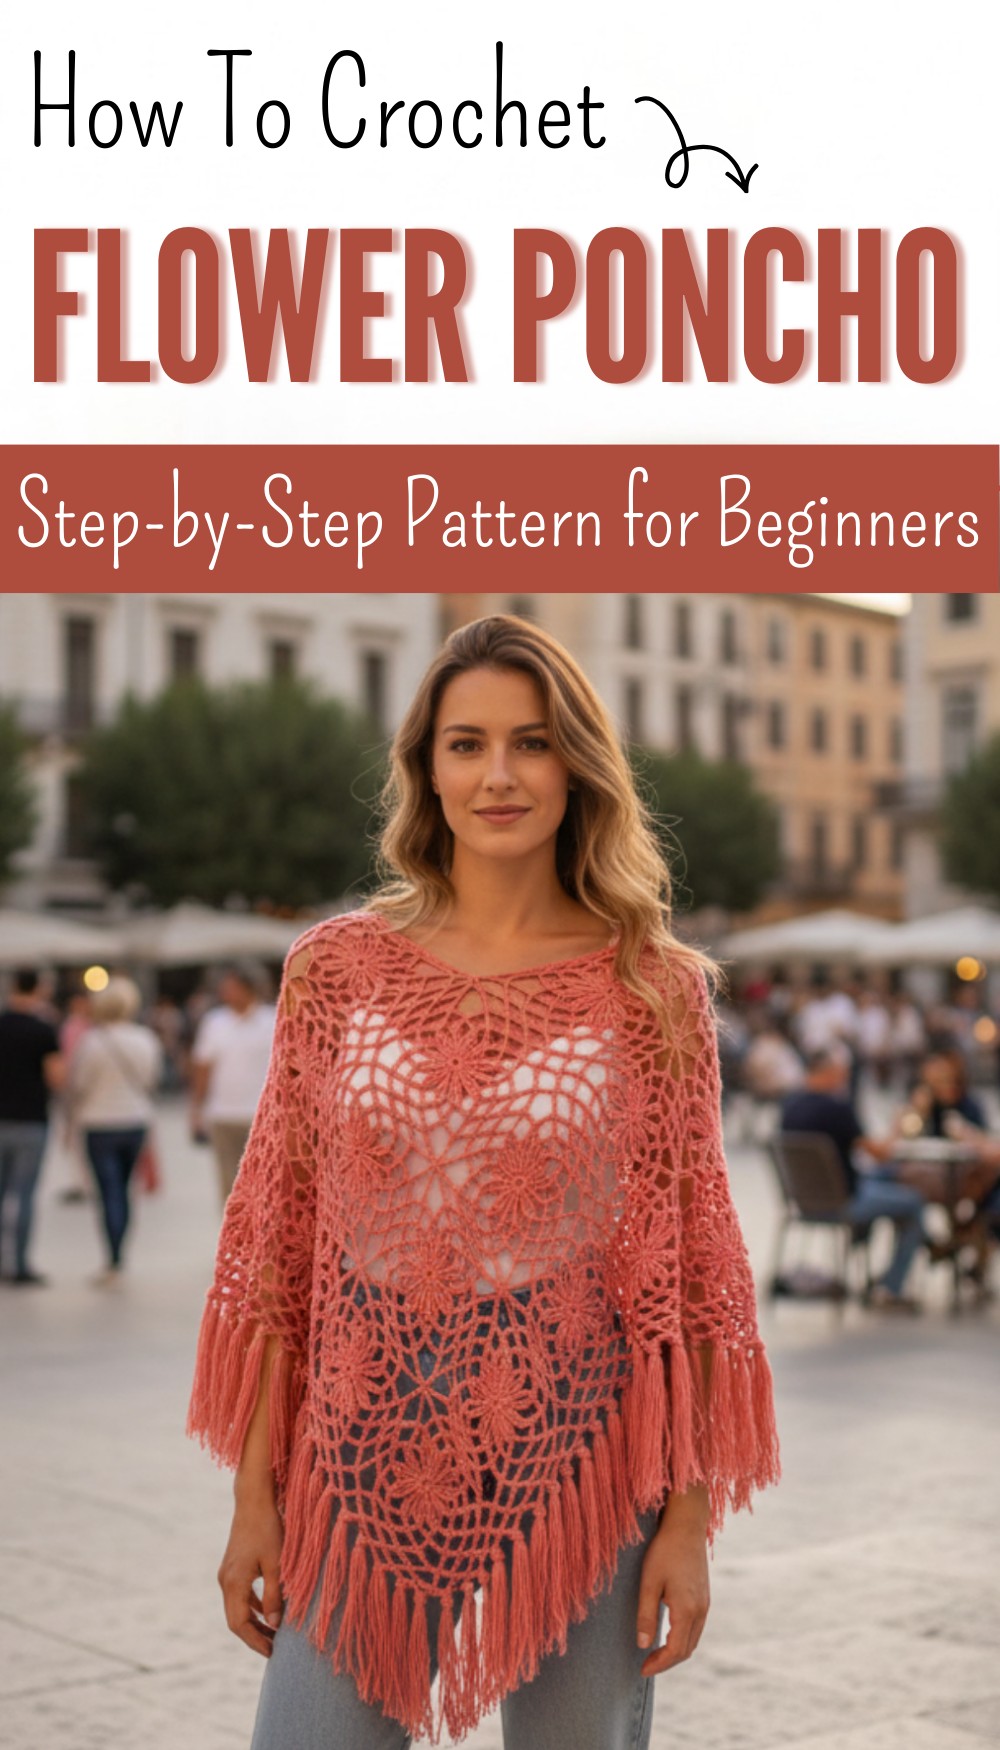
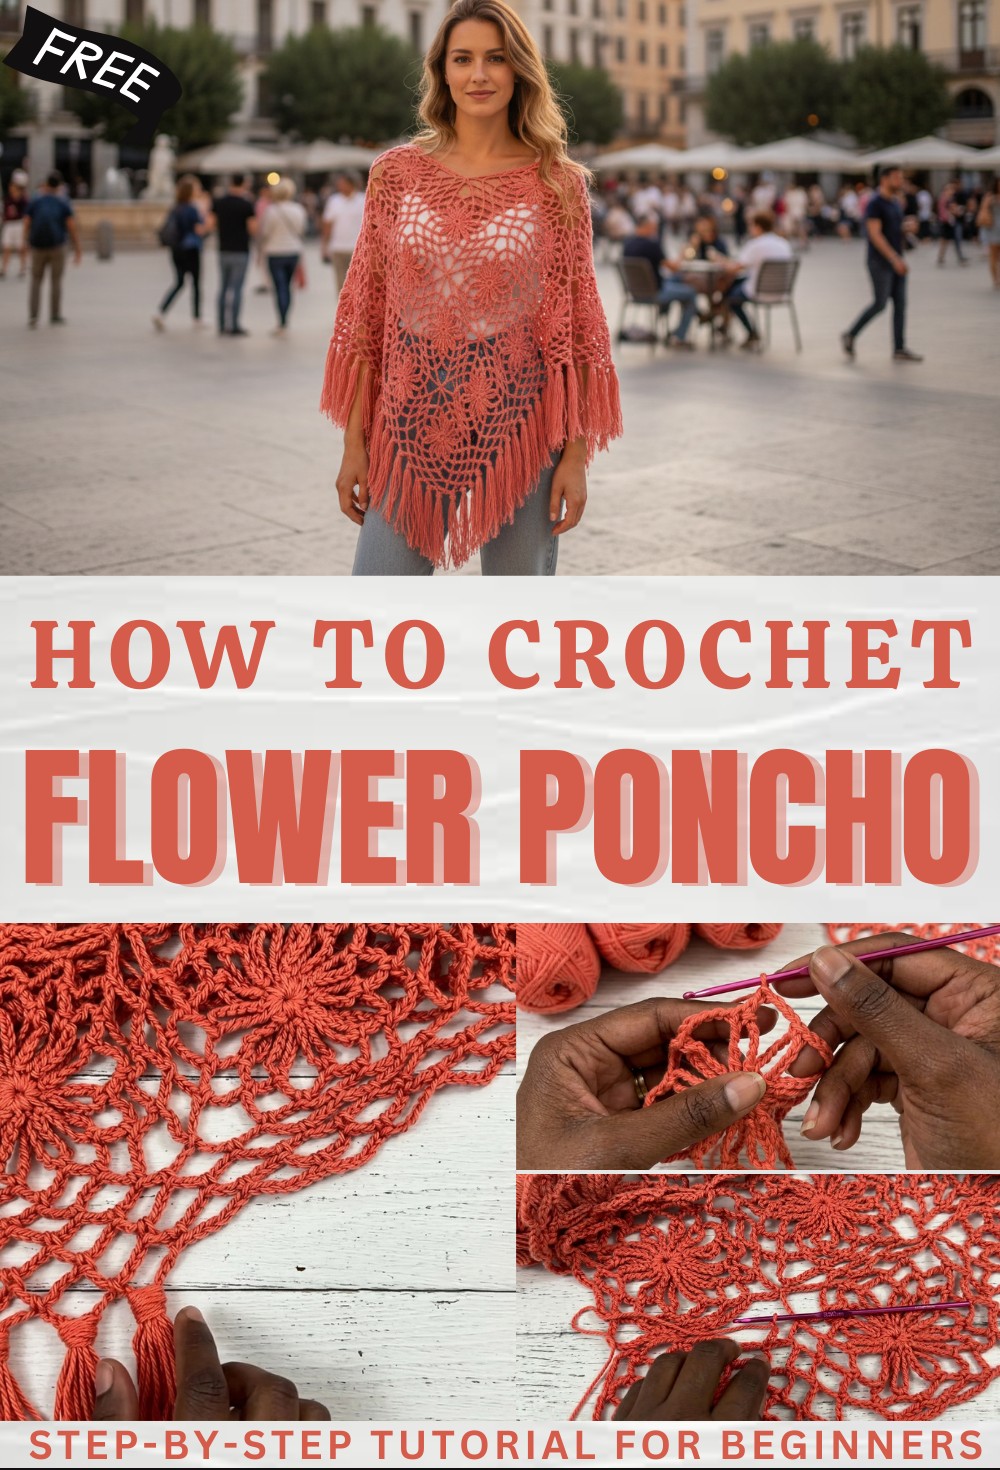
Free Crochet Flower Poncho Pattern for Breezy Days
Slip into something beautiful with free crochet flower poncho pattern that brings cheerful colors and style to refresh your everyday outfits.
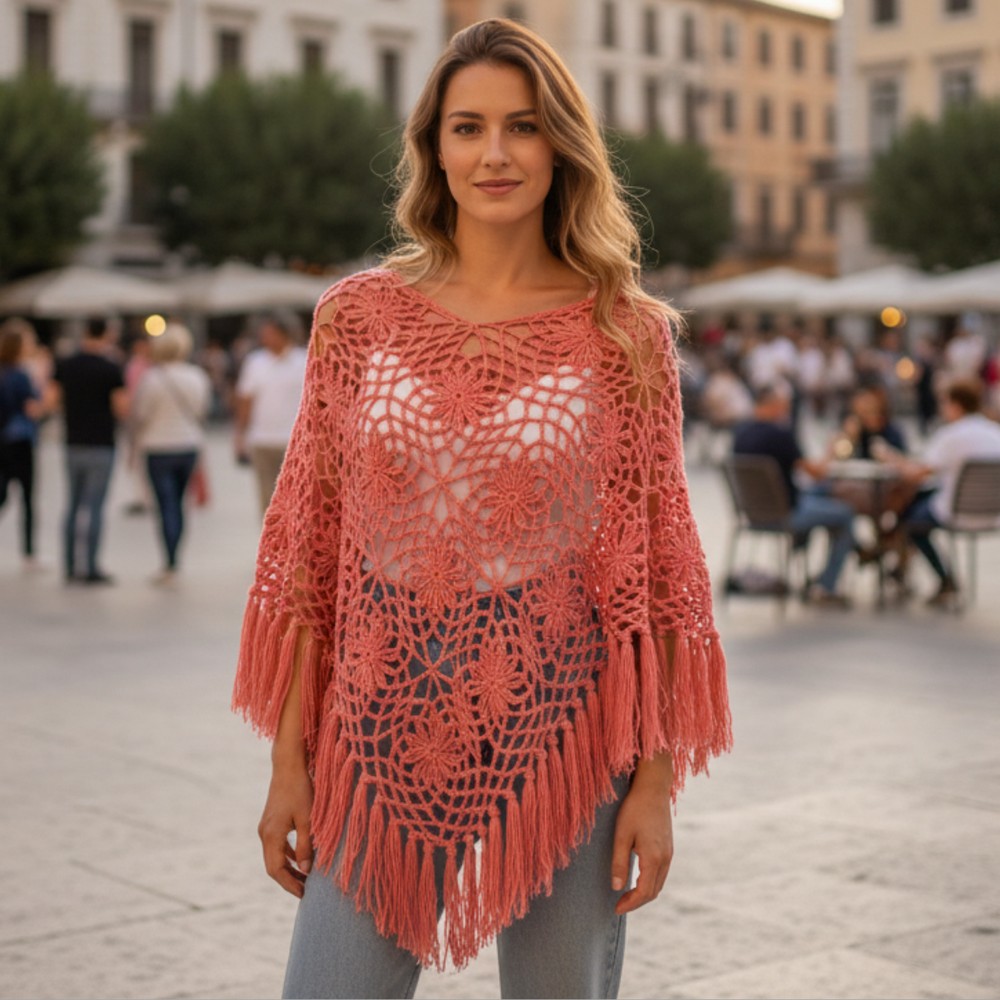
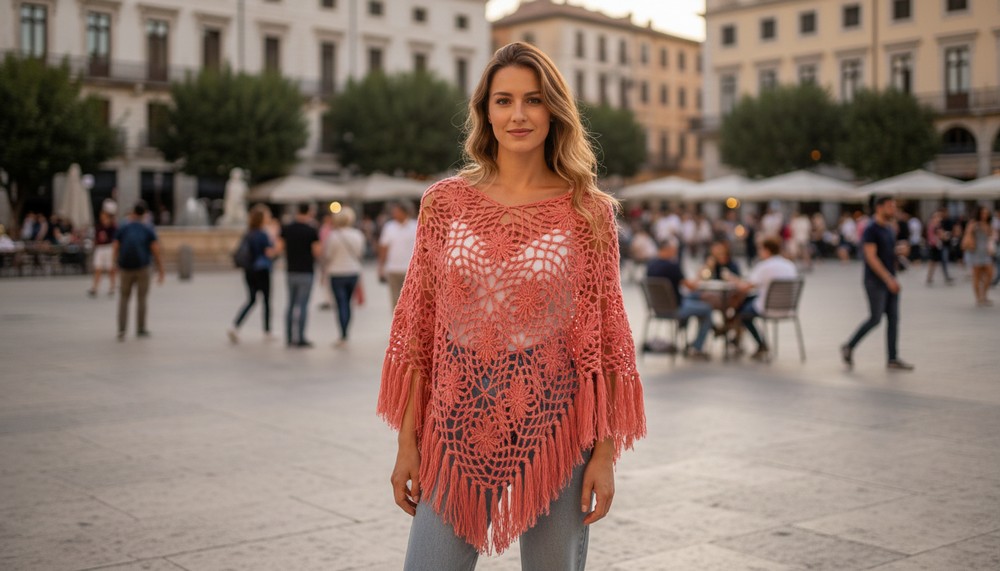
Bright blooms and playful patterns make this poncho a true standout, turning plain days into cheerful ones. Layers of color come alive with each flower, bringing happiness and warmth to anyone who puts it on. Thanks to the crochet flower poncho pattern, the beautiful design is easy for all to enjoy—no matter body size or skill. It’s perfect for keeping out the chill, jazzing up an everyday outfit, or making you feel special at gatherings and family celebrations.
Easy Free Crochet Flower Poncho Pattern for a Stylish Statement
Big flowers, lively colors, and a loose fit invite compliments and smiles wherever you go. This poncho is lightweight and lets you move easily, so comfort never takes a back seat to style. Make each day brighter and let your favorite colors shine. With this pattern, everyone can dress up and feel joyful, wrapped in beauty from head to toe.
Free Crochet Flower Poncho Pattern
Materials
- Yarn: DK (3, Light Worsted) weight cotton yarn (sample uses “coral” color)
- Approximately 2 balls for poncho body, nearly 1 ball for tassels
- Hook: 3.5 mm (E) or 4.0 mm (G) crochet hook (as per your tension for DK yarn)
- Notions:
- Yarn needle
- Scissors (fabric scissors recommended for tassels)
- Stitch markers (optional, for corners/joins)
- Rigid 12″ (30 cm) box or book (for tassel making, optional but helpful)
Abbreviations (US Terms)
| Abbreviation | Term |
|---|---|
| ch | chain |
| sc | single crochet |
| dc | double crochet |
| tr | treble crochet |
| dtr | double treble crochet (yo 3 times) |
| sl st | slip stitch |
| sp(s) | space(s) |
| rep | repeat |
| st(s) | stitch(es) |
Special Notes
- Gauge/Finished Size: Not critical. The modular join-as-you-go method allows flexibility. Control size by number of squares and hook/yarn choice.
- Joins: Poncho is worked as four large square panels, each constructed from 9 flower-motif squares.
- Assembly: Squares are joined as you go on the final round. Four panels are then joined for construction; additional trellis border rounds and tassels finish the piece.
- Adjustments: The neckline may be large; future video covers neck reduction, but you can add ties or an additional neckline round for smaller opening.
Instructions
Section 1: Flower Motif Squares
Make a total of 36 squares (9 per panel; 4 panels for the poncho). Join-as-you-go is in Section 2.
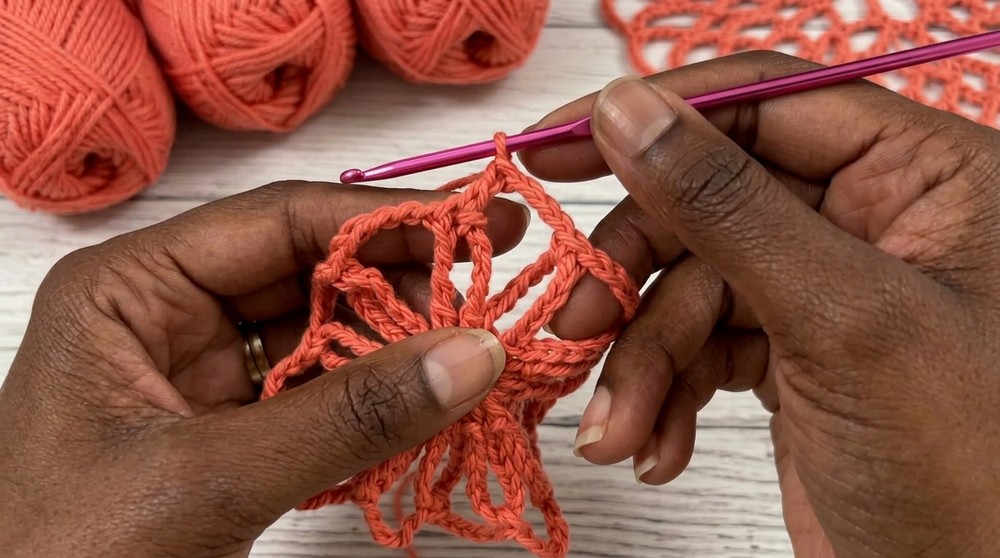
Motif (Each Square)
Round 1:
- Make a slip knot, ch 8.
- Join to first ch with a sl st to form a ring.
Round 2:
- [Petal Foundation]
- Ch 12; sc into ring.
- Rep from * 10 more times (total 11 petals/loops).
- For the 12th petal: Ch 6, dtr (Double Treble: yo 3 times) into center ring to finish on top of previous petals.
Round 3:
- Ch 5, sc around next petal (loop).
- [Ch 5, sc in next loop] around for 10 more times (total 11 ch-5 spaces).
- For 12th: [Ch 3, dc] into the top of the beginning ch (where you finished last round) to be in position at top of a petal.
Round 4:
- Ch 6, sc in next ch-5 sp,
- [Ch 6, sc in next ch-5 sp] 10 more times (11 ch-6 spaces made).
- For the 12th: Ch 3, tr in last st to join and end up in good position. (yo twice, pull through pairs)
Round 5 (Squaring up the Motif):
- For the first full motif only!
- Ch 6, sc in next ch-6 sp two times (makes 2 sides),
- Ch 10, sc in next ch-6 sp (forms corner),
- [Ch 6, sc in next ch-6 sp] twice,
- Ch 10, sc in next ch-6 sp (corner),
- [Ch 6, sc in next ch-6 sp] twice,
- Ch 10, sc in next ch-6 sp (corner),
- [Ch 6, sc in next ch-6 sp] twice,
- Ch 10, join with sl st to start (4 corners, 4 sides per square).
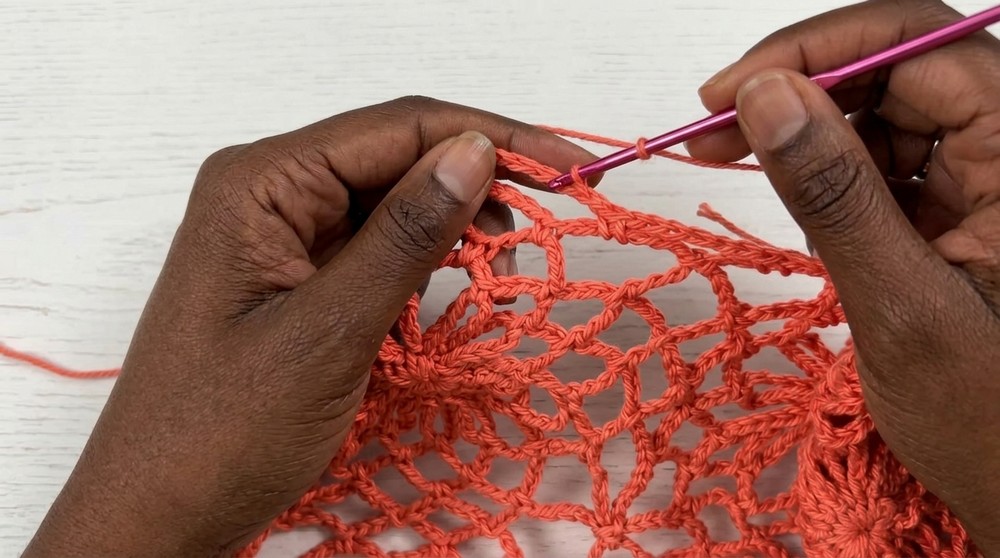
Section 2: Joining Squares (Join-As-You-Go Motif Round 5)
- Work Rounds 1–4 as above on new motif.
- On Round 5, whenever a motif edge meets an existing motif, join as follows:
Joining Corners
- For corners, ch 5, sl st to the corner ch-10 space of adjacent square, ch 5, sc in your motif’s ch-6 space.
Joining Sides
- For sides, alternate: ch 3, sl st to adjacent square’s ch-6 space, ch 3, sc in next ch-6 sp of your own motif.
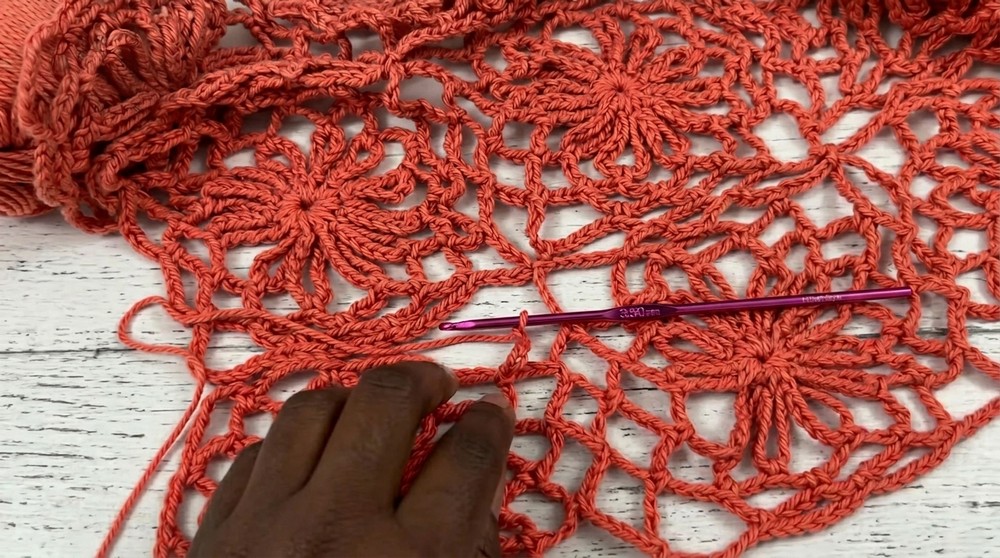
- Continue in this join-as-you-go fashion, making a 3 × 3 panel (9 squares per panel).
- Repeat for four panels.
Section 3: Assembling Panels
- Panel Assembly:
- Use another round of ch-6 loops:
- Join yarn to any panel corner (right side facing), sc, ch 6, sc in next chain space, repeat to end, joining panels at shared corners/sides by sl st as in Section 2.
- Use another round of ch-6 loops:
- Construction:
- Lay out four panels to make a square.
- Join panels together on the final joining round, as for motif joins.
- Leave center and neck opening—refer to video for folding method if unsure.
Section 4: Trellis Border Around Poncho
Work two rounds of chain loops all around the joined poncho for decorative border and weight.
First Trellis Round:
- Attach yarn with sc to any chain space,
- [Ch 6, sc in next chain space] around.
- In corners: Just continue—no extra styling for corners (corners defined in next round).
Second Trellis Round:
- As established: [Ch 6, sc in ch-6 sp] around.
- At tips, you will now have corner chain spaces to attach tassels later.
- Finish all rounds with sl st to first sc.
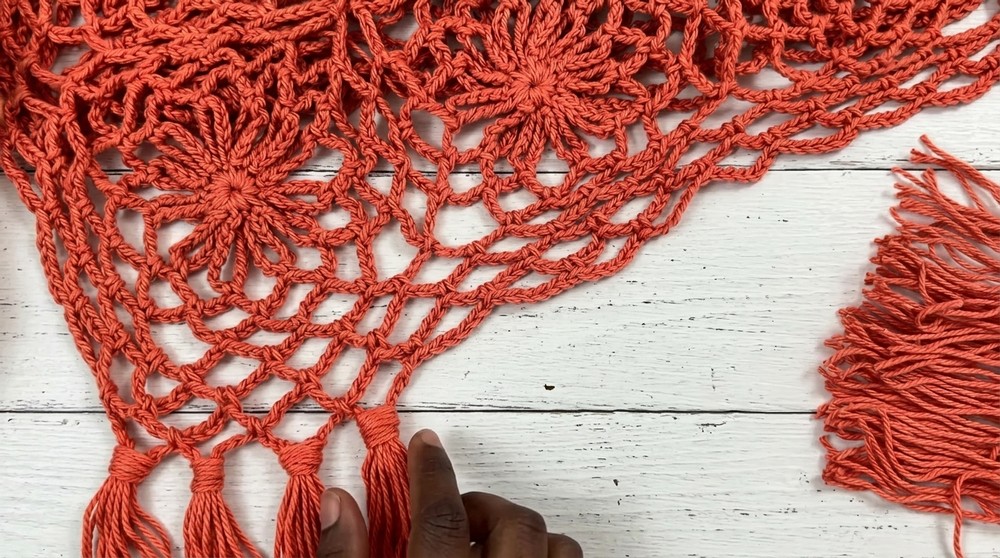
Section 5: Tassels
- Use a 12” (30 cm) box/book, wrap yarn around 8 times (for one tassel).
- Cut across one edge, giving a bunch of equal strands.
- Group 8 strands, fold in half.
- Using hook, pull center loop through ch-6 space at point. Pull ends through the loop, tighten.
- Repeat for each poncho tip/corner.
- Wait until after blocking/wearing to trim tassel ends for an even look.
Conclusion
You have created a beautiful poncho made of airy flower-motif squares, assembled in panels with neat join-as-you-go technique. The trellis border and playful tassels complete a fresh, drapey garment suitable for summer wear.
Pattern Correction
- Neck may be large—add extra rounds at the neckline, or consider a drawstring/tie, to reduce opening if desired.
- Ensure all squares and panels are oriented with “right side” facing out for best appearance.
Tips
- Use stitch markers to highlight panel corners for a smoother assembly.
- The join-as-you-go technique creates a seamless finish—review the video for visual cues.
- Adjust poncho size by altering number of motifs or yarn/hook size.
- Block finished poncho to allow motifs and trellis to open up and lie flat.