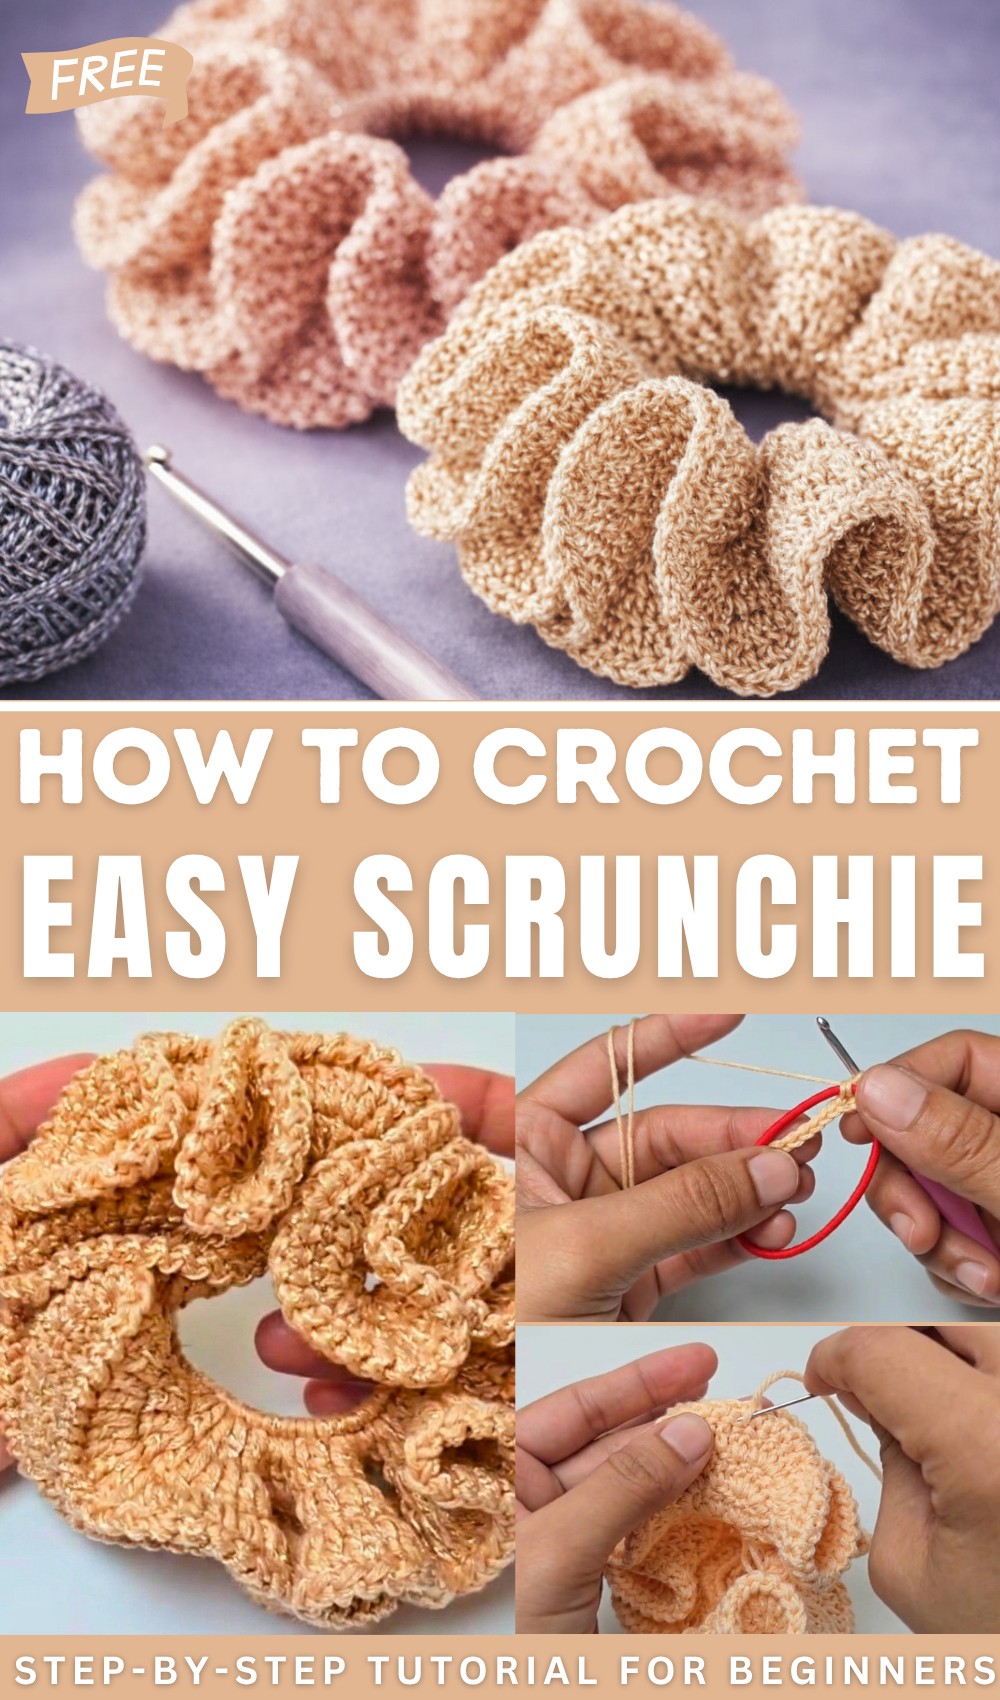
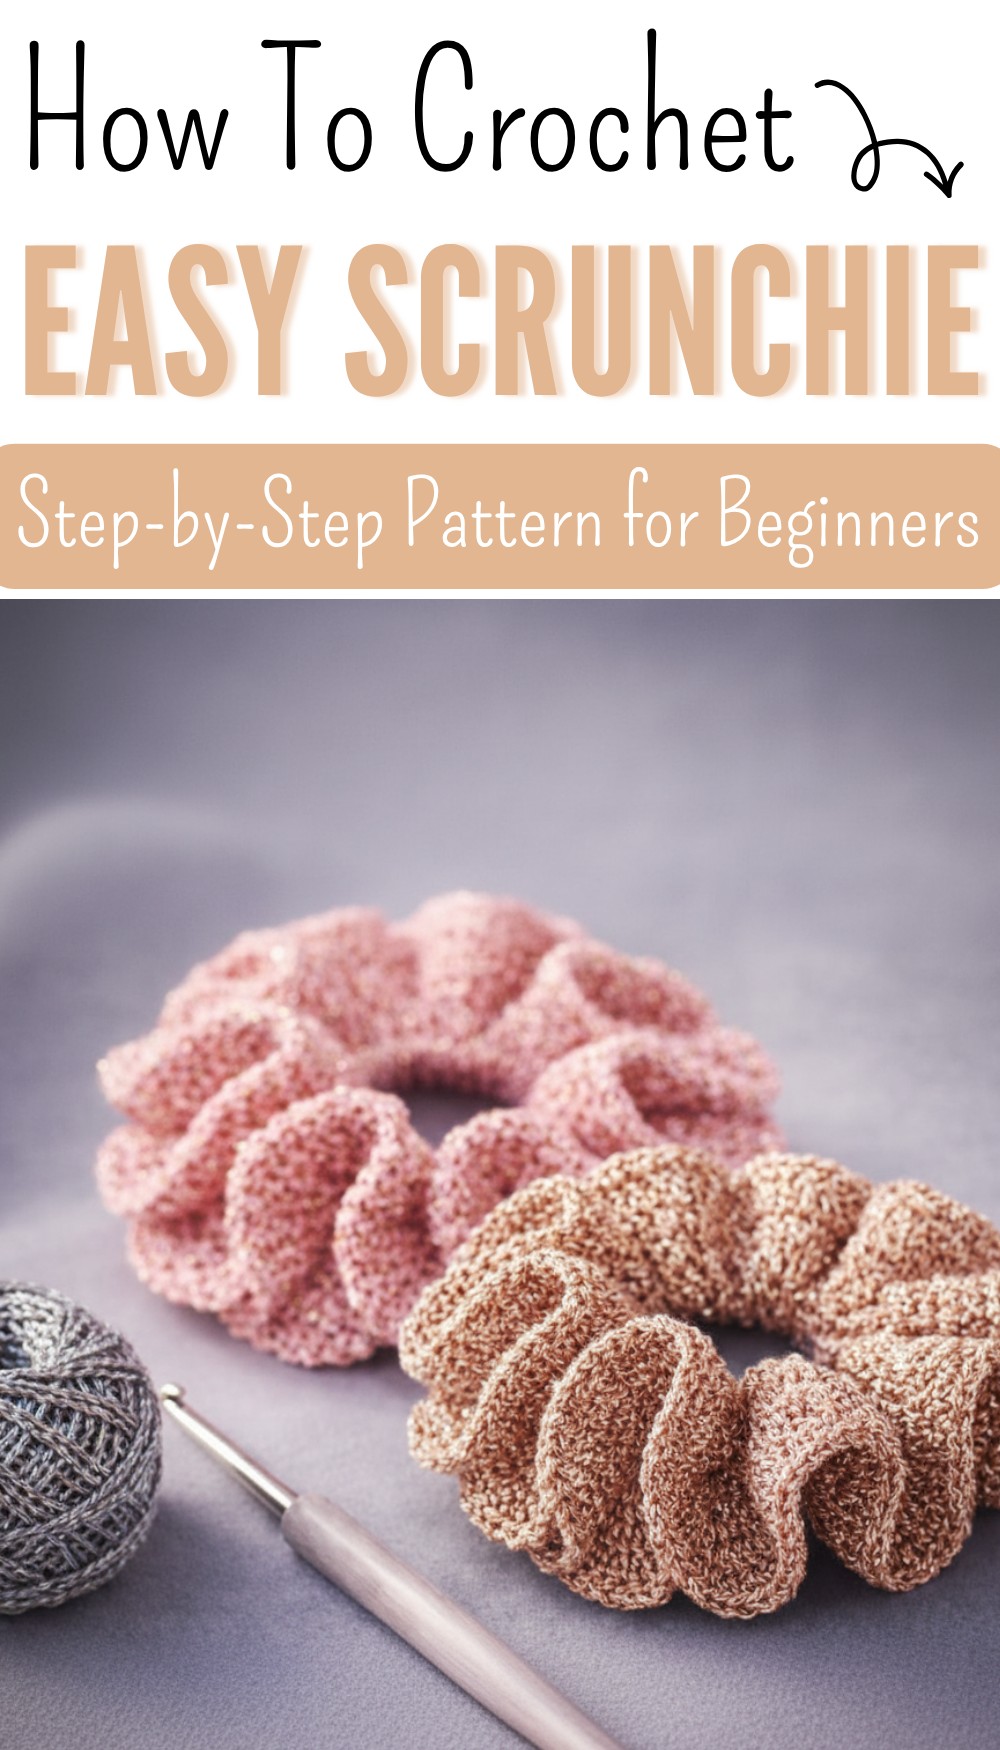
Best Free Crochet Scrunchie Pattern to Upgrade Your Look
Style your hair with colors and comfort by following this free crochet scrunchie pattern that adds charm to every day outfits and hair looks.
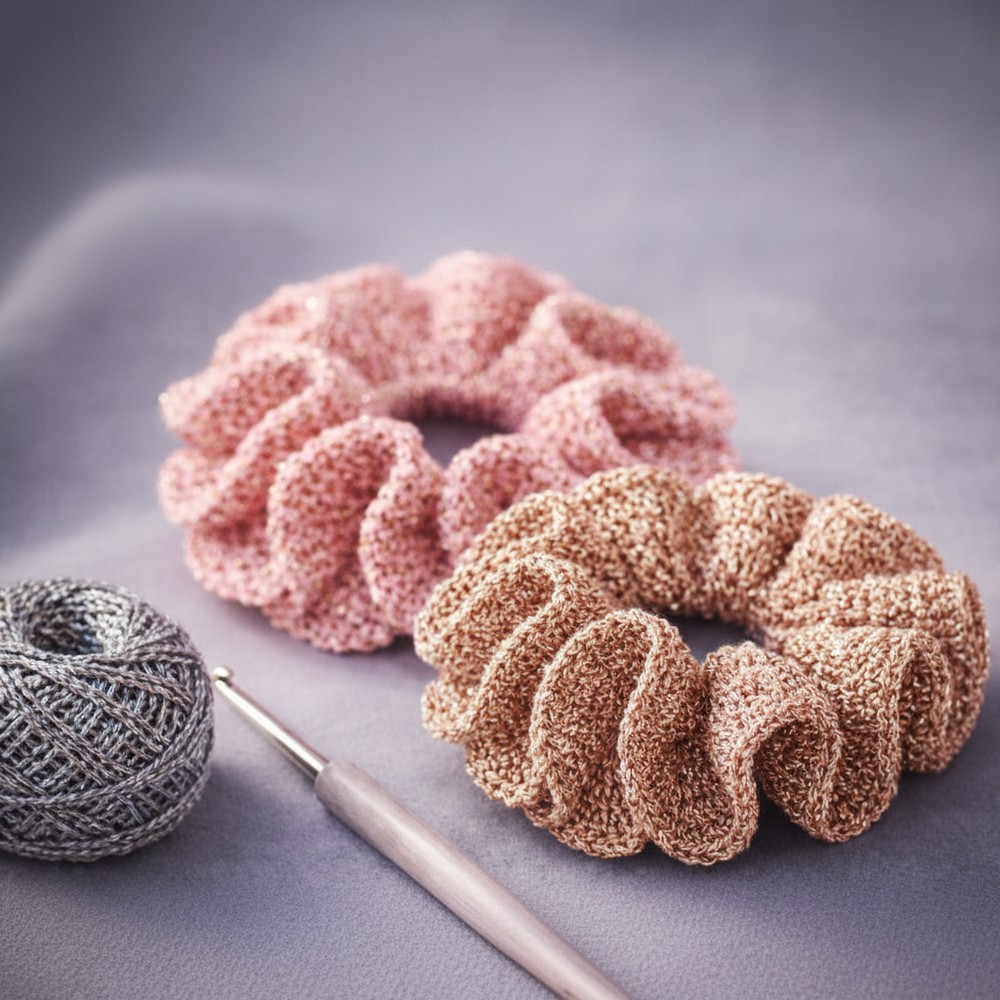
A pop of bright yarn spun into gentle spirals can make any hairstyle stand out with charm and care. Thick or thin hair feels happy with this piece, as a crochet scrunchie pattern gives comfort, stretch, and a stylish touch without pulling or breaking strands. Each clever row makes loops that hug a ponytail or bun, adding fullness and a special feel to simple hair days. This scrunchie are light, colorful, and easy to wash, so girls and women of all ages can use them daily or on special days.
How to Make a Scrunchie: Free Crochet Pattern
A crochet scrunchie pattern shares fun, letting hands of any skill level roll out new colors or dainty ruffles quickly. Using leftover yarn or favorite colors, anyone can share a gift or match an outfit with a little fluffy circle made from caring hands. Beautiful to see and practical to use, this small treasure brings happiness and style together.
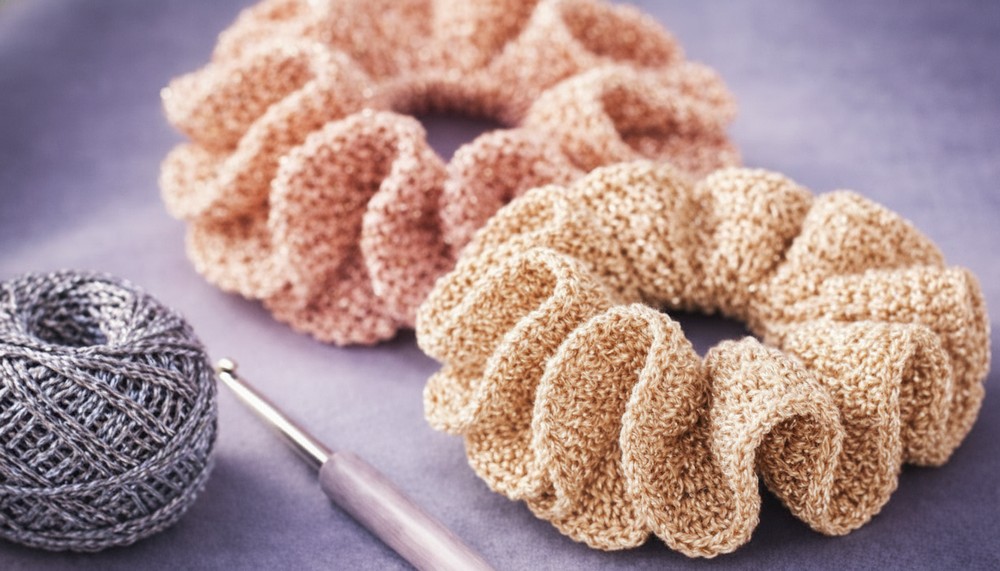
Easy Crochet Scrunchie Pattern
Materials
- Yarn: Medium-weight (worsted, #4) cotton yarn
(Optional: Hold together with a sparkly cord for a fun effect. If using a thick yarn or cord, one strand is enough.) - Hook: 2.75 mm crochet hook
- Notions:
- 1 plain hair elastic/tie
- Scissors
- Yarn needle (for weaving in ends)
Key Abbreviations (US Terms)
| Abbreviation | Meaning |
|---|---|
| ch | chain |
| sc | single crochet |
| dc | double crochet |
| sl st | slip stitch |
| st(s) | stitch(es) |
| rep | repeat |
Special Notes
- You may use a single yarn type (cotton or sparkly) or combine both.
- Adjust yarn thickness for different effects; thick yarn needs only one strand.
- Scrunchie is worked in the round, tightly around the elastic for fullness.
Pattern Instructions
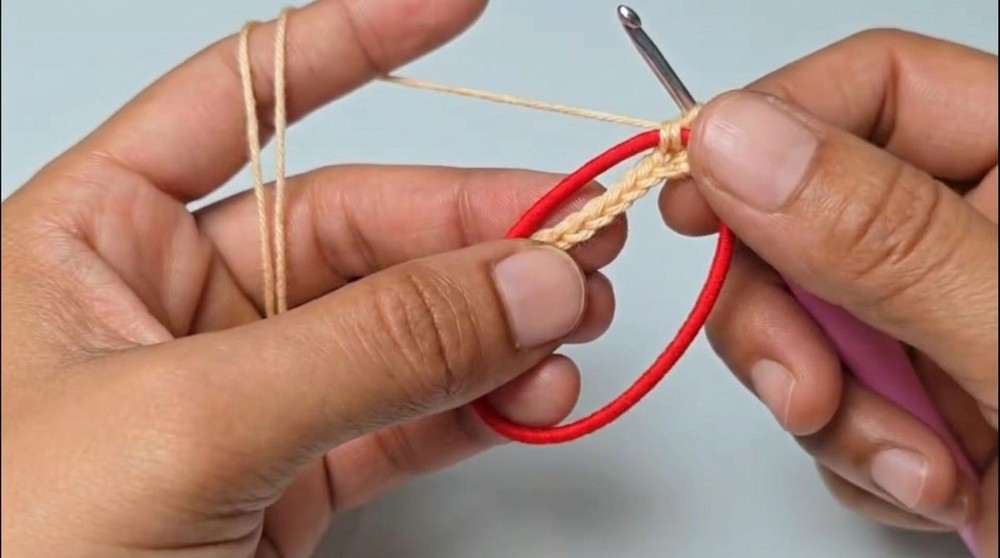
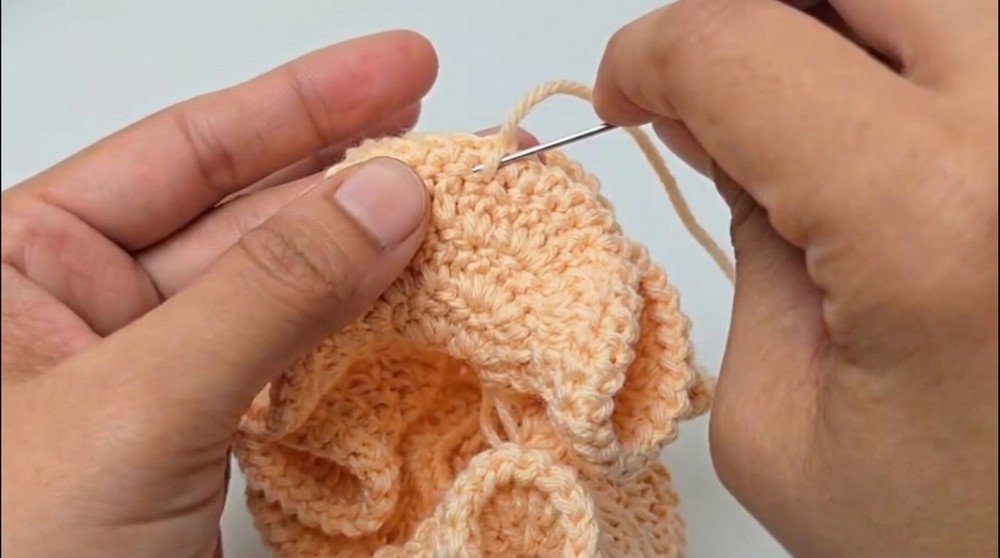
1. Setup & Base Round
- Make a slip knot and place it on your hook.
- Insert hook into the center of the elastic hair tie.
- Attach yarn with a single crochet (sc) around the tie.
- Continue to work sc stitches all the way around the tie, keeping stitches snug and even to cover the elastic completely.
- Sl st to the first sc to join the round.
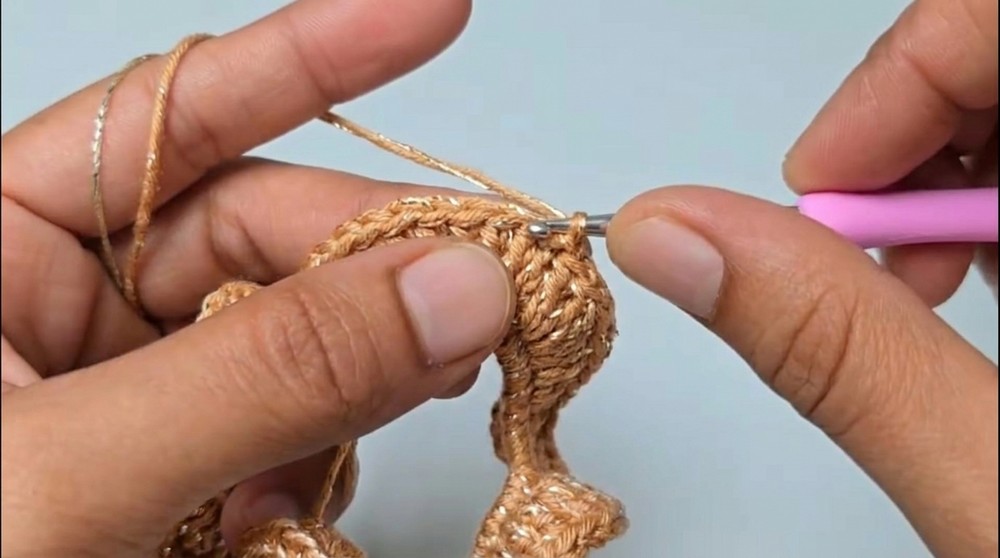
2. Begin Ruffles: Round 1
- Ch 2 (does not count as a stitch, acts as a turning chain).
- Work 1 dc in the same stitch as your ch 2.
- Work 2 dc into each stitch around (increasing in every stitch to form ruffles).
- Work 2 dc in the last stitch as well.
- Sl st to the first dc to complete the round.
3. Ruffle Building: Rounds 2–4
- For the next 3 rounds (Rounds 2, 3, and 4):
- Ch 2, 1 dc in same st.
- 2 dc in every stitch around.
- Sl st to first dc to join at the end of each round.
Tip: Each round with 2 dc in every stitch increases fullness and ruffles.
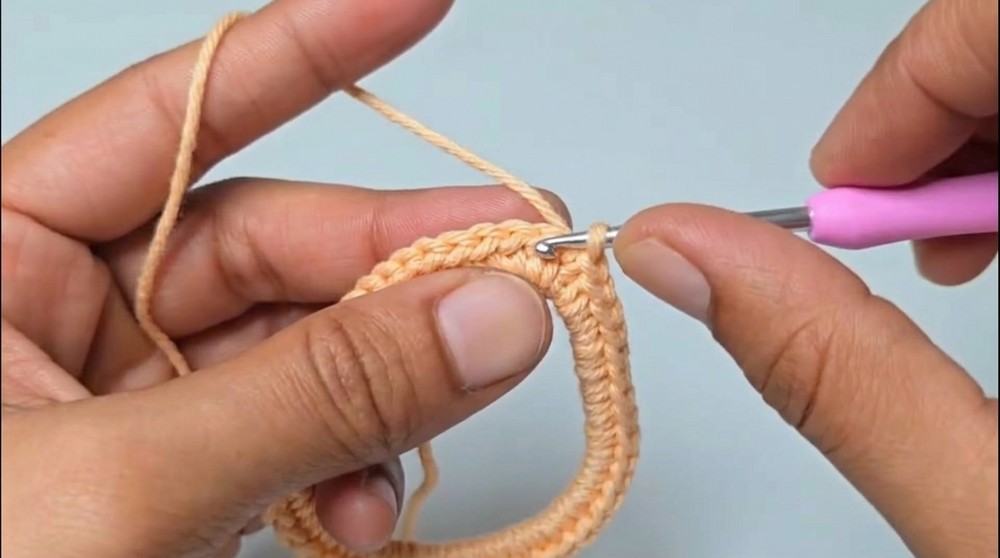
4. Finishing Edge
- Ch 1.
- Sl st in next dc, ch 1; rep (sl st in next dc, ch 1) around the entire round, including the last stitch.
- Sl st in the last stitch as well to secure.
- Ch 1, cut the yarn, and pull through to fasten off.
- Weave in tails neatly with a yarn needle.
5. Customize
- Make several scrunchies in different color combinations.
- Adjust the number of ruffle rounds for a thicker or slimmer scrunchie.
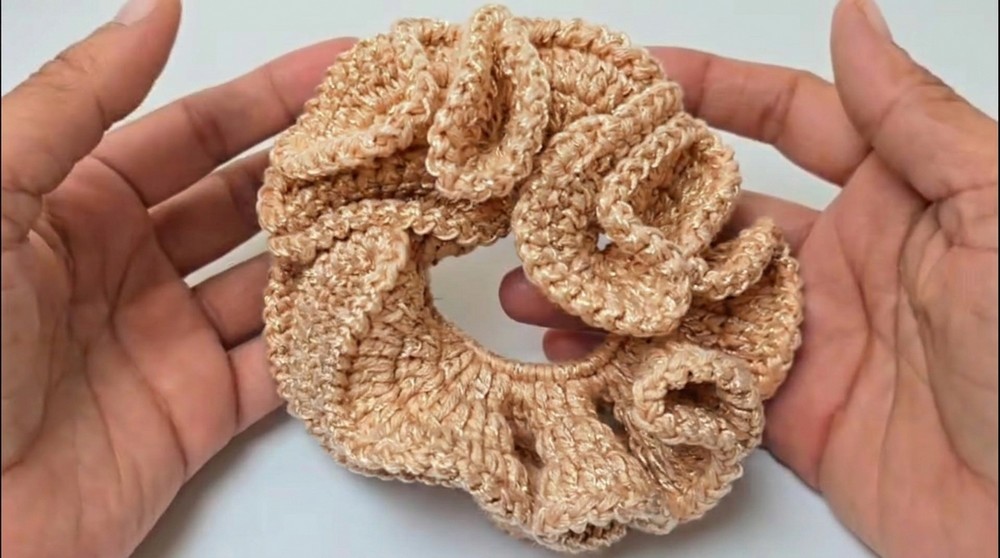
Conclusion
This easy crochet scrunchie is quick to make, fun to wear, and perfect for gifts. Enjoy experimenting with colors and yarn types to create your own collection.
Pattern Correction & Tips
- Correction: Ensure you are working 2 dc in every stitch for maximum ruffle.
- Tip: Make sure to keep the single crochet base round snug and even for a polished look.
- Tip: Weave in ends securely for durability, especially if giving as a gift or using daily.
- Tip: Ruffles may benefit from a gentle shaping/stretching after finishing.