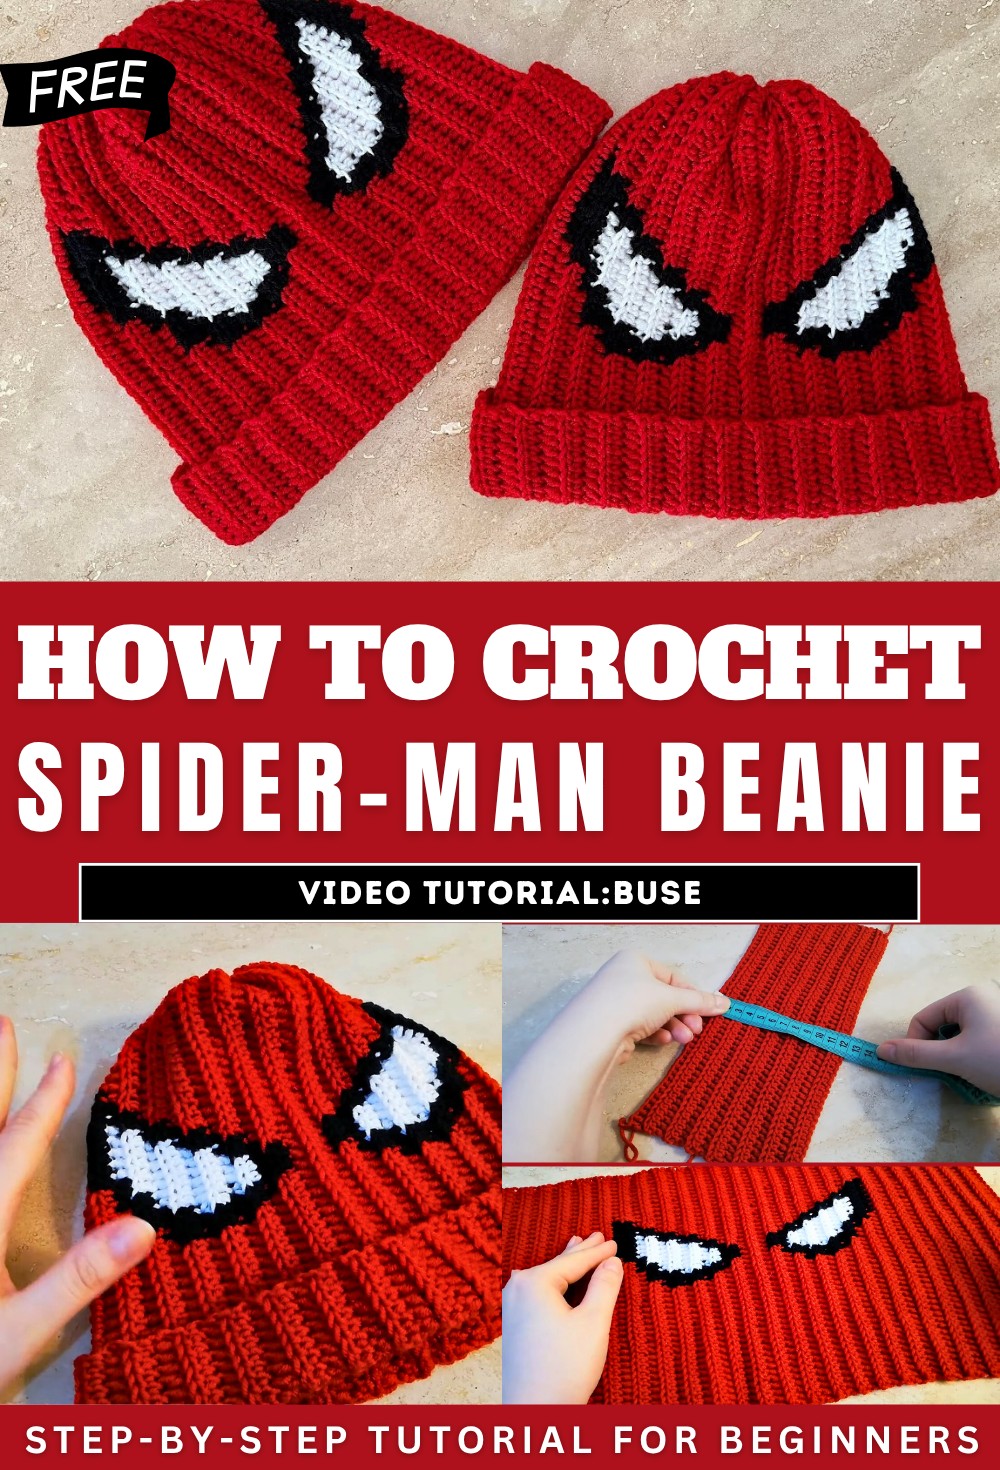
How to Crochet Spider-Man Beanie for Beginners
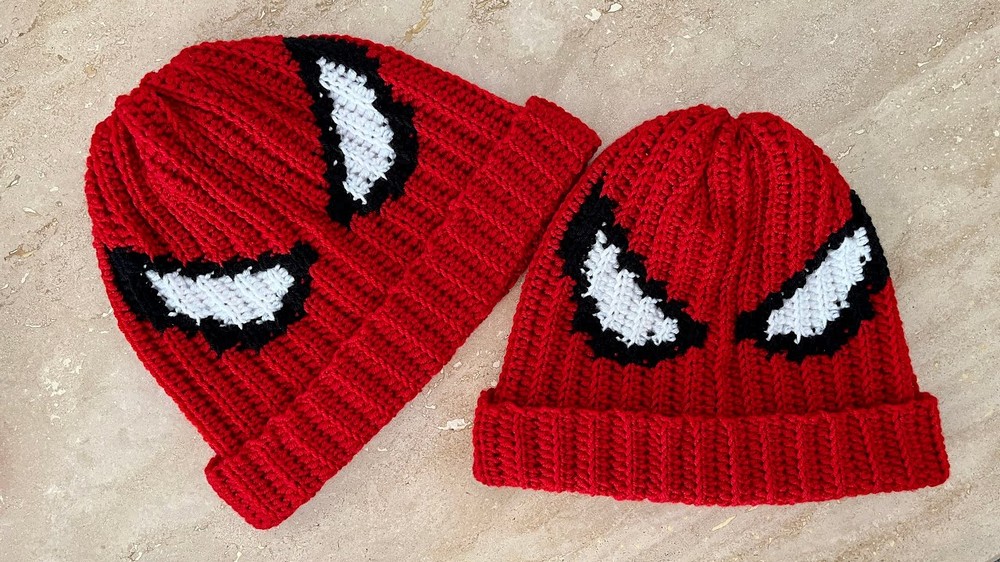
Learn how to crochet a Spiderman beret, detailing materials, techniques, and patterns step-by-step. Using anti-pilling red yarn as the base, along with black and white threads for the pattern, she guides viewers through creating chains, stitches, and color changes, ensuring the design looks polished.
Perfect for men and women, the beret combines style and practicality. So, follow through with us for the complete tutorial for beginners.
Spider-Man Inspired Crochet Beret Pattern
Materials
- Yarn:
- Main Color (MC): Red anti-pilling yarn (acrylic or woolen can be used)
- Accent Colors: Black and White anti-pilling yarn (or acrylic/cotton) for pattern details
- Crochet Hook: 4.0 mm (G/6) or 3.0 mm (D/3), adjust as needed for gauge and yarn
- Notions:
- Yarn needle (for sewing and finishing)
- Scissors
- Tape measure
- Optional: Stitch markers
Key Abbreviations (US Terminology)
| Abbreviation | Meaning |
|---|---|
| ch | chain |
| hdc | half double crochet |
| sl st | slip stitch |
| st(s) | stitch(es) |
| MC | main color |
| CC | contrasting color (black/white) |
| RS | right side |
| WS | wrong side |
Special Notes
- The pattern is written for a women’s size (fits 56–57 cm head circumference), with notes for sizing adjustments.
- For a neater color change when making motifs (spider web/eyes), pre-cut small balls of black/white yarn for each patterned section.
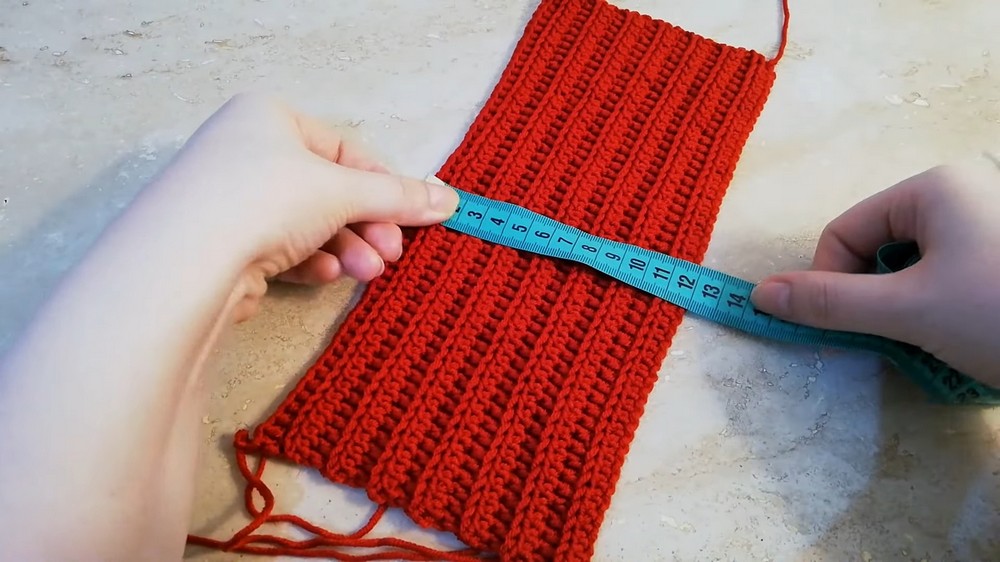
- Do not stretch the beret to head circumference when measuring; allow for the ribbing’s stretchiness.
- Anti-pilling yarn is suggested for best durability, but regular acrylic or cotton works well.
- The pattern features half double crochet ribbing for elasticity and structure.
Step-by-Step Pattern
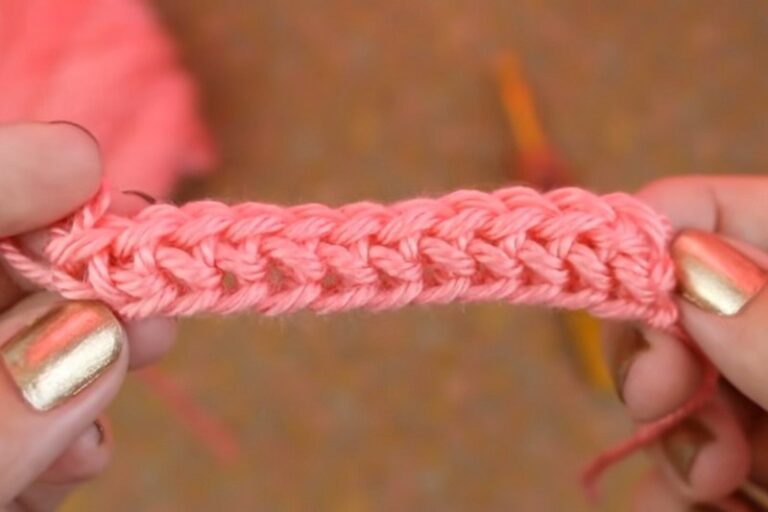
1. Ribbed Band / Foundation
- With MC (Red), make a slip knot.
- Ch until the chain measures 30 cm. (Approx. 50 chains, adjust for size if necessary.)
- Row 1:
- Ch 2 (does not count as a stitch), starting from the 3rd ch from the hook, hdc in each ch across.
- Total sts: 50 (if you started with 50 ch)
- Row 2–14:
- Ch 2, turn.
- Working in the middle (back loop) of each hdc st, hdc across.
- Repeat for a total of 14 rows (approx. 12 cm tall).
- This forms the rectangle base for the beret.
Note: For a men’s size, increase chain length and number of rows as needed (measure to approx. 14–15 cm tall).
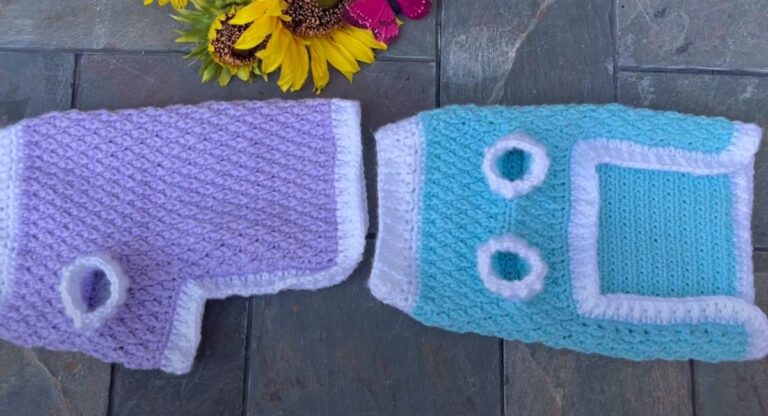
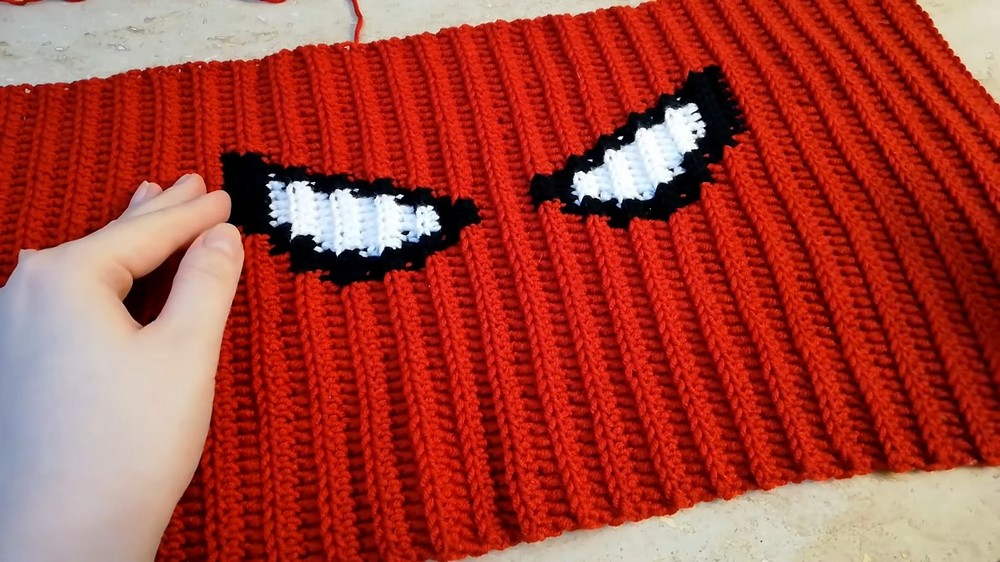
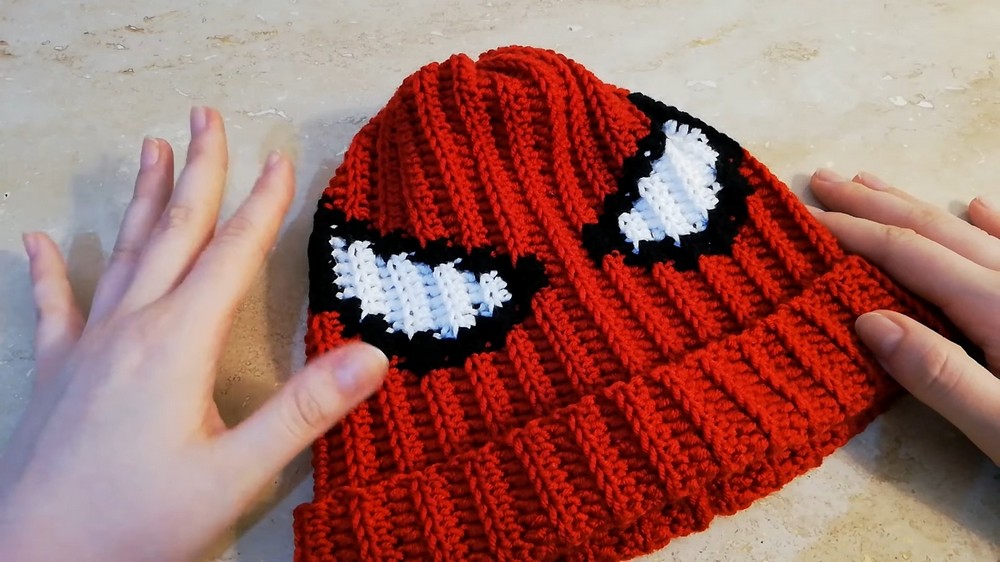
2. Spider-Man Pattern Section
Refer to the chart/diagram (or description below) for the specific layout of black/white patterns resembling Spider-Man eyes.
- You will now work rows of hdc while incorporating the color changes for the eyes and web lines.
- When changing colors:
- Complete the last yarn-over in the old color, then yarn over and pull through with the new color.
- Carry unused yarn discreetly or use bobbins; avoid carrying black/white long distances to prevent color peeking.
Pattern Rows:
First Eye Segment (Sample Row Layout):
- Row 1 (RS):
- Ch 2, turn.
- Hdc 10 in red, change to black, hdc 8 in black, change to red for remaining sts.
- Row 2 (WS):
- Ch 2, turn.
- Hdc 2 in red, hdc 9 in black, change to red for rest.
- Continue following your chart, increasing/decreasing black/white hdc per row to build the eye shape.
- Introduce white for highlights (typically after 3–4 rows of black when needed in the pattern).
Between Eyes:
- After one eye is complete, work 3 rows in MC (red) only to separate the motif.
Second Eye Segment:
- Mirror the first eye motif using the chart.
- End at the corresponding row count on the other side.
3. Length and Sizing
- Continue until the entire piece measures 48 cm in length for women’s size (or a few cm longer for men’s).
4. Seaming the Beret
With RS facing in (WS out):
- Fold the piece in half.
- Matching up ends, sl st through both layers across the long sides to form a tube.
- Insert hook through the first st of both edges, pull up a loop, pull through both loops to complete sl st.
- Fasten off, leaving a long tail for closing the crown.
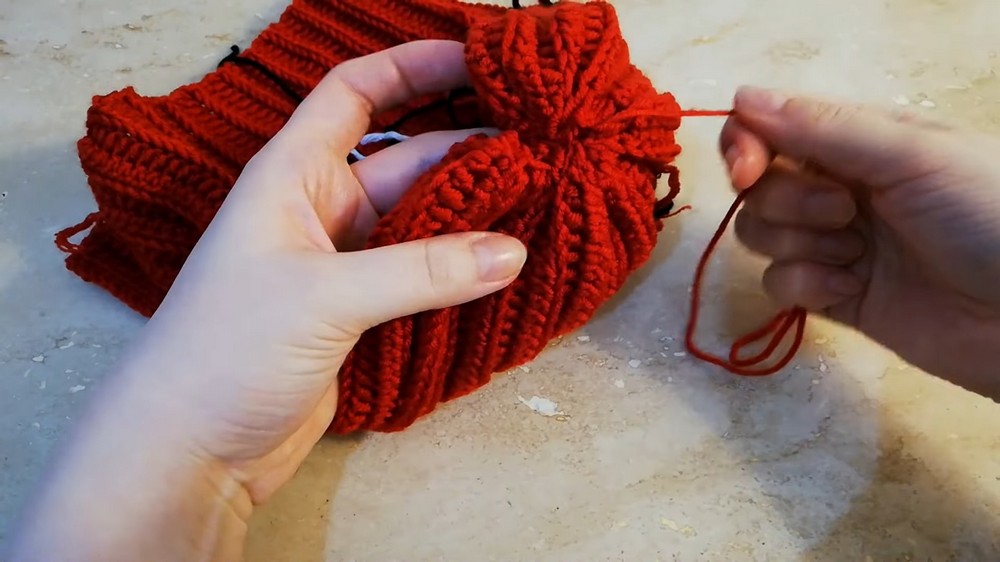
5. Closing the Crown (Top of Beret):
- Using the yarn needle and the long tail, sew around the top edge with a running (basting) stitch, spacing stitches approx. every 1 cm.
- Pull gently to gather the opening closed.
- Continue stitching across remaining opening to close any gap.
6. Finishing
- Weave in any remaining ends securely using the yarn needle.
- Turn beret RS out.
- Fold the bottom band for a cuffed look, if desired.
- Optionally, steam or wet block to even out stitches and pattern.
Corrections & Tips
- If using different yarn weights, adjust hook size and stitch counts as necessary to maintain sizing.
- To create a true “beret” flare, you may increase the foundation chain slightly for a larger starting rectangle.
- For the Spider-Man motif, plan color changes carefully and check the back often to keep floats neat, especially between black and white areas.
- To reinforce the band, work a few extra rows in ribbing pattern before seam closure.
Conclusion
You have now completed a Spider-Man inspired crochet beret suitable for both men and women. The pattern offers flexibility in sizing and color customizations, and the ribbed structure ensures a snug, comfortable fit. If you enjoyed this project, don’t forget to share your results or adaptations!
Tip:
For best results when switching colors, always twist yarns at the back to reduce holes and keep floats short.
Pattern Correction:
If at any point your length is shorter or longer than needed, simply crochet more or fewer rows before starting the pattern motif, and adjust the final seam step accordingly. Always measure your work before joining.
Video Guide
https://youtu.be/SMnzzUG0grE