Crochet Sleeved Jacket Free Pattern With Complete Details
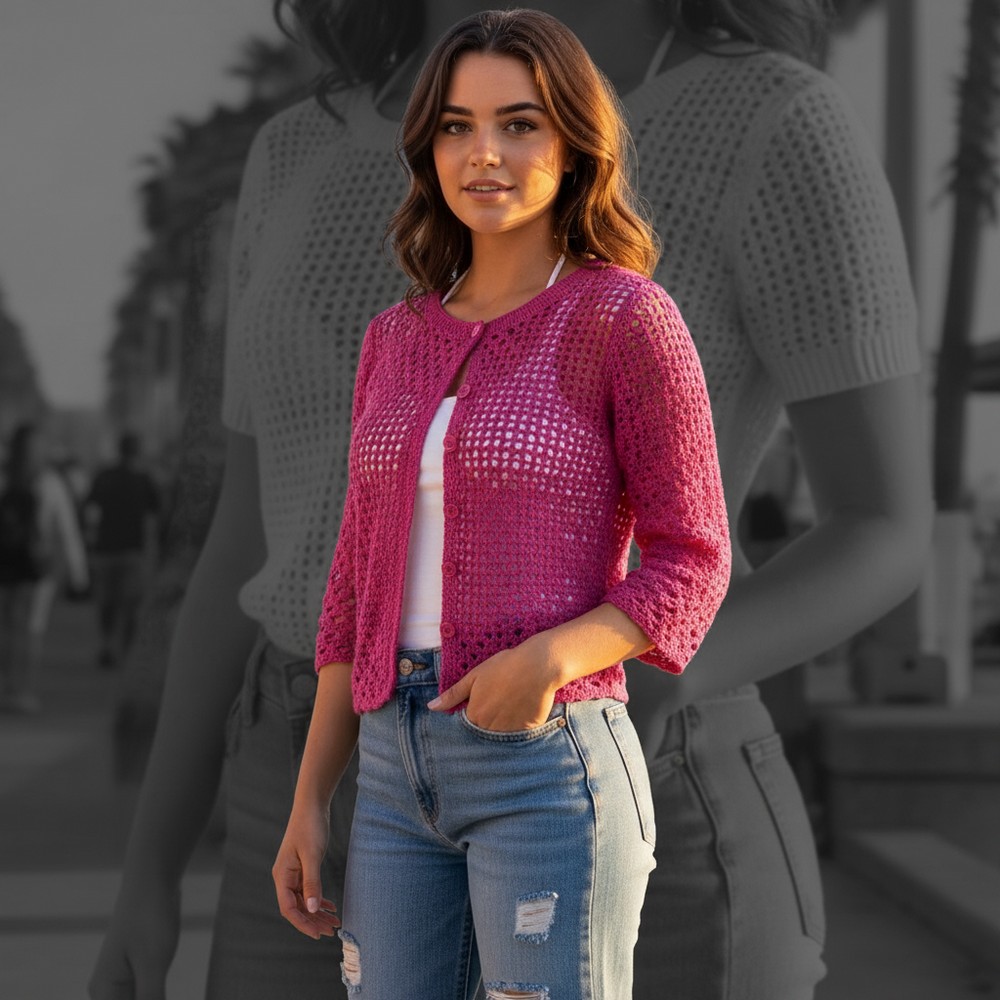
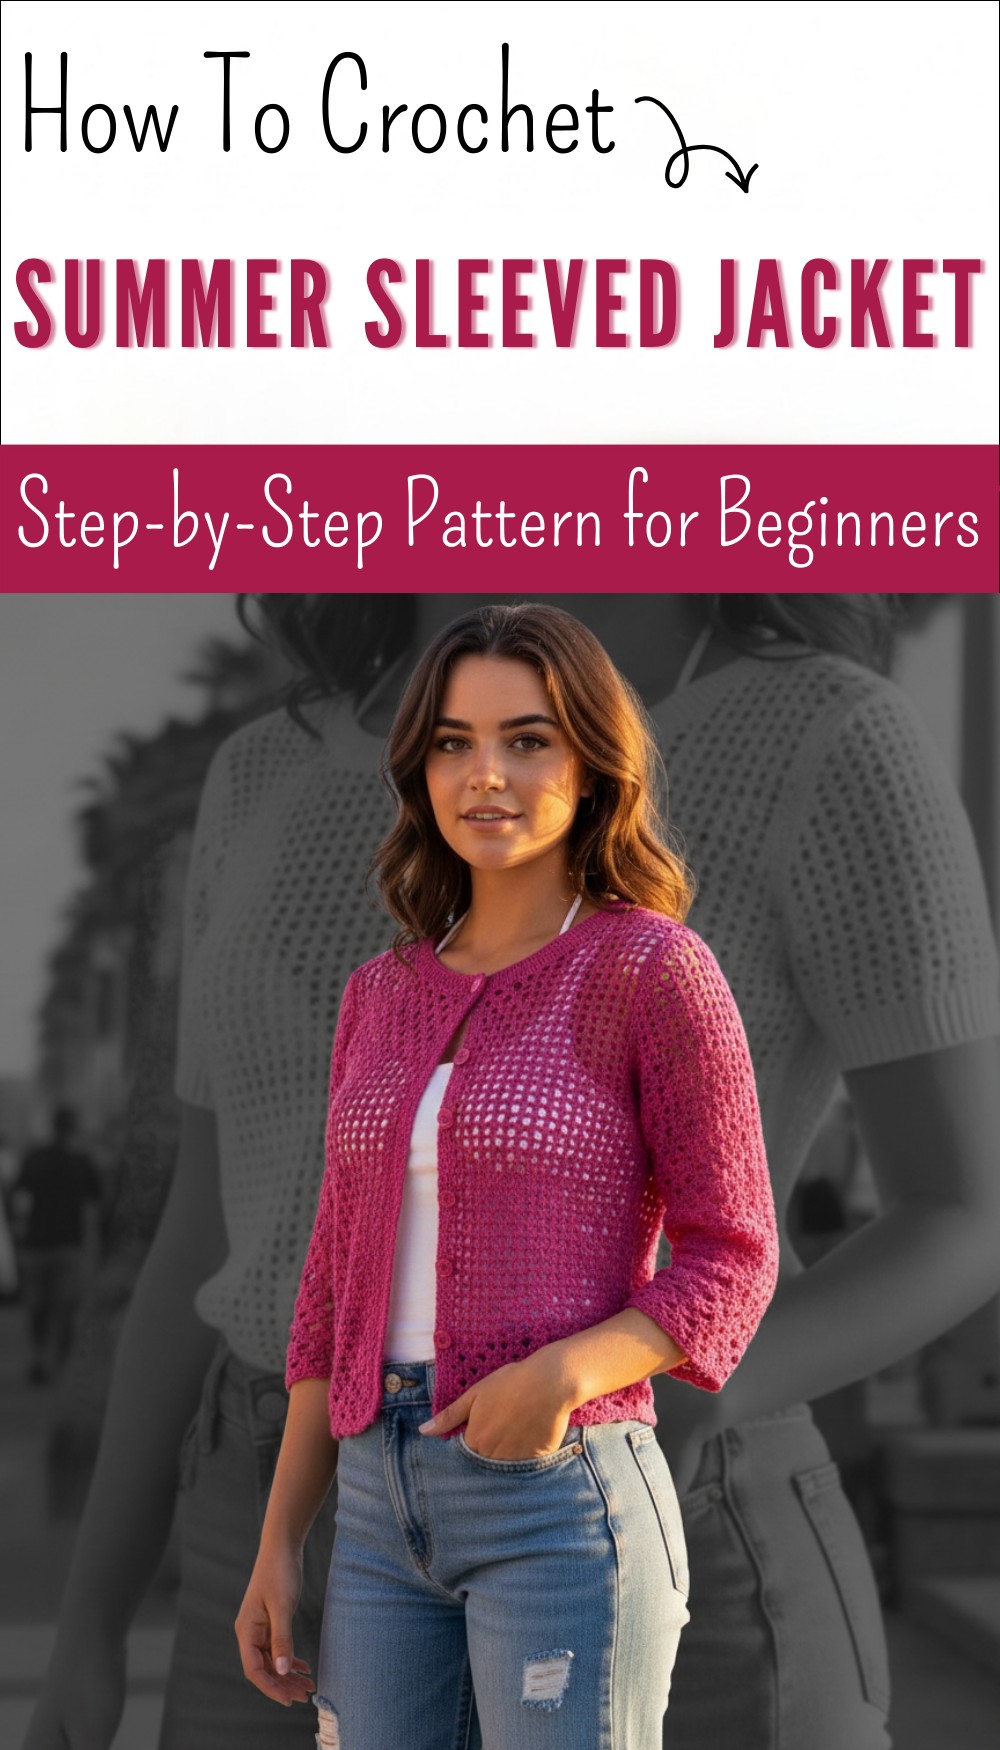
Update your closet using this free crochet sleeved jacket pattern perfect for adding soft warmth style and charm to every outfit you choose.
Warm cozy layers bring out a special charm and that’s the magic that comes with a crochet sleeved jacket pattern. This jacket is not only soft and beautiful to look at but also perfect for all seasons whether it’s chilly outside or you just want a light cover indoors. The colors and stitches make this jacket unique so people notice and admire your stylish touch. Wearing this jacket makes you feel both comfortable and confident showing off the detailed sleeves and pretty patterns.
Feminine Free Crochet Sleeved Jacket Pattern That Flatters
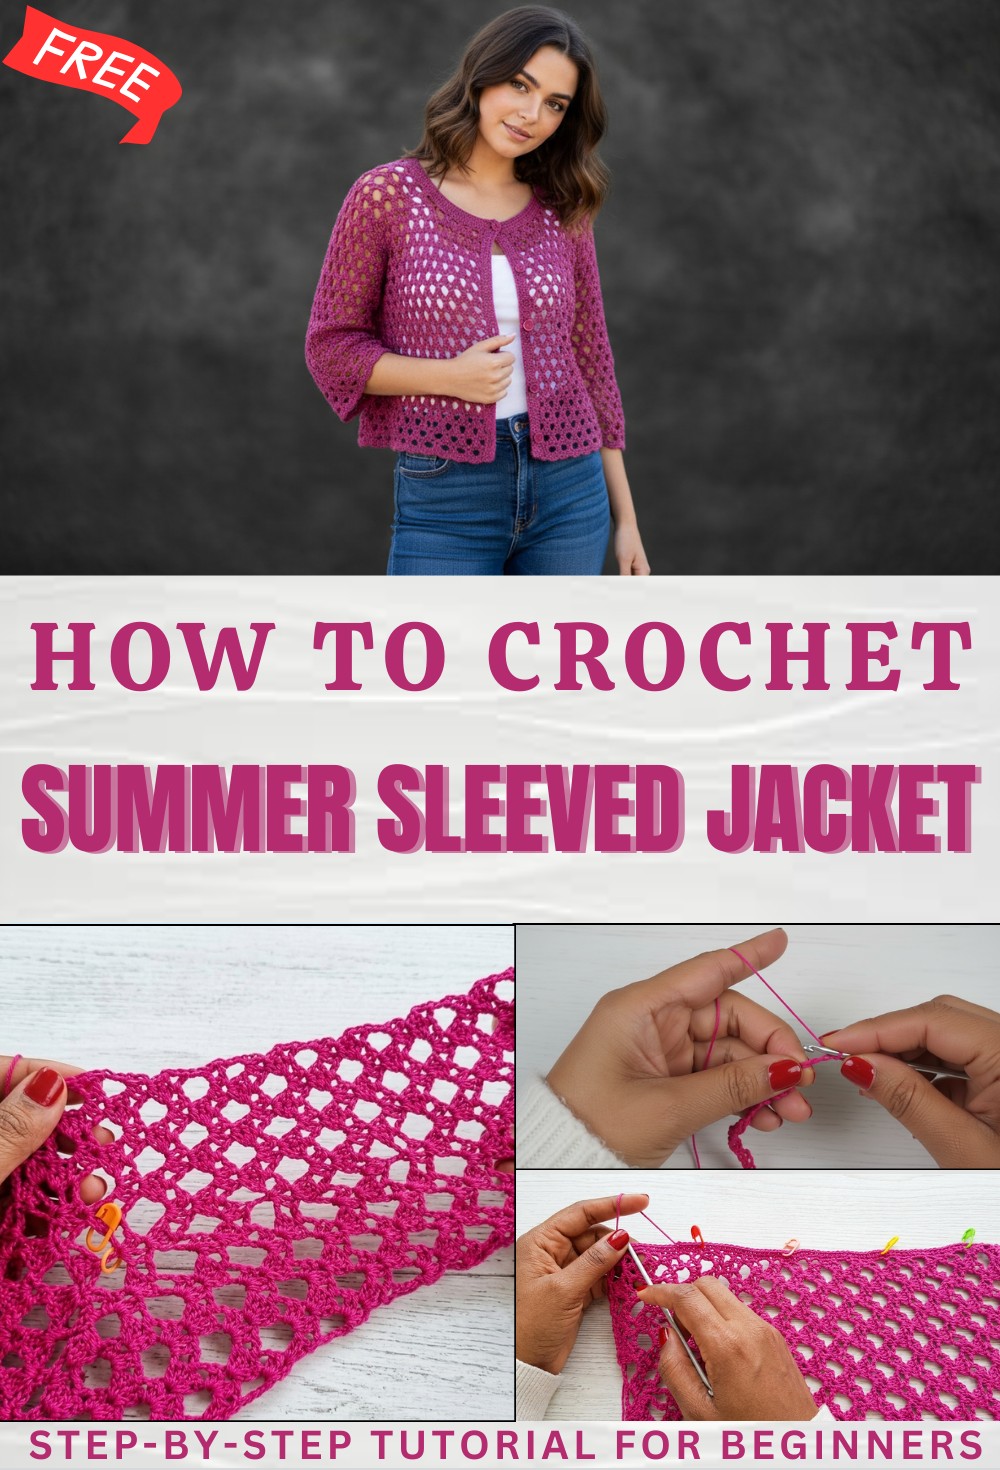
A crochet sleeved jacket pattern helps you make your own clothing using only a little yarn and time so you save money and have fun. It is easy to use for everyone even if you usually do not follow pattern because instructions are simple and clear. Enjoy warmth and fashion while making something with love for yourself or to give as a special gift.
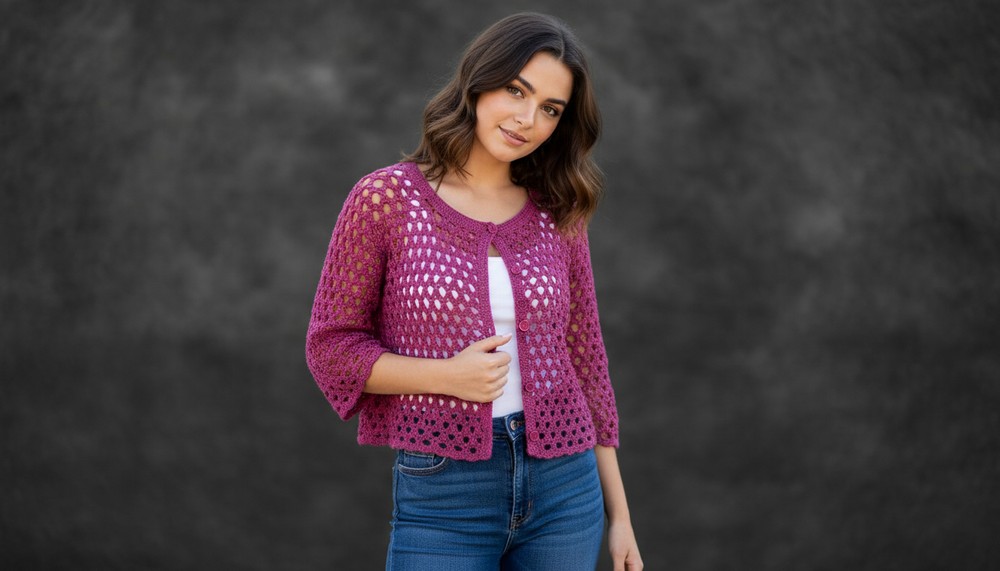
Crochet Sleeved Jacket Crochet Pattern
Materials List
- Yarn: 100% Pima Cotton (or soft summer cotton blend with a touch of shine), approx. 300g for L-XL size.
- Yardage may vary by size.
- Hook Sizes:
- 3.0 mm (main body)
- 2.5 mm (neckline and button bands)
- 5.0 mm (for added looseness, as needed)
- Tapestry needle: For weaving in ends and sewing.
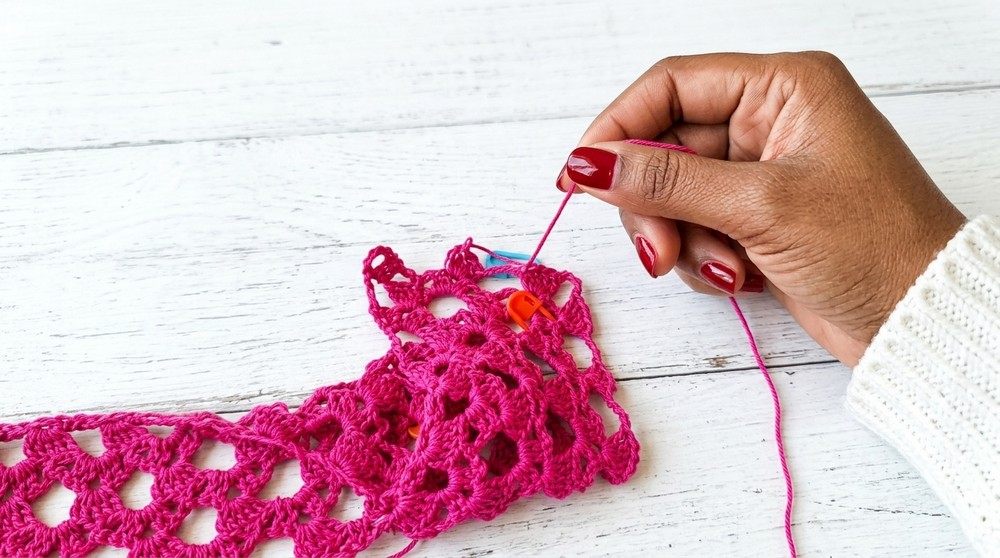
- Stitch markers: Recommend at least 4 for raglan points/stretch points.
- Scissors
- Measuring Tape: To check neck, sleeve, and body lengths.
- Buttons: 5 (about 18mm diameter, or to your taste, for button band)
- Optional: Extra yarn for adjustments or swatch.
Key Abbreviations (US Terms)
- ch: chain
- sc: single crochet
- dc: double crochet
- tr: treble crochet
- sl st: slip stitch
- ss: slip stitch (abbreviation in some places)
- inc: increase
- rep: repeat
- st(s): stitch(es)
- beg: beginning
- [ ]: repeat section as indicated
- fan/shell: (2 dc, ch2, 2 dc) in same space
Special Notes
- Sizing: Sample uses neck circumference 55 cm. Customize your starting chain for other sizes.
- Structure: Jacket is worked top-down in a raglan style (with “stretch/vibration” points). The yoke is formed with chain spaces and shell patterns; body and sleeves are divided after yoke is long enough.
- Button Band & Neckline: Worked with single crochet and uses a smaller hook.
- Odd Number Requirement: For rings/loops between stretch points and neck/back, always keep an odd number for symmetry.
Step-by-Step Pattern
1. Foundation Yoke (Top-down)
For L-XL, 55cm Neck as Sample:
- Neck (start):
ch2 (stretch foundation, left front) - Left Sleeve:
[ch4, dc in last ch]*1, then [ch3, dc in last ch] as many times as needed to reach 8.25cm (~7 rings, must be odd) - Back:
ch2 (stretch),
[ch4, dc]*1, [ch3, dc] to make 19cm (~19 rings, must be odd) - Right Sleeve:
ch2 (stretch), [ch4, dc]*1, [ch3, dc] to reach 8.25cm (~7 rings, must be odd) - Final Stretch:
ch2.

Check measurements for your size; for 2XL, reference the black sample (smaller neck opening but same approach).
2. Yoke Pattern
First Pattern Row
- Turn, ch3 (counts as dc). 2 dc into first ring.
- [For each ring except stretch points:]
ch4, 5 dc in next ring
(repeat for each subsequent ring) - [At each stretch point:]
ch5, 5 dc in next ring
(Use stitch markers here to indicate raglan points) - End: On last chain space, ch5, 3 dc in last chain.
- Mark all the ch5/shell spaces—they are your raglan increases.
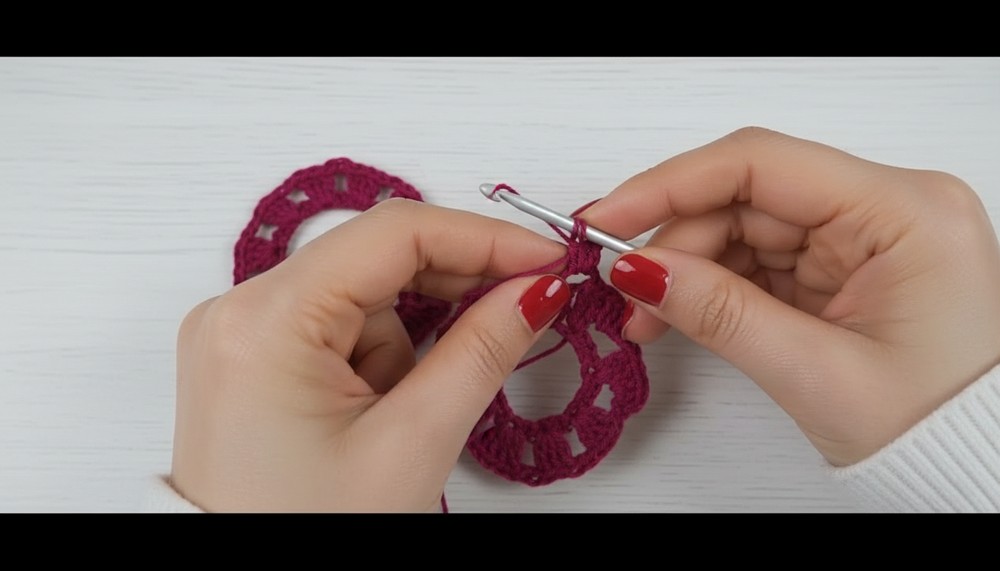
Second Pattern Row (Fan Rows)
- Ch1, turn. Sc in first st.
- ch2, then in next shell space, work [(2 dc, ch2, 3 dc, ch2, 2 dc)] for stretches, or [(2 dc, ch2, 2 dc)] for regular.
Always sc between shells with ch2 spacers. - Continue, ending with sc in last st.
Third Pattern Row (Shells Again)
- Ch4 (counts as tr), turn. ch2.
- 5 dc in each ch2 space between fans (between dc2 and dc3 in large fans).
- For stretches: ch5 between shells.
- For others: ch4 between shells.
- End with ch2, tr in last st.
Fourth Pattern Row (Repeat of Fan)
- Ch4, turn.
- [(2 dc, ch2, 2 dc)] in each shell, or [(2 dc, ch2, 3 dc, ch2, 2 dc)] in stretch fan as before.
- sc, ch2 between each.
Repeat Rows 1-4 until yoke is deep enough to separate sleeves and body.

3. Body & Sleeve Separation
- When yoke reaches underarm (measure for your fit):
Count shell patterns from center. Put markers.
Fold work so there’s an equal number of shells for both sleeves and body, with one for each front and remainder for back. - For underarm:
ch3, dc in 3, repeat to form a short chain/”rings” under the armpit (odd number; typically 3). Attach to other side. - Continue the established pattern for the body, skipping over the sleeves. Work as long as desired (sample: 25cm from armhole).
- Finish body with shell row.
4. Button Band (Fronts)
With 2.5mm hook, join at front edge:
- Row 1: ch1, sc evenly along front edge.
- Rows 2-3: ch1, turn, sc in each st.
- Row 4 (buttonholes): Mark 5 evenly spaced buttonhole points. Work “ch4, skip 4” at those points for buttonholes instead of 4 sc.
- Rows 5-7: ch1, turn, sc in each st (fill in buttonhole spaces).
- Edge (optional): Work 1 row of slip stitch through outer loop for neat finish.
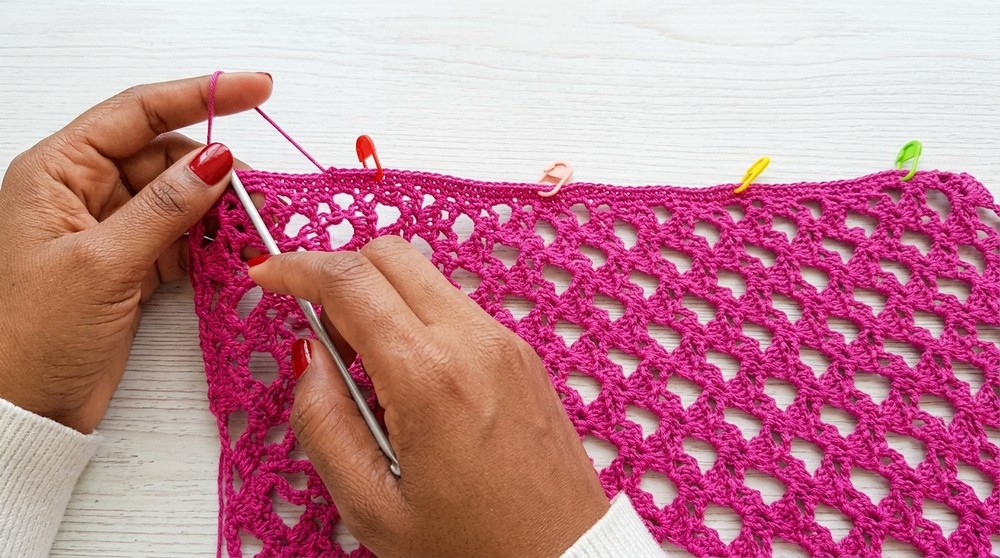
5. Neckline
- With 2.5mm hook, join at neckline, sc evenly.
- Work 7 rows of sc, distribute increases (sc2 in stretches/2ch spots, sc3 in each ring).
- Optionally, finish with a row of slip stitch through outer loop.
6. Hem
- Attach yarn at one front hem corner.
- Work [sc1, dc7 in next hole, sc1 in next, repeat] all the way around.
- At corners or for curves, adjust as needed for symmetry.
- Work a row of chains and sc as shown for straight edges.
7. Sleeves
Start at underarm center:
- Continue working in fan pattern, mirroring yoke and reducing as needed (decrease by 1 shell in each decrease row until final width).
- Aim for 7 pattern repeats long (or as desired).
- End with same shell/hem pattern as body.
8. Finishing
- Weave in all ends neatly.
- Block gently for best shape and drape.
- Sew a small square of dense sc fabric at base of button band inside if needed to prevent curling.
Conclusion
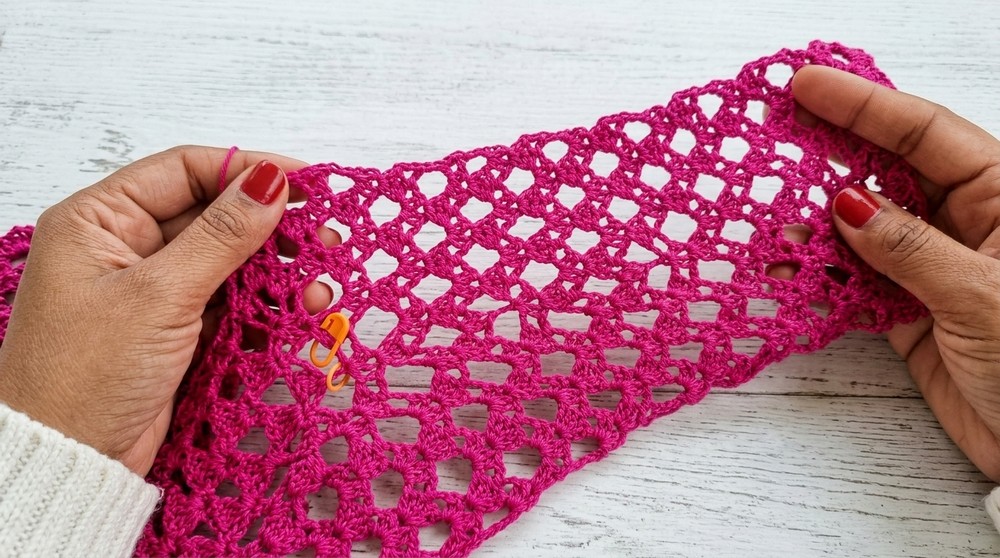
This airy top-down summer jacket is a beautiful layering piece, featuring easy sizing (just alter yoke length and number of shell patterns for size). Buttons and bands allow flexible styling. The shell/fan pattern is both beginner-friendly and visually elegant. Sleeves and hem can be customized to desired length.
Pattern Correction & Tips
- Tips:
- Use stitch markers at every “vibration/stretch” (raglan) point.
- Adjust “odd number” of rings for symmetry.
- Block your swatch for accurate sizing.
- If sleeves are too wide, decrease more aggressively across decrease rows.
- Work buttonholes on 4th row for easy fit with 18mm buttons.
- Add a backing square to button band to prevent curling/bending.
- Correction:
- The first transcript references both white (L-XL, wider neck) and black (2XL, narrower neck); adjust chain counts as needed to match your own measurements.
- Always use odd numbers of rings for consistency in the pattern repeats.
- Double-check your measurements before splitting for sleeves and body.
- Final Tip:
Carefully count your shells and try on as you go—customizing is easy with this modular construction.