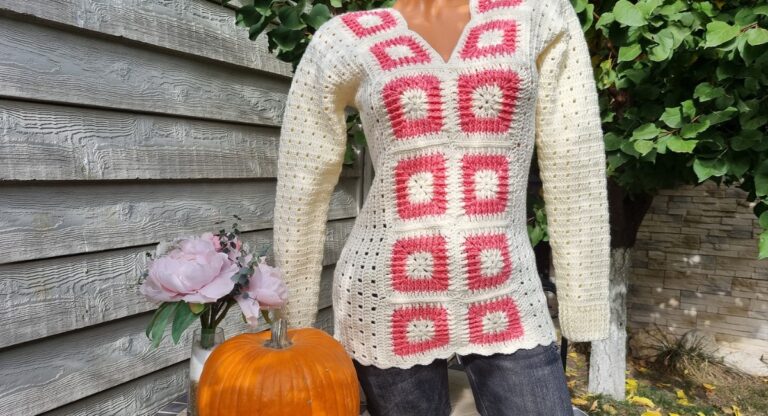
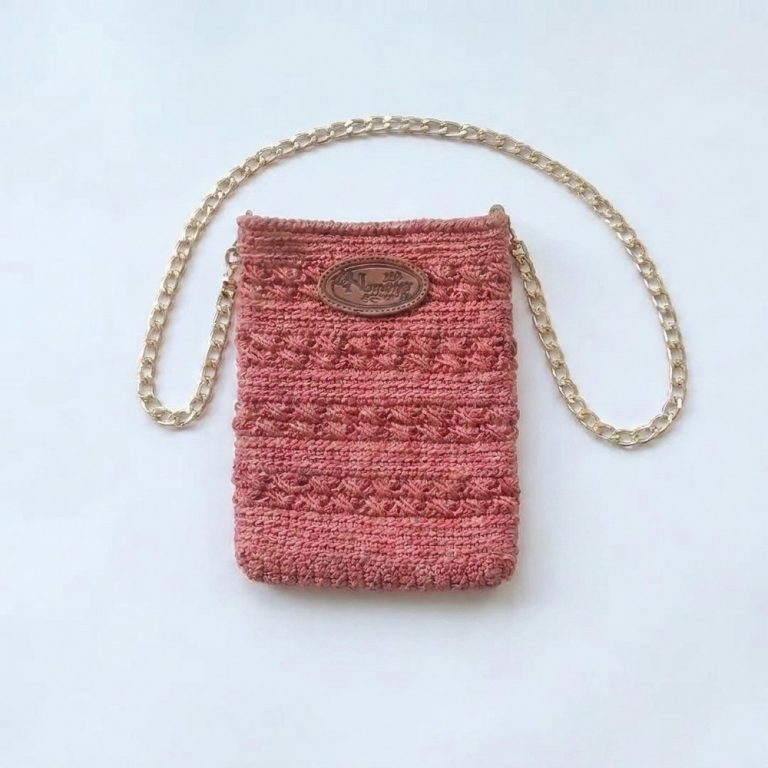
Cozy Free Crochet Vest Jacket Pattern for Cooler Days

Refine your seasonal wardrobe with this Free Crochet Vest Jacket Pattern that offers a stylish covering for your body and stays very comfy.
Elegant style shines through gentle yarn patterns that turn any outfit into a standout look. Each piece carries a sense of unique charm and artistry, showcasing the skill and care that goes into every detail. With a crochet vest jacket pattern, everyday comfort meets timeless beauty, making it the perfect choice for adding flair to your wardrobe. This vest design idea brings together cozy textures and eye-catching colors, offering warmth without weighing you down.
Statement Free Crochet Vest Jacket Pattern for a Bold Look
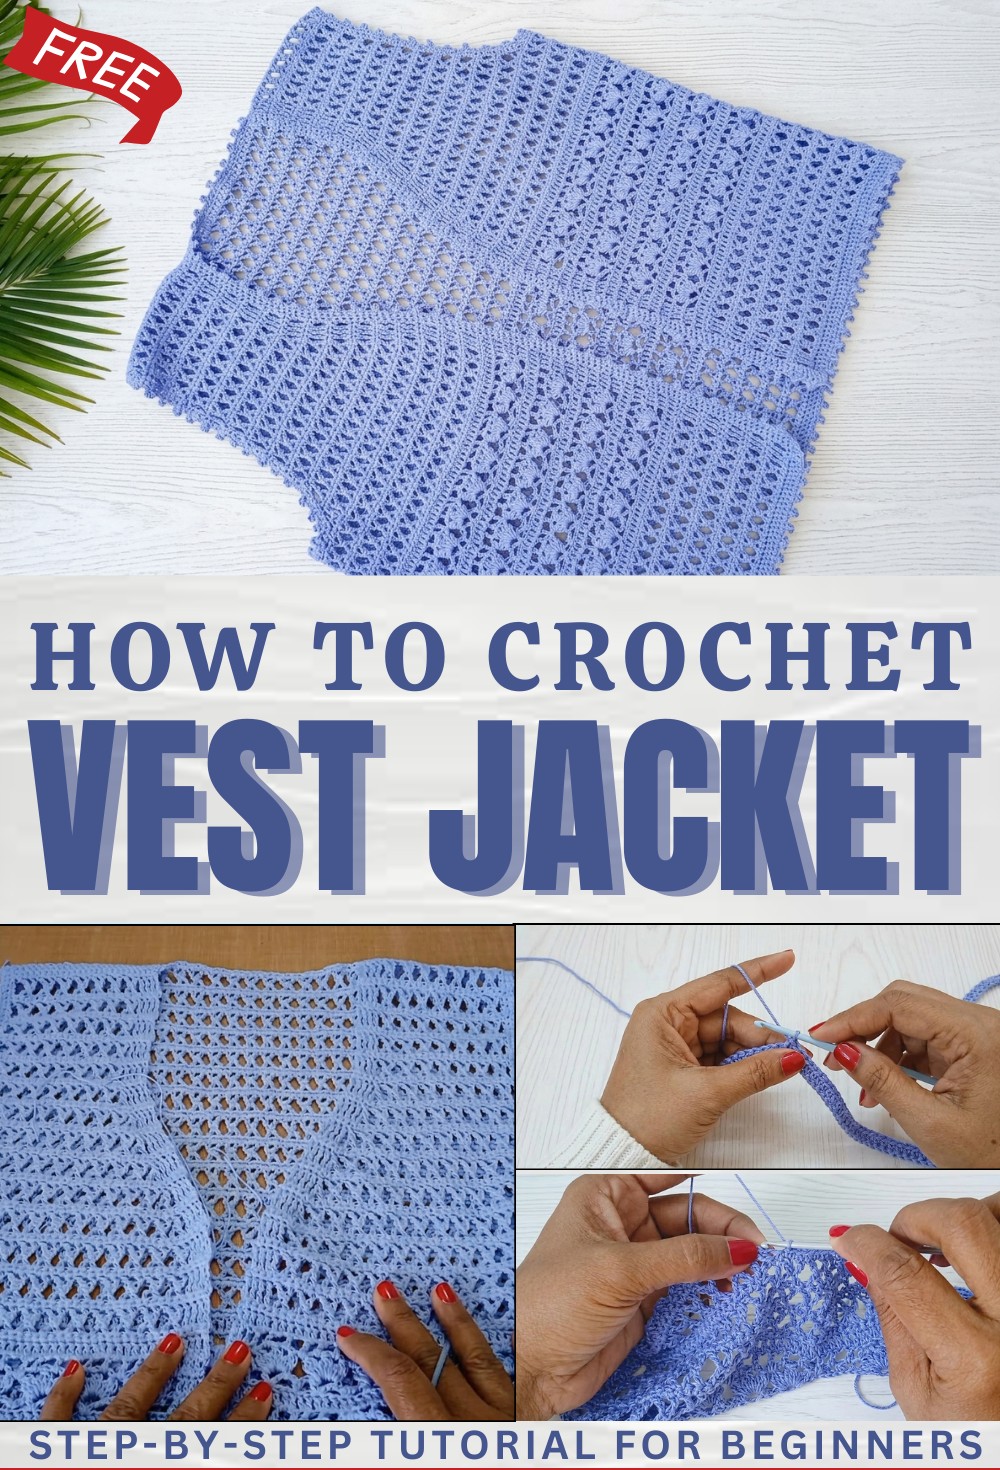
Simply wear it over your favorite shirts or dresses and notice the boost of confidence it brings. Lightweight and suitable for all seasons, the pattern is simple to follow making it enjoyable for anyone to try. Wearing your own vest jacket is a wonderful way to show personal style and celebrate a love for classic handmade fashion.
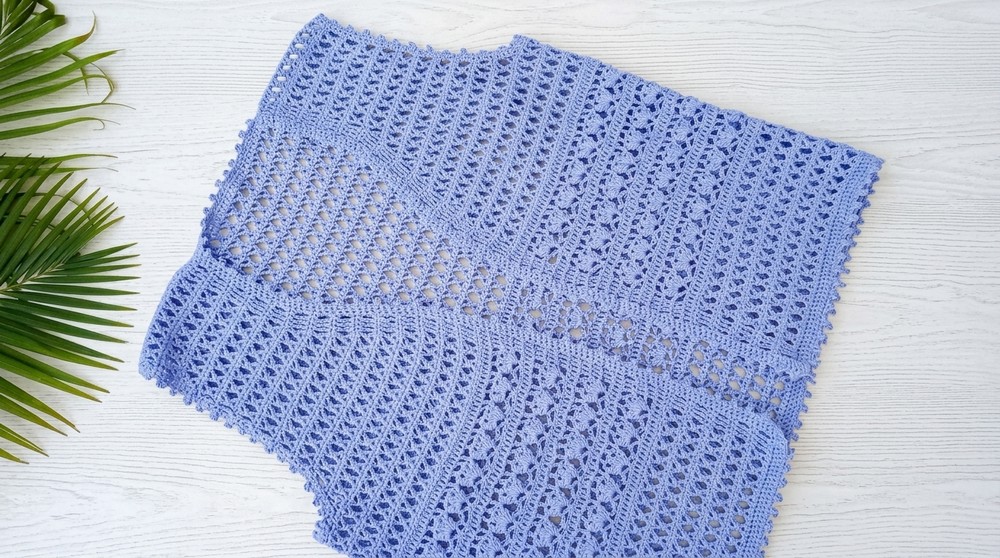
Quick Overview of the Pattern
- Worked flat in one large rectangle, later shaped for armholes and neck.
- Bust/chest size: 40 inches; length: 20–21 inches (easily customizable).
- Patterns used: Cross stitch motifs and a floral shell, worked in alternating stripes.
- Seams at shoulders; sides left open for armholes.
- Finished with single crochet and picot edging around armholes, neckline, and hem.
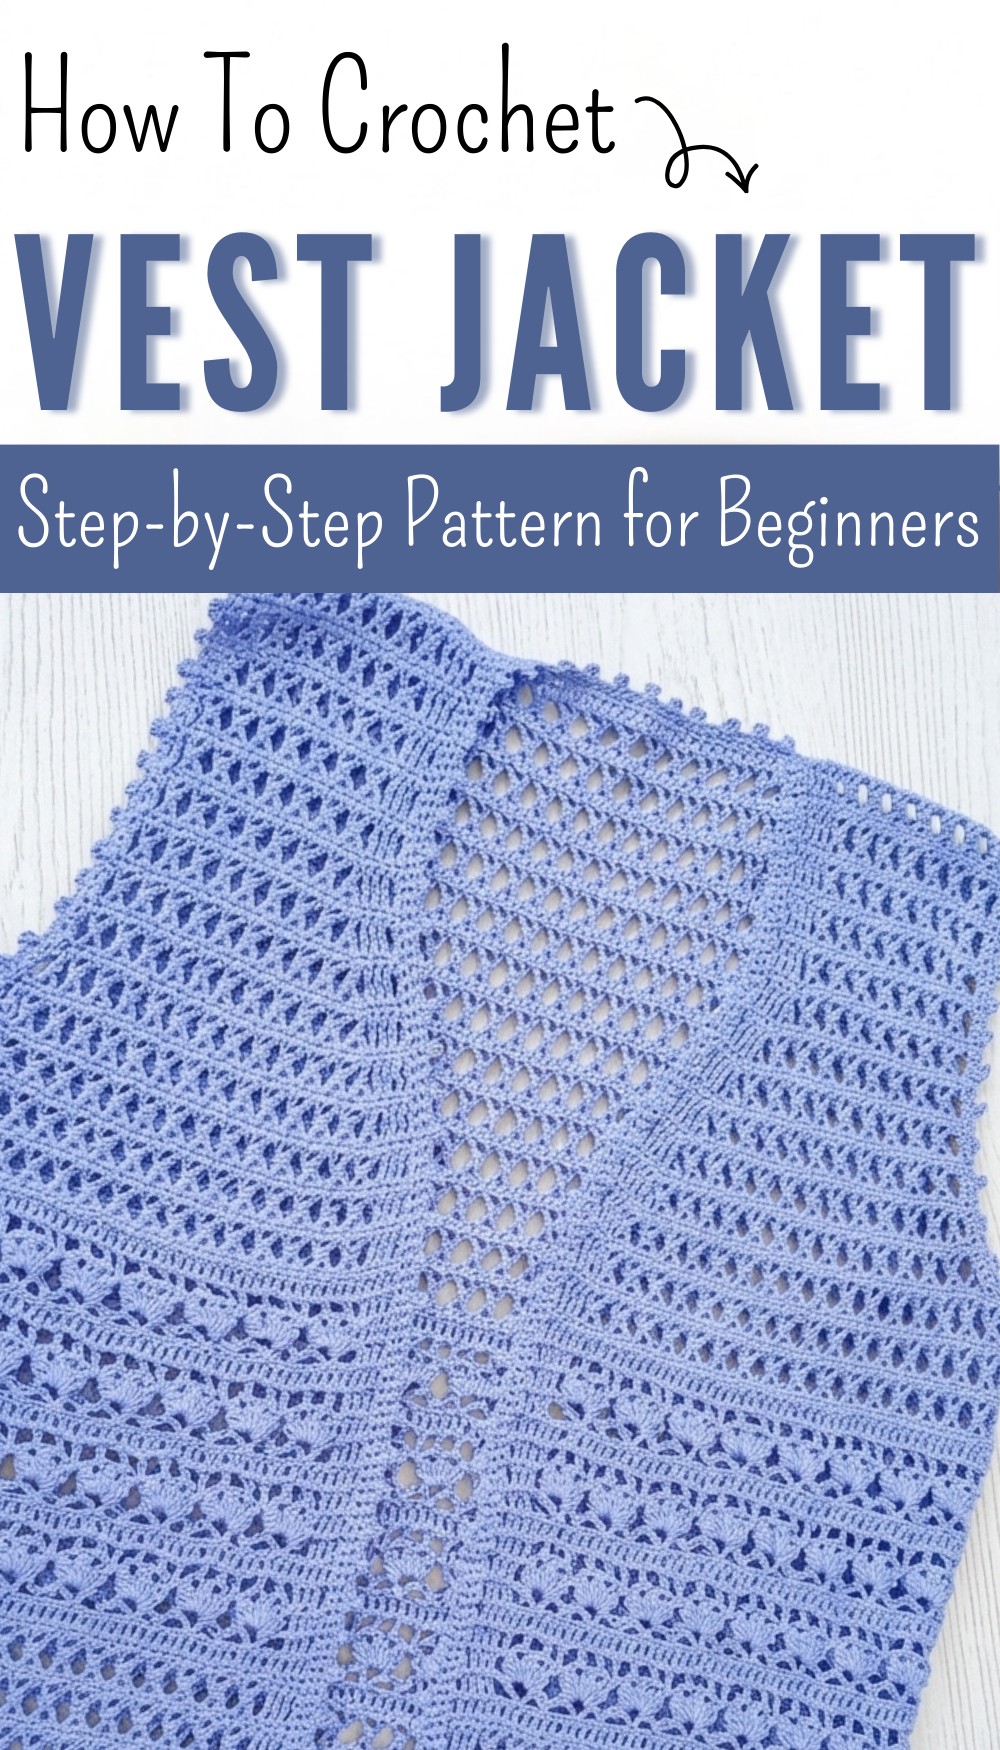
Easy Floral & Cross Stitch Crochet Jacket Pattern
Hello friends, welcome! This is my newest project—a very beautiful and easy pattern for a crochet jacket. The jacket combines two lovely stitch patterns: crosses and a floral motif, giving it a stylish and elegant look. I made the sample in a large size, and in the following steps, I’ll guide you through the process with precise measurements and finishing details.
Notes
- Pattern is based on measurement, not stitch count: Make your starting chain the desired bust width.
- Foundation chain: Multiple of 3 + 8 for the cross section alignment.
- Make sure to use the same number of motif repeats on each side to keep the pattern symmetrical.
- The jacket is worked in rows; armhole shaping and neck shaping are formed by skipping motifs and/or decreasing at markers.
- Sample is made in 100% mercerized cotton using a 3 mm hook, giving a soft drape and clear stitch definition.
Skill Level
Advanced Beginner/Intermediate: Pattern uses basic stitches, triple crochet, V-stitches, and picots, as well as some assembly.
Materials
- 100% mercerized cotton yarn (approximately 600–800g, depending on size and length)
- 3 mm crochet hook
- Yarn needle for seaming and weaving ends
- Stitch markers or contrasting yarn
- Measuring tape
- Scissors
Measurements / Sizing
- Large (sample): 40″ bust (measured as a flat rectangle, folded over shoulders), 21″ length
- Custom: Measure bust size (e.g., 36″, 38″, 42″) and crochet a starting chain to match.
- Finished armholes: Markers set at 7–7.5″ down from the shoulder edge.
- Back neck width: about 5–7″ depending on size and preference.
- Sample: 15 crosses per front/back, 8″ armhole depth, 7.5″ from armhole to neck opening.
Gauge & Stitch Pattern
- Gauge: Not strictly necessary—work to your measurements.
- Stitch pattern multiple: Crosses: multiple of 3 + 8.
- Pattern stitch overview:
- Cross Row: Four triple crochet edge, repeat X-motif (explained), four triple crochet.
- Floral/V Row: Four double crochets at each edge, V-stitch (dc, ch 3, dc), single crochet, and chain spaces.
- Alternate single crochet rows and plain double crochet rows as directed.
Stitch Abbreviations
- ch = chain
- sc = single crochet
- dc = double crochet
- tr = triple (treble) crochet
- hdc = half double crochet
- sl st = slip stitch
- st(s) = stitch(es)
- rep = repeat
Special Stitches
1. Cross Stitch Motif (X motif):
- Yarn over twice (tr), insert into next st, pull through two loops twice, then hold. Yarn over twice, skip one, insert in next st, pull up loop and pull through two loops three times. Chain one, insert through the central two strands, pull through and complete a dc = a cross (X).
2. V-Stitch:
- (dc, ch 3, dc) in same st (makes V with a space in center).
3. 3-hdc Cluster (petal):
- Work 3 hdc in next sp, pull together and secure with ch 1.
4. Picot:
- Ch 3, sl st to first ch (or first sc of group).
The Crochet Pattern
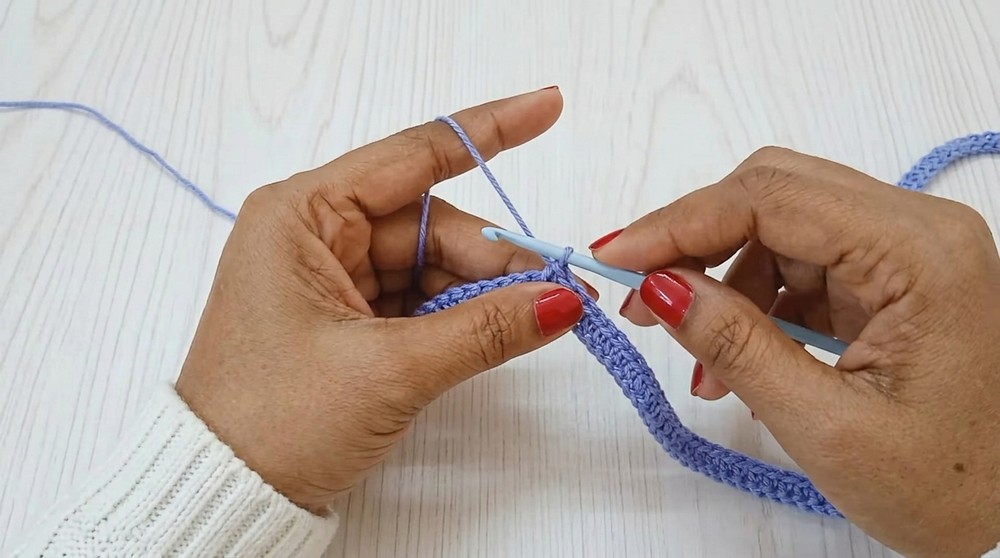
Step 1: Foundation Chain and First Row
- Bust Measurement:
Use your bust measurement (sample: 40″). Make a foundation chain to that measurement. Do not count individual chains; simply chain to the length. - Check Length:
Fold the chain in quarters to verify desired bust (e.g., 10″ x 4 = 40″). - Ensure Stitch Multiple:
At the end, check you have a stitch count that is a multiple of 3, plus 8. - Row 1 – Single Crochet:
Skip first chain, sc in 2nd ch from hook and in each ch across.
Step 2: Cross Motif Rows
- Row 2 – Cross (X motif):
- Ch 4 (counts as first tr); tr in next 3 sts (total 4 tr at edge).
- Work a series of X motifs:
a. Yarn over twice, insert in next st, pull through two loops (leave on hook).
Yarn over twice, skip one st, insert in next st, pull through, pull through two three times.
Chain 1, insert through two center strands, pull through, complete a dc. - Repeat X motif across.
- Finish with 4 tr at end.
- Row 3 – Single Crochet:
- Ch 1, turn. Sc in each st across (work into both tr and crosses as established.)
- Rows 4–7:
- Repeat Rows 2 and 3 to alternate Cross row and Single Crochet row.
- Work 5 rows total, ending with a sc row.
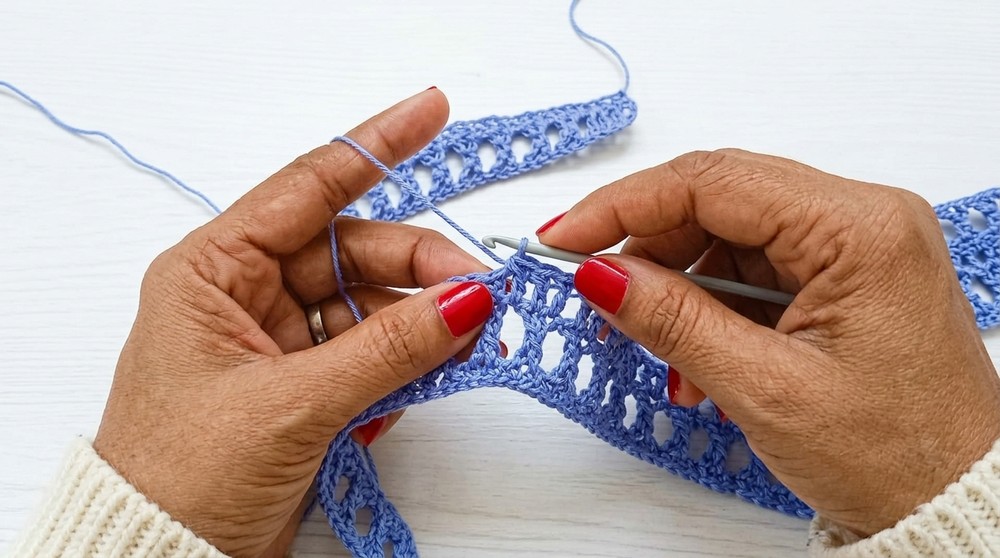
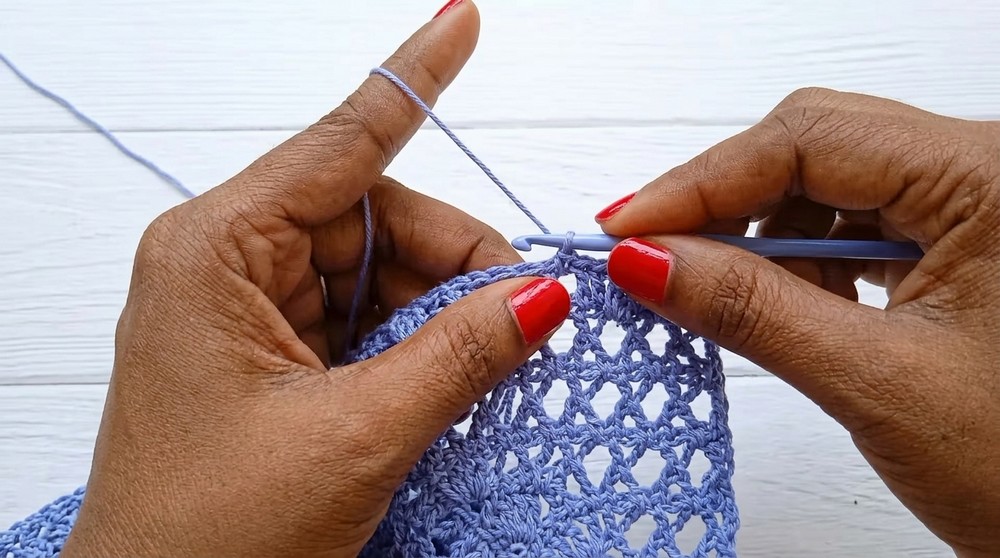
Step 3: Double Crochet & Floral Pattern Stripes
- Row 8 – Double Crochet:
- Ch 3, turn. Dc in first 4 sts, dc in each st across.
- Row 9 (V Stitch/Flower Base):
- Ch 3, turn. Dc in first 4.
- Ch 2, skip 2, sc in next, ch 2, skip 2, (dc, ch 3, dc) in next (V-St), rep [ch 2, skip 2, sc in next, ch 2, skip 2, (dc, ch 3, dc) in next] to end, dc in last 4 sts.
- Row 10 (Floral Row):
- Ch 3, turn. Dc in first 4.
- In each V-stitch space, work (3 hdc in V-st center, pull together for petal, ch 1), repeat 3X per V.
- Chain 1, continue to next V-stitch, repeat to end.
- Finish with dc in last 4 sts.
- Row 11 (Filling spaces):
- Ch 3, turn. Dc in first 4, then [ch 1, dc in next space] across; finish with dc in 4 edge sts.
- Row 12 – All Dc:
- Ch 3, turn. Dc in first 4, dc in each st and ch-1 sp across, dc in last 4 sts.
Step 4: Pattern Repeat
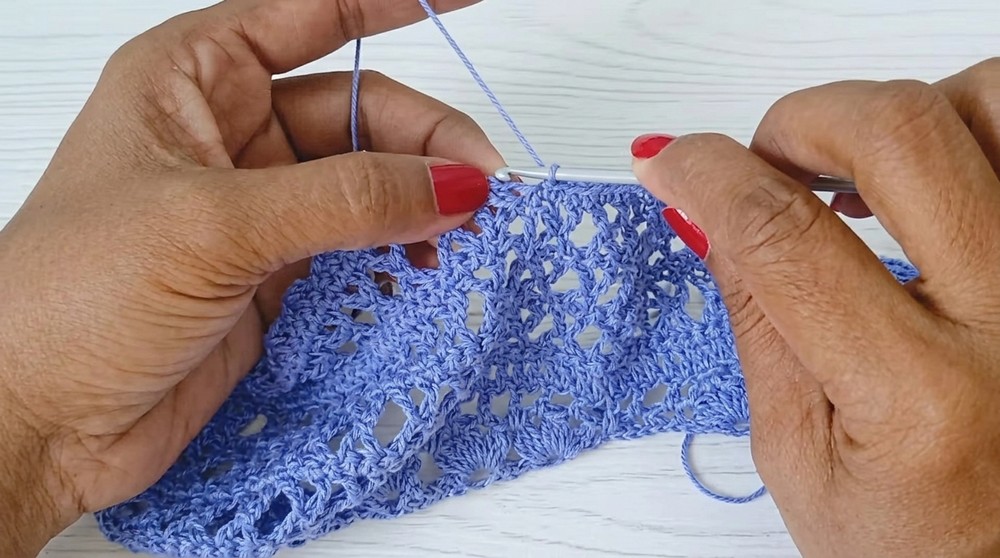
- Repeat the two-pattern stripe sets:
- 5 rows Cross/cross row and single crochet row
- 1 row all dc
- 1 row V-st pattern (row 9)
- 1 row floral/petals (row 10)
- 1 row dc in spaces (row 11)
- 1 row all dc (row 12)
- Continue alternating sections for a total of approx. 12.5″ (or as preferred).
- Finish with 4–5 Cross motif rows at top.
Step 5: Armhole and Neckline Shaping
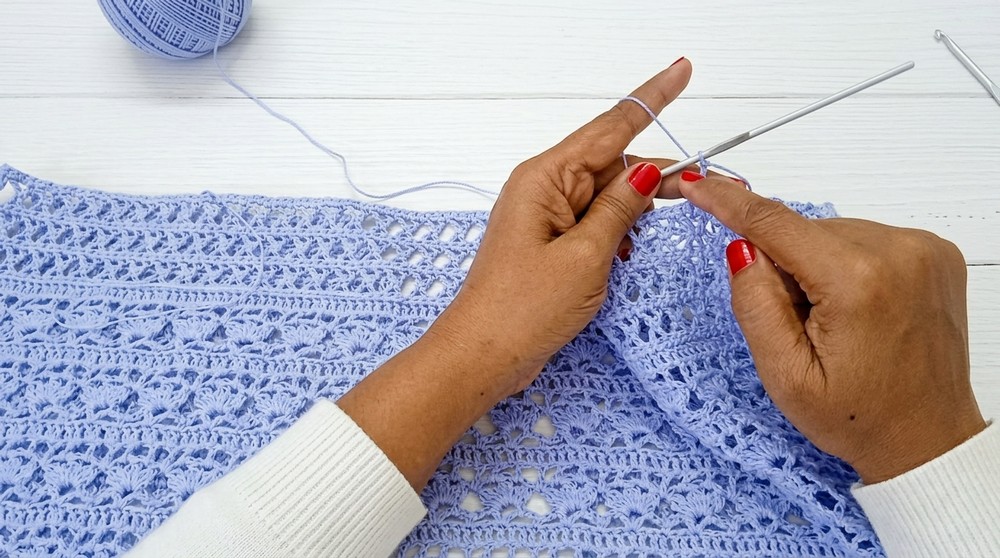
Mark 15 Crosses from each side edge for armholes, leaving all central stitches for the back and shoulders.
- Back:
- Count and mark 15 crosses from each edge. At marks, shape armhole by replacing first/last X with Y motif (only one arm of X).
- Work even in pattern for 8″ armhole depth.
- Fronts:
- Work left and right sides separately, reducing number of X motifs by turning 1 X into 1 Y each row (or as per marks) for neckline tapering.
- Taper front neckline shaping over 5–6 rows until only 5 cross motifs remain (neck opened).
- Work both fronts the same.
Assembly & Finished Size
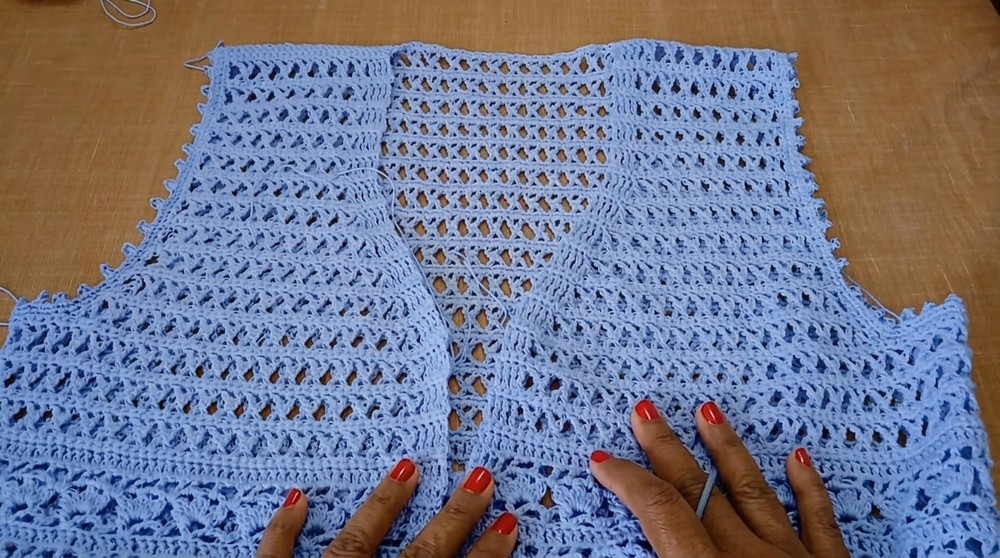
- Join Shoulders:
- Fold jacket at shoulders, right sides together.
- With yarn needle, whipstitch or slip stitch through outside loops along shoulder (4 sts wide), using the four edge stitches for a smooth seam.
- Edging:
- Work 1 round sc around both armholes. Join with sl st.
- Work a second round, sc in next 3, picot (ch 3, sl st to 1st), repeat around.
- Work 2–3 rounds sc around hem and neckline, final round with picot as above.
- (For best symmetry, always place the same number of picots on each side.)
- Finishing:
- Weave in all ends.
- Steam lightly to block and shape.
Conclusion and Ending Words
Your floral cross stitch crochet jacket is now complete! This beautiful design combines intricate motifs for a soft, draping, and lacy look, perfect for layering. With simple shaping and an easy construction, it’s ideal for advanced beginners wanting a satisfying garment project. Enjoy your elegant new jacket—try it in different colors or with other fibers for a unique piece.