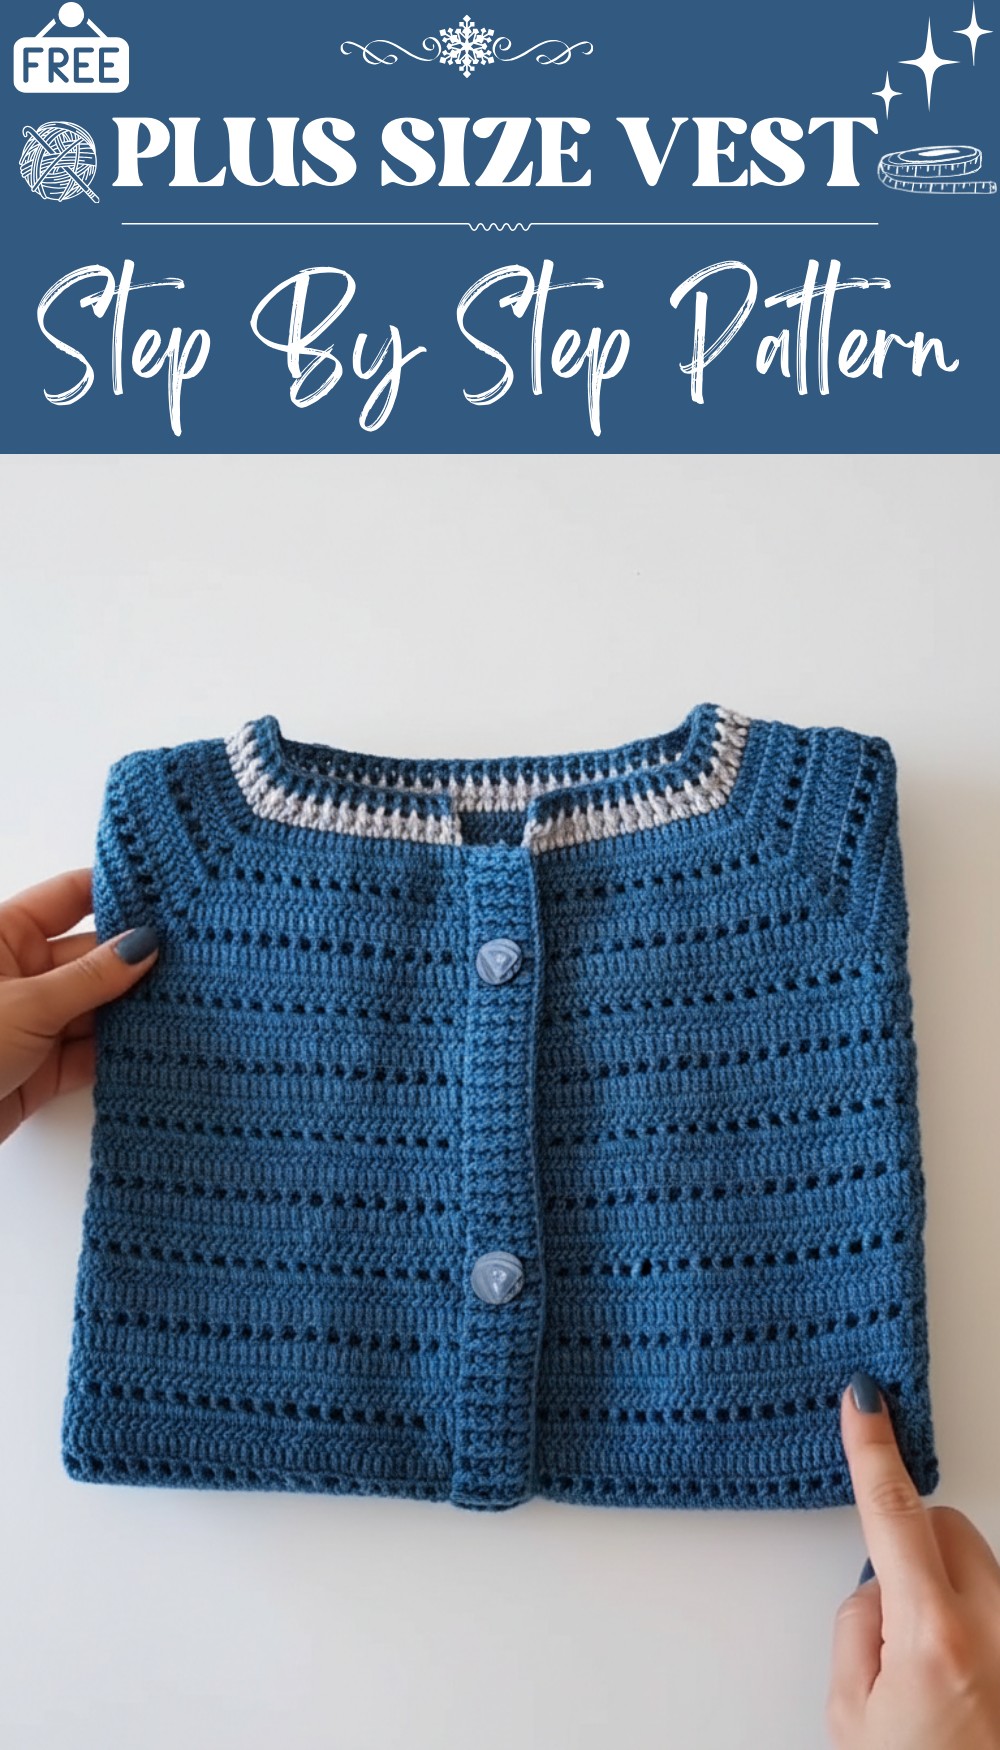
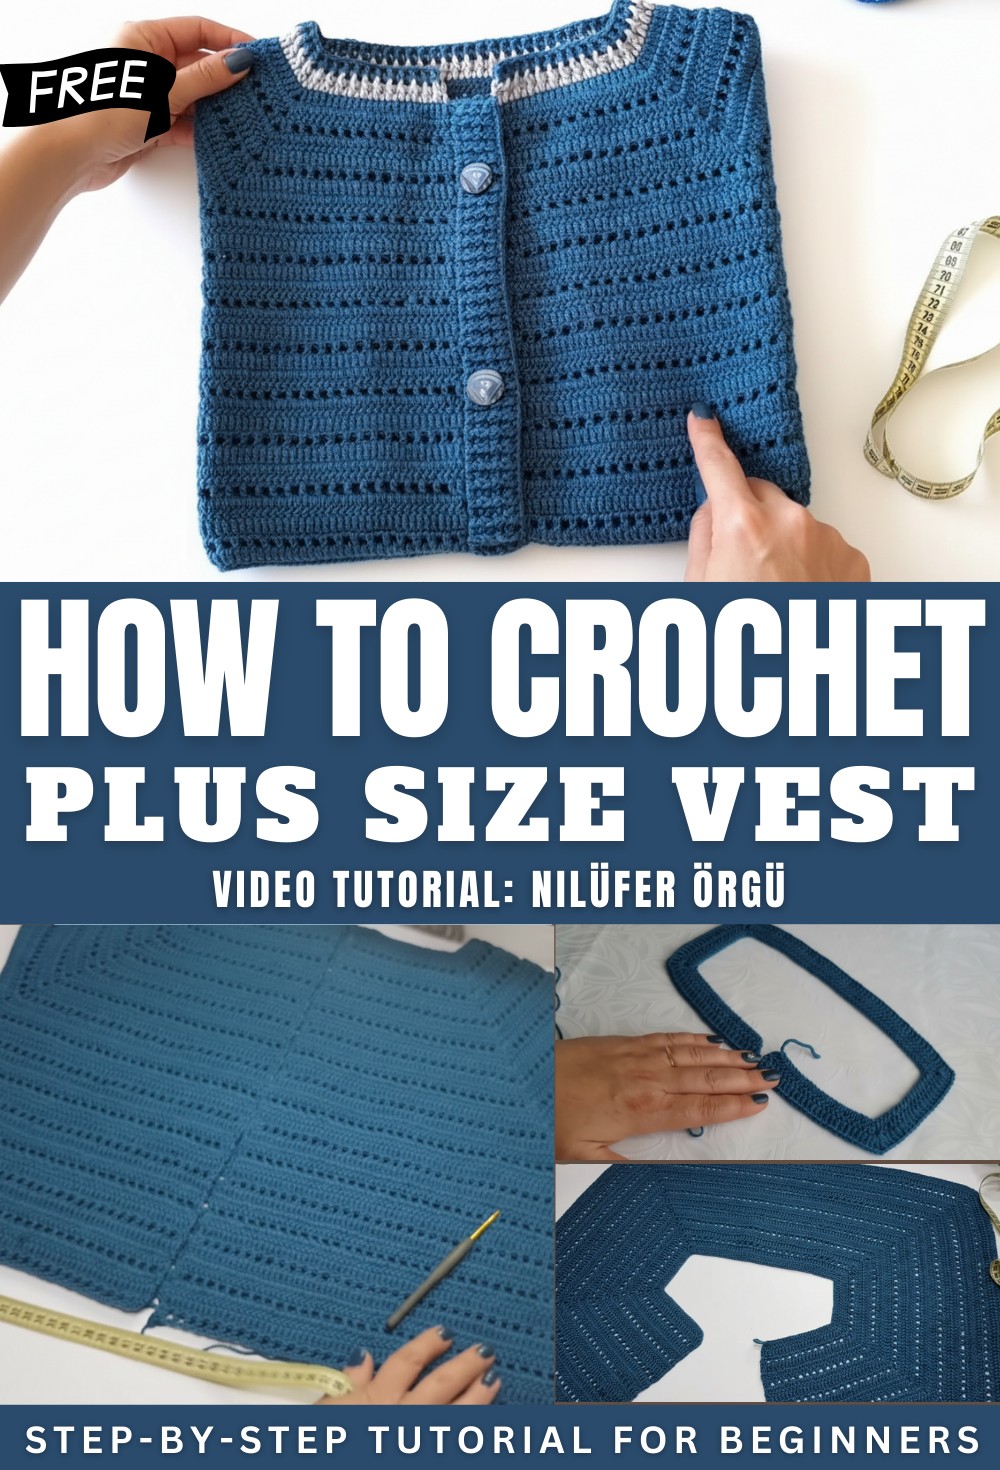
Free Crochet VEST Pattern with Step-by-Step Guidance
Effortlessly layer every outfit with this free crochet vest pattern, featuring a comfortable fit and stylish design everyone can enjoy.
Warmth and style can blend together so wonderfully with just a few loops of yarn. A crochet VEST pattern brings out a special beauty that suits every season whether the sun is out or a cool breeze whispers by. Soft textures dance on the surface to catch the light and the playful designs add a cheerful touch to any outfit. The crochet VEST pattern works like magic allowing you to layer over shirts and tops to stay cozy when the weather gets chilly or just to add flair on a sunny day.
Free Crochet VEST Pattern: Easy Styles for Every Wardrobe
Many colorful choices let each piece feel personal and unique. This simple look is perfect for casual days at home or celebrations with friends. People often admire how the shapes and holes make a fun pattern and each piece feels light and comfy for all-day wear. Little details like pretty edges or simple buttons make every vest charming. Such patterns are easy to follow making them a fantastic place for anyone new to crochet to begin.
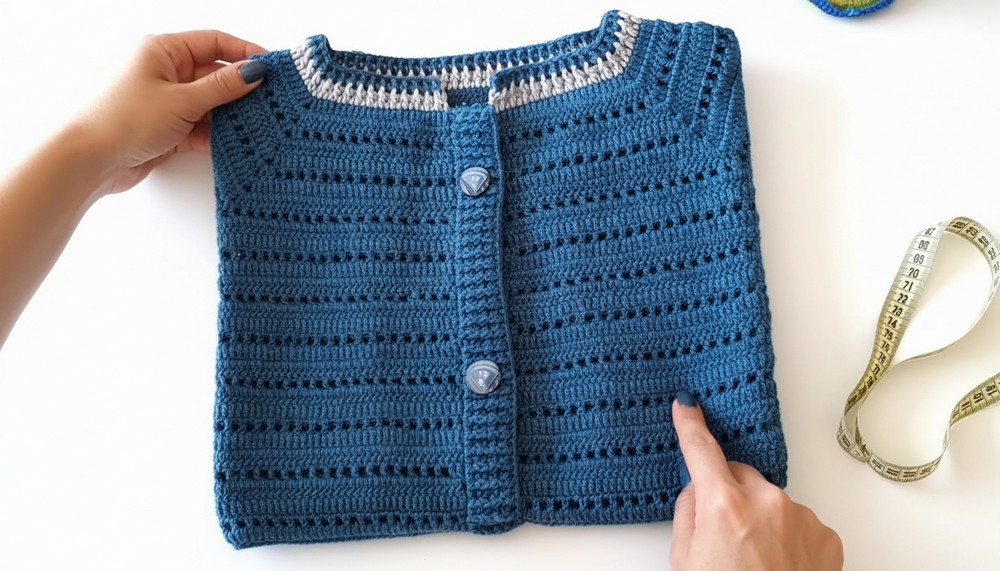
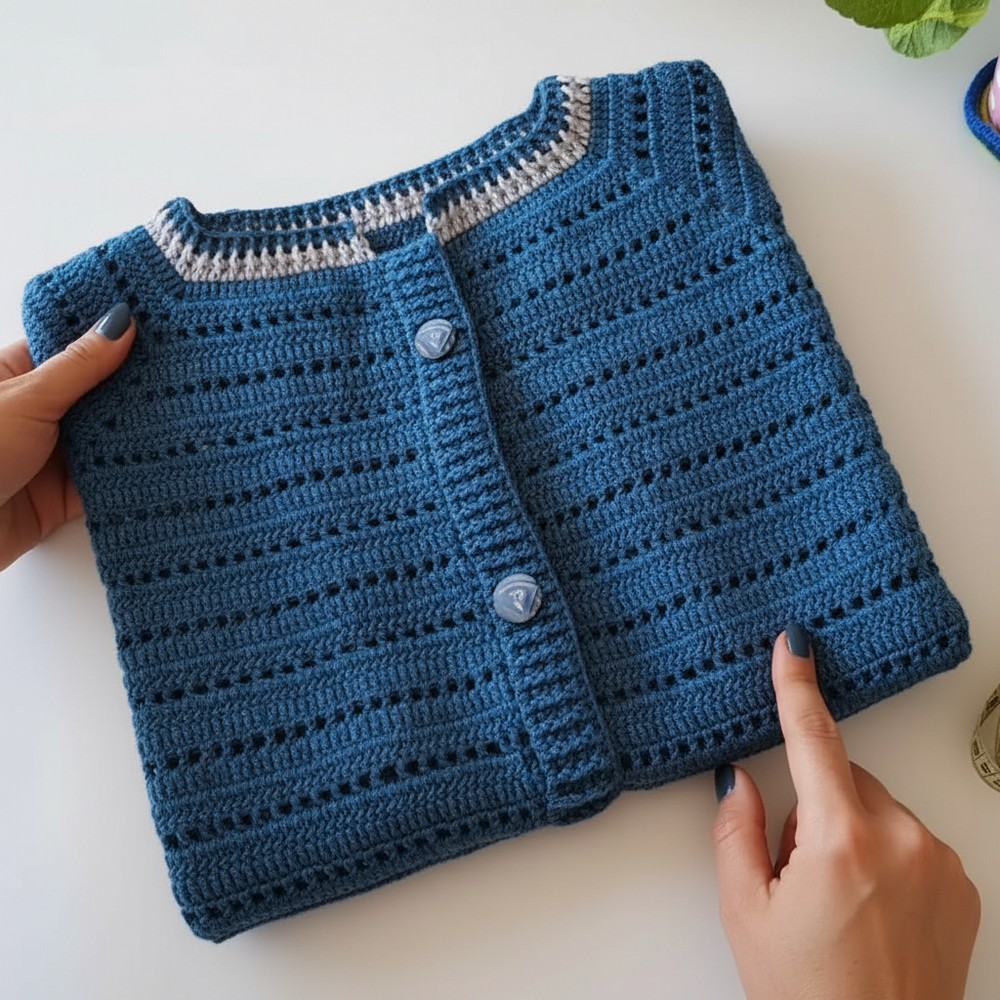
Plus-Size Crochet Cardigan Pattern
Materials
- Yarn: DK or light worsted acrylic (sample uses Kartopu Baby One or similar baby/soft acrylic); 6 balls (approx. 100g/250–300m each)
- Hook: US Size C/2–E/4 (2.5mm–3.5mm), choose to match your gauge and desired drape
- Notions: Scissors, yarn/tapestry needle
- Optional: Buttons (number and size of your choice), stitch markers, additional yarn for ribbing/edging if color blocking or contrast desired
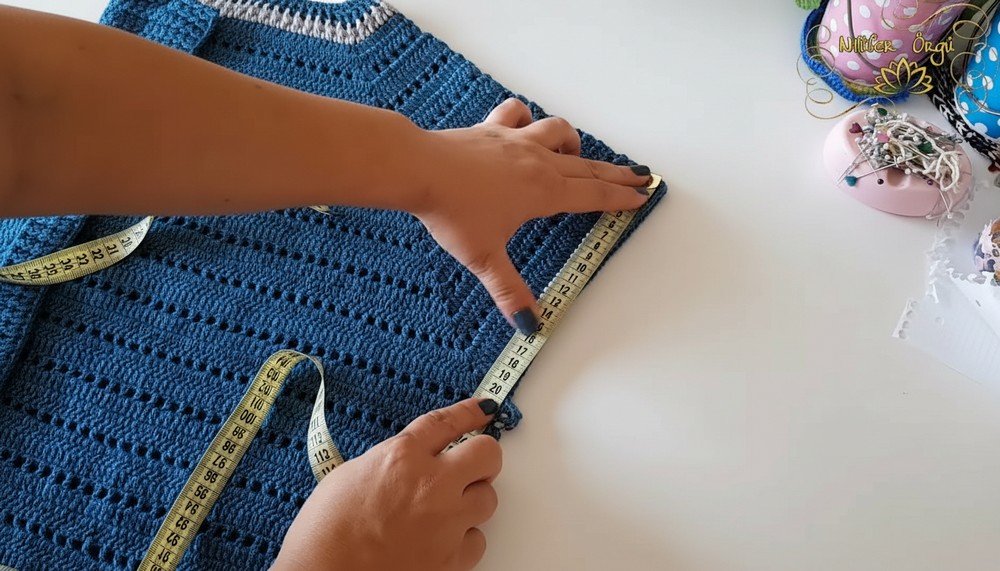
- Measuring tape: For verifying dimensions
Key Abbreviations (US Terms)
- ch: chain
- dc: double crochet
- sl st: slip stitch
- fpdc: front post double crochet
- bpdc: back post double crochet
- st(s): stitch(es)
- rep: repeat
- dc2tog: double crochet two together (decrease)
Special Notes
- Sizing: Pattern written for 48–50″ bust, easily adaptable (see notes for measuring and chaining).
- Shape: Cardigan is worked TOP DOWN, raglan style, in one piece. The yoke (shoulder-to-underarm) is created with increments at four points: two fronts, two sleeves, one back.
- Raglan Increases: All increase points are (dc, ch 2, dc) in the same space, unless doubled (dc, dc, ch 2, dc, dc) as noted.
- Rib Border: Worked in front and back post dc for classic ribbing finish.
- Closure: Button band/rib can include buttonholes or be worked solid for a zipper or open front.
- Stripe, hem, or collar is worked in a contrasting color if desired (according to yarn amount).
Pattern
1. FOUNDATION ROW
- Ch 129.
- This is for a 48–50″ size. Adjust chain count based on your measurement and swatch (see correction note below).
2. YOKE & RAGLAN SETUP (Top to Underarm)
- Row 1:
- Starting in 4th ch from hook, dc in each of next 21 ch (22 dc).
- (First front panel)
- In next ch: (dc, ch 2, dc). (First raglan increase—marker A: front/sleeve divide)
- Dc in next 15 ch. (First sleeve)
- In next ch: (dc, ch 2, dc). (Second raglan increase—marker B: sleeve/back divide)
- Dc in next 49 ch. (Back body)
- In next ch: (dc, ch 2, dc). (Third raglan increase—marker C: back/sleeve divide)
- Dc in next 15 ch. (Second sleeve)
- In next ch: (dc, ch 2, dc). (Fourth raglan increase—marker D: sleeve/front divide)
- Dc in each ch to end (22 dc), plus 1 final dc in last ch for edge = 23 dc at each front.
Counts after Row 1: 22 dc/15 dc/49 dc/15 dc/22 dc + 1 edge dc front
- Row 2 (Raglan Increase Row):
- Ch 3 (counts as dc), *dc in each dc to ch-2 sp, in each ch-2 sp work (dc, ch 2, dc), repeat from * around yoke.
- At each raglan point, work increase as above.
- At end: dc in last dc, turn.
- Row 3 (Raglan Double Increase Row):
- ch 3, dc across to ch-2 sp, in each ch-2 sp: (2 dc, ch 2, 2 dc)—this is a double increase row.
- Continue evenly across, repeating for all four raglan points.
- Continue Alternating Rows:
- Even rows (2, 4…): Regular single increases at raglan points (dc, ch 2, dc).
- Odd rows (3, 5…): Double increases (2 dc, ch 2, 2 dc) at raglan points.
- Each section (fronts, sleeves, back) will grow. Continue in this manner, following your measurement/gauge.
- Helpful Stitch Counts:
- Add 2 sts per section (single increase), or 4 per section (double).
- ATTENTION: For larger biceps/bust, add more rows; for petite bust, fewer.
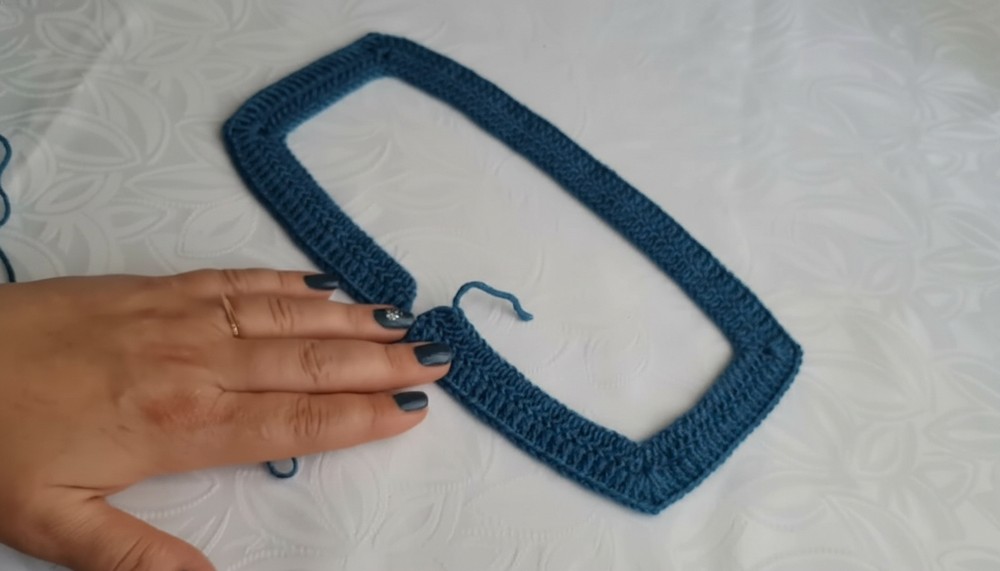
3. BODICE & JOINING UNDERARMS
- After 9–10 yoke rows (approx. 27 cm/10.5 in in yoke depth; check fit by draping), you should have (sample):
- Fronts: 29 dc
- Sleeves: 27 dc
- Back: 61 dc
- For underarm, skip the sleeve stitches and chain 10 under each arm, stretching across raglan gap. Join to next body section with dc; repeat for both arms.
- Continue working even in the body, maintaining the established openwork/mesh or dc pattern.
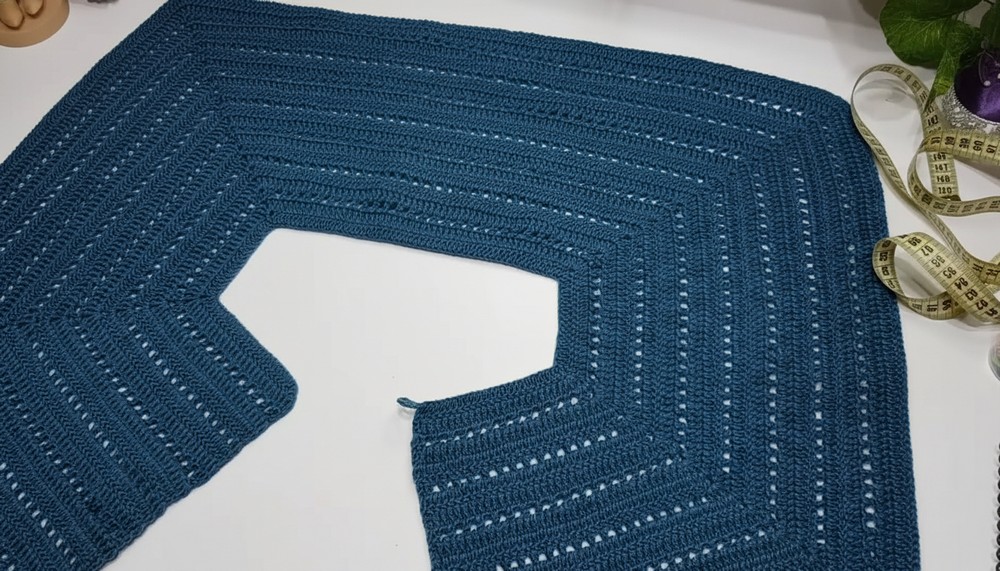
4. BODY
- Work even in pattern (dc or “cage” pattern as below) to waist length (approx. 49 cm shoulder to lower edge).
- For a mesh/cage effect:
- Row a (mesh): Ch 3, dc in next st, ch 2, skip 1, dc in next st across.
- Row b (mesh): Ch 3, dc in next dc, ch 2, dc in next dc repeat.
- Try on as you go to check length/fit.
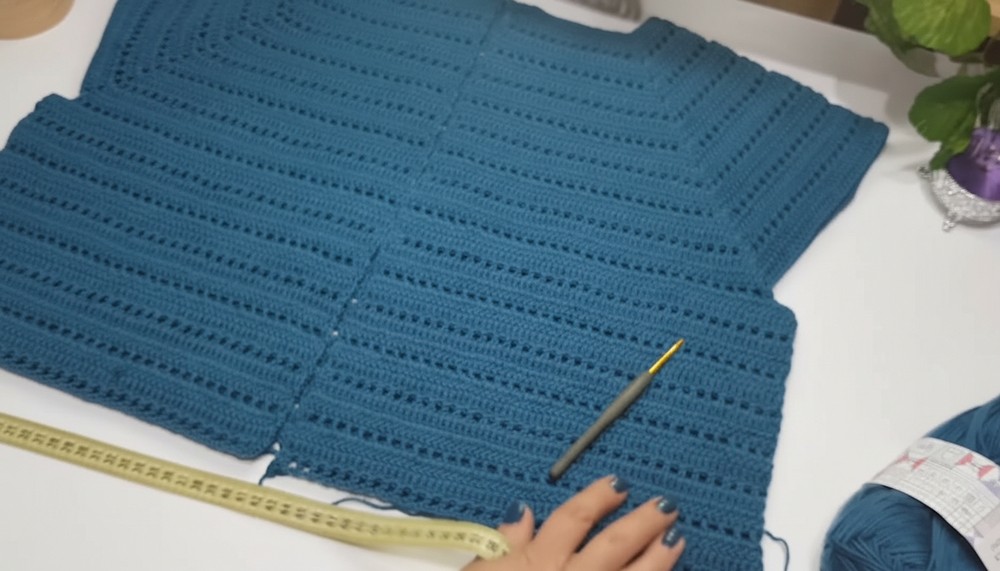
Hip Increases:
- As you near the hips, (last 6–8 rows), add extra dc at the side seams for additional width.
- Make two dc in 6 side stitches on each side every 2nd row as described.
5. HEM AND EDGINGS
- Hem Ribbing:
- After final body row, switch to contrast color (optional), work 1 foundation dc row, then 5 rows rib as follows:
- Row 1: fpdc, bpdc across row (alternately: dc in each st).
- Row 2–5: fpdc in fpdc, bpdc in bpdc—creates classic ribbing.
- After final body row, switch to contrast color (optional), work 1 foundation dc row, then 5 rows rib as follows:
- Front Bands:
- Pick up stitches along each front edge and repeat ribbing as above for 5 rows.
- For buttonholes: on the appropriate band, ch 4, skip 3 dc in the band as needed for desired spacing; on last row, sc in each ch-4 loop to reinforce.
- Neckline:
- Pick up sts around neckline, work 3 rows ribbing (fpdc/bpdc).
- Sleeve Edging:
- (Optional) Pick up around sleeve opening, work 2–4 rows ribbing.
6. FINISHING
- Sew on buttons to band as desired; position to match up with buttonholes.
- Weave in all ends.
- Block lightly for best fit and appearance.
Conclusion
This plus-size top-down cardigan is roomy, drapes well, and can be customized for any size with careful measuring and increasing. Its raglan construction means little seaming. The classic ribbed band gives a professional finish.
Pattern Corrections
- Foundation chain: Always check your gauge with the yarn/hook, and adjust the start chain for your measurements.
- Bodice length: Try on your cardigan as you go, adding more or fewer rows as required.
- Increase placement: Take care at raglan/side increases—use markers for clarity.
- Edging: If you run out of main color, use contrast for ribbing as the presenter did.
Tips
- If using up yarn, plan color transitions for ribbing/borders.
- Add more underarm chains if you need more sleeve room.
- For more swing, increase stitch count more for the hips.
- Wash/block finished garment gently to size and soften the fibers.