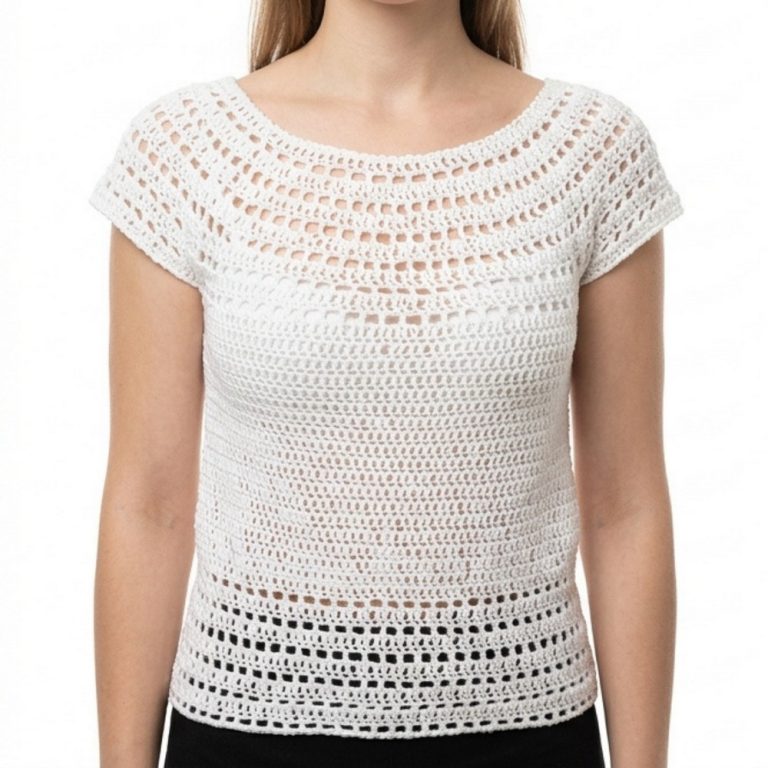
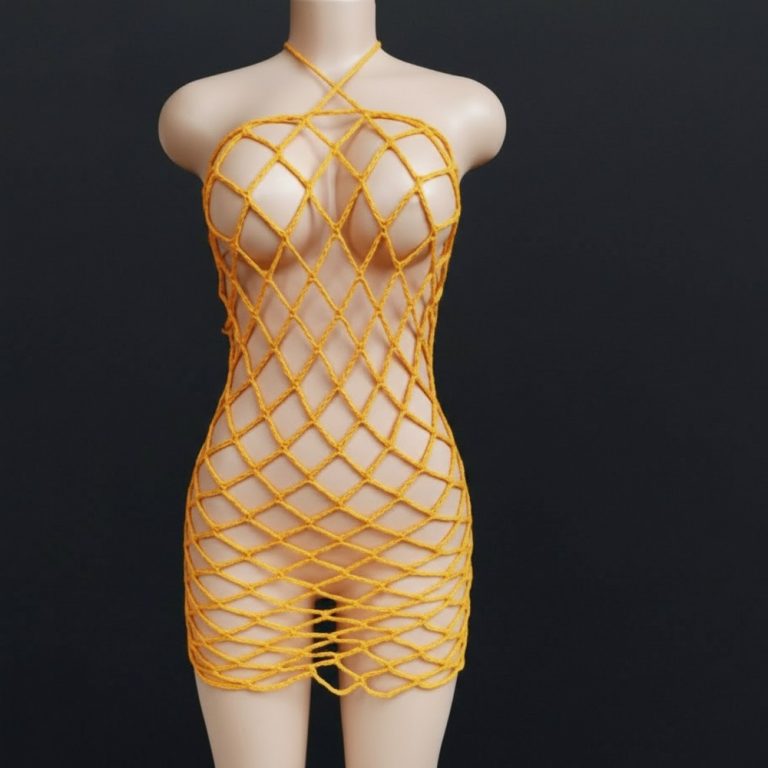
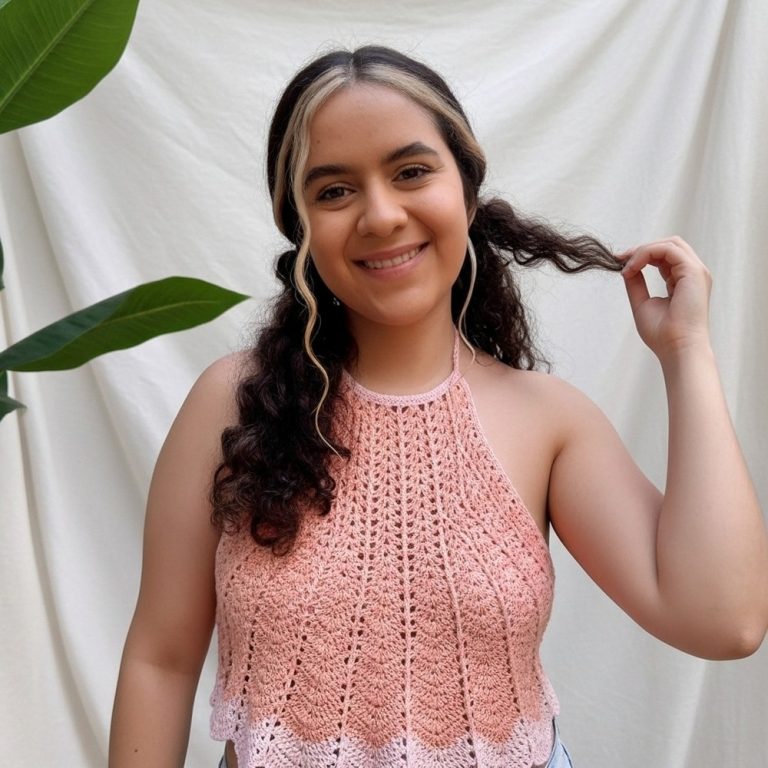
Casual Free Crochet Top Pattern for Laid-Back Outfits
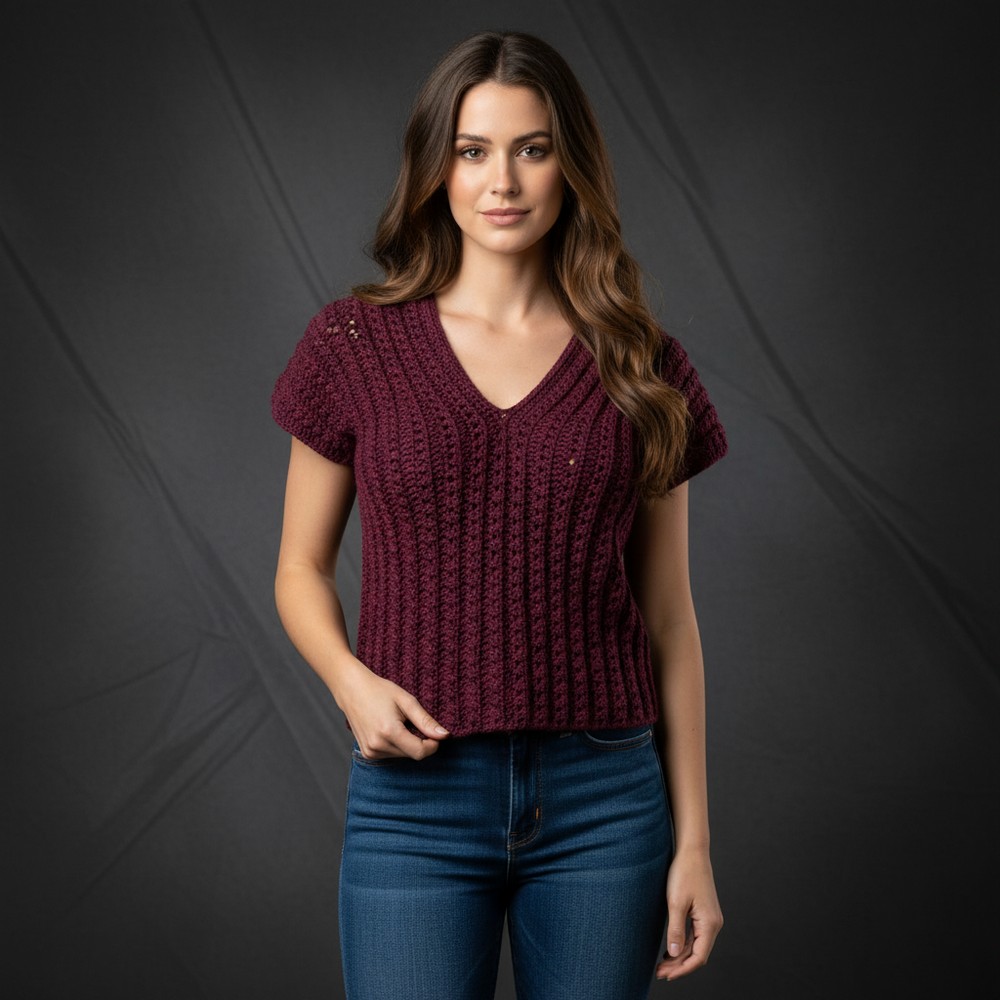
Change your look with free crochet top pattern featuring simple instructions and charming details that fit perfectly into your daily style.
Picking up a piece of clothing that looks soft and delicate yet stays strong for everyday use without much effort. Each crochet top pattern gives endless ways to add beauty to your style using pretty threads and fun designs. People like wearing these tops because they look beautiful and feel light which means no heavy or itchy fabric. You can put it on for parties, market visits, or casual days at home—it fits every mood. Also wear it with skirt, jeans and shorts.
Cute Free Crochet Top Pattern with Step-by-Step Guide
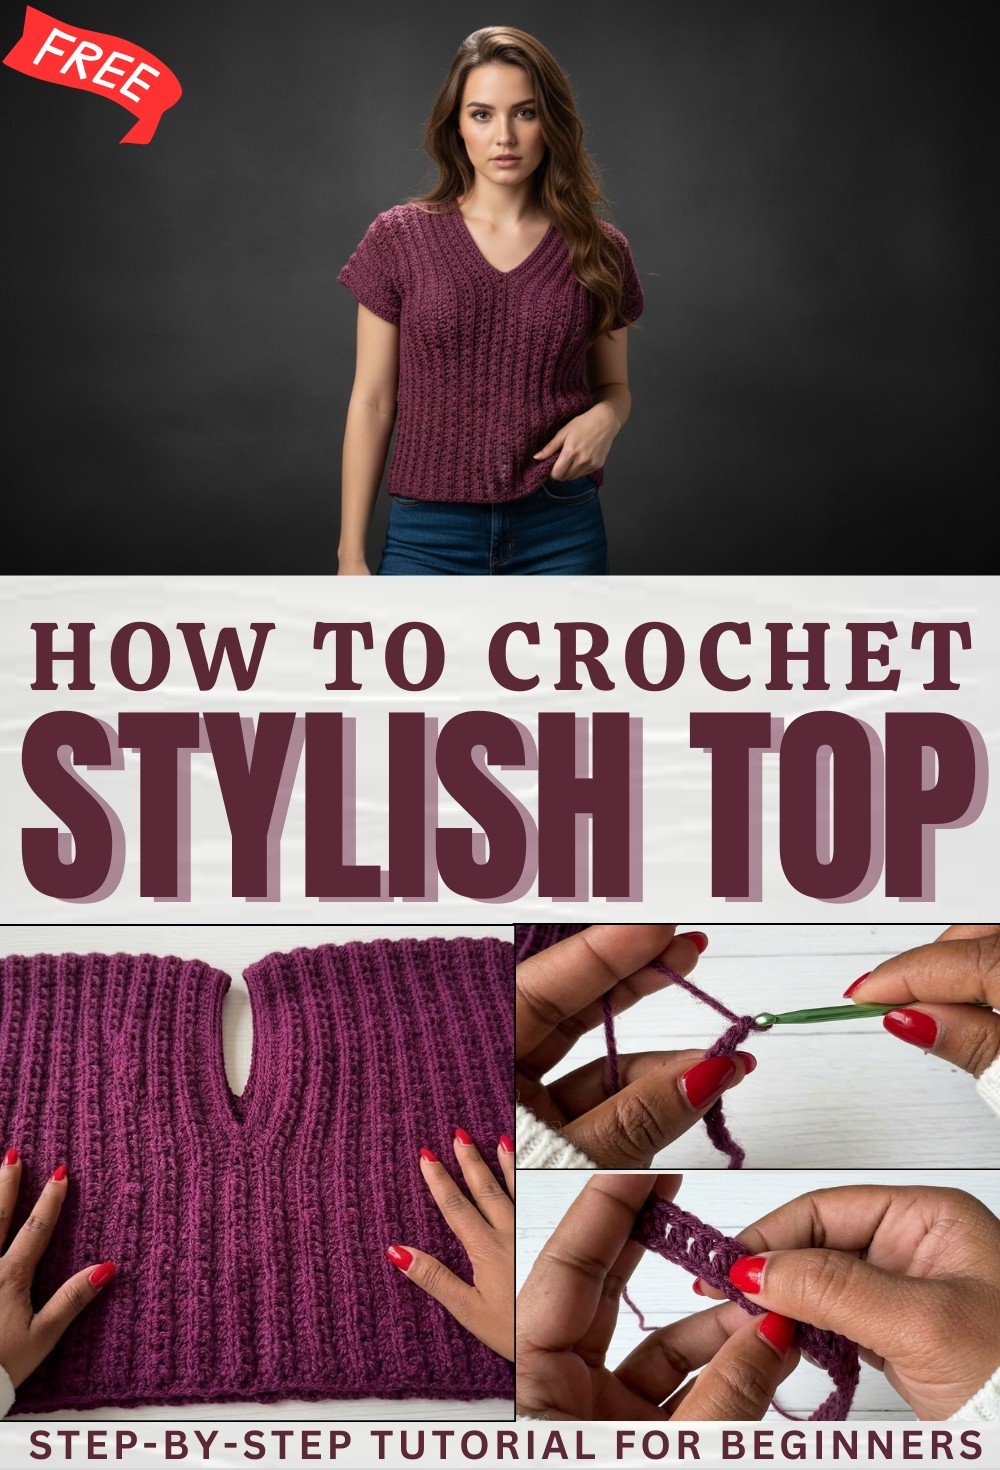
The bright colors and openwork details make each piece look special and fresh every time. What makes a crochet top pattern even better is that it is simple to try and does not need fancy tools or hard steps. Anyone can enjoy making and wearing this item, and it brings smiles when you see how a plain yarn turns into something you love to show off.
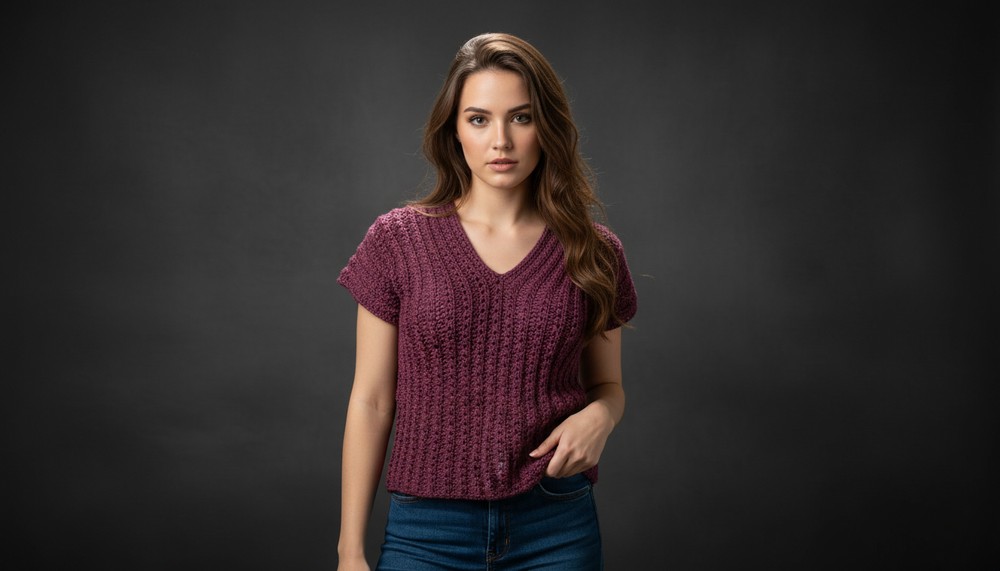
Quick Overview Of Pattern
- Worked side to side in long rows (not bottom-up or top-down).
- Uses only two different row types (simple 2-row repeat).
- Custom sizing: Small, Medium, and Large.
- Seamed at the shoulders and sides, with a basic neck opening.
- Finishing includes slip stitch or single crochet edging on neckline and sleeves.
pattern Notes
- The pattern is worked in multiples of 2 + 4 for the starting chain.
- You can make the top longer or shorter by adding or subtracting rows.
- The top is constructed in two panels (each side of the top), joined at shoulders and sides, then edged.
- All sizes and lengths are given in detail; use a measuring tape for the best fit.
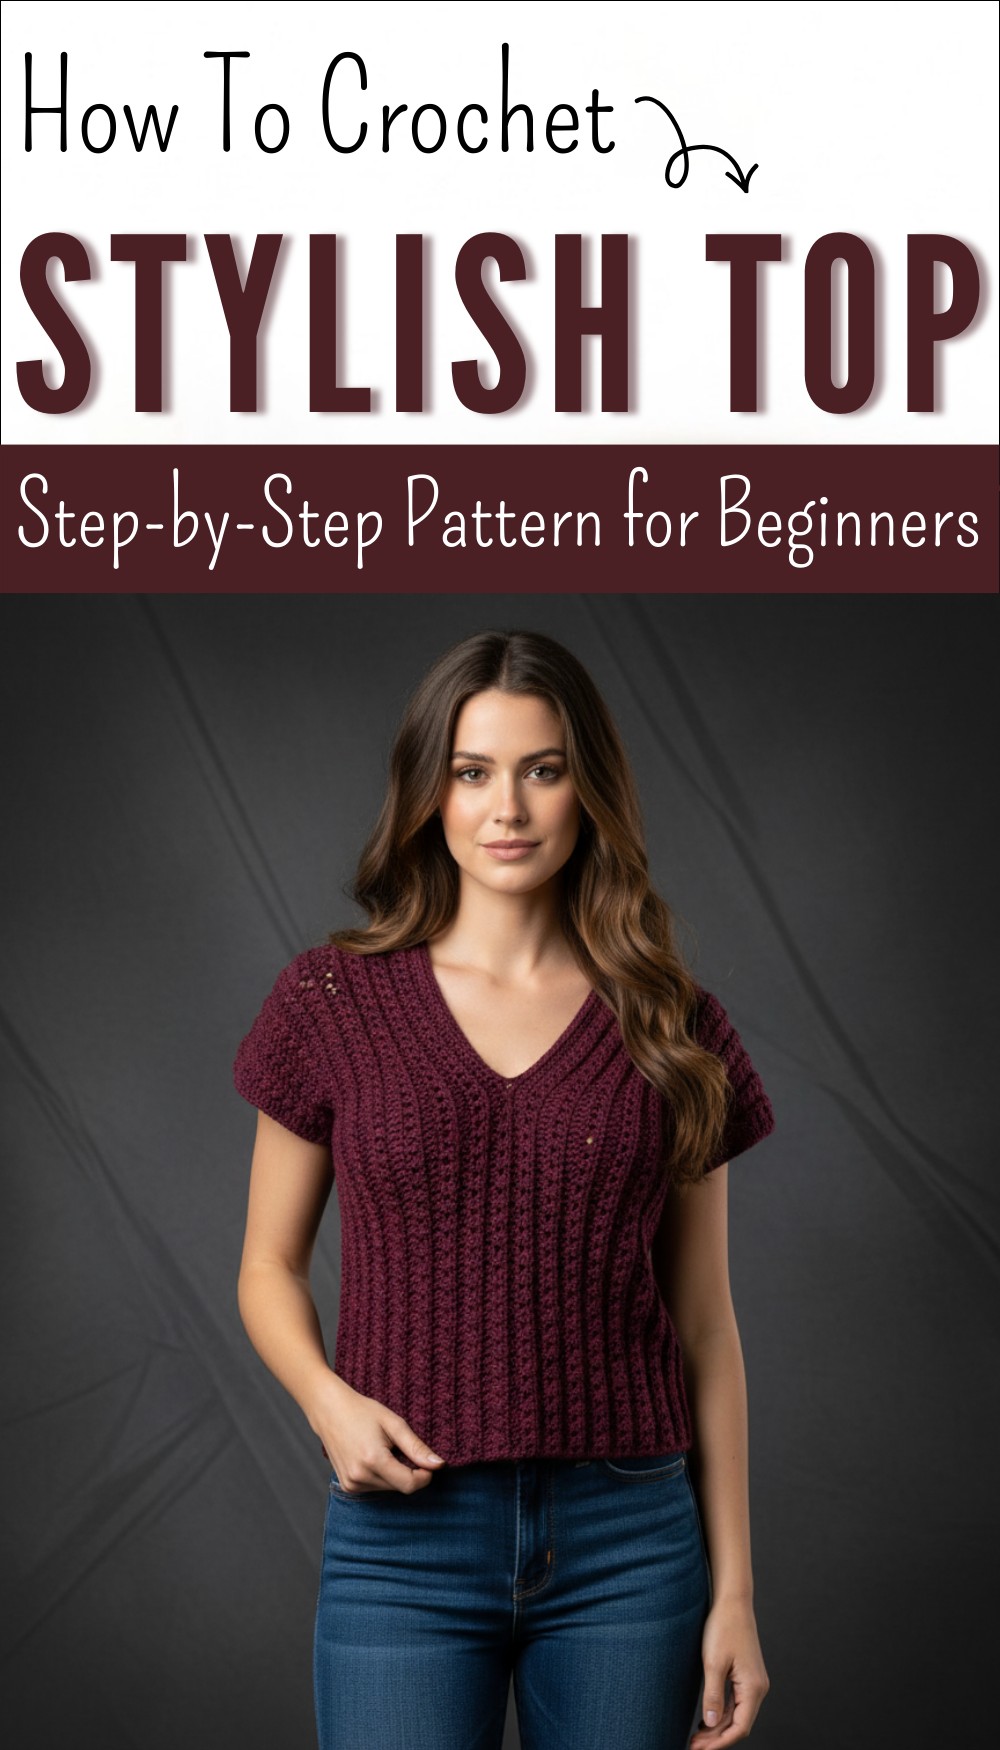
Easy Crochet Top Pattern
Today, I’m going to share with you how to make this really easy and beautiful crochet top with three different sizes. Even beginners can make this top! I will give you all the details step by step for creating a soft, comfortable crochet top that’s perfect for all occasions. The pattern uses only two rows to repeat and offers size adjustments for Small, Medium, and Large.
Skill Level
- Beginner: Only basic stitches required. Good for those just starting with garments.
Materials
- Double knitting (DK) yarn (approx. 2 balls for Medium size — about 200g total)
- 4 mm crochet hook (or size recommended by yarn)
- Yarn needle
- Scissors
- Stitch markers (optional)
- Measuring tape
Measurements / Sizing
- Medium: 142 chains (approx. 86 cm / 34” wide), 21 rows (approx. 25 cm / 10” tall)
- Small: 136 chains (80 cm / 31.5” wide), 17 rows
- Large: 148 chains (92 cm / 36” wide), 25 rows
- Neck opening: skip 33 stitches (approx. 20 cm / 8” each side)
- Sleeve opening: join at 43 cm, skip 23 cm for sleeve hole
Gauge (and Stitch Pattern)
- 10 cm = approximately 14 double crochets and 8 rows (approximate)
- Adjust your hook if needed to match measurements
Stitch Abbreviations
- ch: chain
- dc: double crochet
- hdc: half double crochet
- sl st: slip stitch
- st: stitch
Special Stitches
- Back Loop Only (BLO): Work the stitch into the back loop of the stitch only (for ribbed effect).
- Crossed V-stitch: hdc, skip 1 st, hdc (creates mesh effect on alternate rows).
- Slip Stitch Edge: Work sl st around neck/sleeve for nice finishing.
- Decrease Slip Stitch: Insert hook through 2 loops, pull through both, then through working loop (for reducing corners).
The Crochet Pattern!
Foundation Chain
- Make a slip knot.
- Chain a foundation chain a multiple of 2, plus 4:
- Small: 136 ch
- Medium: 142 ch
- Large: 148 ch
- Adjust chain length for your desired width.
- Check your length: Small: 80 cm / Med: 86 cm / Large: 92 cm
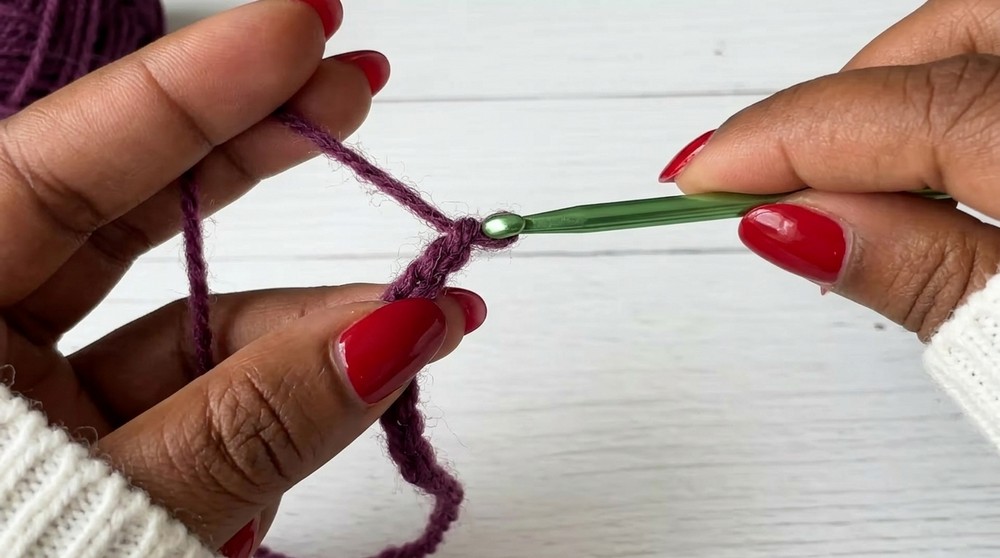
Row 1: Double Crochet Row
- Turn chain to back side.
- Skip first 3 chains (counts as 1st dc).
- Into the 4th ch, make 1 dc.
- Continue: Work 1 dc into each chain all the way to the end of row.
- You should have:
- Small: 134 dc
- Medium: 140 dc
- Large: 144 dc
(Count may vary, just make sure your piece matches size requirement.)
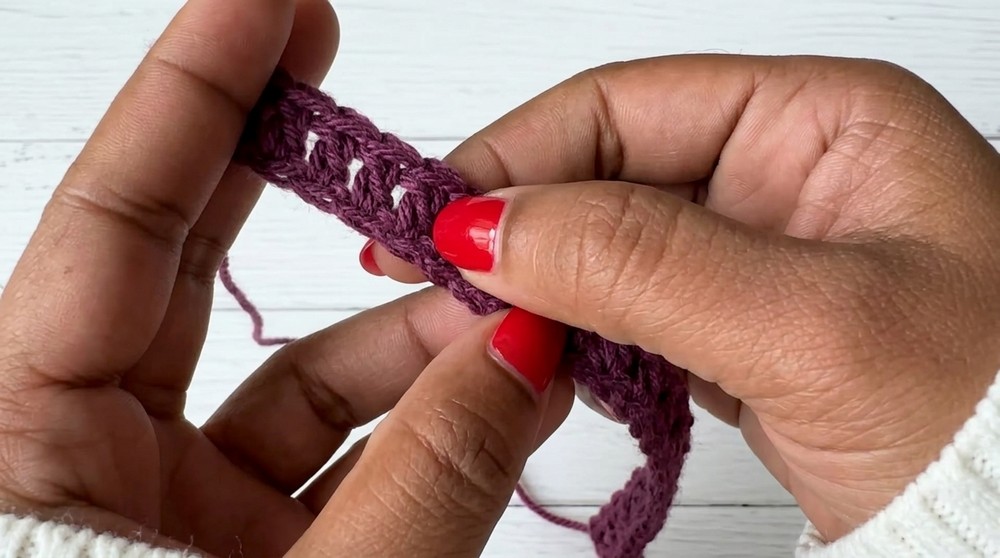
Row 2: Cross V-stitch (Mesh Row)
- Ch 2, turn (counts as hdc).
- Skip next dc, hdc into next st.
- Repeat: Skip 1 st, hdc into next st across row.
- At end: Last hdc should go into top of ch-3 turning chain from previous row.
- You should have 69 Cross V-stitches for medium (see video for your size).
Row 3: Back Loop Only Double Crochet
- Ch 3, turn (counts as dc).
- Dc in BLO of next st.
- Continue: Work 1 dc in BLO in each st across row.
- End with last dc in top of turning chain.
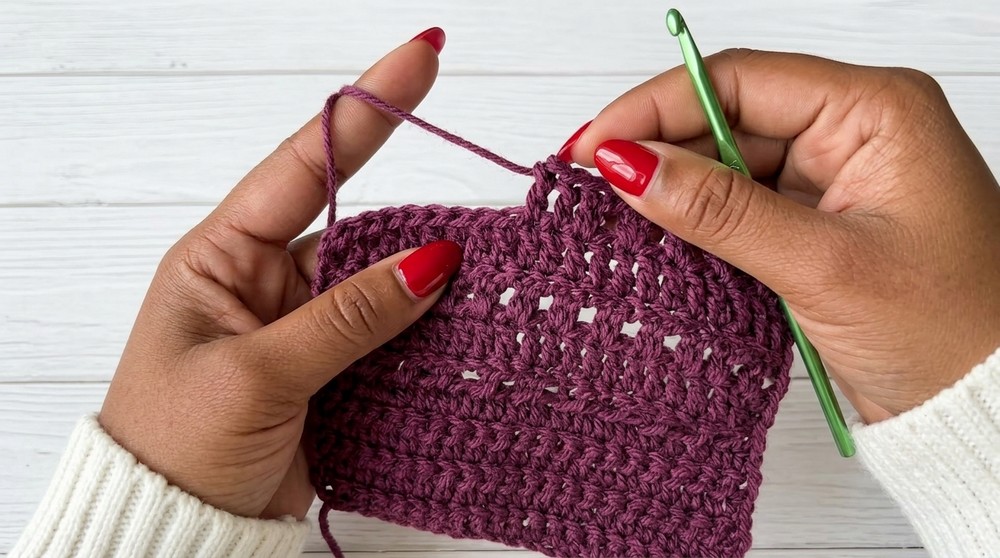
Pattern Repeat
- Repeat Row 2 and Row 3 for the rest of the body, alternating:
- Even Rows: Cross V-stitch (hdc, sk 1, hdc)
- Odd Rows: BLO Double Crochet throughout
- Total Rows:
- Small: 17 rows
- Medium: 21 rows
- Large: 25 rows
- End with a Double Crochet (Row 3 type) row.
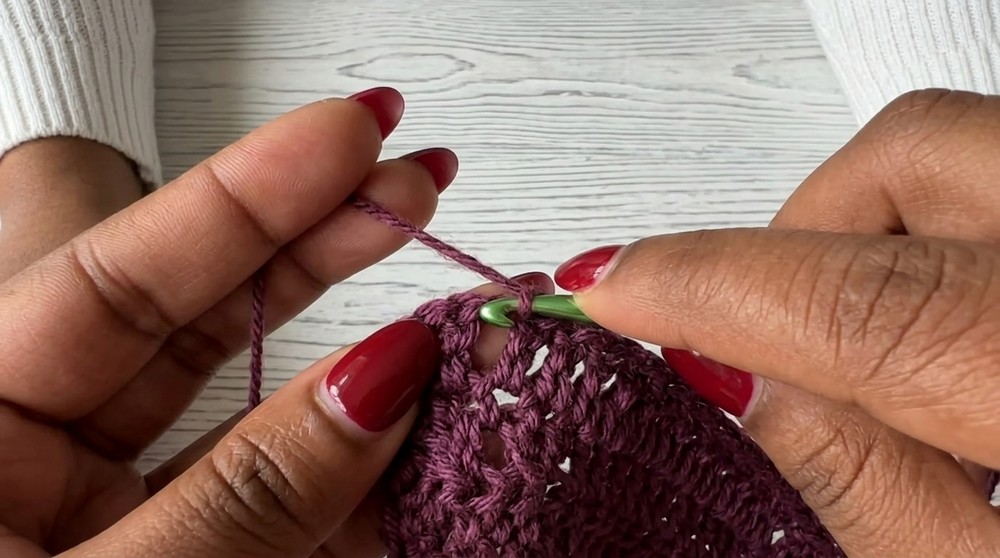
Panel 1 Complete
- Cut yarn.
- Set aside first panel.
- Repeat above steps to make the second panel.
- The two panels will be joined to form the top.
Creating the Neck Opening
- Lay out both panels, mark for a neck:
- From start of one side, mark after 33 dc (approx. 20 cm from edge).
- Repeat on other side.
- There should be an opening of about 23 cm (neck hole).
- Join yarn at end of first marker to begin continuing side rows.
- Repeat patterning across remaining stitches to form shoulder.
- Ch 2, hdc cross V-stitch row up to marker.
- Ch 3, BLO dc row up to marker.
- Repeat rows to match opposite panel.
- At the end of the last row, fasten off and leave a long tail for joining.
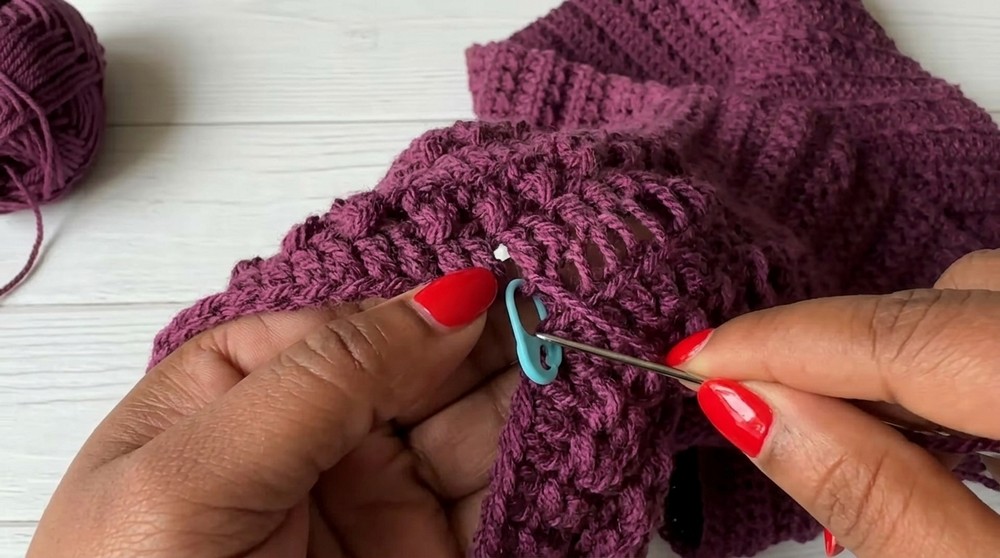
Assembly & Finished Size
Seaming
- Shoulder & Side Seams:
1.1. Wear the top and pin where you want the sleeve holes (approx. 23 cm/9” open).
1.2. Use a yarn needle to whip stitch or sl st through back loops only for neat finish.
1.3. Seam from hem up to marking for sleeve opening (both sides).
1.4. Seam along shoulders from edges to your neck opening marks.
Edging Neck & Sleeves
- Neck:
1.1. Join yarn at edge of neckline.
1.2. Ch 1, sl st loosely in each st around.
1.3. At corners, decrease by sl st together two sts as you go for smooth curve.
1.4. Repeat for 1–5 rounds as desired (for sample: 5 rounds).
1.5. Fasten off, weave in ends. - Sleeves:
2.1. Join yarn at arm opening edge.
2.2. Ch 1, sc loosely around each st (or use sl sts).
2.3. At underarm, make an extra st to smooth corner if needed.
2.4. Complete round, sl st to join, fasten off, and weave in end.
Final Touches
- Hide all yarn tails using a yarn needle for a clean finish.
- Lightly steam or block as desired.
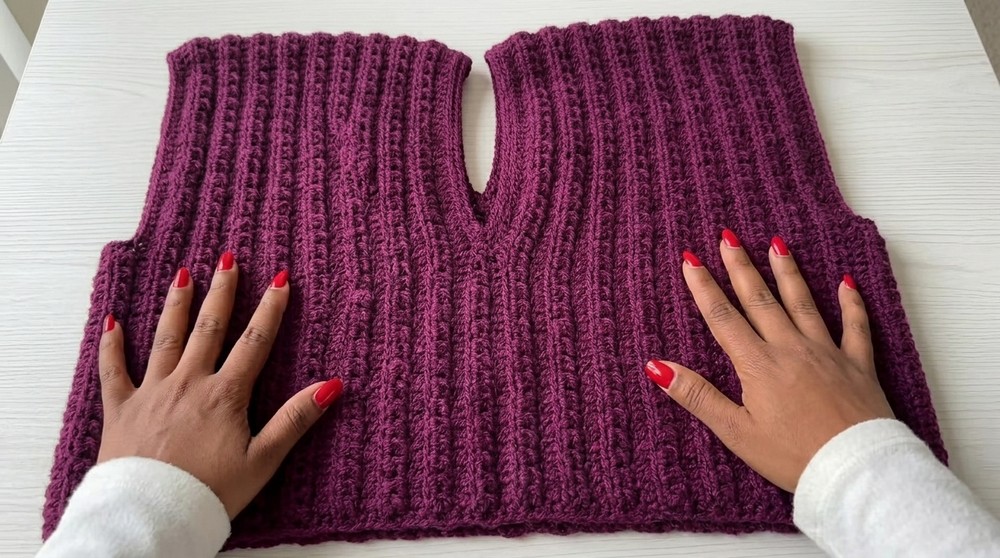
Conclusion and Ending Words
Your easy, comfortable, and stylish crochet top is finished! This simple two-row-repeat pattern, worked side-to-side, is perfect for beginners or anyone looking for a quick project with a professional look. You can make it longer, shorter, or wider simply by adjusting the foundation chain or adding rows. Add more rows of edging for extra flair around the neck or sleeves. Wear your new top with pride or gift it to someone special.