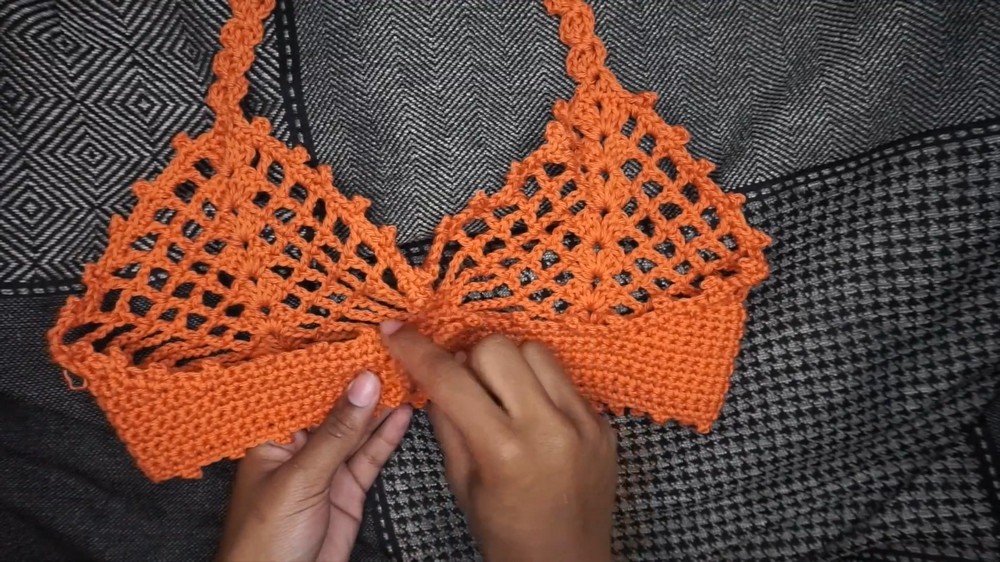
Fresh Crochet Mesh Bralette Pattern Loved by Style Seekers
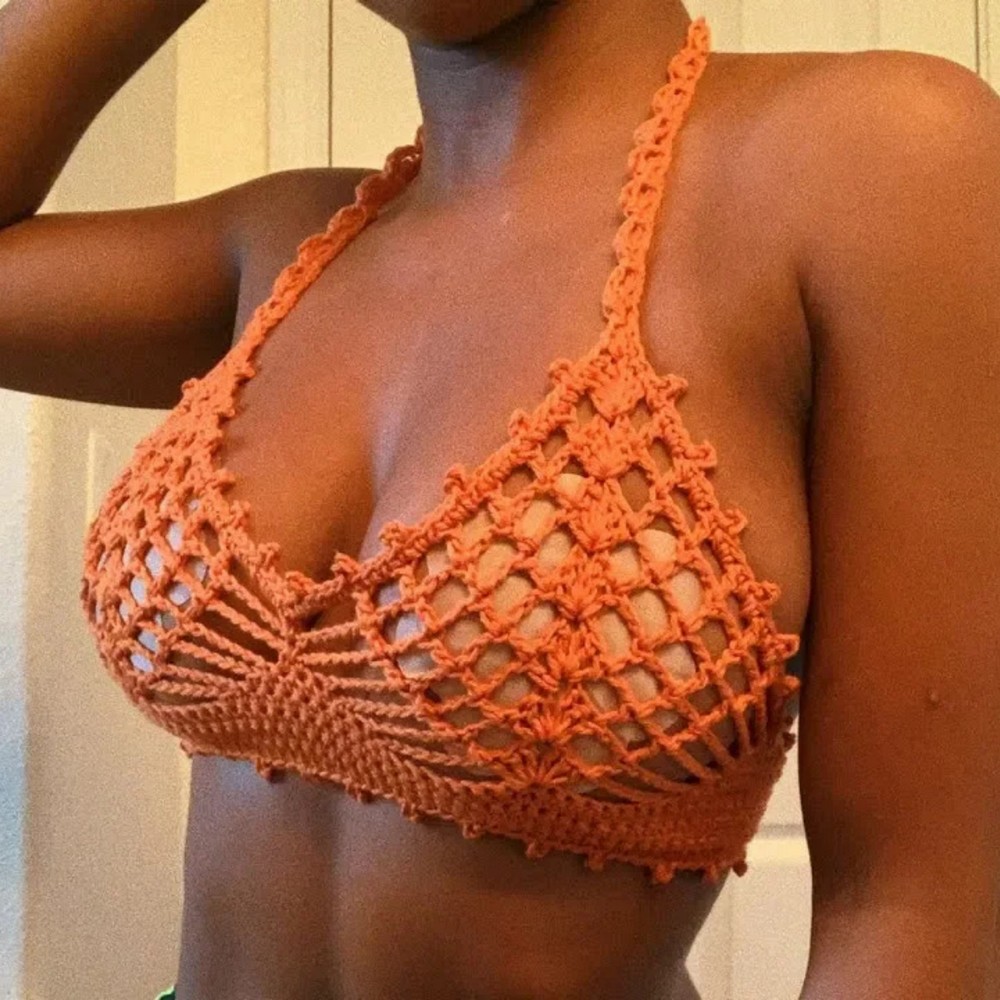
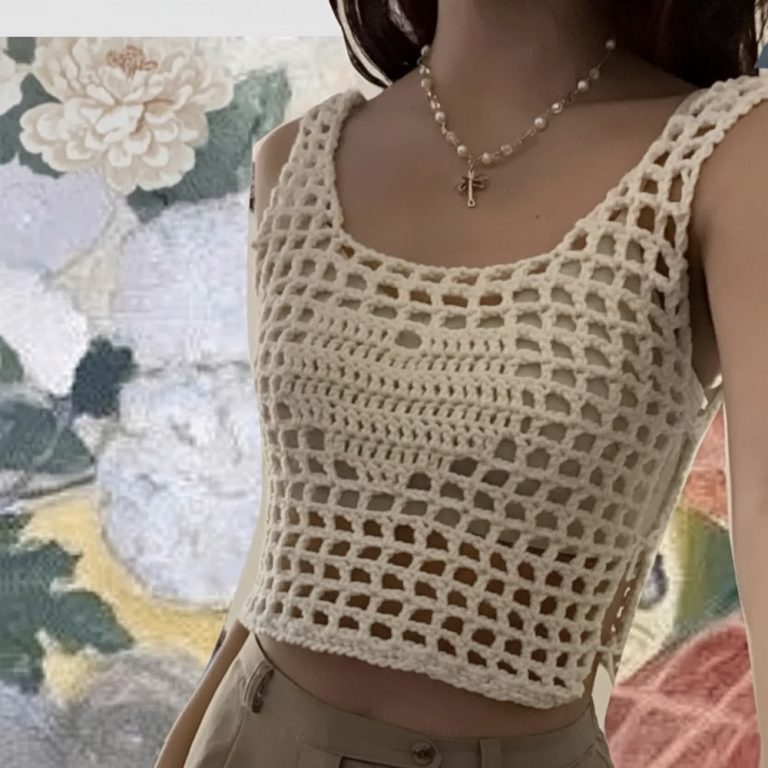
Style sunny outfits using this Crochet Mesh Bralette Pattern with breathable mesh appeal and a bold look that feels fresh, and summer-perfect.
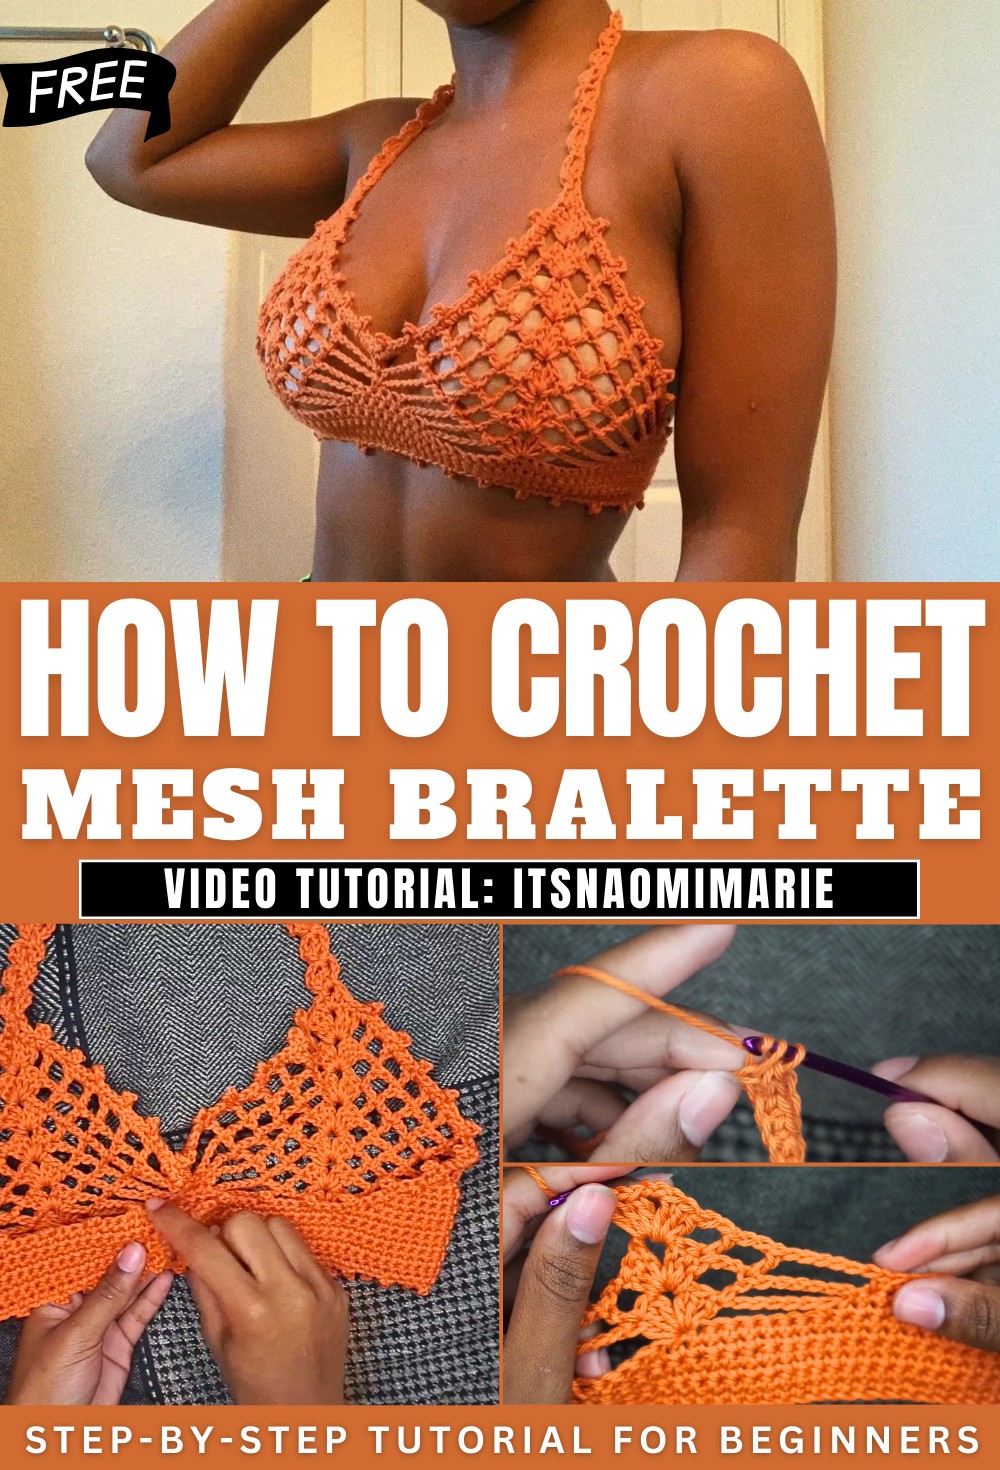
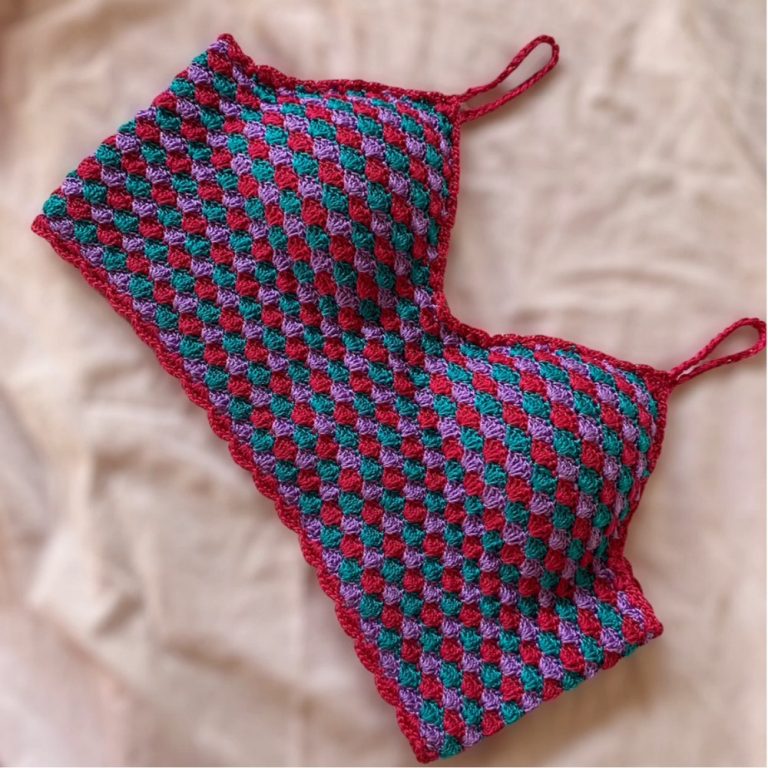
Minimal Crochet Mesh Bralette Pattern With an Open Fit
Soft mesh detailing and a clean silhouette give this stylish piece a fresh and confident appeal. The open stitch layout promotes airflow, making it a comfortable option for warm weather, seaside looks, or easy layering with loose shirts and jackets. The Crochet Mesh Bralette Pattern delivers a balanced fit that feels supportive without being restrictive, enhancing natural shape while maintaining everyday comfort.
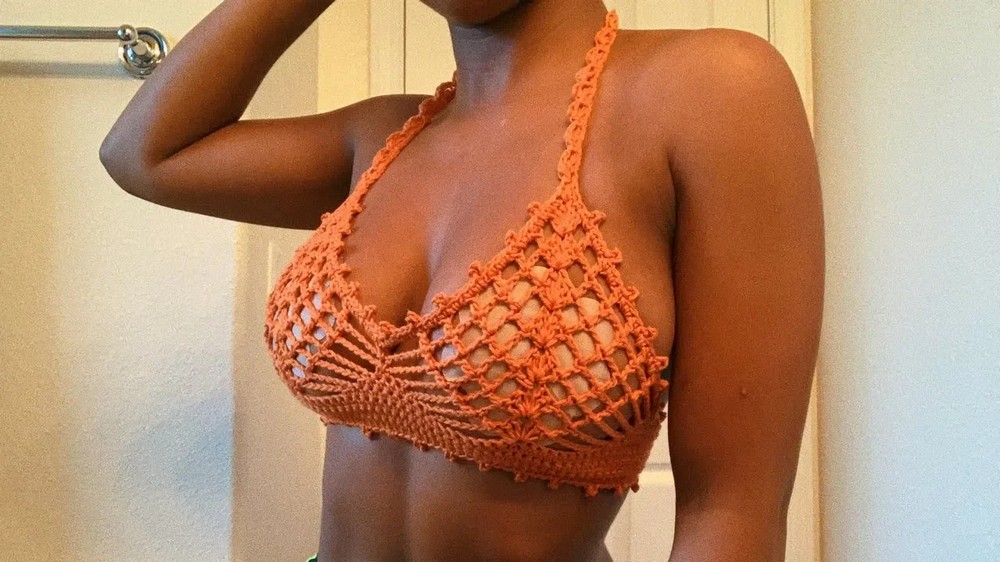
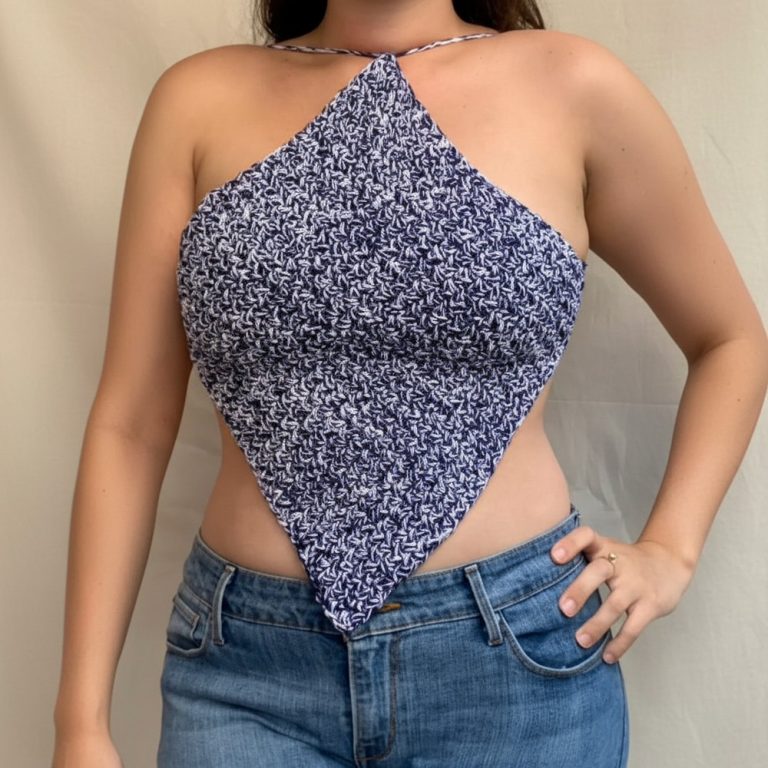
Its versatile design works well with high-waisted jeans, skirts, or shorts, allowing smooth transitions from casual daytime wear to relaxed evening outfits. One of its biggest benefits is adaptability, as small adjustments in straps or length help suit different body preferences and styling needs. The mesh texture adds visual depth while keeping the overall look minimal and refined. Color choices strongly influence the final mood, ranging from subtle and neutral to bold and expressive.
Materials Needed
-
Yarn: 100% Cotton (Recommended: Berroco Modern Cotton).
-
Hook: 4.0 mm or 5.0 mm (depending on your tension).
-
Tools: Tapestry needle, scissors, and measuring tape.
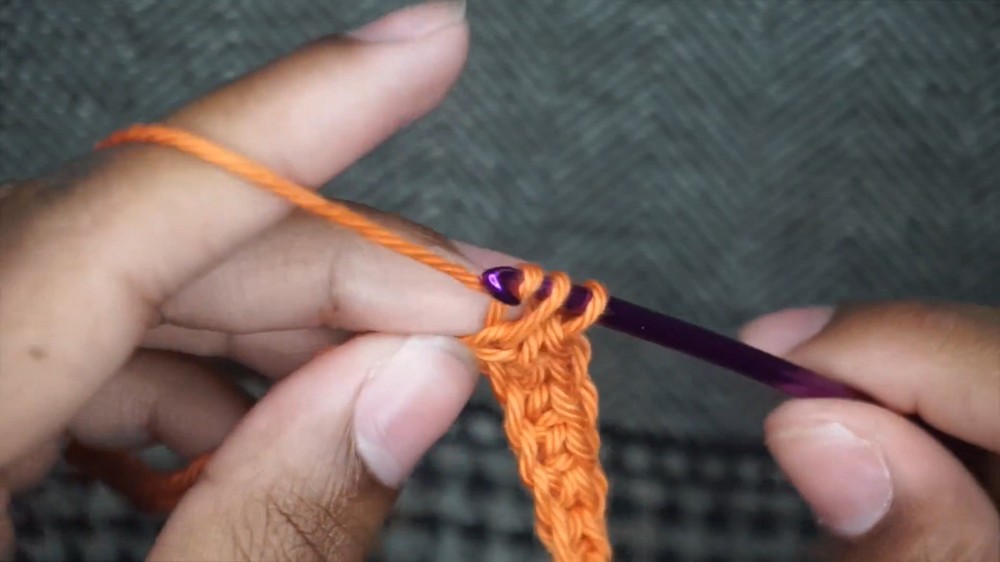
Part 1: The Base Band
-
Foundation: Chain 100.
-
Row 1: Work 1 single crochet (sc) in each chain across.
-
Rows 2–6: Chain 1, turn. Work 1 sc in each stitch across. (Total of 6 rows).
-
Finish: Cut and fasten off.
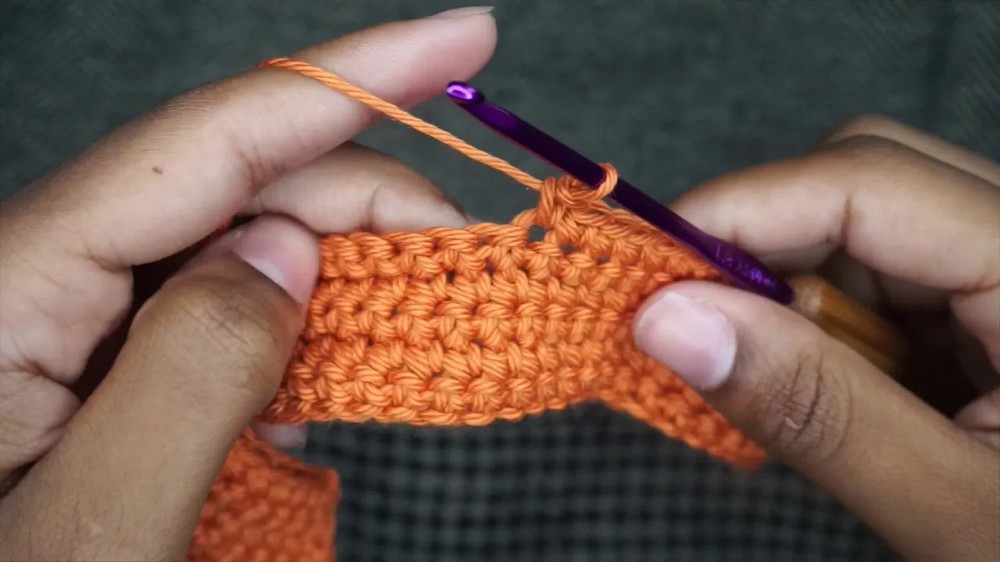
Part 2: The Peekaboo Cups (Decreasing Section)
Note: This section uses “Shells” (3 Double Crochet, Chain 2, 3 Double Crochet) and “Decrease sc” (skipping the first and last stitch of every solid block).
Row 1 (Setup Row):
-
Attach Yarn: Skip 14 stitches of the base band. Reattach yarn at the 15th stitch.
-
Solid Block 1: Work 15 sc.
-
Mesh Gap: Chain 6, skip 7 stitches.
-
Shell 1: In the 8th stitch, work (3 dc, ch 2, 3 dc).
-
Center Block: Chain 6, skip 7 stitches. Work 10 sc starting in the 8th stitch.
-
Shell 2: Chain 6, skip 7 stitches. Work (3 dc, ch 2, 3 dc) in the 8th stitch.
-
Solid Block 2: Chain 6, skip 7 stitches. Work 15 sc on the end.
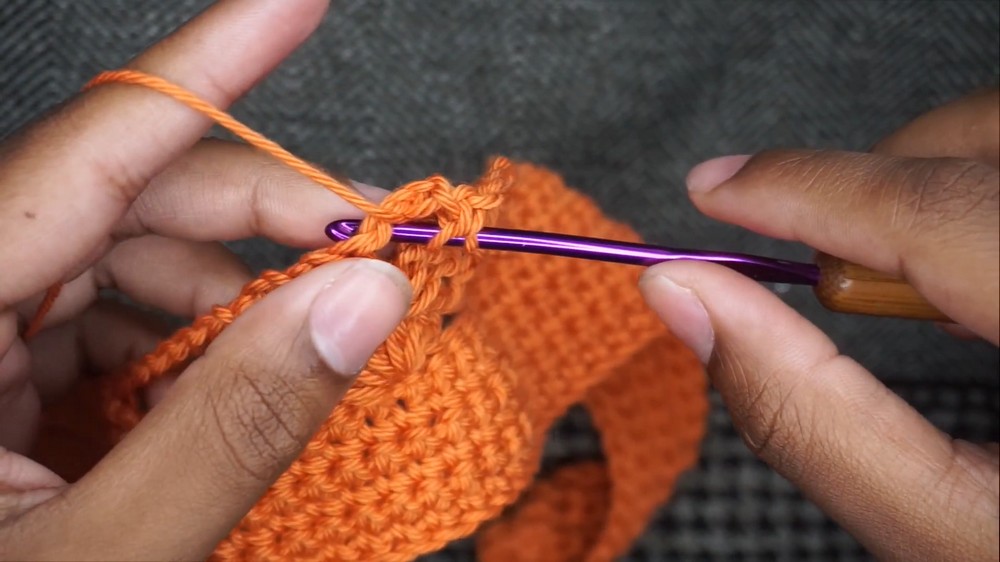
Row 2 (Decrease & Pattern Growth):
-
Decreasing: Chain 1, turn. Skip the very first stitch, work sc across the block, but stop 1 stitch before the end (skipping the last stitch).
-
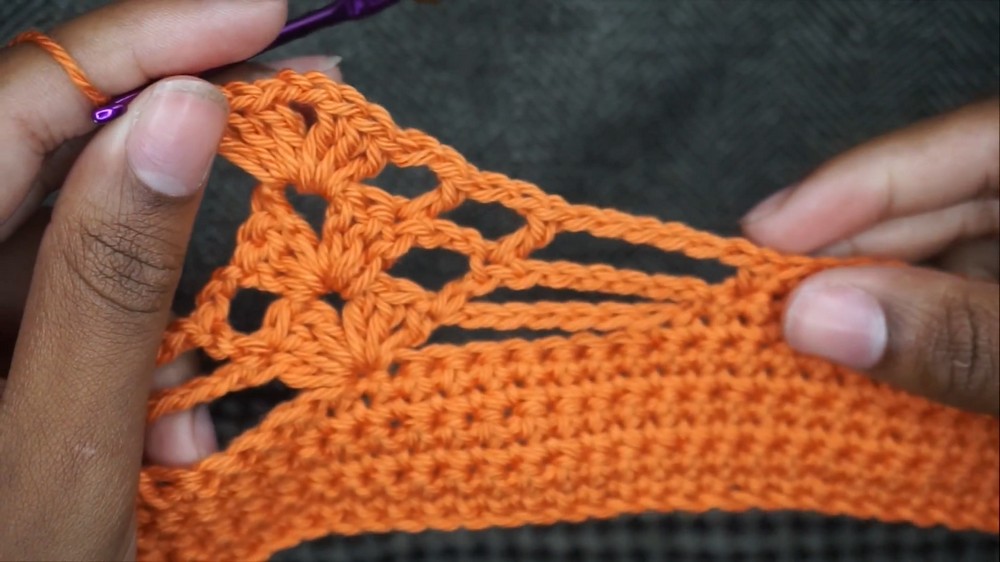
Expansion: Chain 6. Work 1 dc into the first dc of the shell below, ch 2, then work a New Shell into the ch-2 space of the previous shell.
-
Symmetry: Chain 2, work 1 dc in the last dc of the shell below. Chain 6.
-
Center Block: Repeat the decrease (skip first/last stitch) for the center 10-sc block.
-
Finish Row: Repeat the shell and decrease steps for the second half of the bralette.
Repeat: Continue repeating Row 2 logic. The solid sc blocks will get smaller as you skip the first and last stitches every row, creating the triangular cup shape.
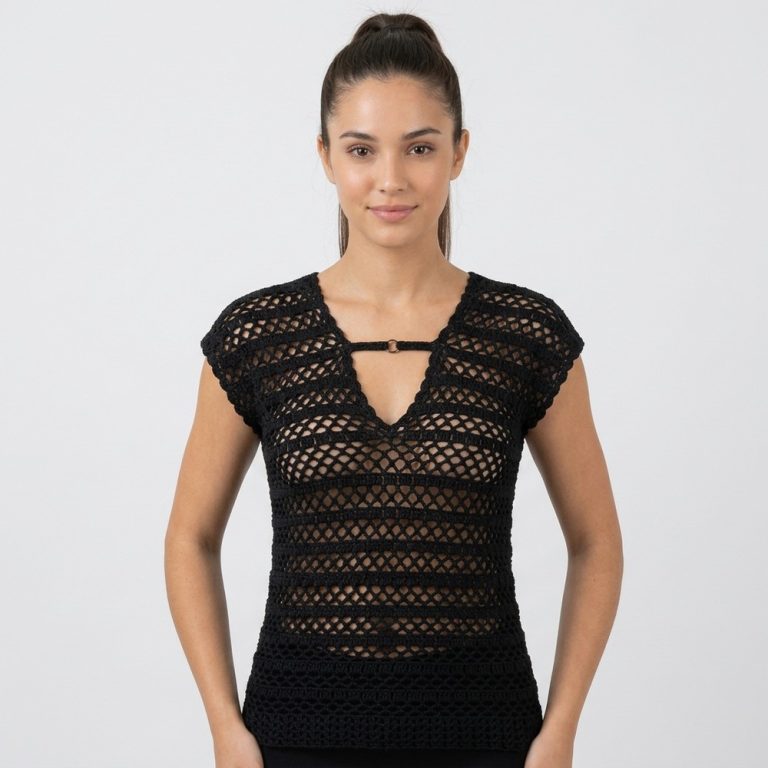
Part 3: Decorative Edging (Picot Stitch)
-
Border: Attach yarn to any corner. Work 4 sc, then a Picot Stitch (Ch 3, slip stitch into the first chain).
-
Lacing Loops: On the side edges (where the top will tie in the back), do not work picots. Keep this edge straight for the lacing strings.
Part 4: Straps and Assembly
-
Shoulder Straps: At the top peak of the cups, work 2 dc.
-
Rhythm: Ch 3, turn, work 1 dc into the space between the previous 2 dc.
-
Repeat for 20 rows or until desired length.
-
-
Back Closure: Create a simple chain (approx. 150–200 chains) and weave it through the straight side edges of the bralette to create a corset-style tie back.

Conclusion
Finishing this peekaboo bralette provides you with a custom, high-end summer top that showcases your mastery of intricate meshwork. By balancing the solid support sections with airy shells, you’ve created a piece that is as functional as it is visually striking. Once you weave in your final threads and adjust the back ties, your unique handmade bralette is ready for the beach.
Pro Tip: For a cleaner “mesh” look, ensure your Chain 6 bridges are not too tight. If the cups are pulling or puckering, try increasing to a Chain 7 to allow the fabric to lie flat against your body.