Empowered Crochet EVIL EYE HALTER TOP Pattern For Fearless Style

Channel striking flair with this Crochet EVIL EYE HALTER TOP Pattern designed for bold expression, balanced support, and summer confidence

Unique Crochet EVIL EYE HALTER TOP Pattern Featuring Sacred Style
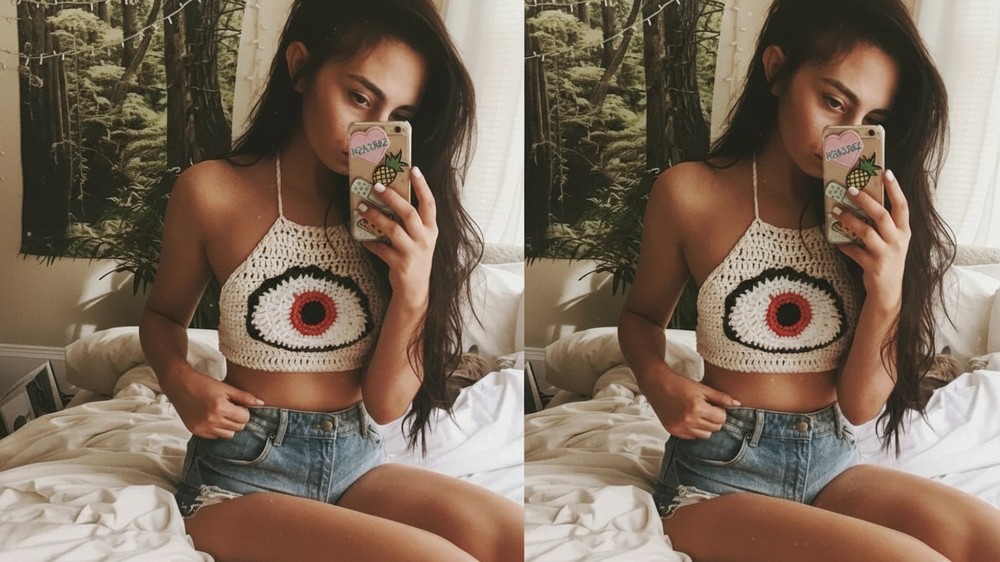
A bold touch of symbolism meets modern summer fashion with the Crochet EVIL EYE HALTER TOP Pattern. Distinctive and eye-catching, this halter top features the iconic evil eye motif, known for its vibrant hues and believed protective powers, making it more than just a stylish piece. The unique design commands attention at festivals, beach days, or casual gatherings, seamlessly blending cultural heritage with contemporary style.
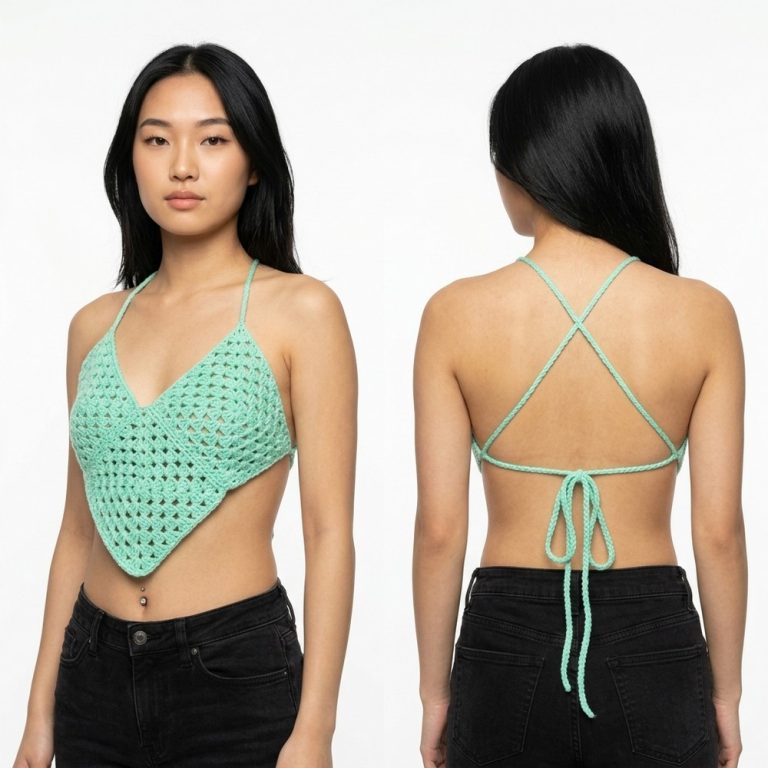
Breathable and lightweight, the open back and adjustable neckline offer a comfortable fit, ideal for staying cool during the hottest months. Versatility shines, as this top pairs effortlessly with jeans, skirts, or layered bohemian ensembles, easily adapting from daywear to evening looks. The central motif adds an alluring and adventurous vibe, encouraging conversations and personal expression. With its fresh aesthetic, meaningful symbolism, and flattering silhouette, this pattern offers a distinctive way to celebrate both fashion and tradition in every sunlit outing.
Materials Needed
-
Yarn: Weight 4 (Medium) cotton yarn.
-
Colors: Base color (e.g., blue), white, eye color (e.g., orange/blue), black.
-
-
Hook: 5.0 mm crochet hook.
-
Tools: Tapestry needle, scissors, measuring tape.
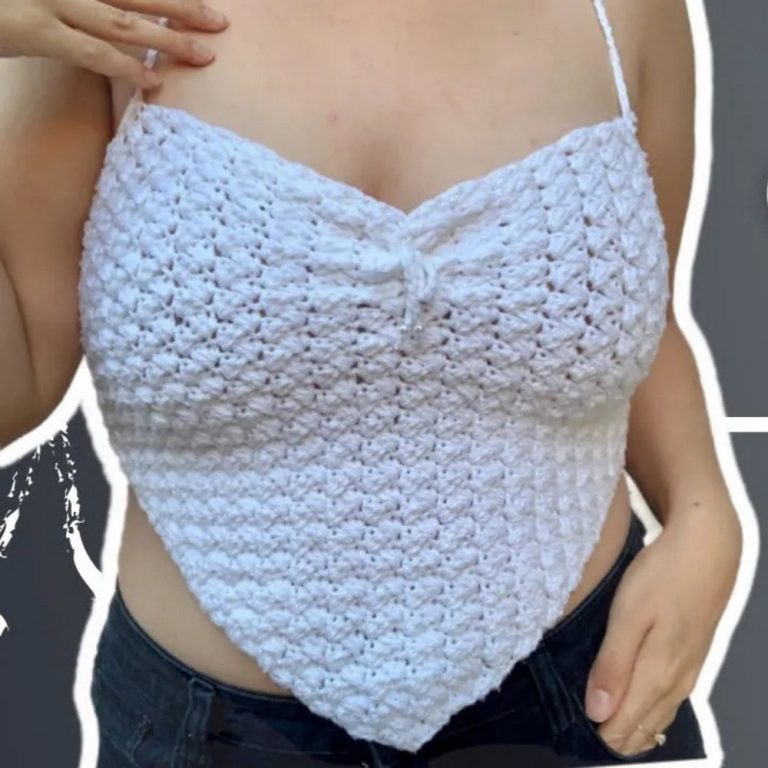
Phase 1: The Halter Top Base
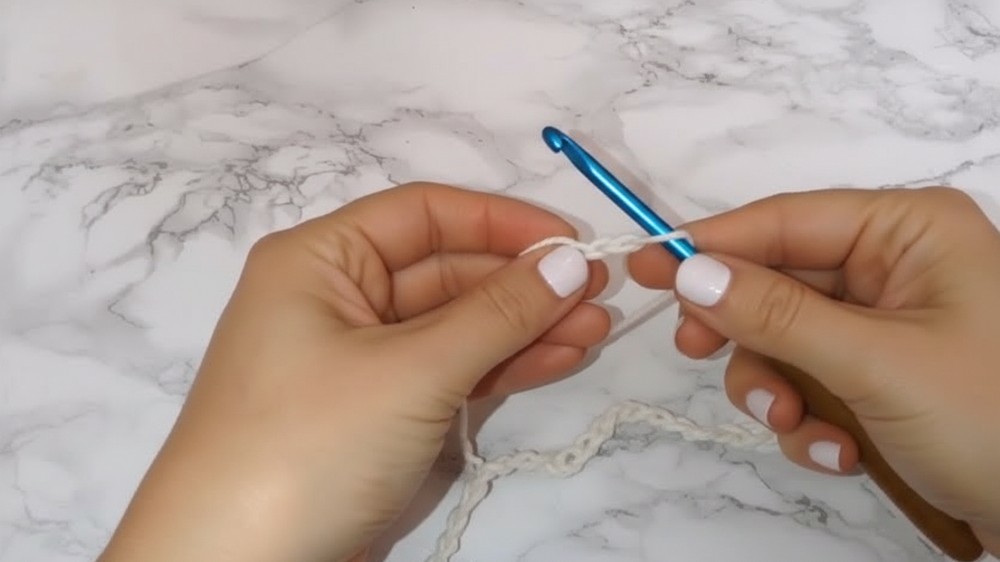
1. Foundation and Lower Body
-
Chain 50 (Size Small/Medium). Measure against your body to ensure it covers the front width of your torso.
-
Rows 1–2: Work Double Crochet (dc) in every chain across. Chain 2 and turn at the end of each row.
-
Rows 3–4: Work Single Crochet (sc) in every stitch. Chain 1 and turn. This provides denser coverage over the bust.
2. Shaping (The Taper)
-
Decrease Rows: At the beginning of the row, pull up a loop in the first two stitches and pull through all three (sc2tog). Repeat at the end of the row.
-
Decrease Rhythm: * Decrease at both ends for 2 rows.
-
Work 2 rows of regular sc (no decreases).
-
Repeat this alternating pattern until you pass the widest part of your bust.
-
-
Final Taper: Decrease every row until the top width reaches approximately 4–5 inches (neck width).
-
Switch to dc: Finish the last 5 rows using double crochet decreases at the ends to reach the desired height.
3. Edging and Straps
-
Border: Without cutting the yarn, work a row of single crochet along the “wonky” side edges to level them off.
-
Straps: At each of the four corners (two at the neck, two at the bottom), attach yarn and chain 60. These will be your ties.
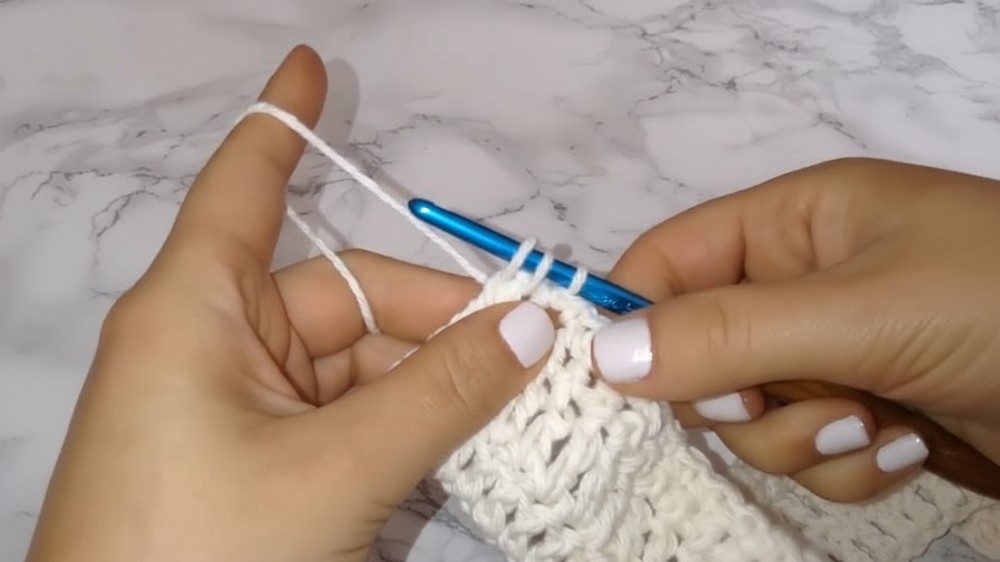
Phase 2: The Evil Eye Appliqué
1. The Pupil (Black)
-
Ring: Chain 2, work 11 sc into the first chain. Join with a slip stitch.
-
Round 2: 1 sc in first stitch, 2 sc in next. Repeat around. Fasten off.
2. The Iris (Eye Color)
-
Attach color (e.g., Orange).
-
Round 3: 1 sc, 2 sc. Repeat around.
-
Round 4: Repeat Round 3 if a larger iris is desired. Join and fasten off.
3. The Sclera (White – Almond Shaping)
-
Attach White yarn. To create the almond shape, you will vary stitch heights:
-
Round 5: 3 sc, 2 half-double crochet (hdc), 4 dc, 1 triple crochet (corner), 4 dc, 2 hdc, 6 sc, 3 hdc, 2 dc, 1 triple crochet (corner), 1 dc, 3 hdc.
-
Round 6: Repeat the height variations, adding 2 dc in one stitch near the corners to prevent curling.

4. Eyelashes (Black)
-
Attach Black yarn to the top edge.
-
Top Lashes: Chain 2, sc in next, ch 2, 2 dc in same stitch. This creates a “squiggled” texture.
-
Bottom Edge: Work simple sc around the bottom half to keep it clean.
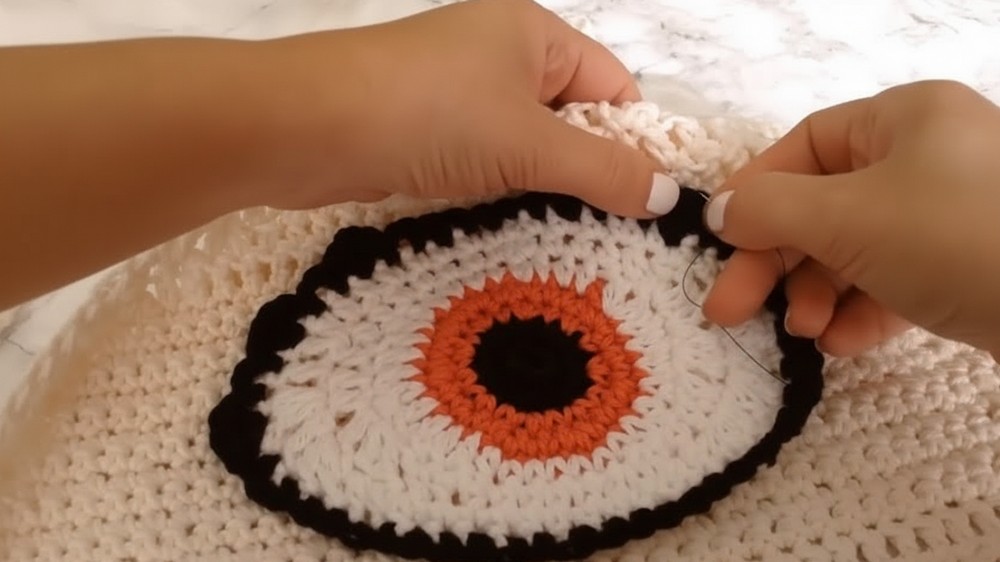
Phase 3: Assembly
-
Placement: Center the eye on the bust area of the halter top.
-
Attachment: Hand-sew the appliqué onto the base using a needle and matching thread (or fabric glue for a quicker finish).
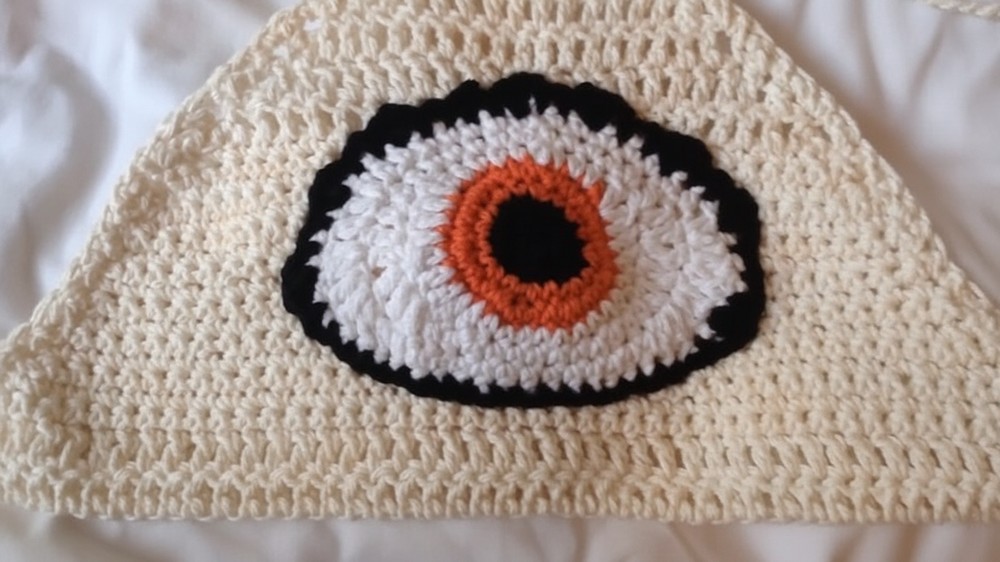
Conclusion
Finishing your Evil Eye top provides you with a bold, symbolic piece of festival-ready fashion. By mastering the transition from circular iris rows to the almond-shaped white of the eye, you have demonstrated advanced shaping techniques. Once you weave in your final ends and tie the straps, your handmade halter is ready for the sun.
Pro Tip: To ensure the eye stays perfectly centered while sewing, pin it in place with safety pins first. Try the top on to verify the placement before making the permanent stitches.