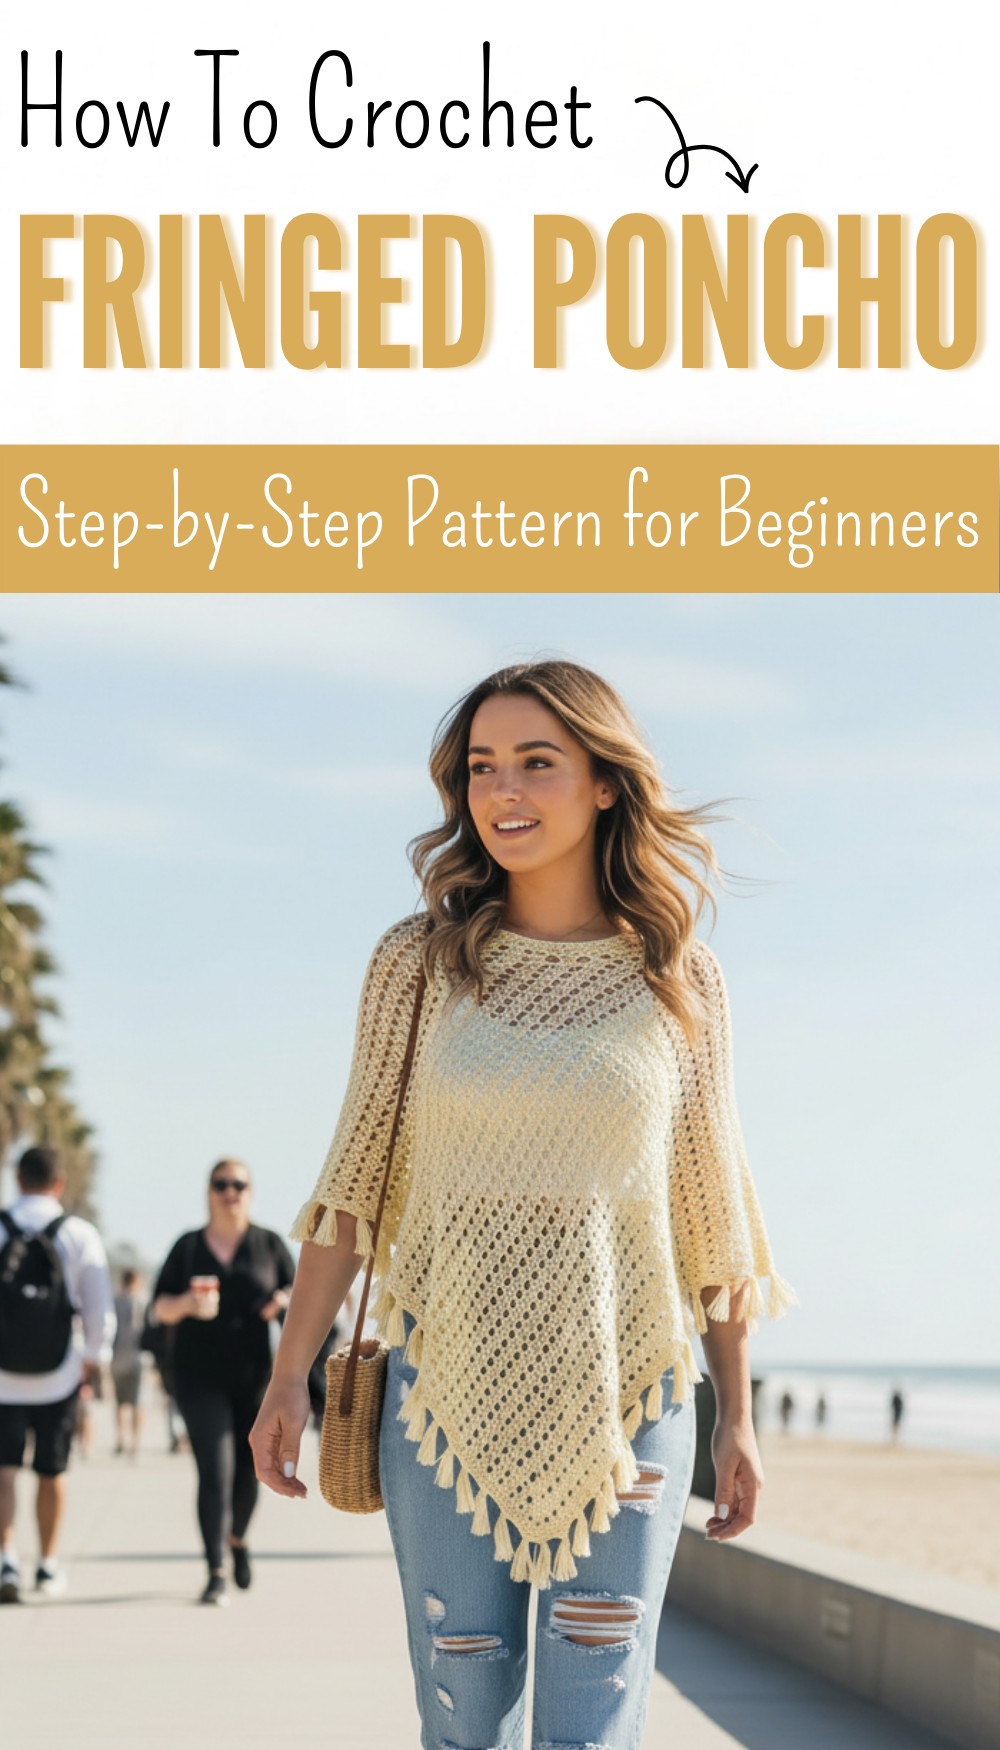
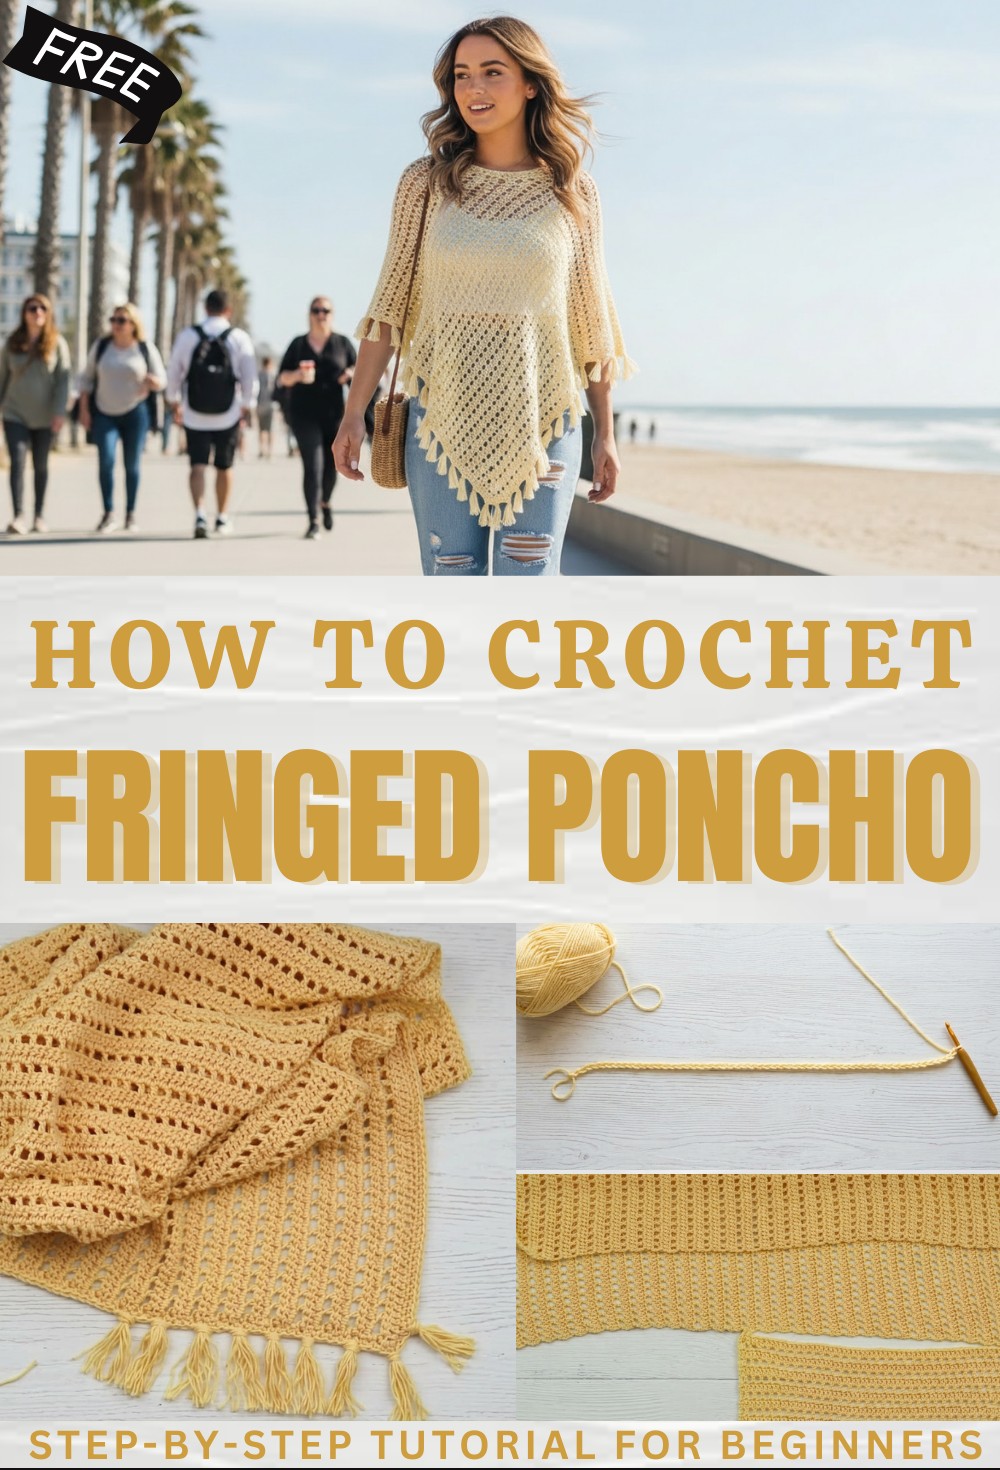
Free Crochet Fringed Poncho Pattern for Warm Weather Fashion
Beautify your everyday outfits with this Free Crochet Fringed Poncho Pattern that adds a playful movement to your look and feels so comfy.
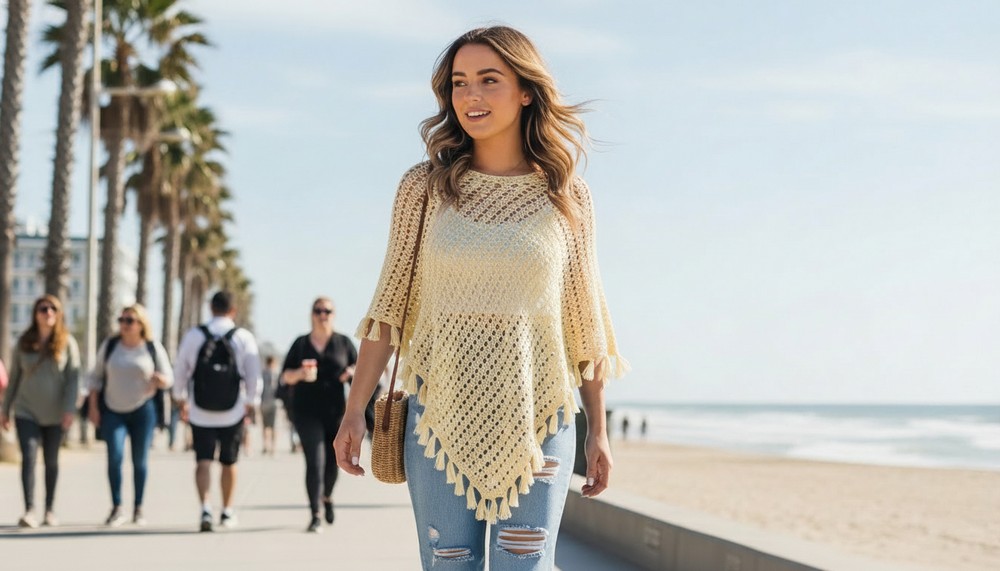
Wearing a layer with long tassels gives a fun look and feels lively as you move around. If you follow a crochet fringed poncho pattern you can make a garment that drapes nicely over your shoulders and adds extra charm with dancing fringe at the ends. The poncho fits easily over your clothes and slips on quickly with a spacious opening at the top. You can pick any color to match what you like most making your creation just right for you.
Free Crochet Fringed Poncho Pattern with Playful Fringe Accents
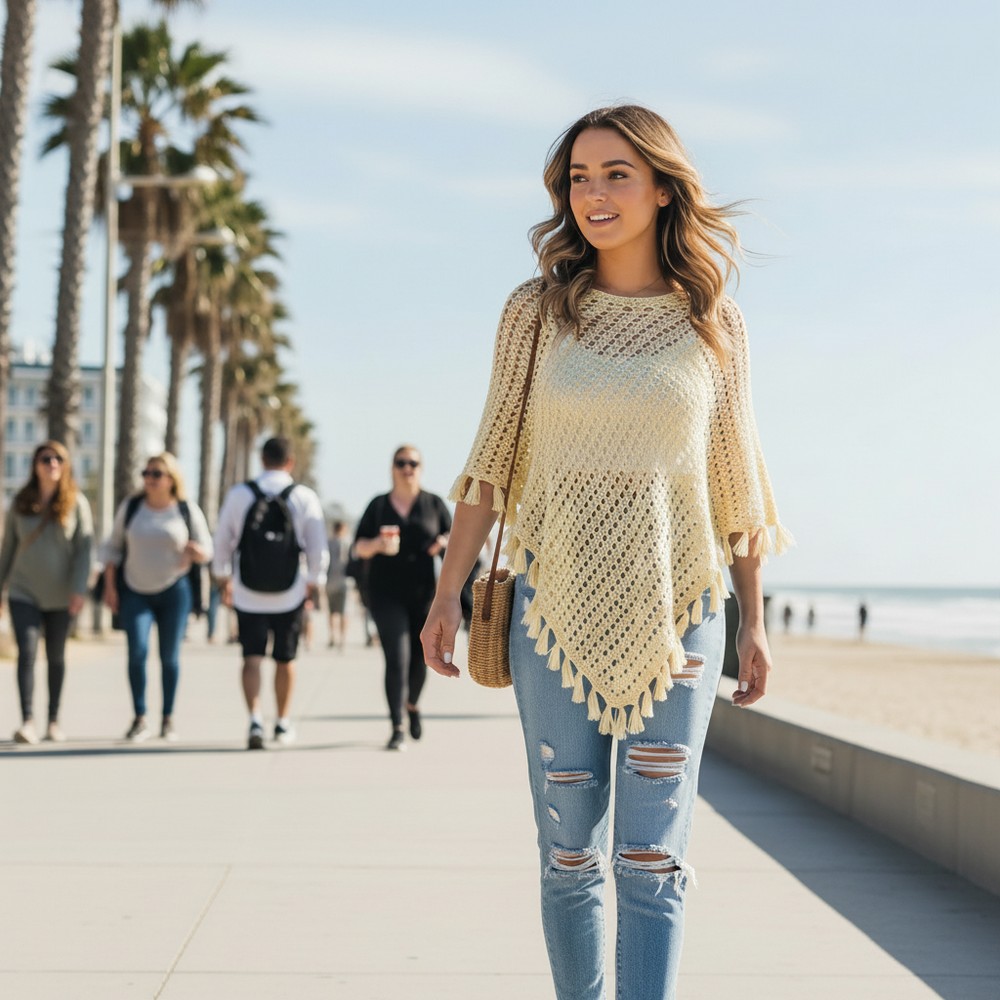
The fringe brings playful movement and stands out everywhere you go drawing eyes to the flowing shapes of your new piece. Using the crochet fringed poncho pattern makes it simple to add both warmth and style for cooler days or breezy evenings with a touch of excitement. Making your own poncho is a happy experience and you will enjoy using it at family gatherings relaxing outside or any time you want to feel special.
Ava Fringed Poncho Crochet Pattern
Materials
- Yarn: Lion Brand LB Collection Cotton Bamboo
- Number of skeins varies by size (see notes)
- Hook: US size J-10 (6 mm) crochet hook
- Notions: Tapestry needle, stitch markers (or bobby pins/scrap yarn), scissors, measuring tape (optional)
- Optional: Blocking materials (for a neater finish)
Sizes
Pattern is written for Medium/Large; for other sizes (XS–4XL), adjust foundation chain and row counts according to your needs or a referenced written pattern.
Gauge
Not specified. Since the fit is roomy, ensure your rectangles are close in size for seaming.
Abbreviations (US Terms)
- ch = chain
- dc = double crochet
- sc = single crochet
- sl st = slip stitch
- st(s) = stitch(es)
- rep = repeat
Special Notes
- Turning Chains: Ch-3 turning chains do NOT count as a stitch throughout.
- Lace Row: Created with alternating chain-1 spaces and double crochet stitches.
- Panel Construction: The poncho is made from two rectangles, seamed to form a v-shape/heart in the front.
- Edging: Includes both the neck and hemline.
- Fringe: Optional, but provides a bohemian flair.
Pattern Instructions
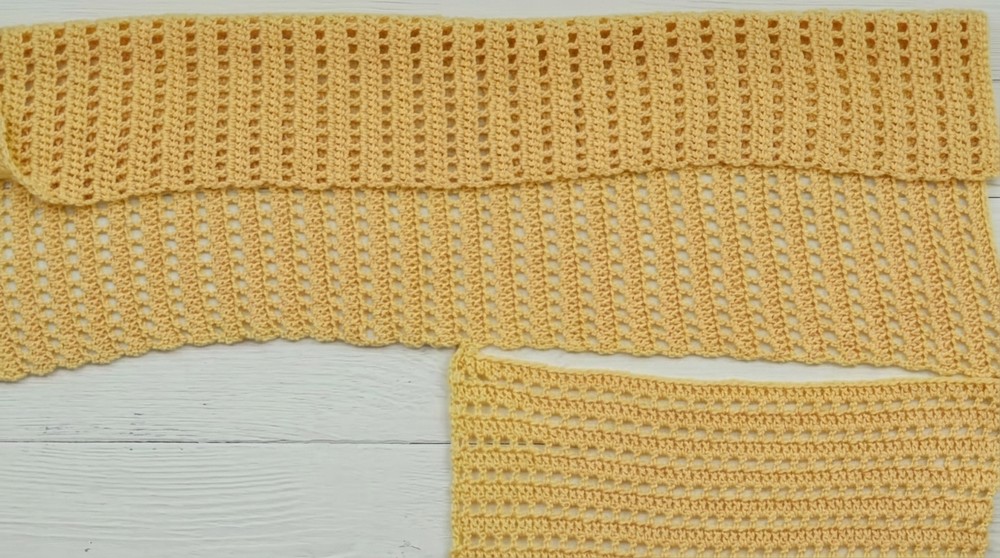
Step 1: Make the Rectangles
Make two identical rectangles.
Medium/Large:
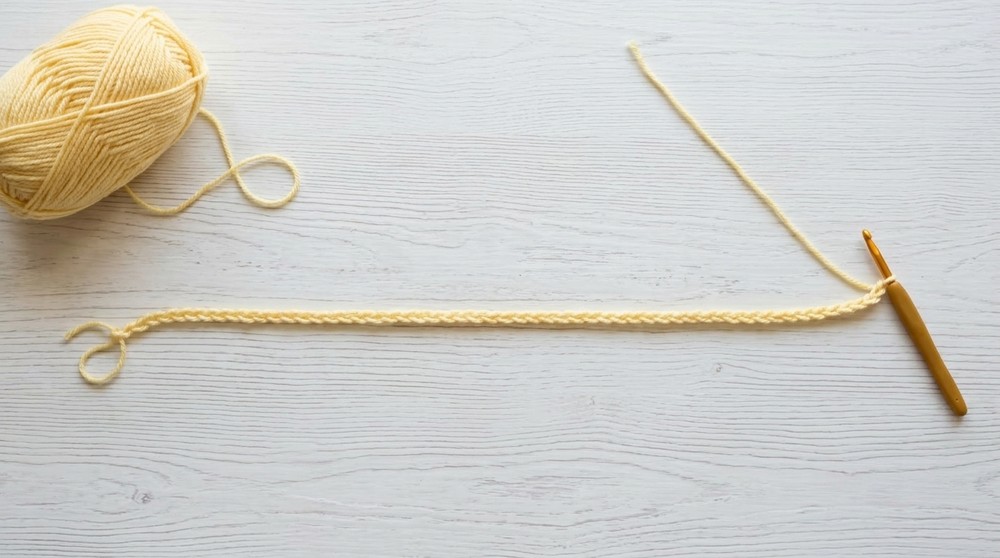
- Foundation Chain: Ch 69.
Row 1 (Double Crochet Row):
Dc in 4th ch from hook (first 3 chs skipped count as turning space, not a st). Dc in each ch across. (66 dc). Turn.
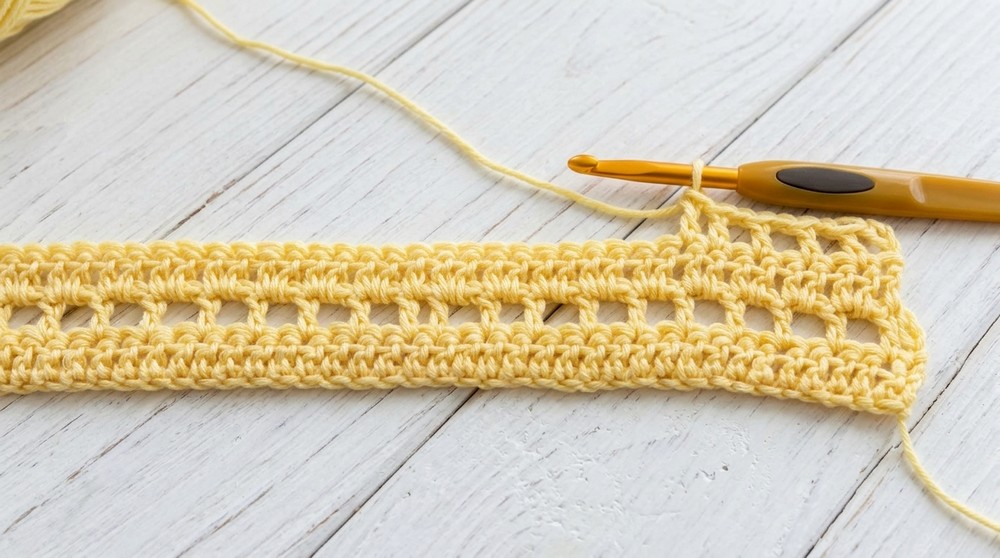
Row 2 (Lace Row):
Ch 3, skip first st, dc in next st.
*Ch 1, skip next st, dc in next st; rep from * across. End with dc in last st. Turn.
Row 3 (Double Crochet Row):
Ch 2, dc in first st.
*Dc in ch-1 space of previous row, dc in next dc; rep from * across. End with dc in last st. Turn.
Repeat Rows 2 & 3 (Lace Row/Double Crochet Row) Alternately until you have the correct number of rows for your size (for Medium/Large, work 69 rows total, ending on a dc row).
Break yarn and fasten off. Make a second panel exactly the same.
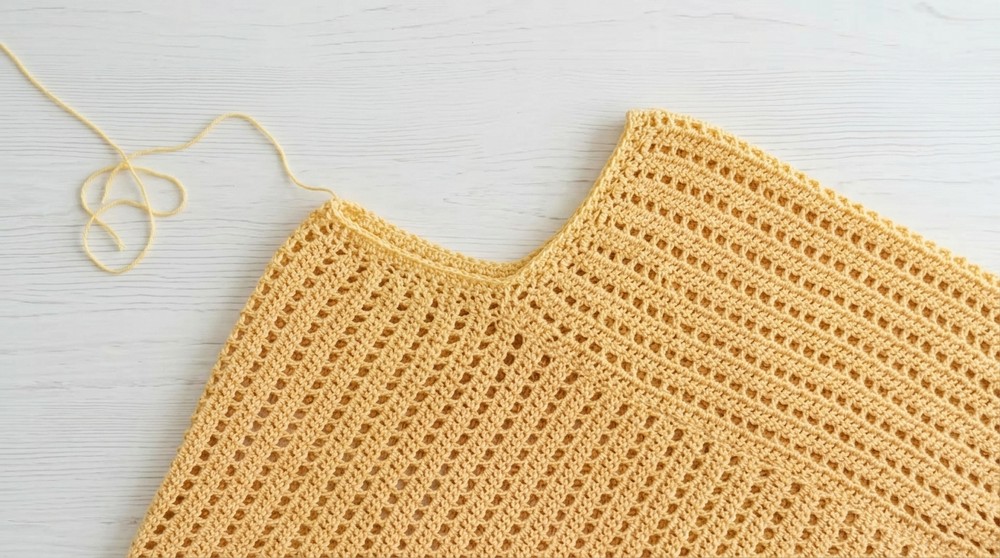
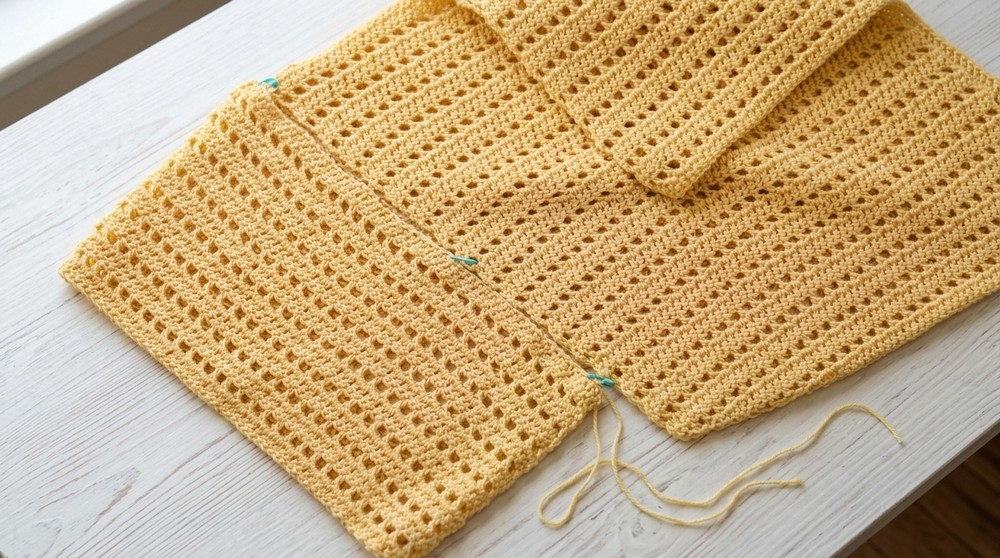
Step 2: Assembly & Seaming
Lay out the rectangles:
- Place one rectangle horizontally and the other vertically to form an “L” shape.
- Seam the top edge of one rectangle to the side edge of the other using a mattress stitch (or preferred method).
- Use stitch markers to match and pin edges.
Seam 1:
- Sew the end of one panel to the rough edge of the second panel to form the “L”.
Fold and Seam 2:
- Fold the bottom of one rectangle up, and the side of the “L” in, to bring all panel ends together and create the heart/v shape.
- Seam these panels together once again, resulting in a poncho shape with a V-neck in front and seam at the back.
- Weave in all ends.
Step 3: Neckline Edging
- Join yarn at a side of the neck opening, ideally at the back for inconspicuous join.
- Round 1: Ch 2, dc evenly around neckline, working one dc into the edge of each row. At the V (front center), work a dc into the join. Sl st to join.
- Round 2: Ch 2, dc in each st around. Sl st to join.
- Round 3: Ch 1, sc in each st around. Sl st to join.
Fasten off and weave in ends.
Step 4: Hemline Edging
- Join yarn at either seam on the hemline.
- Round 1: Ch 1, work 3 sc in each two-row repeat along rough edges, 1 sc in each ch/st across the foundation chain, 3 sc in each corner to keep shape. Sl st to join.
- Round 2: Ch 1, sc in each st around (including corners). Sl st to join.
Fasten off and weave in ends.
Step 5: Optional Tassel Fringe
- Cut several strands of yarn approx. 5–6” (12–15cm) long.
- Hold six strands together, fold in half.
- From the wrong side, insert hook into desired st along hem edging (recommend skip 3 sts between tassels for density as in example).
- Pull fold of strands through st to make a loop.
- Pull ends through the loop and tighten tassel.
- Trim to even length as desired.
- Repeat around hem.
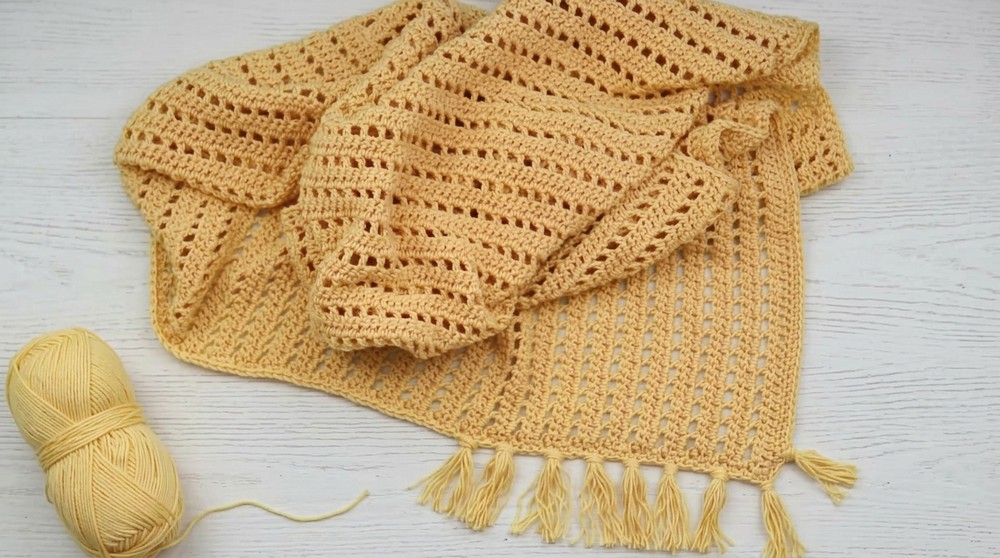
Conclusion
Congratulations! Your Ava Fringed Poncho is finished and ready to wear. This airy, lacy poncho is beginner-friendly and has a modern, trendy appeal. Adjust the size, trim, edging, and fringe to suit your taste.
Pattern Corrections & Tips
- Correction: Ensure you end your rectangles on a double crochet row (odd row count) for easy and sturdy seaming.
- Tip 1: Mark your first and last stitches of each panel for easier seaming.
- Tip 2: Try the poncho on before adding the final edging to adjust the depth of the neckline.
- Tip 3: If you prefer not to add fringe or need to conserve yarn, simply finish after the basic edging.
- Tip 4: For a smoother neckline and hem, consider blocking your panels before assembly.
- Tip 5: Gauge is not critical, but ensure both rectangles are the same size for best results.