Free Crochet Barefoot Sandals Pattern for Beach Days

Step into beach style with this Free Crochet Barefoot Sandals Pattern that adds light comfort and pretty charm to feet for summer days.
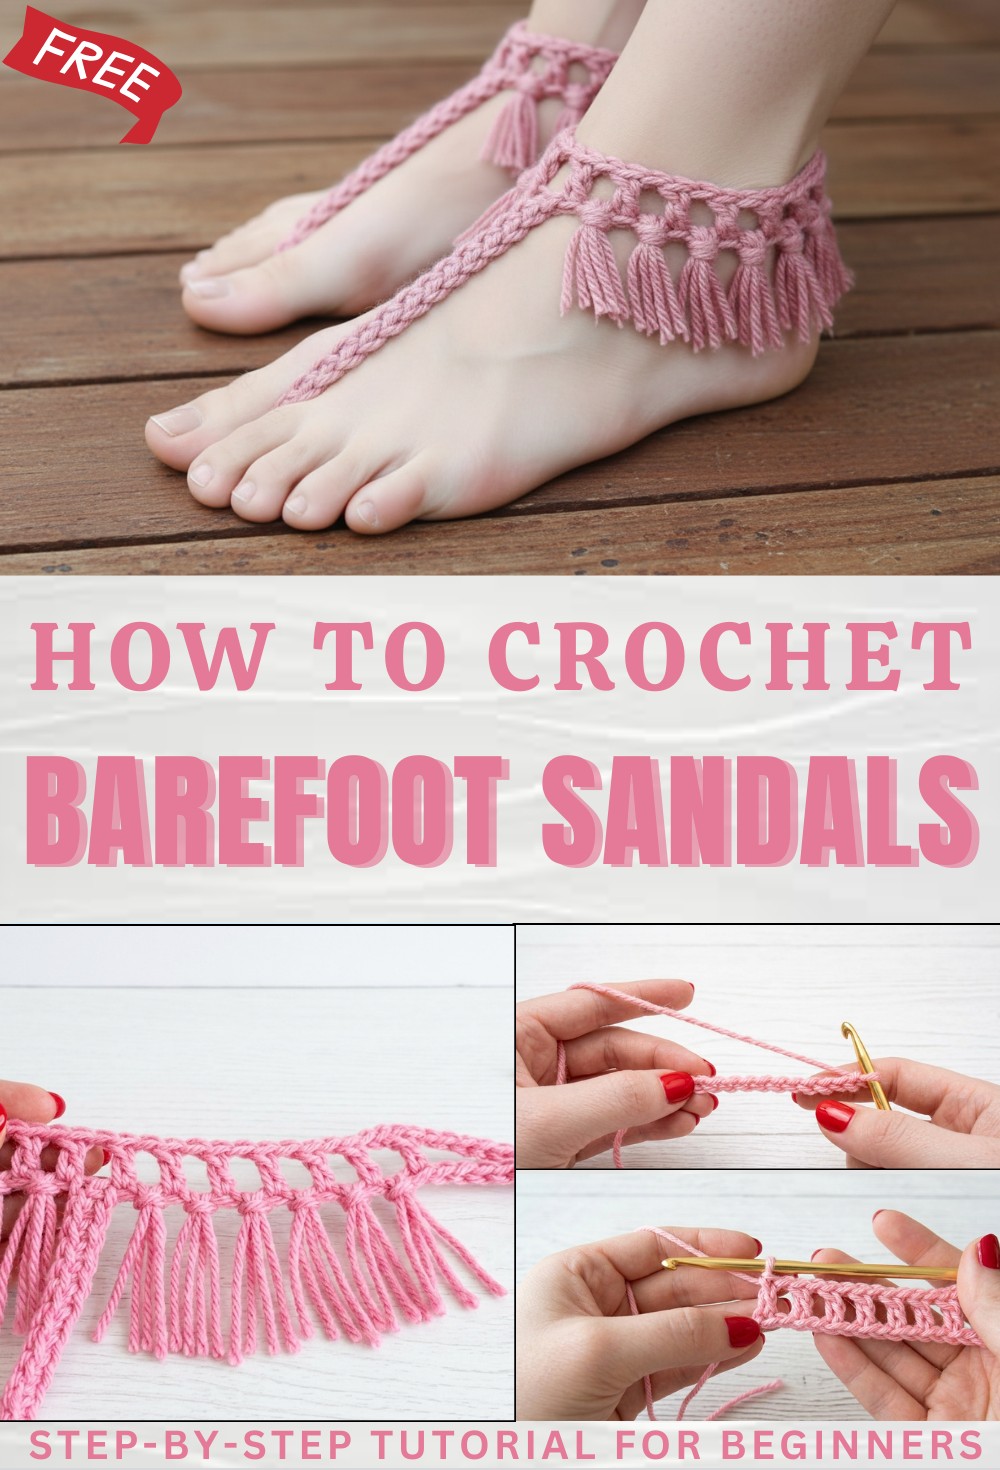
The open style keeps the feet cool while still giving a dressed look. Many people enjoy making a Crochet Barefoot Sandals pattern because it is fun and allows use of bright or soft colors to match different outfits. It is also a lovely handmade gift for friends or family. With its soft touch easy wear and beautiful design this foot accessory brings comfort style and a unique handmade look that makes simple moments feel special and elegant every day.
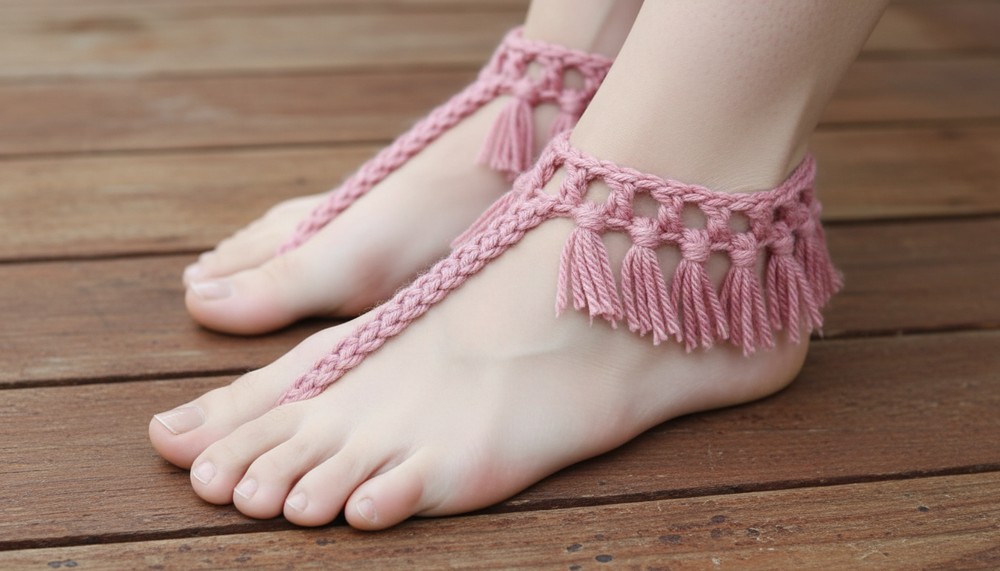
Crochet Barefoot Sandals Pattern
In this pattern, we will crochet barefoot sandals using a size 4 medium weight yarn and a 5 mm hook. The pattern can be worked with a single strap that ties around the ankle or with a long, continuous strap to wrap around your leg several times, tying in the front or back as you prefer. You’ll take a few foot measurements before beginning to customize the fit, and stitch markers will help you organize each sandal section.
Quick Overview of Pattern
- Custom foundation chain using your unique foot and toe measurements.
- Markers placed at each key section (strap, ankle, foot-front, toe loop).
- Work the pattern in sequential chain and stitch sections for personalized fit.
- Straps can be short (for ankle tie) or long (for multiple leg wrap).
- Embellish with decorative fringe if desired.
Notes
- Work to your own foot and toe measurements, not just stitch counts.
- Stitch numbers in the sample: 25 chains for ankle tie, 15 for one side of ankle, 13 for foot front, 11 for toe loop—yours WILL vary.
- Always try the sandal on as you work.
- Use stitch markers to avoid confusion at each section change.
Skill Level
Beginner–Advanced Beginner
Materials
- Size 4 Medium Weight Yarn
- 5 mm Crochet Hook
- Stitch Markers
- Measuring Tape
- Yarn Needle
- Scissors
Measurements / Sizing
- Ankle circumference (ex: 9”)
- Distance from ankle bend to base of second toe (ex: 4”)
- Circumference around first toe after big toe (ex: 2”), plus approx. 1” for comfort
- Foundation strap: at least 25 chains for tie-back, or longer for wrap-around
Gauge
- Not critical; adjust as you go for best fit.
Stitch Abbreviations
- ch = chain
- sc = single crochet
- dc = double crochet
- sl st = slip stitch
Special Stitches
- Fringe: Cut strands (about 4.5″), fold in half, draw loop through chain space, pull ends through loop, tighten.
The Crochet Pattern!
Step 1: Create First Strap (Tie or Wrap)
- For ankle strap:
1.1. Chain 25 (or more for a larger ankle). - For wrap-around strap:
2.1. Chain as many as needed to wrap your leg as you wish, plus enough to tie off. - Place stitch marker in the last chain of this strap section.
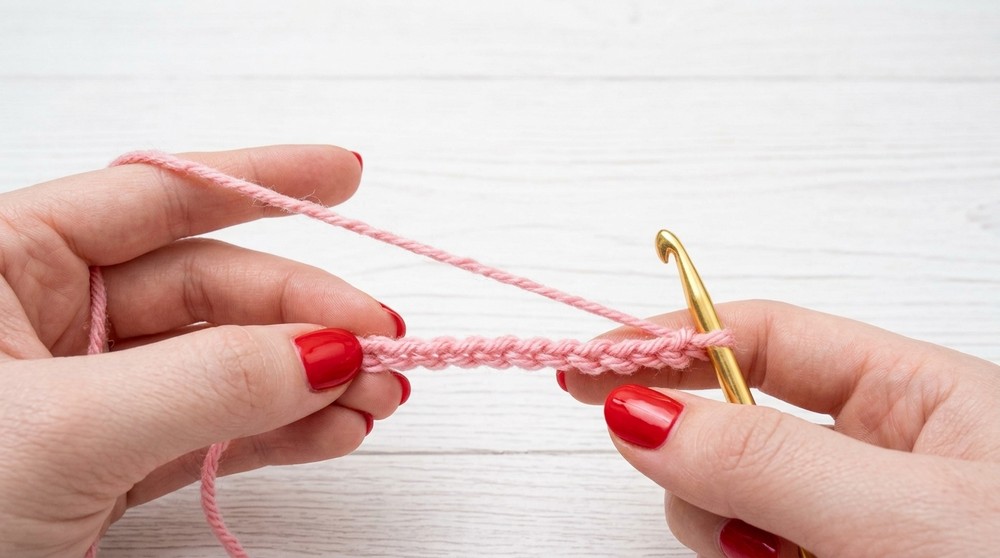
Step 2: Side Across Ankle
- Measure half your ankle circumference (e.g., 4.5″).
- Continue chaining
2.1. Chain until this section equals your measurement (sample: 15 chains for 4.5″). - Mark the last chain in this section with your second stitch marker.

Step 3: Down the Top of the Foot
- Measure from ankle bend to base of second toe (e.g., 4″).
- Continue chaining
2.1. Chain until this section equals your measurement (sample: 13 chains for 4″). - Mark the last chain in this section with your third stitch marker.

Step 4: Toe Loop
- Measure around first toe after big toe (e.g., 2″) and add 1″ for ease (sample: 3″).
- Continue chaining
2.1. Chain until this section equals your measurement (sample: 11 chains for 3″). - Do NOT place a new marker.
Step 5: Forming the Toe Loop
- Form the toe loop:
1.1. Insert hook into the chain with your third marker (end of foot section).
1.2. Single crochet into the back bump of that chain, joining the loop. - Single crochet in each of the next chains (back bumps) heading back up toward the ankle—stop before the next marker (do not work into the marker stitch).
Step 6: Creating Ankle Section (Other Side)
- Chain the same number as on the first ankle side (step 2.2, ex: 15).
- Mark the last chain in this new section.
Step 7: Second Strap (Other Side)
- If using short ankle strap:
1.1. Chain 25 (same as the first side). - If using wrap-around strap:
2.1. Chain to match the length of the first strap.

Step 8: Finishing Main Strand
- Chain one more, pull the yarn through to fasten off with a slip stitch.
- Snip yarn and pull tightly to secure.
- Knot again for extra security.
Step 9: Main Post/Front Decoration
- Double crochet section:
1.1. Note how many chains were in your “top of foot” section (ex: 13).
1.2. Begin a new chain for the post:- For short-strap version: Chain the same as base tie (ex: 25) plus, add the number of chains skipped for chain-1 spaces in the next step.
- For wrap-around: Chain 7.
- Attach this new chain:
2.1. From where your first side “foot” section is marked, dc into the back of that chain.
2.2. Work pattern:- Double crochet into first stitch
- Chain 1, skip one chain,
- Double crochet into next stitch
- Repeat (dc, ch 1, skip 1, dc) until you reach the marked “post” stitch at sandal’s center.
- Middle post:
3.1. Chain 1
3.2. Double crochet into post/center stitch
3.3. Continue dc, ch 1, skip 1 the same way on the second side. - Match number of double crochets to side one for symmetry.
Step 10: Mirror Straps
- Chain to match the strap section from step 1 (25 on short, 7 on wrap style).
- Fasten off as in step 8.
Step 11: Assembly
- Wrap-style:
1.1. Skip 7 stitches on the starting section (step 1), and tie off to the next matching chain.
1.2. Weave in tails. - Short strap:
2.1. Straps are already complete; weave in any ends. - Repeat steps for second sandal, keeping all counts mirrored.
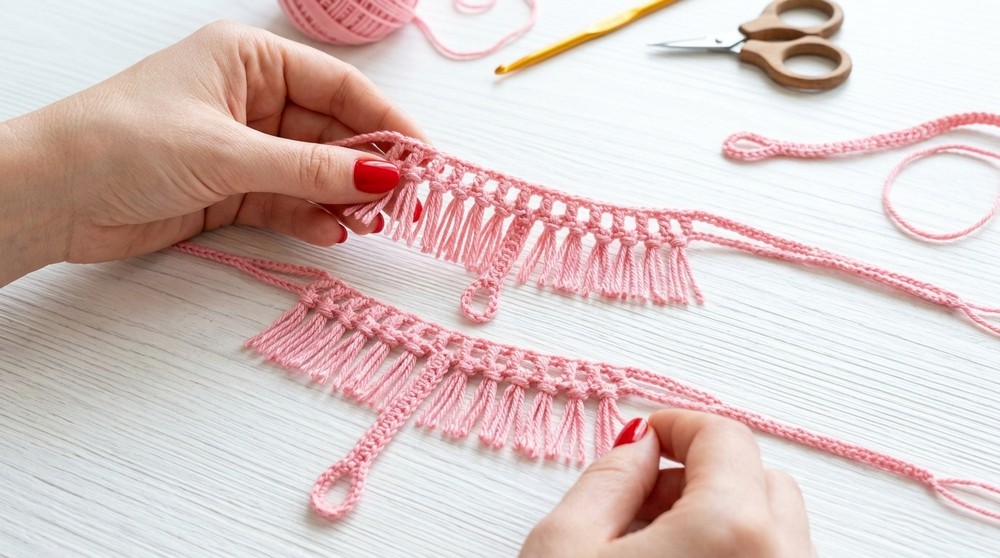
Step 12: Optional Fringe
- Cut yarn strips (about 4.5” each).
- Fold two strips together, making a loop.
- With hook, insert loop into a chain-1 space along the foot panel.
- Pull the ends through the loop and tighten.
- Repeat in each chain-1 space (add as much or little as you like).
- Trim fringe even OR leave uneven for a boho effect.
Assembly & Finished Size
- Your sandal should fit snugly but comfortably from ankle to toe.
- Try the straps around your ankle or wrap around your leg; tie as you prefer front or back.
- Attach fringe and even out the ends if necessary.

Conclusion and Ending Words
Your crochet barefoot sandals are now complete! The section-by-section, adjustable pattern ensures a custom fit for any foot size and shape. You can personalize these sandals further with beads, extra fringe, or colorful yarn changes.