Free Elf Hat Crochet Pattern for Holiday Fun
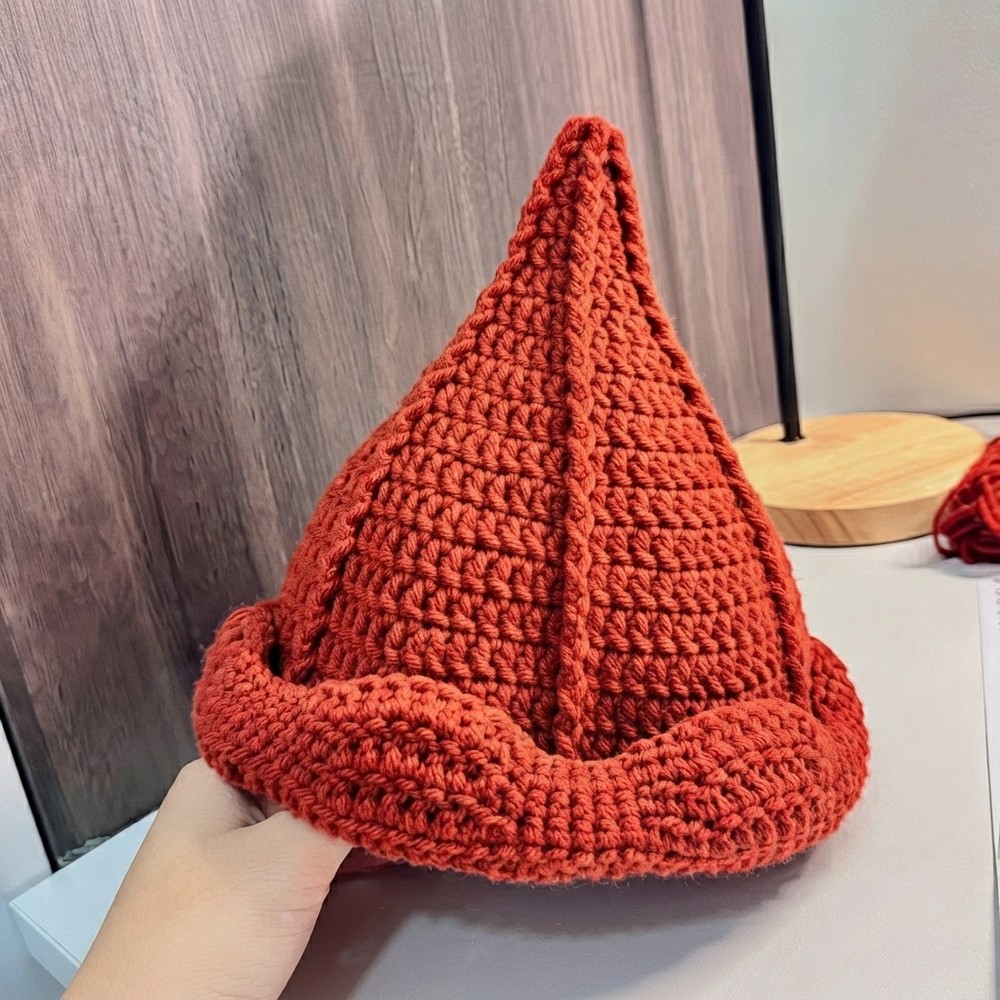
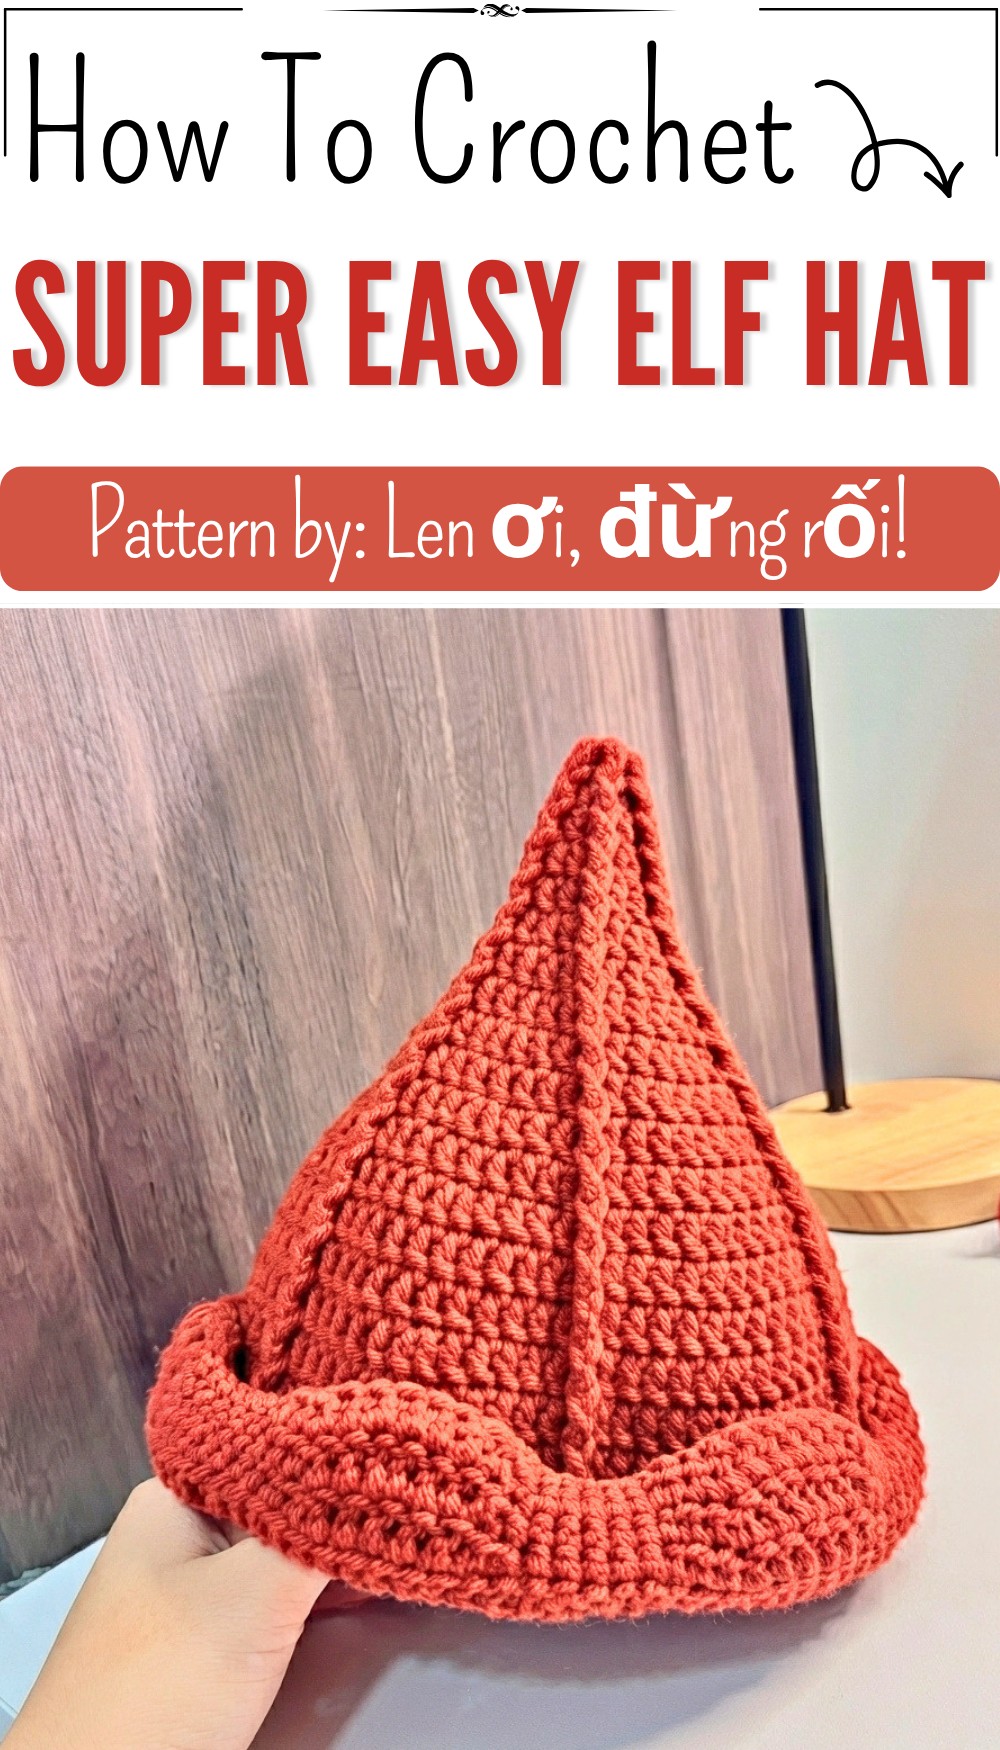
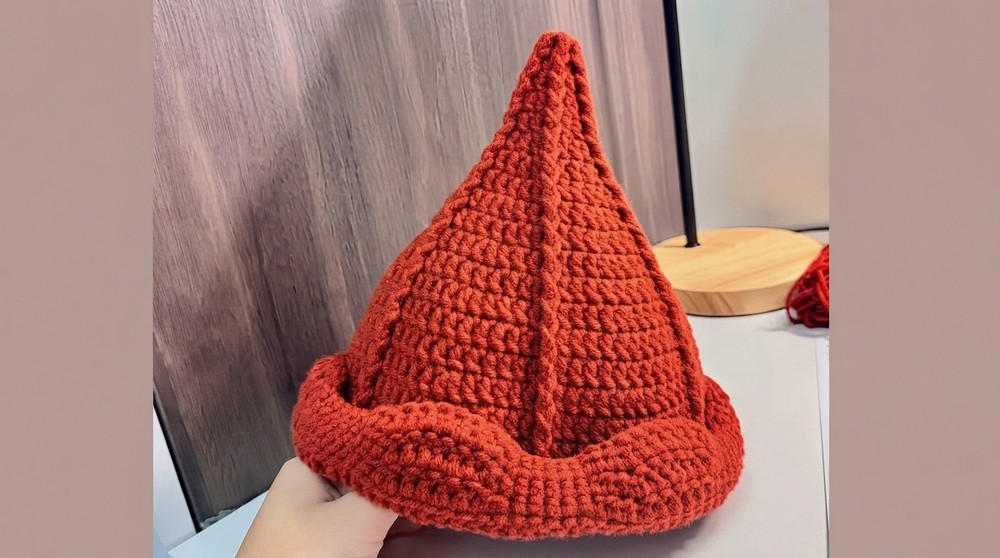
This cozy elf hat fits great at Christmas parties, holiday photos, or just to brighten up cold days. It’s small but full of personality, and it makes a wonderful gift for friends and family who enjoy fun accessories. You can wear it around the house or take it along to festive events for an extra dose of Christmas spirit.
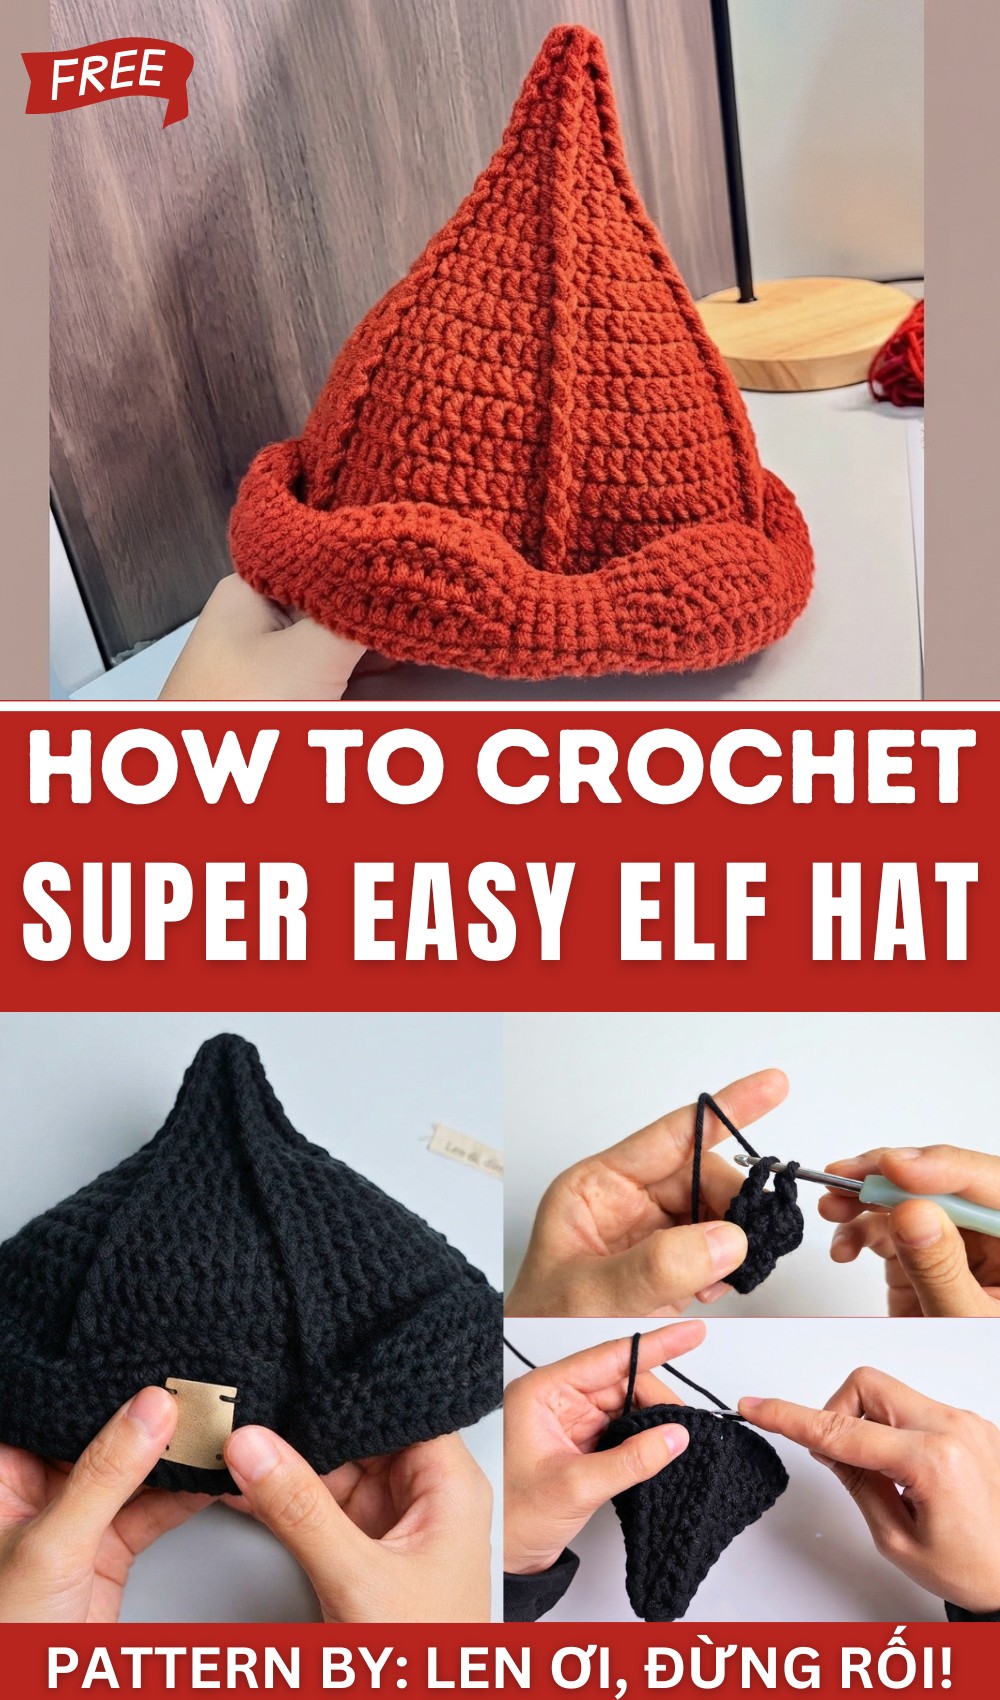
With the free crochet Elf Hat Pattern, adding a bit of holiday magic to your wardrobe is easy and fast. The finished piece feels special and brings smiles. Whether to keep for yourself or share as a gift, this hat is a fantastic way to add a cheerful touch to the season.
Elf Hat Crochet Pattern
This crochet pattern guides you in crafting a cozy and cute Elf Hat using a 4.0 mm hook and soft milk cotton yarn. Perfect for festive occasions or winter wear, this hat combines textured stitch work and a charming shape that tapers to a delightful point. The pattern features single crochets, double crochets, and post stitches to create unique ridging and detail, finished with a decorative border.
Quick Overview Of Pattern
- Start with a magic ring foundation.
- Work single crochet and progress to double crochet stitches incorporating front and back post stitches to build texture.
- Follow increasing rounds to shape the crown and sides.
- Alternate stitch patterns for subtle ribbing.
- Complete with a multi-textured edging combining single crochet, half-double crochet, and double crochet stitches for a neat finish.
Notes
- The pattern uses UK terminology (double crochet = US single crochet etc.).
- Work in continuous rounds or join with slip stitches where indicated.
- Use stitch markers to maintain the start of rounds.
- Maintain consistent tension, especially through post stitches, to keep texture even.
- The milk cotton yarn creates a soft, slight sheen ideal for baby or toddler sizes but can be adapted.
- The hat is worked top-down, suitable for customization by adding rows for larger sizes.
Skill Level
Intermediate: Requires familiarity with magic ring, double crochet, post stitches (front and back), increases, and multiple crochet stitches for edging.
Materials
- Milk cotton yarn (soft, medium-light weight recommended)
- 4.0 mm crochet hook
- Stitch marker
- Scissors
- Yarn needle
Measurements / Sizing
- Finished head circumference: approximately 25 cm (10 inches)
- Height: approximately 12 cm (4.7 inches)
- Suitable for babies or small toddlers; adjust by adding or omitting rounds accordingly.
Gauge
- Gauge is not critical but aim for a firm fabric with the recommended hook and yarn.
- Approximate gauge: 16 dc x 8 rows = 10 cm
Stitch Abbreviations (UK Terms)
- ch = chain
- sc = single crochet
- dc = double crochet
- hdc = half double crochet
- sl st = slip stitch
- fpdc = front post double crochet (working around post in front of the stitch)
- bpdc = back post double crochet (working around post behind the stitch)
Special Stitches
Magic Ring
Start by making a loop and working stitches directly into it to avoid gaps in the center.
Front Post Double Crochet (fpdc)
Yarn over, insert hook from front to back around the post of the stitch, yarn over, pull through, complete double crochet stitch.
Back Post Double Crochet (bpdc)
Yarn over, insert hook from back to front around the post of the stitch, yarn over, pull through, complete double crochet stitch.
The Crochet Pattern
Foundation
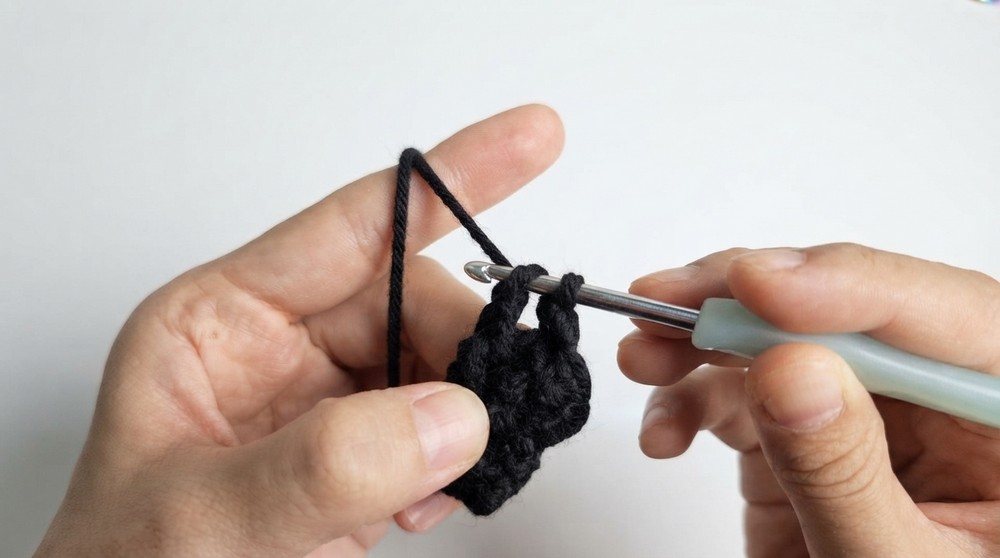
- Magic Ring:
- Make a magic ring with two yarn loops. Tighten after completing stitches.
- Row 1:
- Ch 1.
- Work 6 sc into the magic ring. Pull the ring tight to close. Join or continue in rounds.
Body of Hat (Rows 2–20)
- Row 2:
- Sl st to join.
- Chain 2.
- Work 1 dc in every stitch around (6 dc). Join or work continuous.
- Row 3:
- Chain 2.
- 1 dc in stitch, then 1 dc into the post (body) of that same stitch.
- Repeat around. (Creates front and back post double crochet alternation.)
- Row 4:
- Chain 2.
- 1 dc in the first stitch, then 1 dc into the post of the next stitch.
- Repeat around.
- Row 5:
- Chain 2.
- 2 dc in the first stitch, 1 dc in the post of the next stitch.
- Repeat around.
- Row 6:
- Chain 2.
- 1 dc in first stitch, 1 dc in second stitch, then 1 dc into the post of the third stitch.
- Repeat around.
- Row 7:
- Chain 2.
- 2 dc in first stitch (increase), 1 dc into the post of the third stitch.
- Repeat around.
- Row 8:
- Chain 2.
- 1 dc in the first stitch, 1 dc in second stitch, 2 dc in the third stitch (increase), 1 dc into the post of the fourth stitch.
- Repeat around.
- Row 9:
- Chain 2.
- 1 dc in first 3 stitches, 2 dc in fourth stitch (increase), 1 dc into the post of the fifth stitch.
- Repeat around.
- Row 10:
- Chain 2.
- 1 dc in first 2 stitches, 2 dc in third stitch (increase), 1 dc in fourth and fifth stitches, 1 dc into the post of the sixth stitch.
- Repeat around.
- Row 11:
- Chain 2.
- 1 dc in first 5 stitches, 2 dc in sixth stitch, 1 dc into the post of the seventh stitch.
- Repeat around.
- Row 12:
- Chain 2.
- 1 dc in first 3 stitches, 2 dc in fourth stitch, 1 dc in fifth, sixth and seventh stitches, 1 dc into the post of the eighth stitch.
- Repeat around.
- Row 13:
- Chain 2.
- 1 dc in first 7 stitches, 2 dc in eighth stitch, 1 dc into the post of the ninth stitch.
- Repeat around.
- Row 14:
- Chain 2.
- 1 dc in first 4 stitches, 2 dc in fifth stitch, 1 dc in sixth through ninth stitches, 1 dc into the post of the tenth stitch.
- Repeat around.
- Row 15:
- Chain 2.
- 1 dc in first 9 stitches, 2 dc in tenth stitch, 1 dc into the post of the eleventh stitch.
- Repeat around.
- Row 16:
- Chain 2.
- 1 dc in every stitch (total 12 stitches).
- Row 17:
- Chain 2.
- 1 dc in first 5 stitches, 2 dc in sixth stitch, 1 dc in seventh through tenth stitches, 1 dc into the post of eleventh and twelfth stitches.
- Row 18:
- Chain 2.
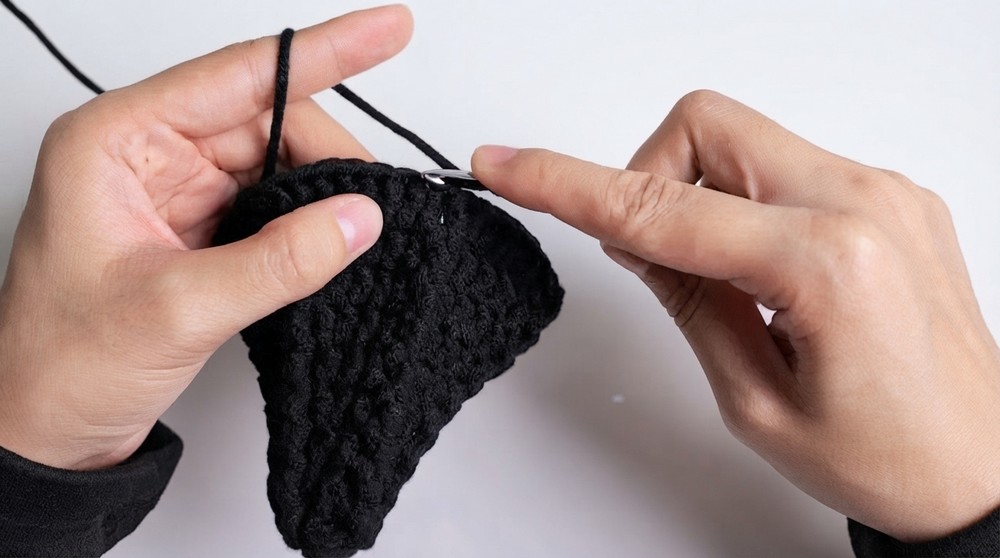
- 1 dc into the post of every stitch around, creating texture.
- Row 19:
- Chain 2.
- 1 dc in first 2 stitches, continue 1 dc in each stitch; at the specific increase stitch do 2 dc, then 1 dc into the post.
- Row 20:
- Chain 2.
- 6 dc, 2 dc in seventh stitch (increase), 6 dc, 1 dc into the post.
Hat Border / Edging
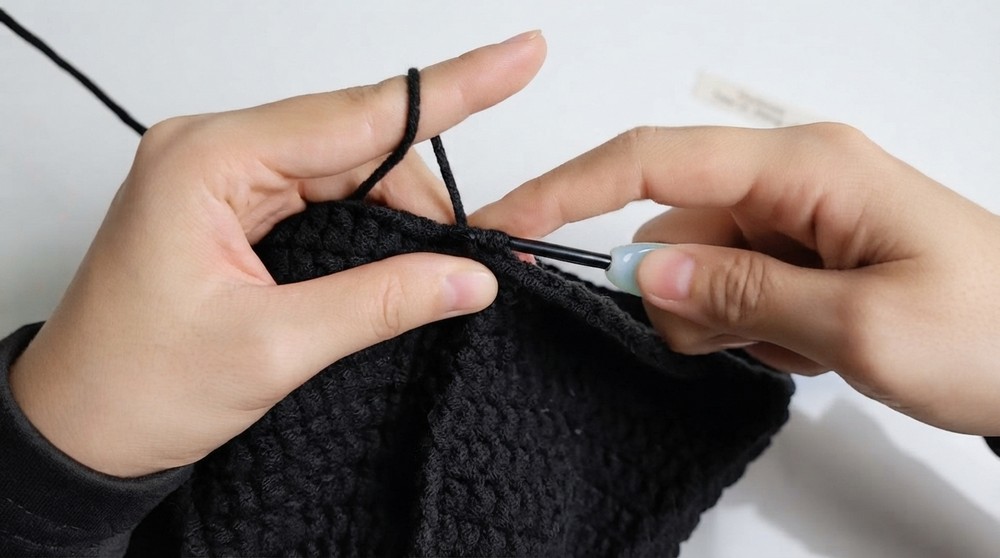
- Final Row 1:
- Chain 1.
- Work 3 sc, 2 half-double crochets (hdc), 5 double crochets (dc), 2 hdc, 3 sc.
- Final Row 2:
- Chain 1.
- Work 3 sc, 2 hdc, 2 dc, 2 dc in one stitch (increase), 2 dc, 2 hdc, 3 sc.
- Final Row 3:
- Chain 1.
- Work 3 sc, 2 hdc, 6 dc, 2 hdc, 3 sc to finish the edging.
Assembly & Finished Size
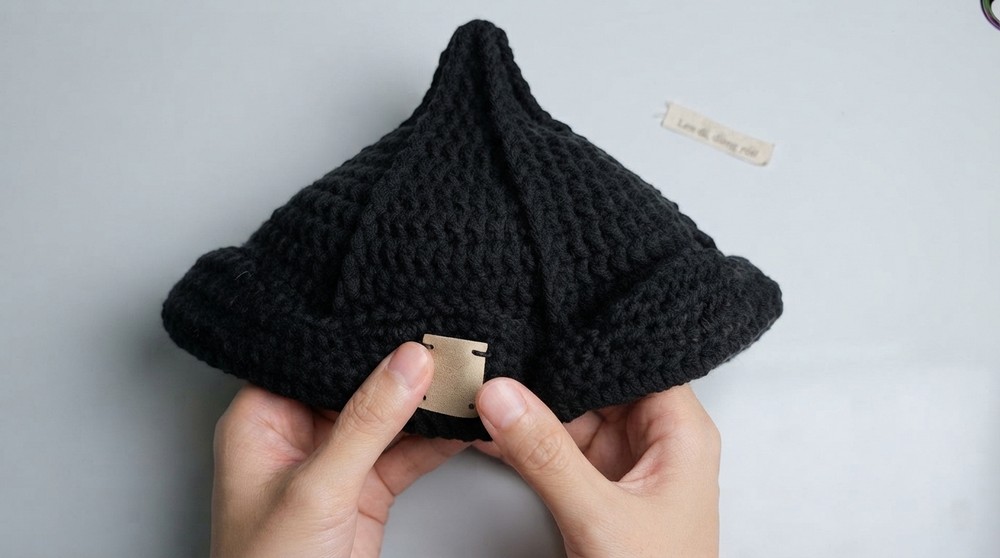
- Weave in all ends securely.
- Block gently if desired to shape the ribbing and edging.
- The hat’s finished circumference measures approx. 25 cm (10 inches), height around 12 cm (4.7 inches).
- Adjust by adding or reducing body rows to fit a larger or smaller head size.
Conclusion
You now have a beautifully textured, softly shaped Elf Hat perfect for festive wear or as an adorable gift. This pattern’s mix of post stitches and combined crochet techniques give it a handcrafted charm with professional results.