Mask Connecter Crochet Instructions for Newbies
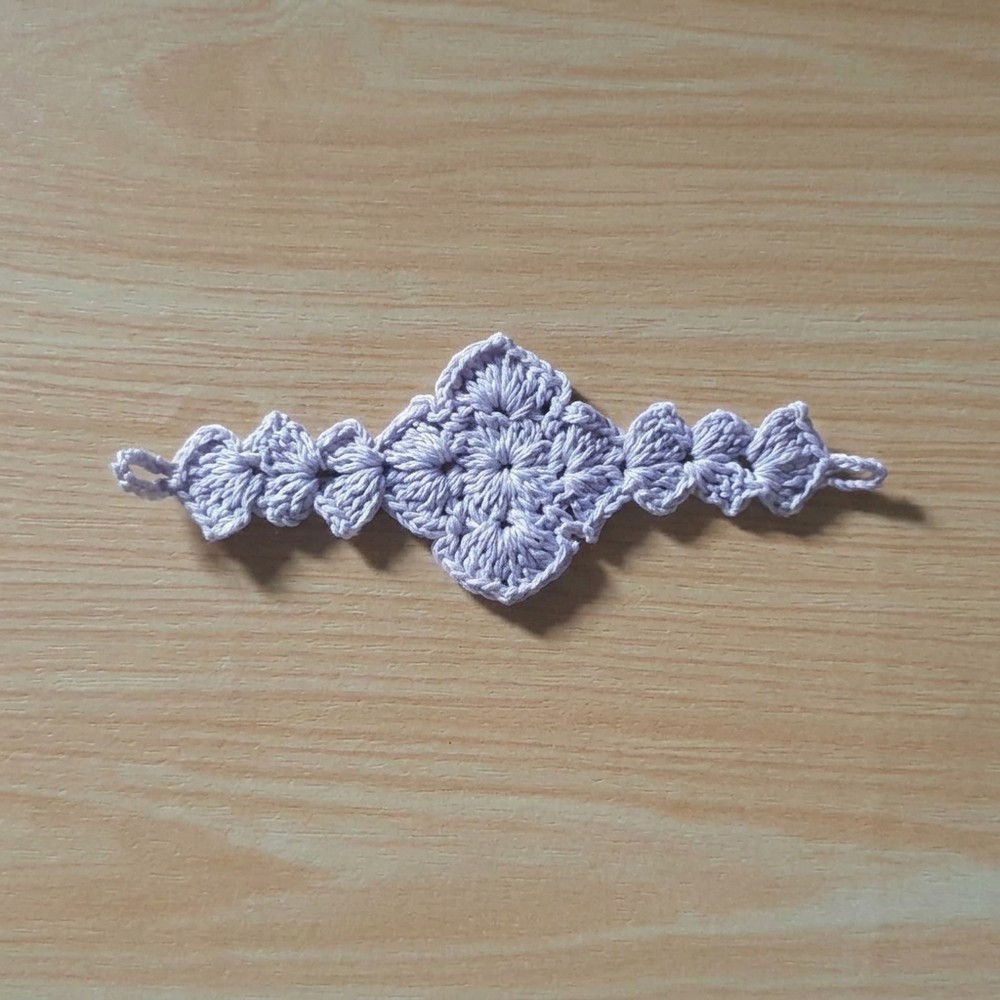
Strengthen mask support using this Free Crochet Mask Connecter Pattern that’s perfect for creating a snug fit and increasing wearing comfort throughout the day.
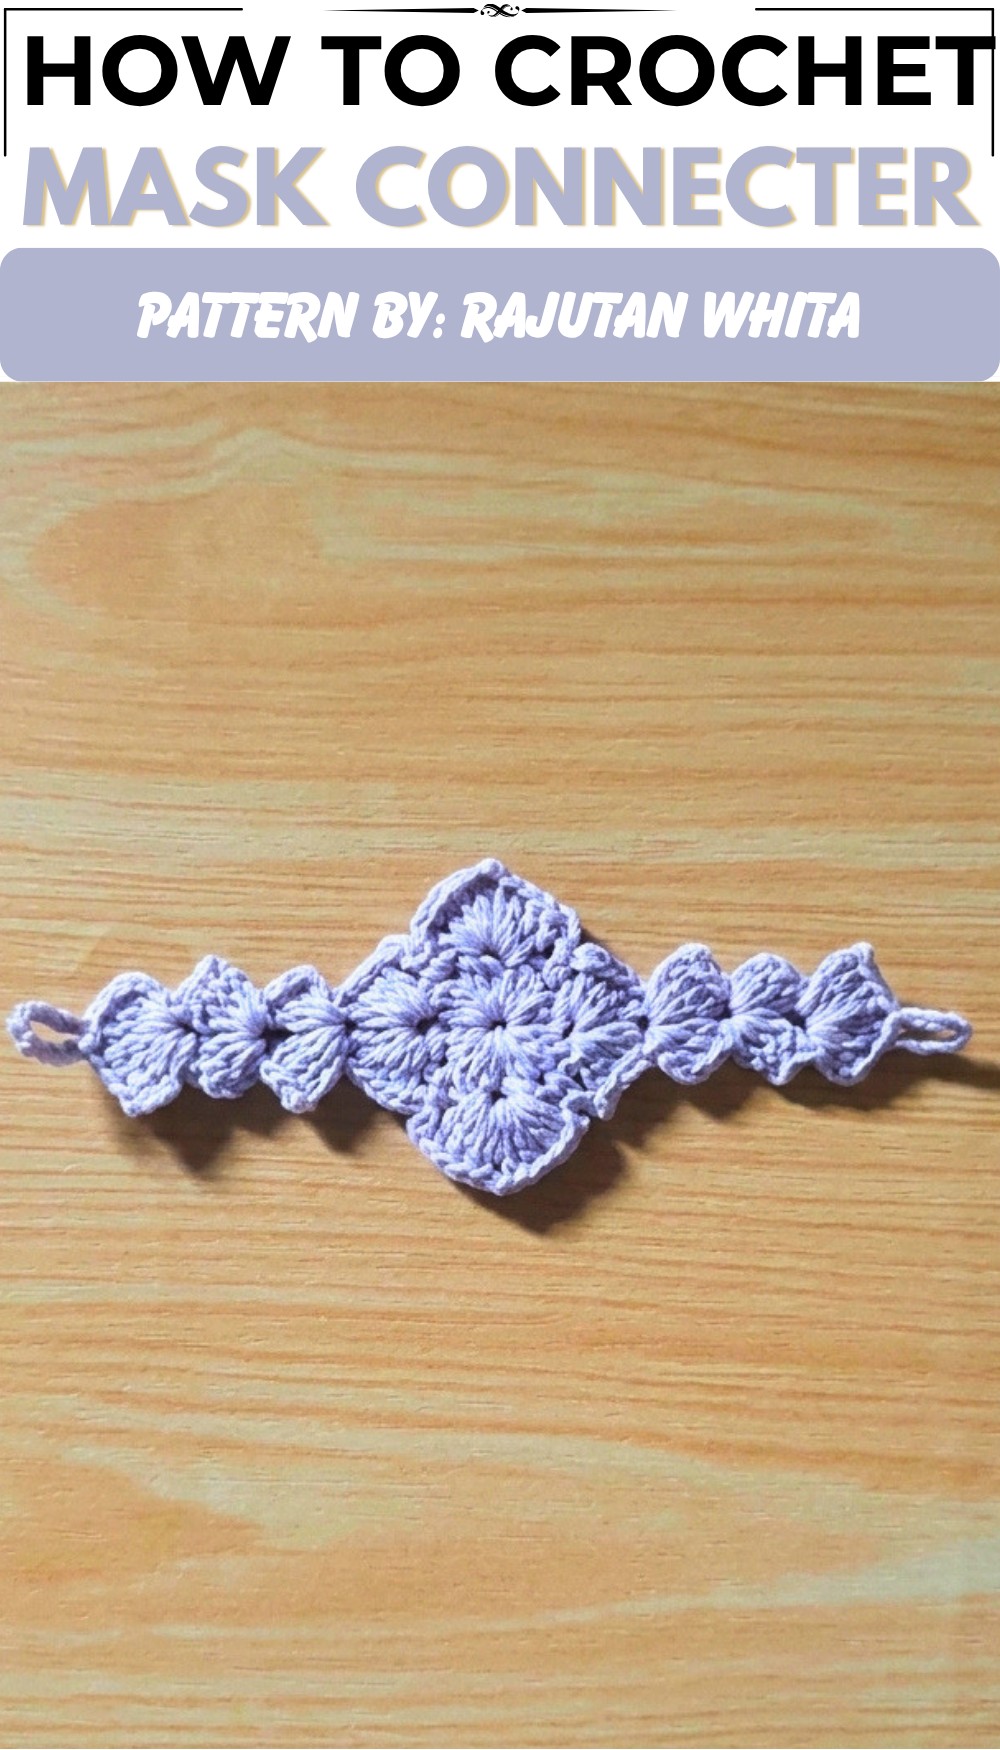
Wearing masks for long periods can sometimes cause discomfort, but there’s a simple solution that adds both comfort and style. On the YouTube channel Rajutan Whita, you can find a Free crochet Mask Connecter pattern that helps connect mask straps behind the head. This clever little item is not only practical but also makes for a thoughtful handmade gift that shows you care.
The mask connecter is beautifully crocheted with soft yarn, giving it a gentle and cozy feel. Its shape is usually small and rectangular with smooth edges, featuring delicate crochet stitches that create a charming texture. Available in various colors, it can easily match different masks or add a pop of color to your daily routine. This compact project stands out by combining ease of use with a decorative touch.
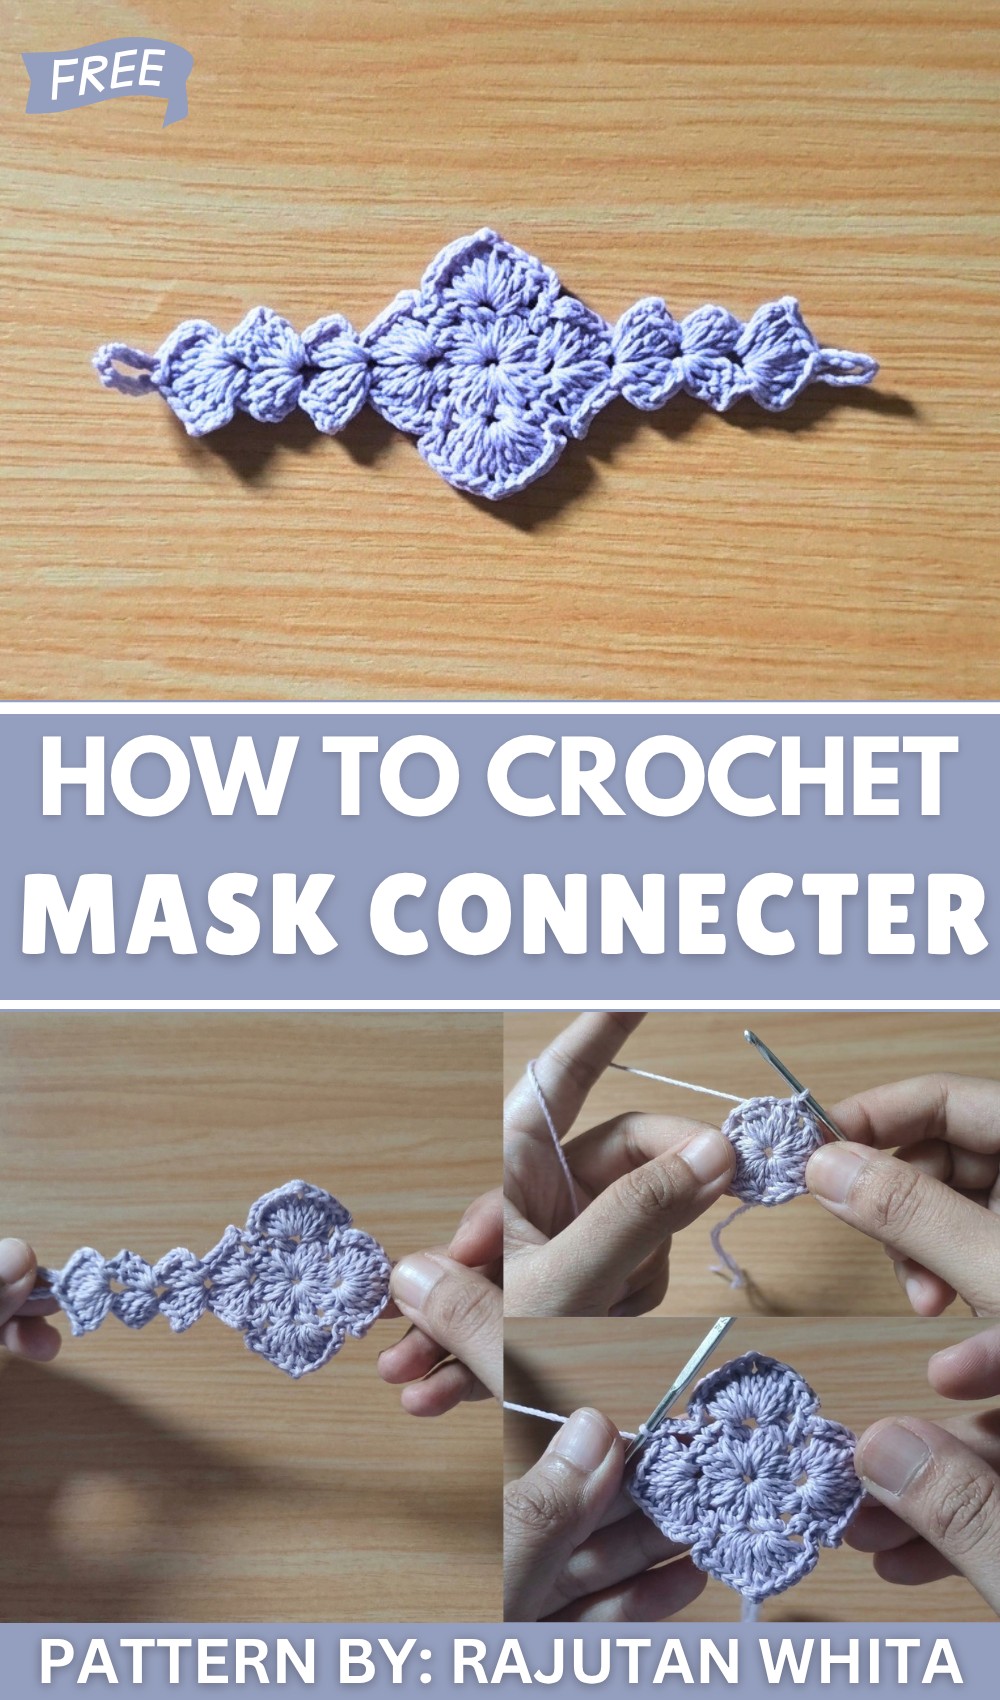
Free Crochet Mask Connecter Pattern with Ease
Beyond its lovely look, this mask connecter helps relieve the strain on ears from prolonged mask wearing. It’s perfect for anyone who wears masks regularly—whether you’re heading to school, work, or running errands. Plus, giving this as a gift adds a personal, handmade element that friends and family will appreciate.
Rajutan Whita provides clear and friendly instructions that make this project accessible for crocheters of all levels. It’s a wonderful way to create something useful and beautiful without needing a lot of time or materials.
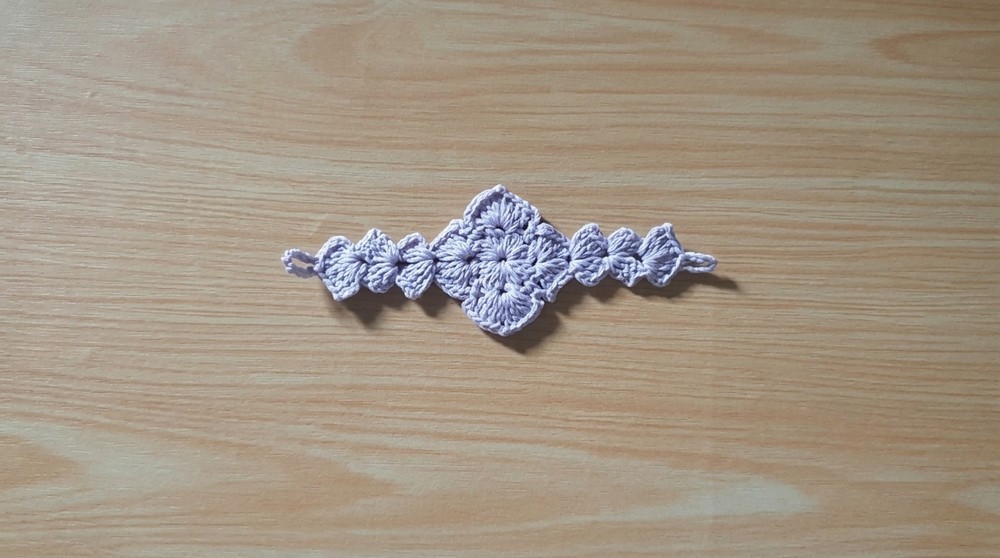
Overall, the free crochet mask connecter is a small but meaningful accessory that brings comfort, style, and a sense of care together—ideal for personal use or a sweet gift idea.
Crochet Mask Connector Pattern Using Poly Cherry Yarn and 2.0 mm Hook
This detailed crochet pattern outlines the process to create a simple, beautifully textured mask connector using Poly Cherry yarn and a 2.0 mm crochet hook. Designed to elegantly bridge mask straps and reduce ear discomfort, this connector features charming puff-stitch floral motifs extended by corner segments and finishing loops for attachment of buttons. The step-by-step instructions ensure clarity and ease of following the stitch sequences and shaping techniques, allowing customization of length to suit personal needs.
Pattern Highlights
- Work a magic ring foundation integrated with 8 puff stitches arranged in a floral motif.
- Construct flower corners composed of clusters of double crochets separated by chain spaces to form distinctive square-shaped petals.
- Extend the connector by repeating corner patterns and shaping loops via chained buttonholes.
- Seamlessly add button attachments at each end to fasten mask straps comfortably.
- Adjust length by adding or subtracting corner segments, achieving sizes roughly ranging from 12.5 cm to 18 cm.
Notes
- Puff stitches create the distinctive textured floral center and require even tension for consistent puff height.
- Chain spaces between puff stitches maintain flexibility vital for wearability.
- Corner motifs are clusters of double crochet separated by chain spaces, producing scalloped edges.
- Button loops are crafted by chaining 10 stitches at designated points, then slip stitching back to anchor.
- Yarn ends should be secured neatly with a lighter to prevent fraying.
- Customize the mask connector size by altering the number of flower corner repeats.
- Buttons are sewn on securely with a needle and thread to uphold durability during use.
Skill Level
Intermediate beginner
The pattern assumes familiarity with:
- Magic ring techniques
- Puff stitches
- Basic crochet stitches: chain (ch), single crochet (sc), double crochet (dc), slip stitch (slst)
- Creating loops for buttonholes
- Joining motifs and working in rounds/rows
Materials
- Poly Cherry yarn
- 2.0 mm crochet hook
- Scissors
- Lighter or match (to finish yarn ends)
- Buttons (suitable size for loop closure)
- Sewing needle and thread
Measurements / Sizing
- Finished mask connector length varies by number of corner repeats.
- Demonstrated sizes range between approximately 12.5 cm (few segments) and 18 cm (more segments).
- Width determined by base flower size and corner height, about 4-5 cm wide.
- Loop chain lengths remain consistent at 10 chains for button closure.
Gauge and Stitch Pattern
- Gauge is flexible but maintaining consistent puff stitch height is essential for appearance.
- The base flower and corners use 8 puff stitches arranged evenly in a magic ring, separated by chain-2 spaces.
- Corner rows feature clusters of 4 double crochets (4 DC) separated by chain-2 to form adaptable corner loops.
- Button loops are created from 10 chained stitches to accommodate button size.
- Slip stitches are used to anchor rounds seamlessly and move across motifs.
Stitch Abbreviations
| Abbreviation | Stitch | Explanation |
|---|---|---|
| MR | Magic Ring | Adjustable loop foundation |
| CH | Chain | Yarn over, pull through loop |
| SC | Single Crochet | Insert hook, yarn over, pull through 2 loops |
| DC | Double Crochet | Yarn over, insert hook, yarn over, pull through twice |
| SLST | Slip Stitch | Insert hook, yarn over, pull through stitch and loop |
| Puff Stitch (Puff) | Puff Stitch | Yarn over, insert hook, yarn over, pull through (repeat 3 times), yarn over pull through all loops on hook, ch 2 |
Special Stitches
Puff Stitch (Puff)
- Yarn over, insert hook into stitch.
- Yarn over, pull up a loop (3 loops on hook).
- Repeat last step two more times in the same stitch to have 7 loops on hook.
- Yarn over, pull through all 7 loops on hook to create the puff.
- Chain 2 to separate from the next puff.
The Crochet Pattern
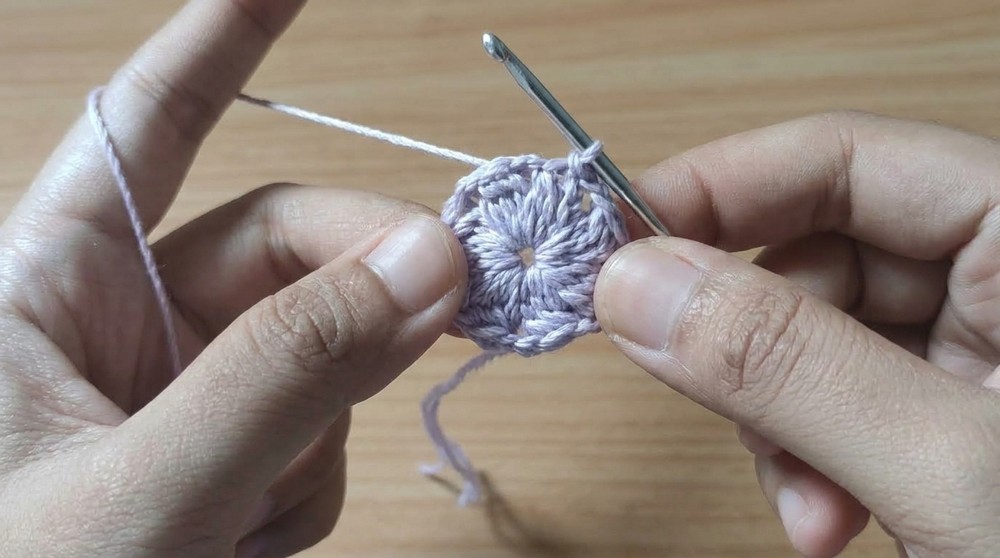
1. Base Foundation (Magic Ring with Puff Stitches)
- Create a magic ring (MR) and lock it by chaining 1 (does not count as a stitch).
- Work 8 puff stitches inside the MR, each separated by 2 chains:
Yarn over, insert hook into ring, complete puff stitch as defined above, then chain 2 before next puff. - Slip stitch (SLST) into the first puff stitch to close the round.
- Pull yarn tail to tighten the magic ring fully and secure the foundation.
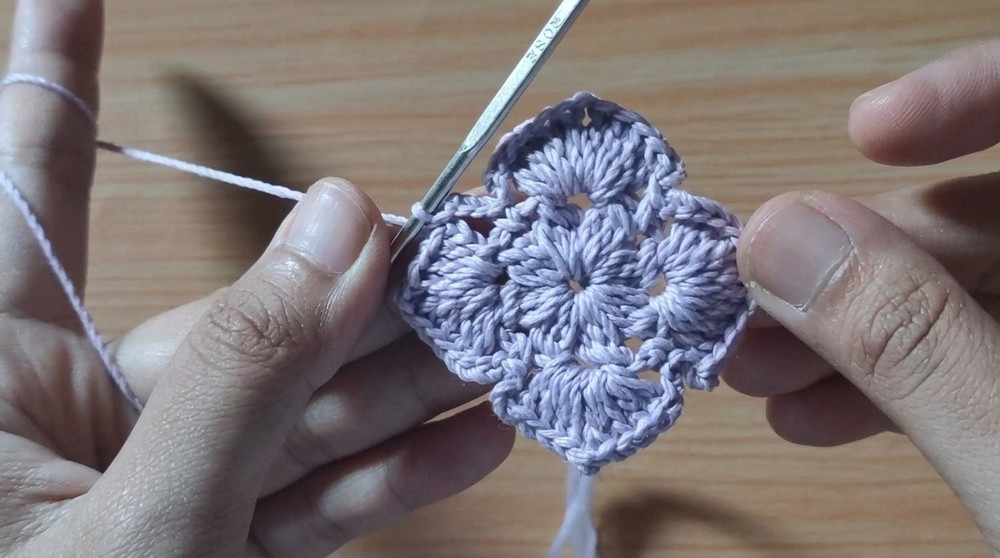
2. Creating the Flower Corners
- Slip stitch into the first 2-chain space between puff stitches to begin the corner round.
- Chain 3 (counts as first DC), then work 3 DC into the same 2-chain space.
- Chain 2 to form a corner loop.
- Work 4 DC into the same 2-chain space, completing the first corner.
- Chain 3, then make 1 single crochet (SC) into the next 2-chain space.
- Chain 3, then repeat the corner pattern (4 DC, chain 2, 4 DC) into the next 2-chain space.
- Continue working this pattern evenly around, forming a sequence of corners separated by chain-3/SC units.
3. Working the Connector Body
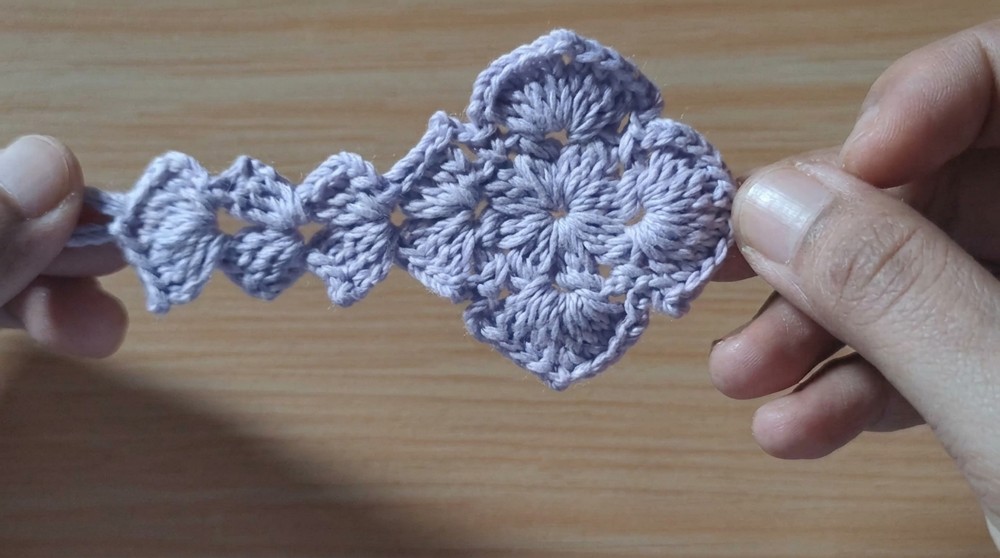
- After completing the flower corner round, slip stitch to the edge of the corner motif to prepare for rows.
- Work in rows back and forth, repeating the corner pattern:
- 4 DC, chain 2, 4 DC into chain spaces to maintain the scalloped structure.
- At desired row end, work a chain 10 to create a loop for button attachment (at approximately 10:40 in the tutorial).
- Slip stitch back into the 4th DC of the corner to anchor the button loop firmly.
- Continue with 4 DC repeats as per pattern to complete the row.
- Fasten off yarn and secure neatly.
4. Final Assembly
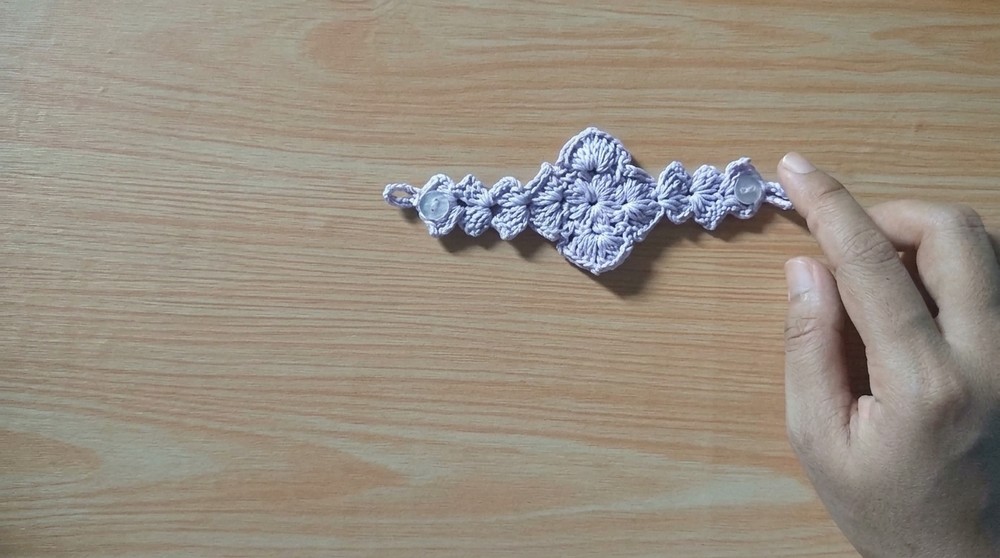
- Repeat the entire base flower corner and body pattern on the opposite end of the initial base flower motif to extend the connector.
- This produces two matching floral ends connected by rows of corner patterns and button loops.
- Using needle and thread, securely sew buttons to the button loop end(s), ensuring durable and comfortable fastening when wearing the mask.
Assembly & Finished Size
- Mask connector length depends on the number of corner segments repeated; typical lengths vary between 12.5 cm and 18 cm.
- Width across flower motifs is about 4-5 cm, offering compact but effective ear relief and mask strap connection.
- The chain-10 button loops provide reliable closure points suitable for standard buttons.
- The connector is lightweight, flexible, and designed for daily wear or gifting.
Conclusion
This crochet mask connector offers a practical yet visually appealing solution to enhance mask comfort. Using textured puff stitches and decorative double crochet corners, the design balances firmness with flexibility. The button loops provide a secure fastening method adaptable to various mask straps. By adjusting the number of corner repeats, you can customize the length to personal preference. Following these clear, step-by-step instructions lets crocheters confidently achieve a professional finish while mastering puff stitches and shaping techniques.