How to Crochet Angel Keychain Free Pattern with T-shirt Yarn
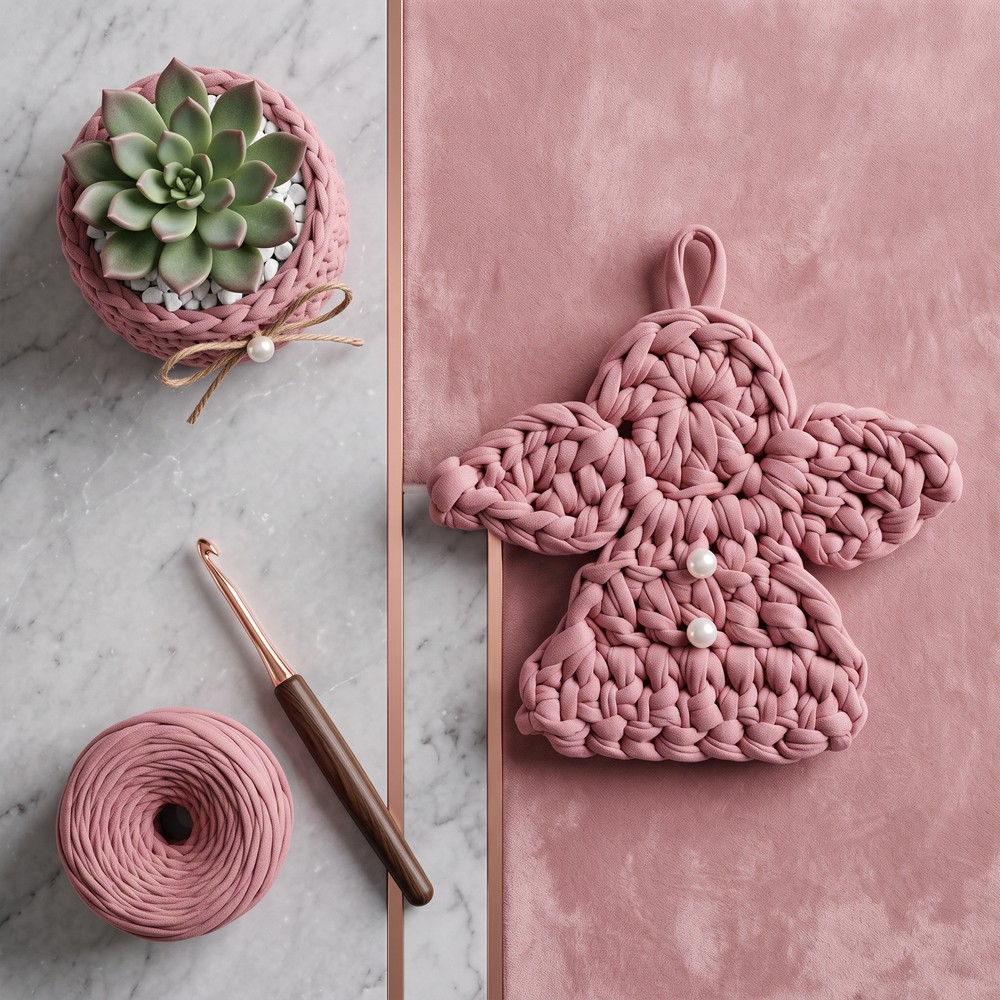
Enhance your accessories with this Free Crochet Angel Keychain Pattern that brings a graceful angel figure ideal for spreading warmth and festive joy all year round.
Handmade items often hold a special kind of charm and meaning. On the YouTube channel Jullianes Atelier, you can learn to make a beautiful angel keychain that combines cuteness with sentiment. This project is an excellent way to create a meaningful gift or a delightful keepsake.
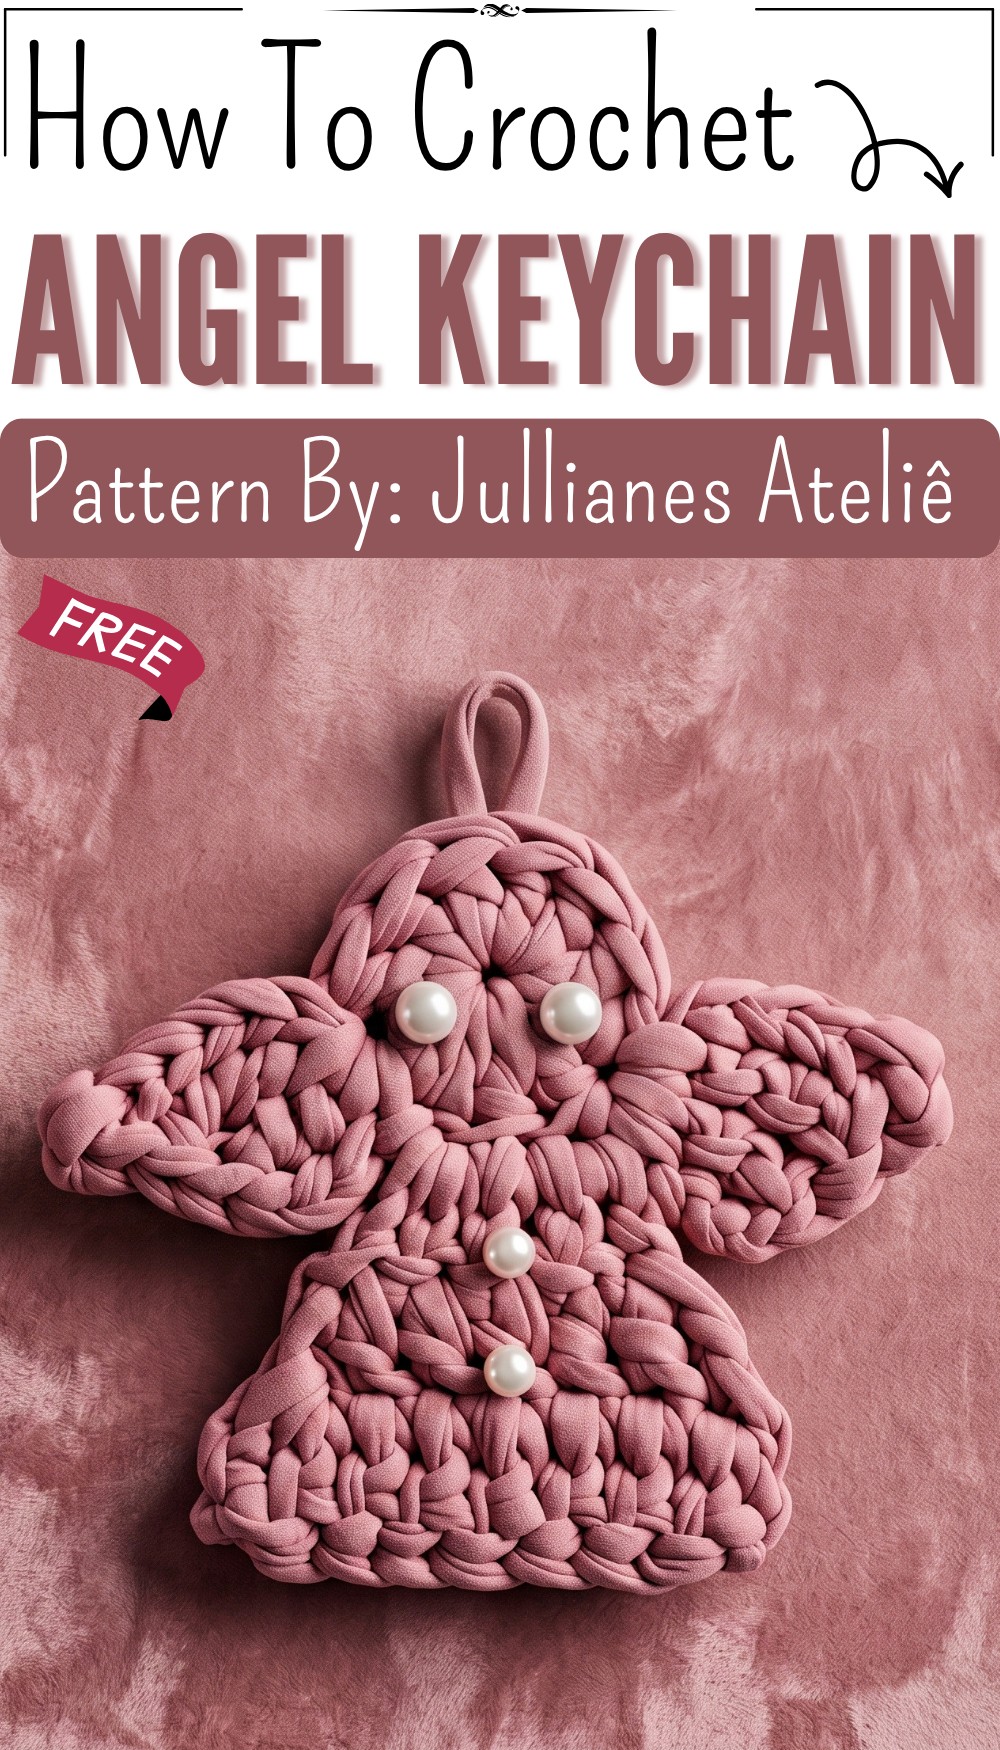
The free crochet Angel Keychain pattern shapes simple yarn into a charming angel featuring soft wings and a sweet, gentle face. Its elegant design includes a rounded head and flowing gown-like body, creating a peaceful and comforting appearance. This petite angel is perfectly sized to hang on keys, bags, or as a lovely decorative touch around the home.
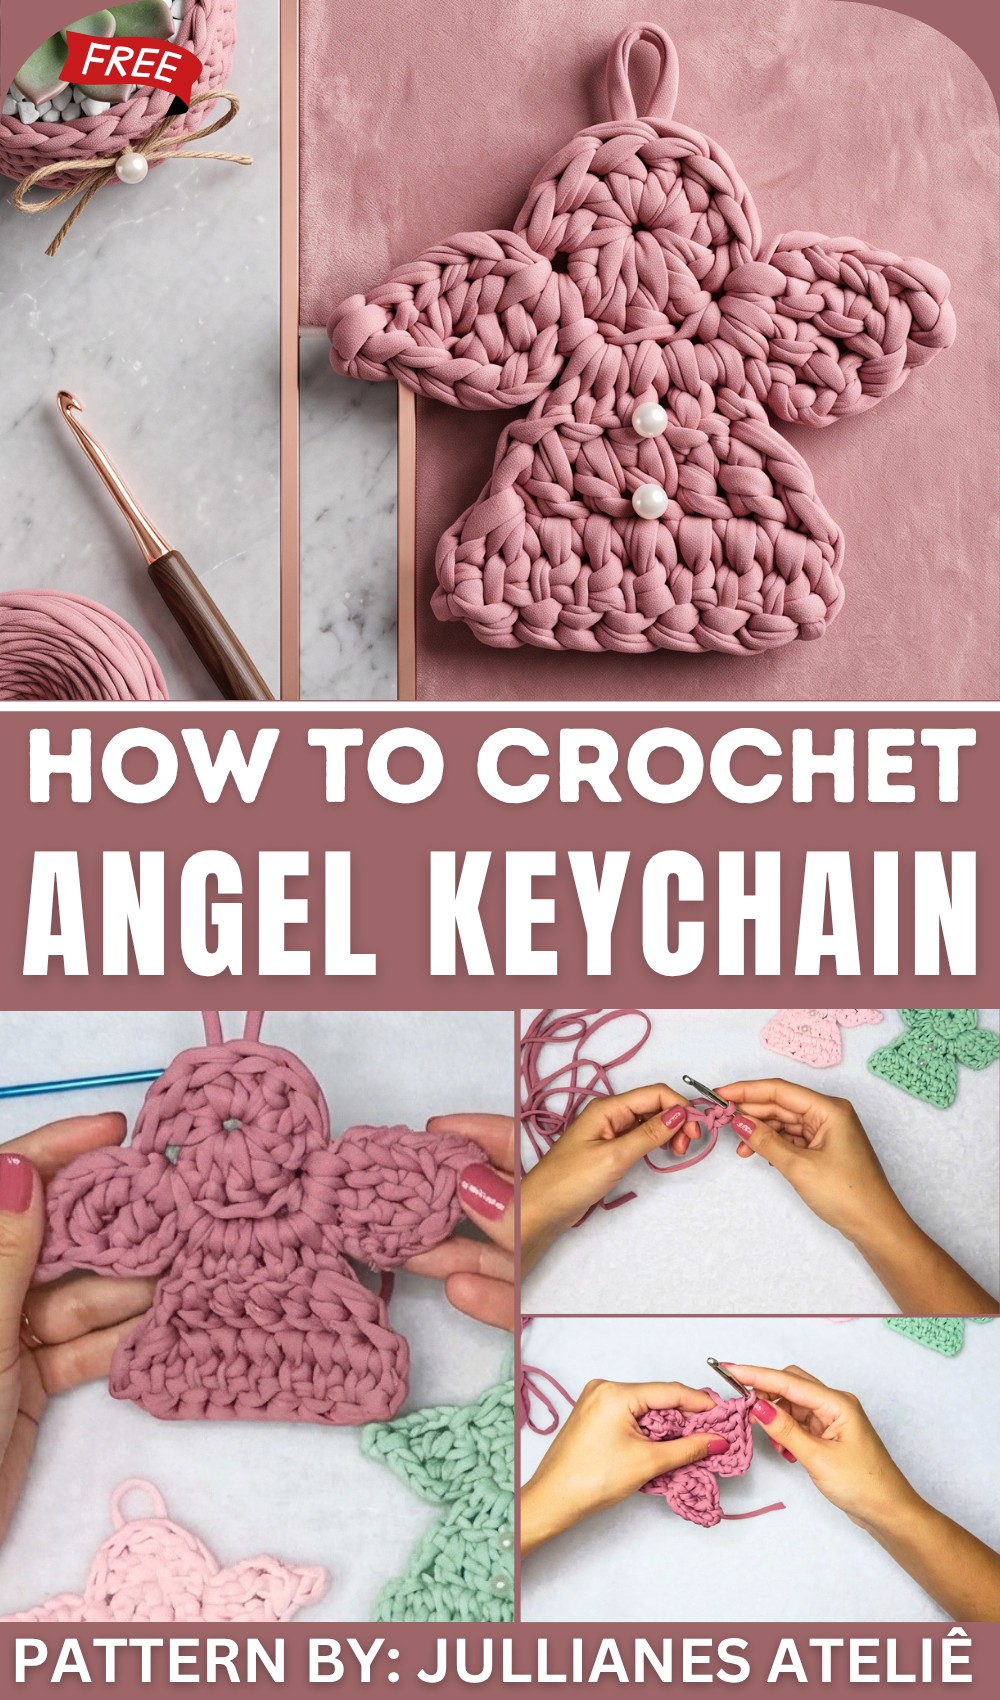
Free Angel Keychain Crochet Pattern with Simple Details
This keychain stands out with its mix of simplicity and heartfelt meaning. It makes a thoughtful present for holidays, birthdays, or special moments when you want to show someone you care. The soft texture and sweet design bring warmth and positivity, turning it into much more than just an accessory—it’s a symbol of hope and kindness.
Beyond its decorative appeal, this angel keychain adds personality to backpacks, purses, or even rearview mirrors. Easy to carry and full of gentle charm, it serves as a constant reminder of protection and goodwill wherever you go.
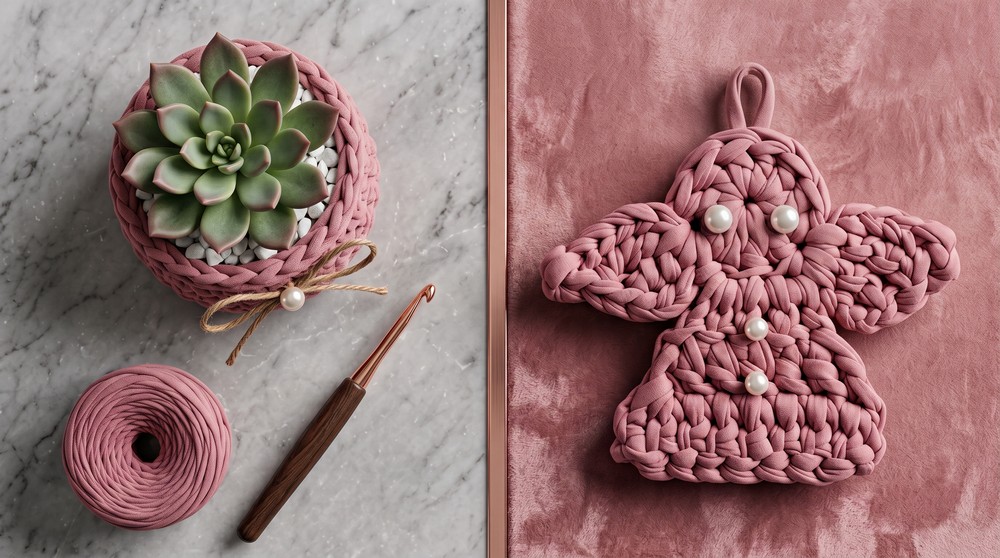
In summary, this crochet angel keychain perfectly balances style and meaning. Its timeless look and heartfelt design make it a wonderful handmade item to gift or cherish for yourself.
Crochet Angel Keychain Pattern Using T-Shirt Yarn
This crochet pattern guides you through creating an elegant angel keychain using t-shirt yarn (fio de malha) and a 6mm crochet hook. The design combines circular and linear crochet techniques to build the angel’s head, two wings, and body with distinct shaping to create a charming and functional keychain ornament. This step-by-step pattern will walk you through every stitch and row for best results.
Pattern Highlights
- Starts with a magic ring to form the angel’s head using double crochet stitches
- Two distinct wings created through chains, slip stitches, triple crochets, double crochets, and chain loops
- A rectangular, lightly shaped body built with progressive increases in double crochet stitches
- Simple finishing techniques with weaving in ends and optional decorative accents
- Crafted entirely with t-shirt yarn on a 6 mm hook for bulk and stability
Notes
- Maintain a consistent crochet tension to ensure uniform stitches, especially when working with thick t-shirt yarn.
- The stitch count and shaping depend on crocheting into specific chain spaces and base stitches carefully.
- Use stitch markers or count stitches when working across rows to maintain accuracy.
- Decoration (ribbons, pearls) is optional but adds elegance to the finished angel.
- The pattern is worked flat for the wings and body sections after the initial circular head.
Skill Level
Recommended for intermediate beginners who:
- Are comfortable with magic ring technique and circular crochet.
- Know how to execute double crochet (dc), triple crochet (tr), slip stitches (sl st), and chains (ch).
- Can work row increases and turns reliably.
- Can manage simple finishing techniques such as weaving in ends and attaching accessories.
Materials
- Fio de malha (t-shirt yarn), a thick, stretchy fabric yarn
- Crochet hook size 6 mm
- Small scissors
- Yarn needle for finishing
- Optional ribbon or small decorative pearls for embellishment
- Stitch marker (optional)
Measurements / Sizing
- The completed angel keychain measures approximately 10–12 cm (4–5 inches) in height.
- The wings span about 5–6 cm across depending on individual crochet tension.
- The body width ranges between 4–5 cm, shaped by increases.
Gauge and Stitch Pattern
- Due to the bulky nature of t-shirt yarn, gauge is approximate but consistency is encouraged.
- Gauge example: roughly 8–10 double crochets per 5 cm (2 inches) when crocheting singles lines in rows.
- Circular portion (head) worked in double crochet using magic ring foundation.
Stitch Abbreviations
| Abbreviation | Meaning |
|---|---|
| ch | Chain stitch |
| dc | Double crochet |
| tr | Triple crochet (Yarn over 3 times) |
| sl st | Slip stitch |
| st | Stitch |
Special Stitches
Magic Ring
Create an adjustable closed loop to start circular crocheting. Work all stitches inside the loop, then pull tight to close the center hole firmly.
The Crochet Pattern
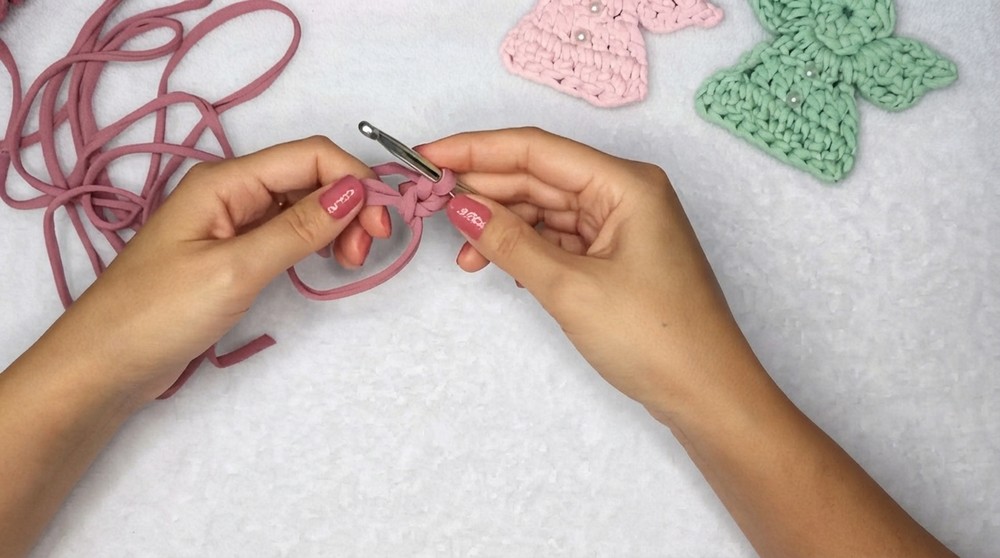
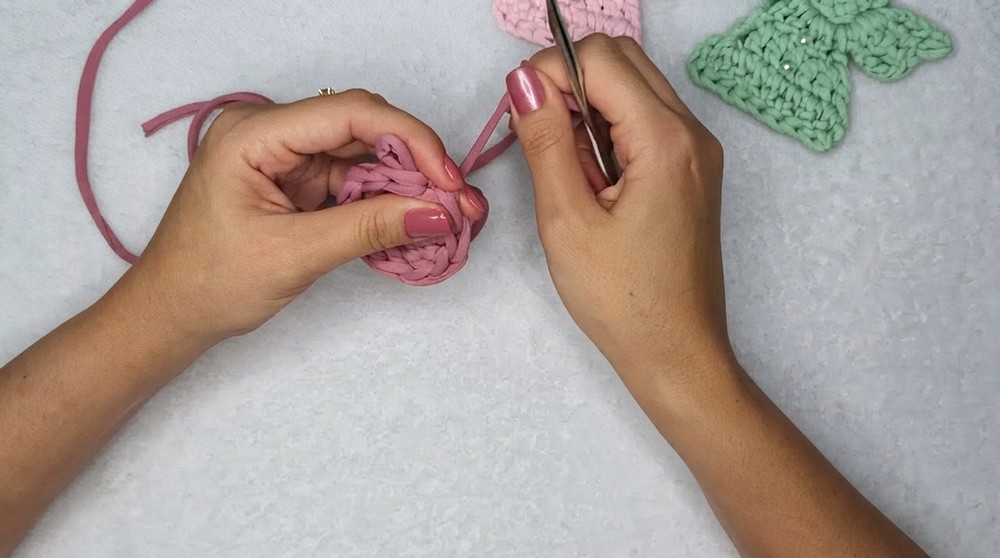
1. The Head
- Construct a magic ring.
- Chain 2 (counts as height for the round).
- Work 10 double crochet (dc) stitches into the magic ring; including the initial chain 2, you will have 11 stitches total.
- Close the round with a slip stitch (sl st) into the base of the initial chain 2, completing a neat circular head.
2. First Wing
- Chain 7.
- Skip the first 2 chains from the hook, then work a slip stitch (sl st) into the 3rd chain.
- Work a triple crochet (tr): yarn over 3 times, insert hook into the base stitch (first stitch of the wing base), yarn over and pull through loops successively according to triple crochet technique.
- Next, work a double crochet (dc) into the same base stitch.
- Chain 3 to form a small loop.
- Finish the wing with a slip stitch (sl st) back into the same base stitch, anchoring the wing shape.
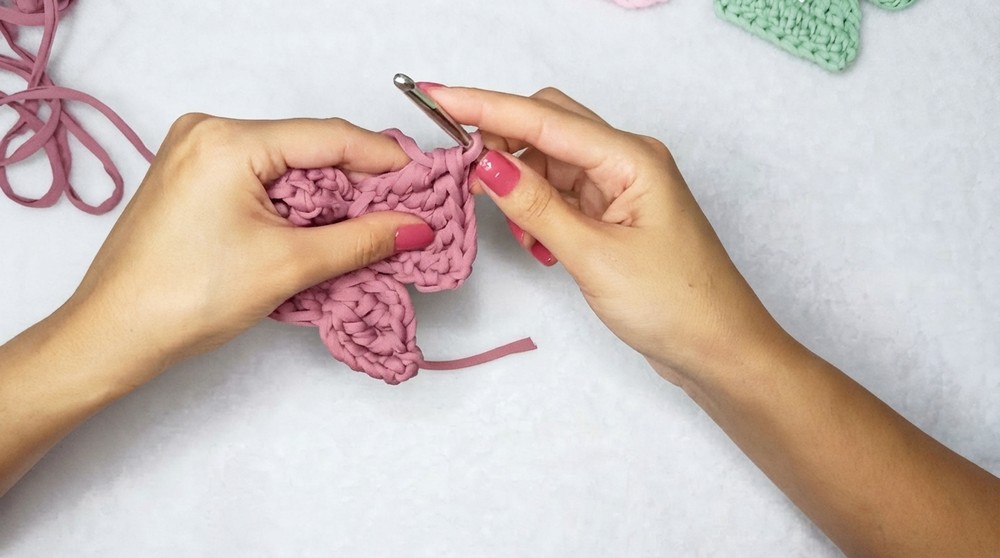
3. Second Wing
- Chain 4.
- Work a slip stitch (sl st) into the base stitch to form the body section where the wings and body join.
- Chain 7 again, turn your work to face the right direction for the second wing.
- Repeat the wing pattern from the first wing: triple crochet (tr), double crochet (dc), chain 3, and slip stitch (sl st) into the same base stitch.
- This creates symmetry with the two wings appearing on either side.
4. The Body
- Work directly into the 4-chain space created previously by the chain 4 and slip stitch acting as the body’s foundational base.
- Row 1:
- Chain 2 (counts as the first double crochet height).
- Work 4 double crochet (dc) stitches evenly into the 4-chain space, giving a total of 5 stitches for the row.
- Row 2:
- Chain 2, turn your work.
- Increase at each end by working 2 double crochets (dc) into both the first and last stitches of the previous row, expanding the stitch count to 7.
- Row 3:
- Chain 2, turn your work again.
- Repeat the increases at both ends by working 2 dc in the first and last stitches again, reaching a total of 9 double crochet stitches, finalizing the body width.
5. Finishing
- Cut the yarn at a comfortable length, leaving enough tail for weaving in.
- Weave in all yarn tails securely using a yarn needle to prevent unraveling.
- Using the yarn tail from the magic ring or an additional length of yarn, create a loop at the top of the angel’s head for hanging purposes.
- Optionally, adorn the neck area with a ribbon tied delicately or attach small pearls with sewing thread or glue to enhance the angel’s charm.
Assembly & Finished Size
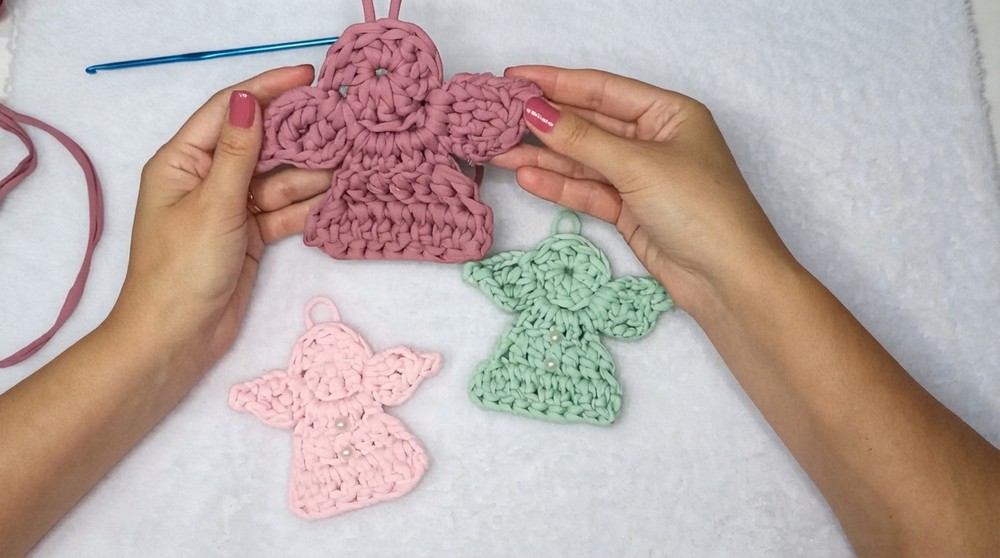
Once all components are finished and ends woven in, your angel keychain is ready to be used or gifted. The loop at the top allows for easy attachment to keys, bags, or holiday decorations. The piece measures approximately 10–12 cm (4–5 inches) tall with gently flared wings about 5–6 cm wide, making it compact yet eye-catching.
Conclusion
This delightful crochet angel keychain pattern combines simple techniques with thoughtful shaping to produce a graceful handcrafted ornament. Using thick t-shirt yarn and a 6mm hook gives the angel a sturdy, tactile quality perfect for everyday use or festive decoration. By following each step attentively—from the circular head through wing construction and final shaping of the body—you will craft a treasured accessory that embodies warmth and holiday spirit.