Charming Free Crochet Irish Lace Snail Pattern for Home Decor
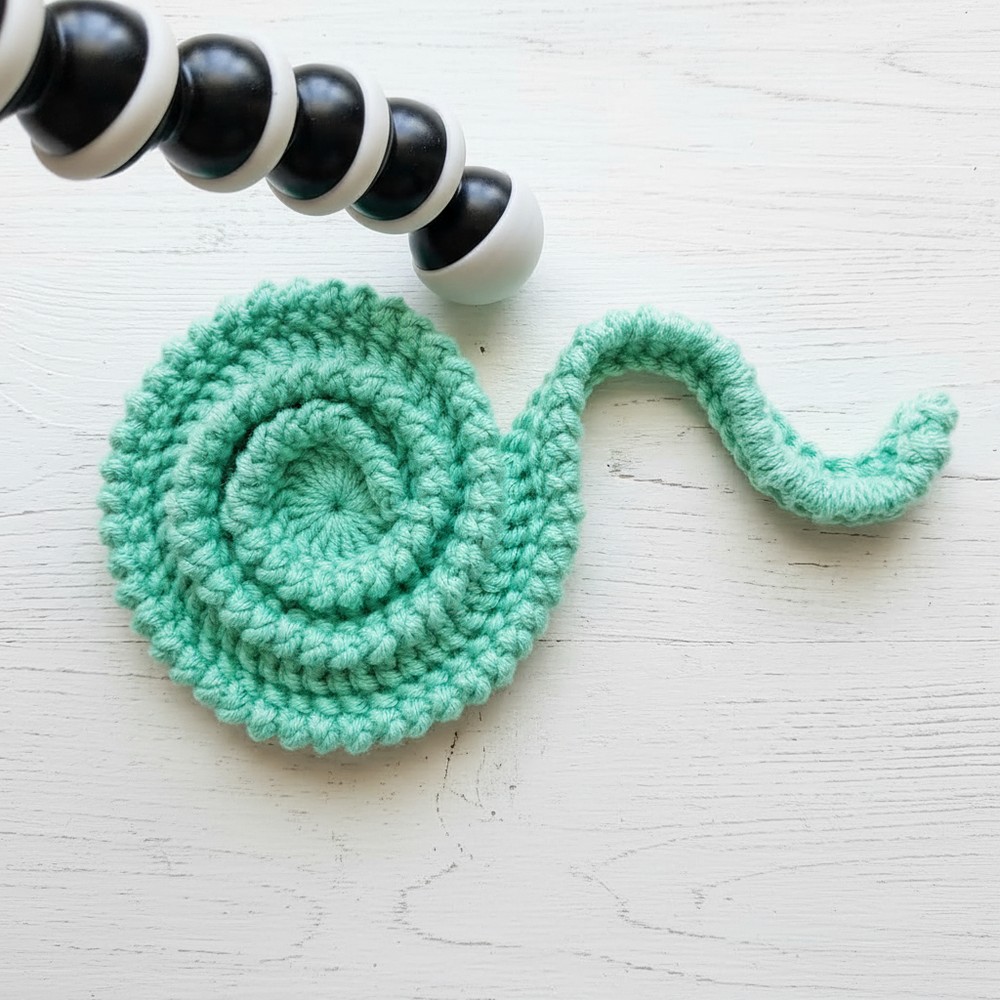
Infuse elegance and whimsy by adding free Crochet Irish Lace Snail Pattern for a charming touch everyone will adore in any creative endeavor.
Gentle curves and swirling lines bring a touch of elegance that feels fresh and joyful, making every surface more interesting. The Crochet Irish Lace Snail pattern stands out for its graceful, spiral design that mimics nature’s beauty with a touch of Irish tradition. This lovely motif can be stitched onto a shawl, a baby blanket, or even framed as wall art, adding personality wherever it lands. Its delicate body and textured shell are easy to follow, inviting anyone to try making something meaningful.
Elegant Free Crochet Irish Lace Snail Pattern for Beginners
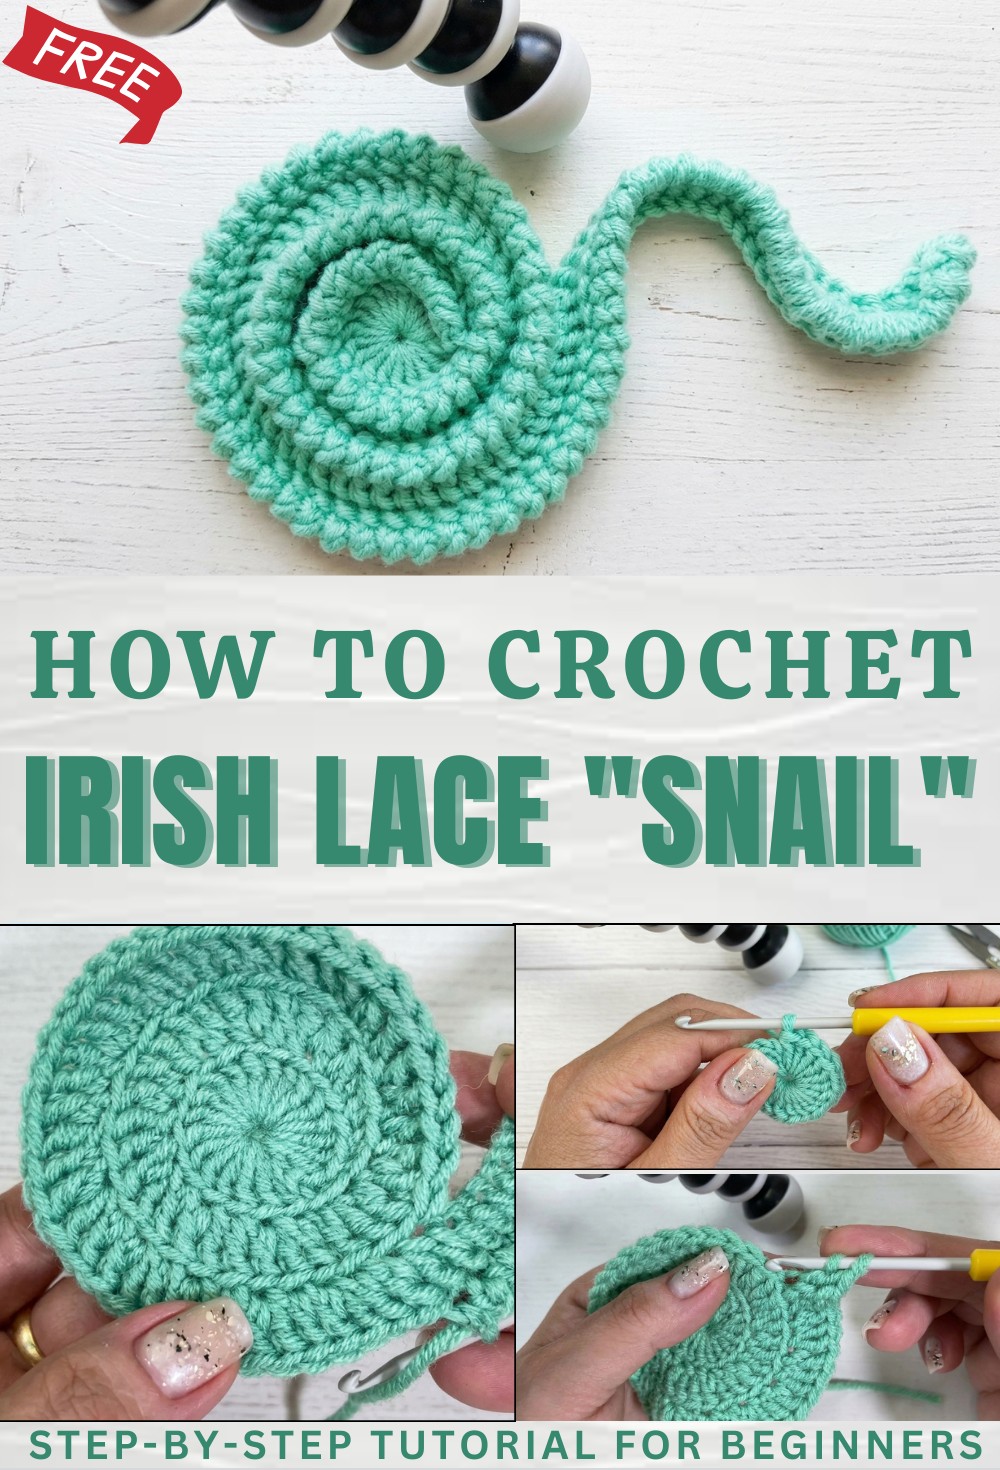
The snail’s style fits well with both old and new projects, letting a maker add a bit of whimsy to clothing, bags, or a home accessory. Because it uses very little thread, it’s practical, quick, and perfect for a personal touch or as a special gift that can be treasured for years. Bright colors or soft shades, the effect is always delightful and eye-catching.
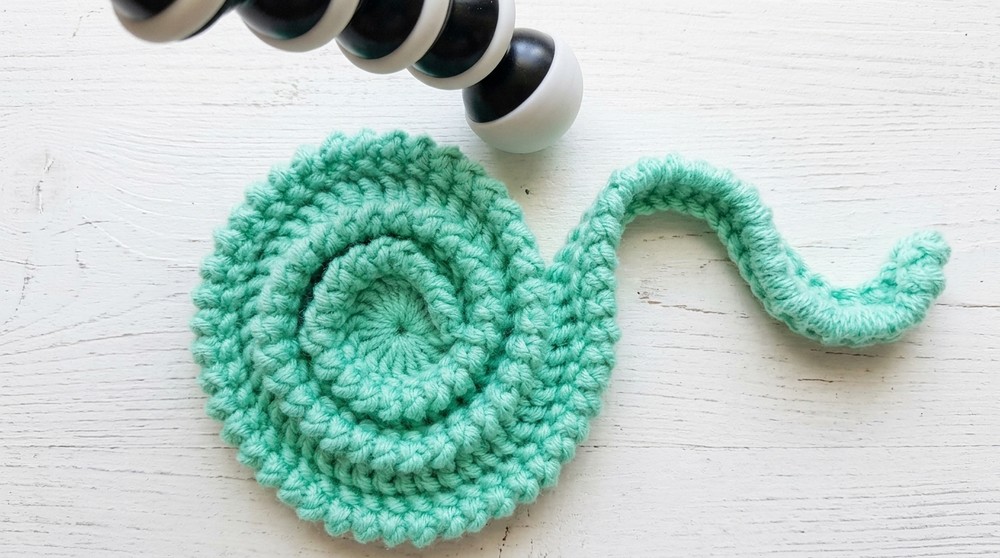
Crochet Spiral Snail Amigurumi Pattern
Materials
- Yarn: Any smooth yarn, weight of choice (sample uses light worsted/DK, but motif is adaptable)
- Hook: Size matched to your yarn (e.g., 2.5–3.5 mm for amigurumi; up to 4.5 mm for heavier yarns)
- Notions:
- Scissors
- Tapestry needle
- Stitch marker (optional)
- Optional: Embroidery thread or safety eyes (if making a snail toy), stuffing
Key Abbreviations (US Terms)
| Abbreviation | Meaning |
|---|---|
| ch | chain |
| sc | single crochet |
| hdc | half double crochet |
| dc | double crochet |
| sl st | slip stitch |
| BLO | back loop only |
| inc | increase (2 sts in next st) |
| st(s) | stitch(es) |
| rep | repeat |
Special Notes
- All rounds/rows are worked in the back loop only (BLO) for a ridged, spiral texture.
- The “crab stitch” (also known as reverse single crochet) creates a decorative, corded edge for the final round.
- You may adjust foundation chain and spiral segment length to customize the size and curl of your snail.
- Work loosely for ease, especially in crab stitch and tail formation.
Pattern Instructions
1. Foundation and Spiral Base
Step 1: Create a Magic Ring
- Form a magic (adjustable) ring.
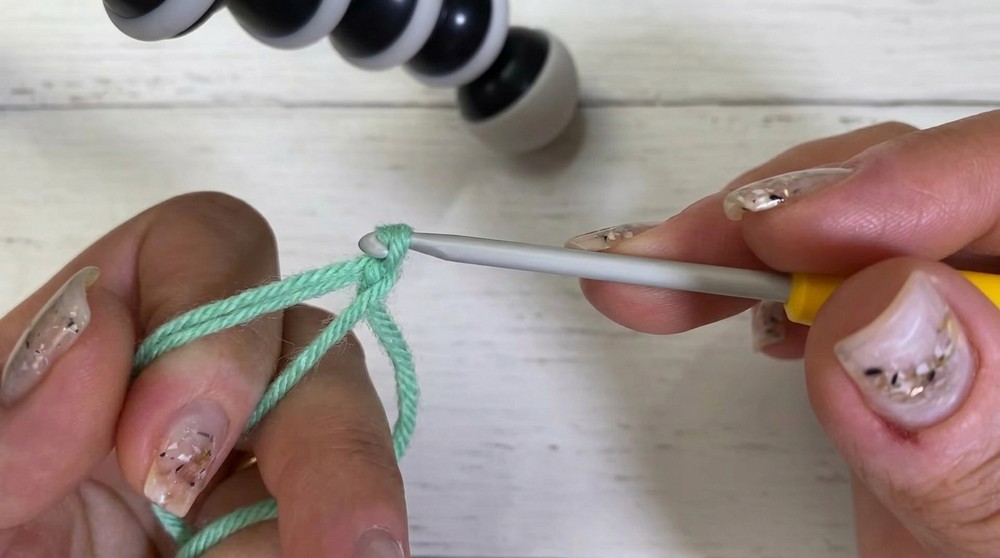
Step 2: Ch 3, then Work into the Ring
- Ch 3 (counts as first dc),
- Work 19 more dc into the ring. (20 dc total in ring. You may use more or fewer for bigger/smaller spirals.)
Tip: You may use between 16–24 dc for variations; more dcs make the spiral “fatter” and more tightly coiled.
Step 3: Tighten the Ring
- Pull the yarn tail to close the ring tightly, forming a solid disc base.
Step 4: Close the Round
- Sl st into the 3rd ch of the starting chain to join.
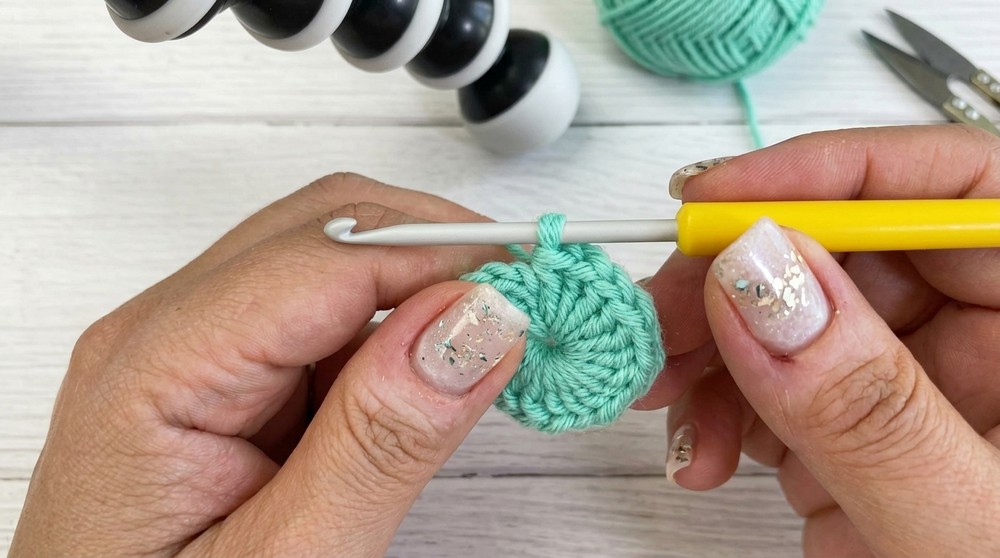
2. Building the Raised Spiral
All the following stitches are worked in BLO only.
Step 5: Add Spiral Rows
- Without chaining or turning, continue around in a spiral:
- In the first st: sc (BLO)
- In the second st: sc (BLO)
- Next Two Stitches: hdc (BLO) in each
- Remaining Stitches: Work in a set pattern:
- Alternate 1 dc (BLO) in the next st, 2 dc (BLO) in the next (an increase), repeat
- Continue this alternation (1 dc, 2 dc) all around the round, always in the BLO, until you reach the start of your spiral.
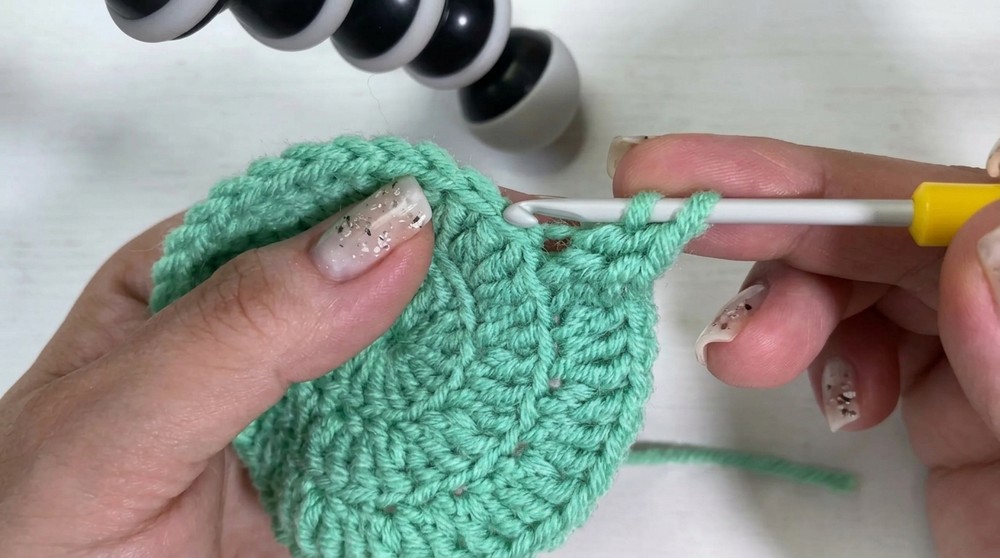
Step 6: Continue the Spiral
- Continue working in a spiral fashion (no joins, no turns):
- Continue placing dc (BLO) stitches, always alternating:
- 1 dc in one st, 2 dc in the next st around.
- Periodically check that you’re forming a raised, snailing coil, and adjust by adding a few more increases if you want the spiral to widen or puff more.
- When the spiral looks as desired, leave a small opening for the start of the tail.
- Continue placing dc (BLO) stitches, always alternating:
3. Creating the Snail’s Tail
Step 7: Form the Tail Segment
- Yarn over, insert your hook into the BLO of the next st past the spiral (this will extend the spiral out into a “tail”).
- Dc (BLO) in this st and continue working dc (BLO) in a straight line for the desired tail length.
- To dramatize the tail curl:
- At the end of each tail row, bring the working yarn over or under slightly and dc into the newly created “loop” for a pronounced spiral. (Optional: Pinch/press the work to keep the tail curling up.)
Step 8: Adjust Tail Length
- Continue working dc (BLO) into the tail segment until pleased with the spiral tail’s length and shape.
4. Outlining and Finishing the Spiral
Step 9: Turn and Work Back Along Tail
- Turn your work, sc (BLO) in each st back along the tail and toward the spiral body, working steadily toward the spiral’s center.
Step 10: Edge the Spiral
- When you reach the spiral’s body again, continue to sc (BLO) evenly along every stitch of the spiral, keeping stitches tight and neat, encircling the spiral’s rounds until you return to the center.
5. Final Edging: Crab Stitch (Reverse Single Crochet)
Step 11: Crab Stitch Border
- Optional but recommended for neatness and definition.
- Ch 1 (optional)
- Insert hook into previous st from left to right, yarn over and pull up a loop, yarn over and pull through both loops on hook.
- Rep this reverse movement in each stitch around the edge:
- Continue working reverse sc (crab stitch) in each st all around the perimeter of the snail motif or tail as desired.
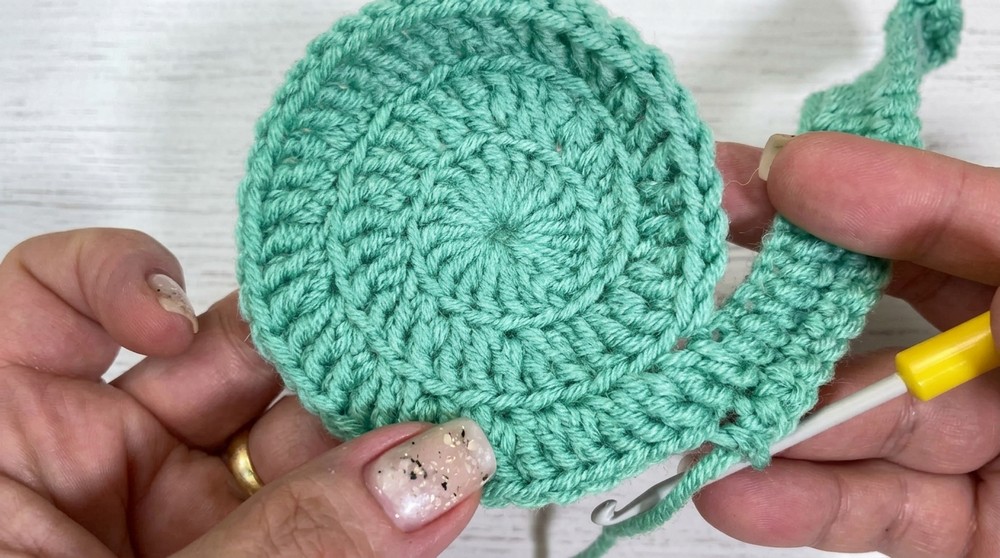
Step 12: Fasten Off & Weave in Ends
- Cut yarn, draw tail through last st, and weave ends securely through the motif using a tapestry needle.
- Shape your snail gently if needed.
Conclusion
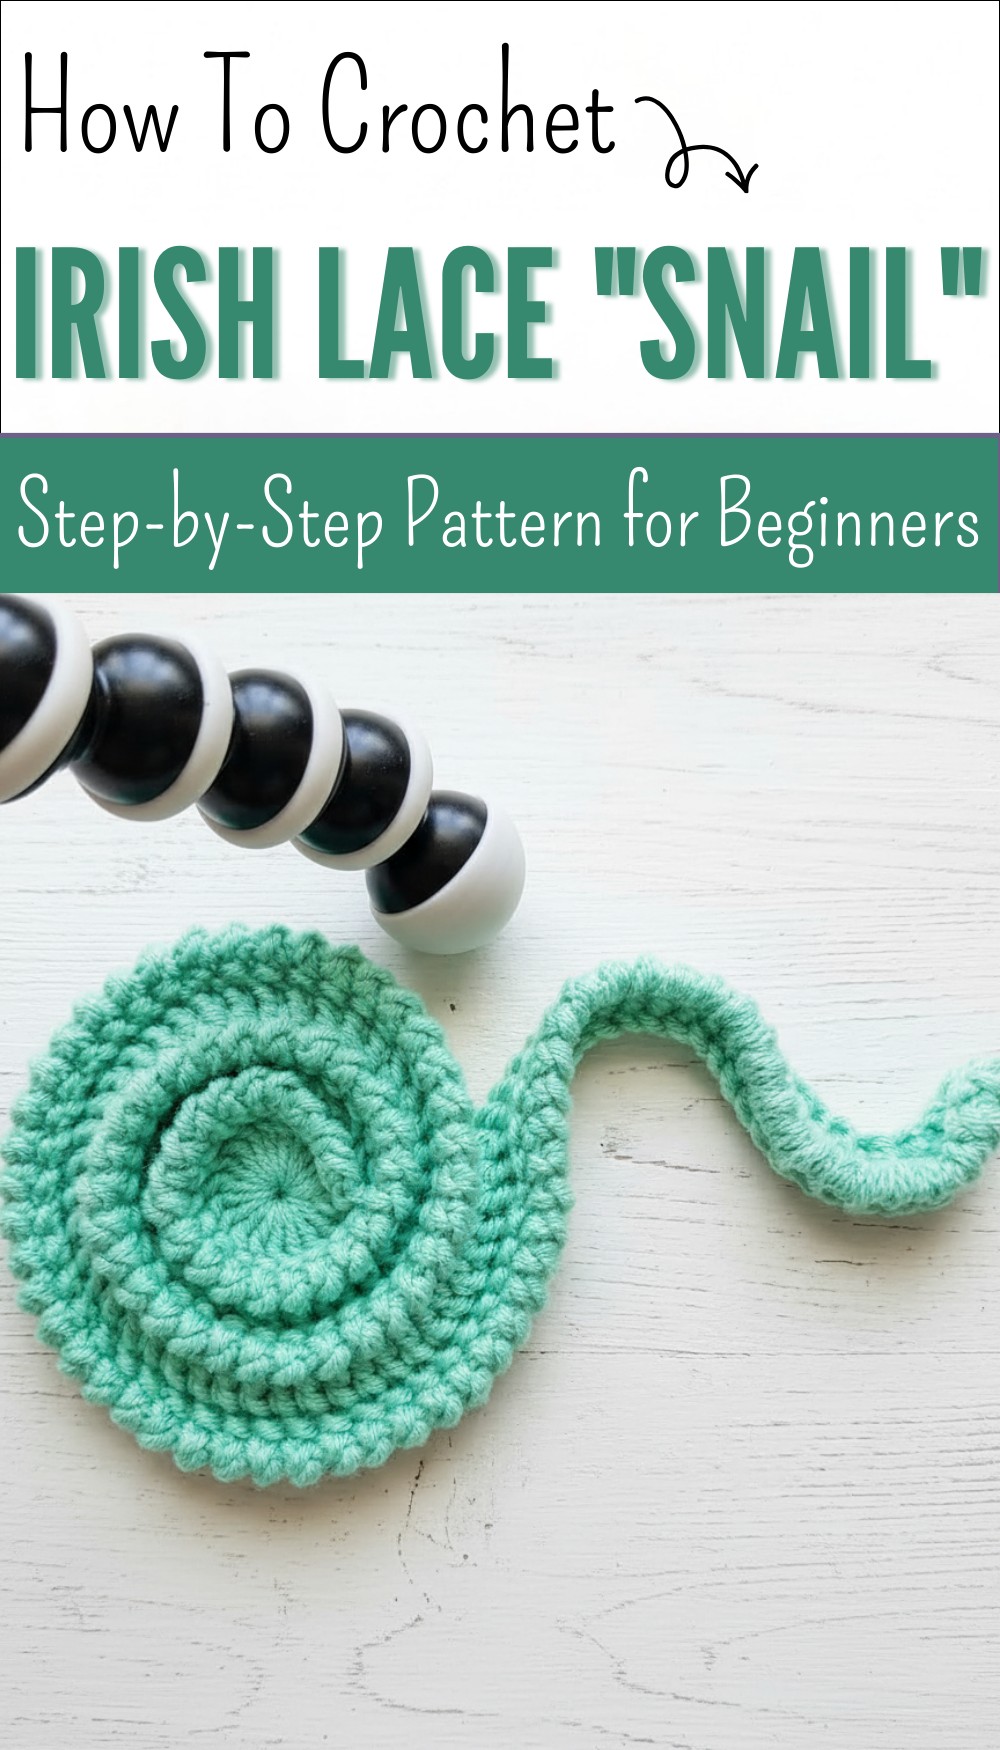
This spiral snail motif forms a beautifully smooth, three-dimensional crochet spiral with a decorative tail and crisp edges. The pattern is highly adaptable—try varying the number of foundation stitches, body rows, or tail length to suit your needs (appliqué, toy, brooch, or décor).
Pattern Correction & Tips
- Work in the BLO exclusively for texture and flexibility.
- Increases in the spiral should be regular for a flat spiral, or more frequent for a ruffled/curled effect.
- For best results: Block your finished motif lightly or shape into your snail form before attaching to any project.
- Crab stitch tip: Work loosely and be patient—the movement is reversed and may feel awkward for beginners.