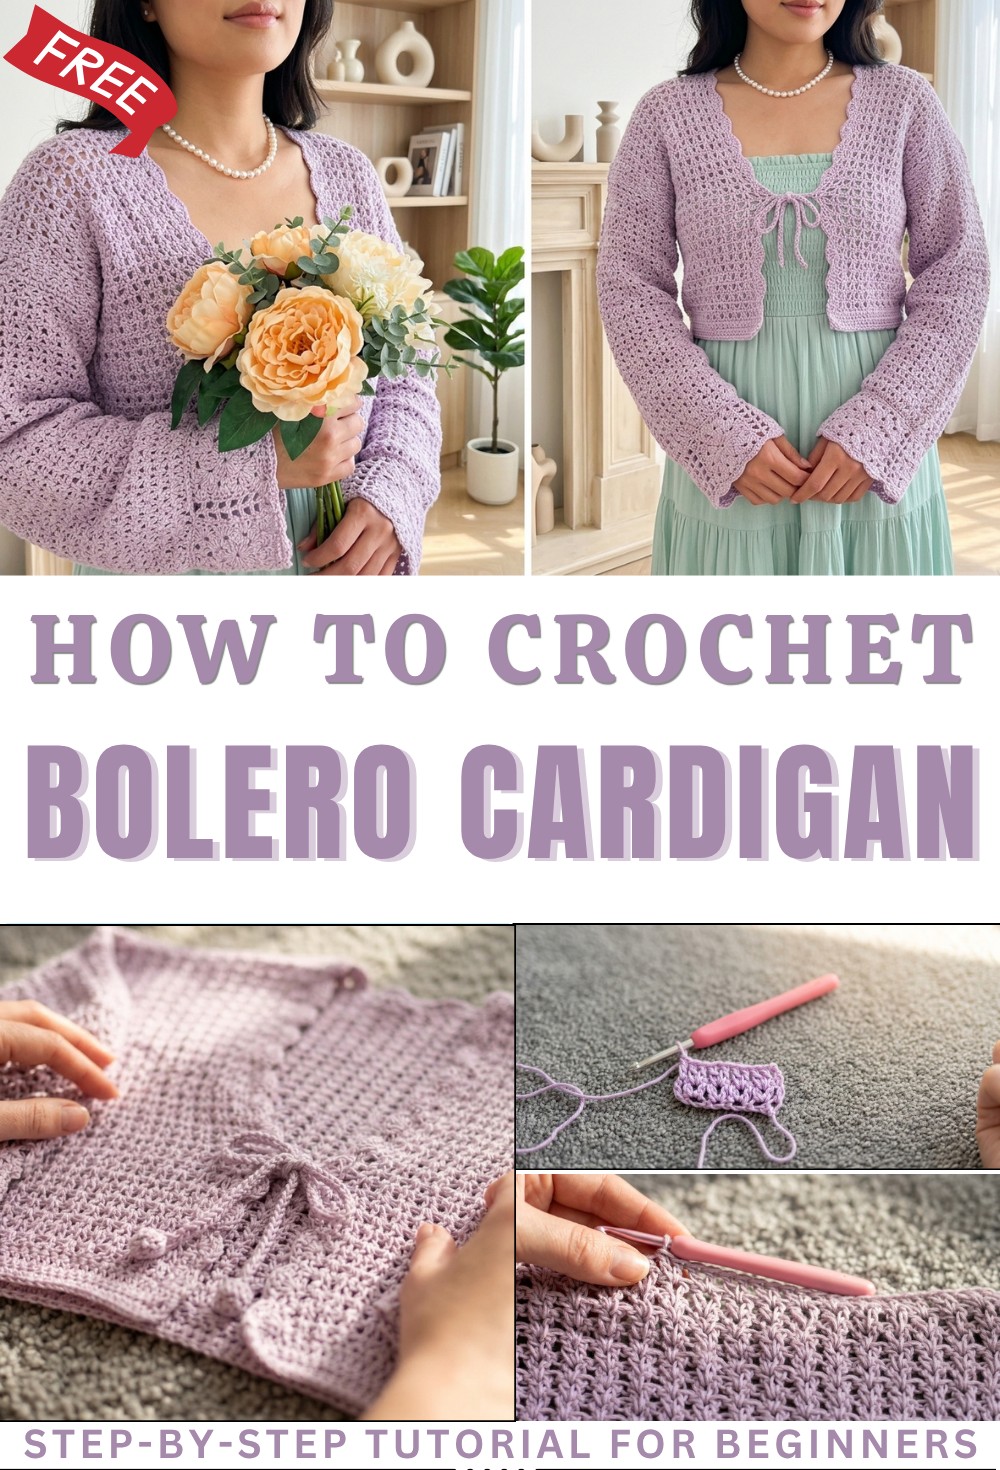
Free Crochet Bolero Cardigan Pattern for Every Wardrobe

Slip into cozy style and effortless beauty with free crochet bolero cardigan pattern that’s perfect for adding charm to any outfit you love.
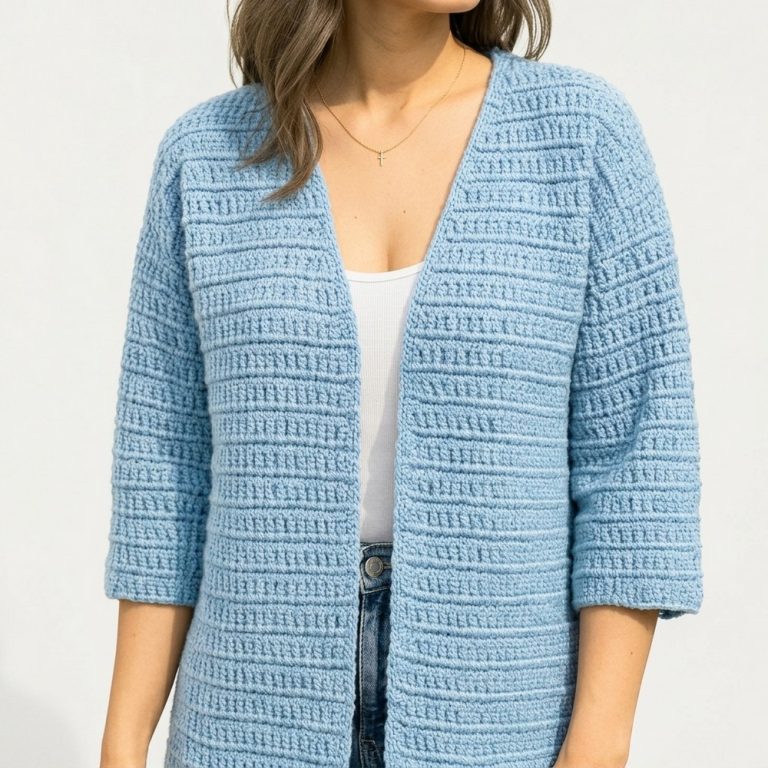
There is a special kind of clothing that makes you feel both free and cared for at the same time. With its gentle shape and soft layers the crochet bolero cardigan pattern comes to life in your hands and wraps you in a light touch that feels just right. The edges are smooth and neat giving a clean look to any outfit you wear. This cardigan hugs your shoulders but never feels heavy or hot so you can move and play or work and smile with no trouble at all.
Crochet Bolero Cardigans Made Easy – Free Pattern
It fits over dresses shirts or even simple tops turning everyday clothes into something a little more lovely. This pattern is easy to follow and fun to make with colors and yarns that you get to choose yourself. Every time you wear it you not only feel comfortable but also proud because you made something beautiful and useful just for you.

Free Crochet Bolero Cardigan Pattern
Materials
- Yarn: Fingering weight 100% cotton yarn
- Sample uses: Ca Duk Organic Cotton, color 50, 50g/165m (1.75 oz/180 yd)
- Yardage (Size S): Approx. 400g (recommend 1300–1500 yds for safety)
- Adjust for your size; see notes below
- Hook: 4 mm (US G/6)
- Scissors
- Tapestry needle
- Measuring tape
- Sewing pins (optional; for assembling pieces)
Key Abbreviations (US Terms)
- ch = chain
- sc = single crochet
- dc = double crochet
- hdc = half double crochet
- sl st = slip stitch
- rep = repeat
- st = stitch
- sp = space
Special Notes
- Adjust length/width: Change foundation chain and row counts accordingly, following the chart for your size.
- V-Stitch: In this pattern, the “V-stitch” is 2 dc in same sp (no extra ch between dcs).
- Gauge and fit: Cardigan is slightly cropped; add more rows to body/edging for a longer fit.
- Blocking: Highly recommended for best drape and fit.
- Edging: Place border evenly and do not work too tightly (go up one hook size if you crochet tightly).
- Granny square and filet sides: The sleeve cuff is 3 granny squares joined as shown.
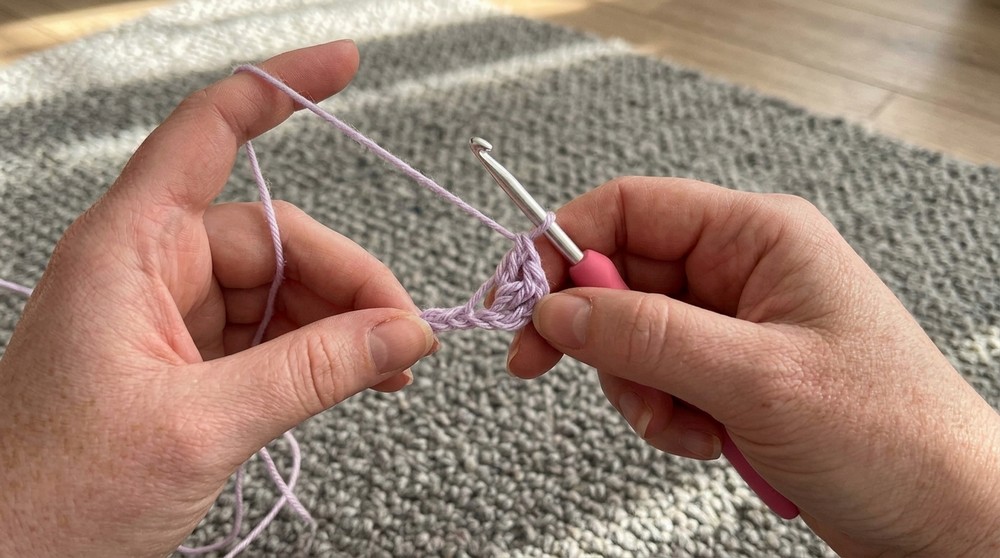
Instructions
Back Panel
- Foundation:
- Ch 78 (Size S).
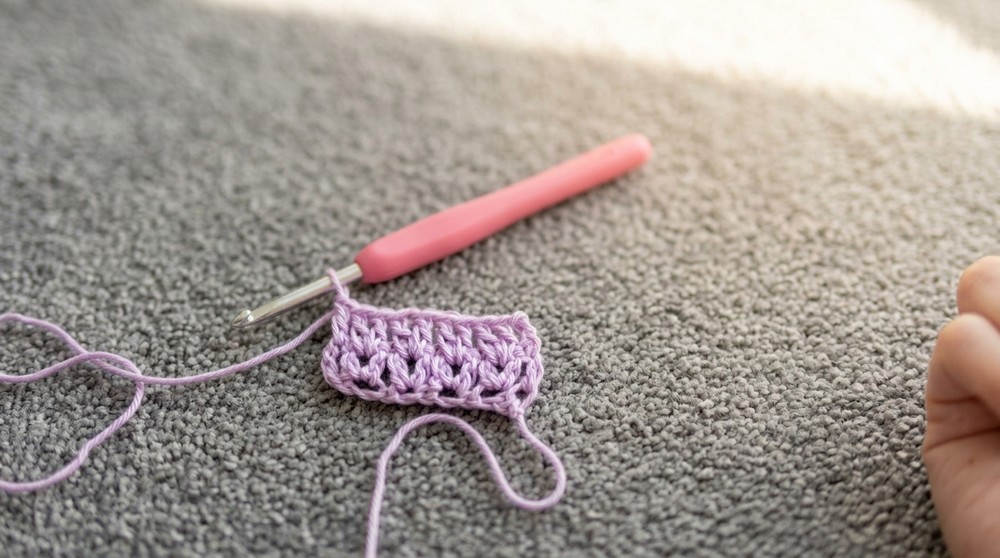
- Row 1:
- Ch 4 (counts as dc and ch 1), dc in 5th ch from hook, dc again in same ch (first V-stitch made).
- Skip next ch, in next ch: 2 dc.
- Rep from * across to last two ch.
- Skip next ch, dc in final ch.
- Turn.
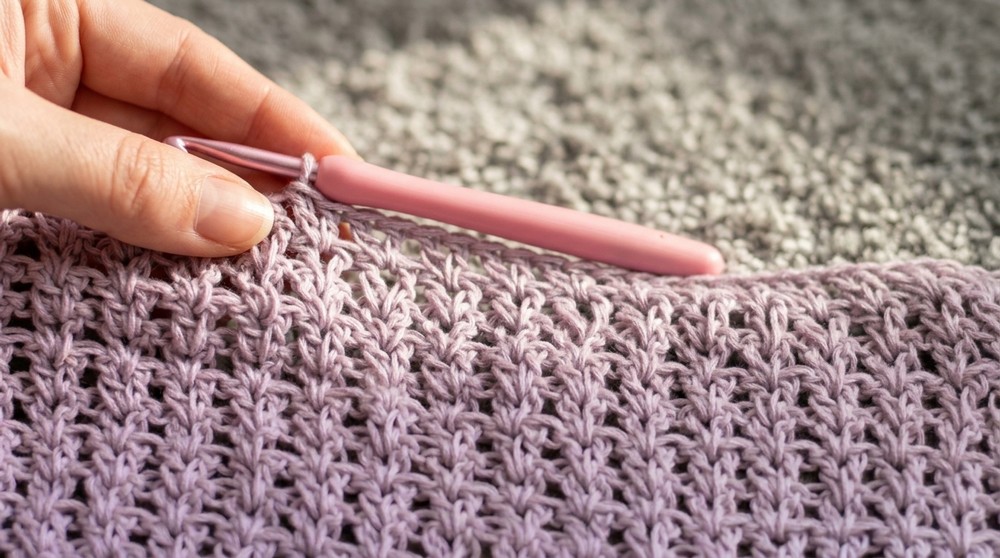
- Row 2:
- Ch 3 (counts as dc), 2 dc in first sp between Vs from previous row and in each V-sp across.
- At end: dc in top of last dc or turning ch.
- Turn.
- Repeat Row 2 until you have 34 rows total (or adjust as desired for length).
Front Panels (Make 2; worked directly onto back panel)
- Attach yarn at the edge of your choosing.
- Row 1: Ch 3 (counts as dc), then work 15 V-stitches as established: [2 dc in next V-st].
- End with dc in final dc. Turn.
- Repeat as established for 34 rows, always ending with a dc, for each front panel.
Sleeves (Make 2)
- Foundation: Ch 67.
- Row 1: Begin in 5th ch from hook. Work as for V-stitch body (see above).
- Repeat: A total of 33 rows in V-stitch (each row: ch 3, 2 dc in every V-st, dc at end).
Granny Square Cuffs (Make 6, 3 for each sleeve)
Granny Square
- Ch 4, sl st to first ch to form ring (or use magic ring).
- Rnd 1:
- Ch 1 (does not count as st).
- Place 8 sc into ring.
- Sl st to first sc.
- Rnd 2:
- Ch 3 (counts as dc), 2 dc in same st, ch 1.
- In each sc around, work [3 dc, ch 1].
- Join with sl st to ch-3. (8 clusters)
- Rnd 3 (Squares):
- Ch 3 (counts as dc), 2 dc in same sp, ch 2, 3 dc in same sp (corner).
- In next 2 sps: 3 dc in sp.
- (Corner) [3 dc, ch 2, 3 dc] in next sp.
- Repeat around, with 2 “plain” 3-dc groups between corners. Join with sl st.
- Rnd 4:
- Continue in granny-style, with 3 dc in each sp, and [3 dc, ch 2, 3 dc] in each corner sp, until square is approx. depth of cuff.
- Finish off, weave in center and tail.
Filet (faux) End for Cuff
- With new yarn, attach to a corner.
- Row 1: Ch 4 (counts as dc, ch 1). Sk 1 st, dc in next st, ch 1. Rep to end. Dc in corner.
- Row 2: Ch 4, dc in each dc of previous row, ch 1 between.
- Finish, leaving a long tail for sewing.
- Repeat for 2 rows on one side of each square.
Assembly
- Join 3 squares for each cuff (see “Tips”).
- Sew filet side of one square to granny edge of the next with the mattress stitch.
- Repeat for other sleeve.

Assembly
- Fold sleeves in half lengthwise; seam with mattress stitch.
- Sew arranged squares as cuffs to sleeve ends. Filet sides create a gentle gather at the end for structure.
- Attach sleeves to body panels at armholes.
- Place seams under arm for best appearance.
- Seam body panels together at sides with mattress stitch.
Borders & Edgings
Sleeve Cuff Edging
- Join yarn to edge of cuff.
- Ch 1, sc evenly all around edge. Sl st to first sc.
- Repeat for both cuffs.
Front Opening & Neckline Border
- Attach yarn at bottom right front corner.
- Row 1: Ch 1, work an evenly-spaced sc all the way up the front, around the neck, and down the other front.
- Adjust spacing so that total stitch count is a multiple of 5.
- Row 2:
- Ch 3 (counts as dc), 2 dc in first st (half shell), sk 2 sts, sc in next st, sk 2 sts, 5 dc in next st (shell).
- Rep * to end. If you end with sk 2, sc in last st, that’s fine.
- Finish off; weave in ends.
Bottom Hem (Optional)
- Row 1: Ch 1, sc in each st across the bottom hem.
- Rows 2–4: Ch 2, hdc in each st for 3 rows (or as many as desired for depth).
- Finish off; weave in ends.
Ties
- From the shell border at the edge, attach yarn to the middle of the shell, about 7″ (18 cm) from the bottom hem.
- Ch 45 (or desired length), sl st in 2nd ch from hook and in each ch across.
- Sl st through the shell to re-secure. Fasten off and weave in ends.
- Repeat on other front edge.
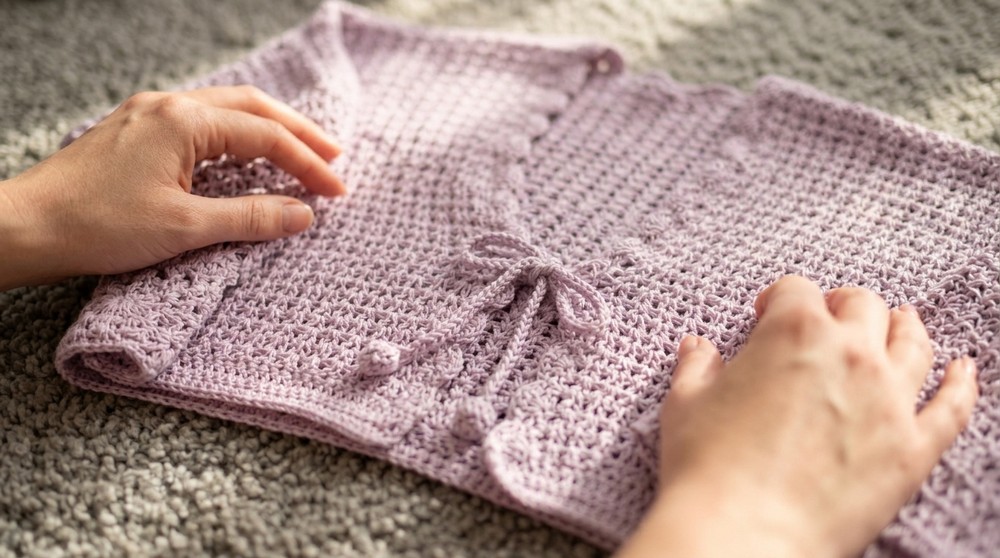
Conclusion
This delicate summer cardigan features a lovely V-stitch fabric, beautiful granny square sleeve cuffs, neat shell and single crochet edgings, and decorative front ties. The modular construction allows for many size adjustments and design customizations. This lightweight, airy cardigan pairs perfectly with dresses and tops and provides a flattering, feminine silhouette.
Pattern Corrections & Tips
- Correction: V-stitch in this pattern is simply 2 dc in same space (not (dc, ch 1, dc)).
- Tip: For neat borders, count or use stitch markers to space stitches evenly and keep multiples of 5 for the shell rows.
- Tip: Block finished cardigan for best stitch definition and finished appearance.
- Tip: If you have a tight tension, go up a hook size for the borders.
- Tip: For larger sizes, refer to the designer’s blog for correct foundation chains and row counts.