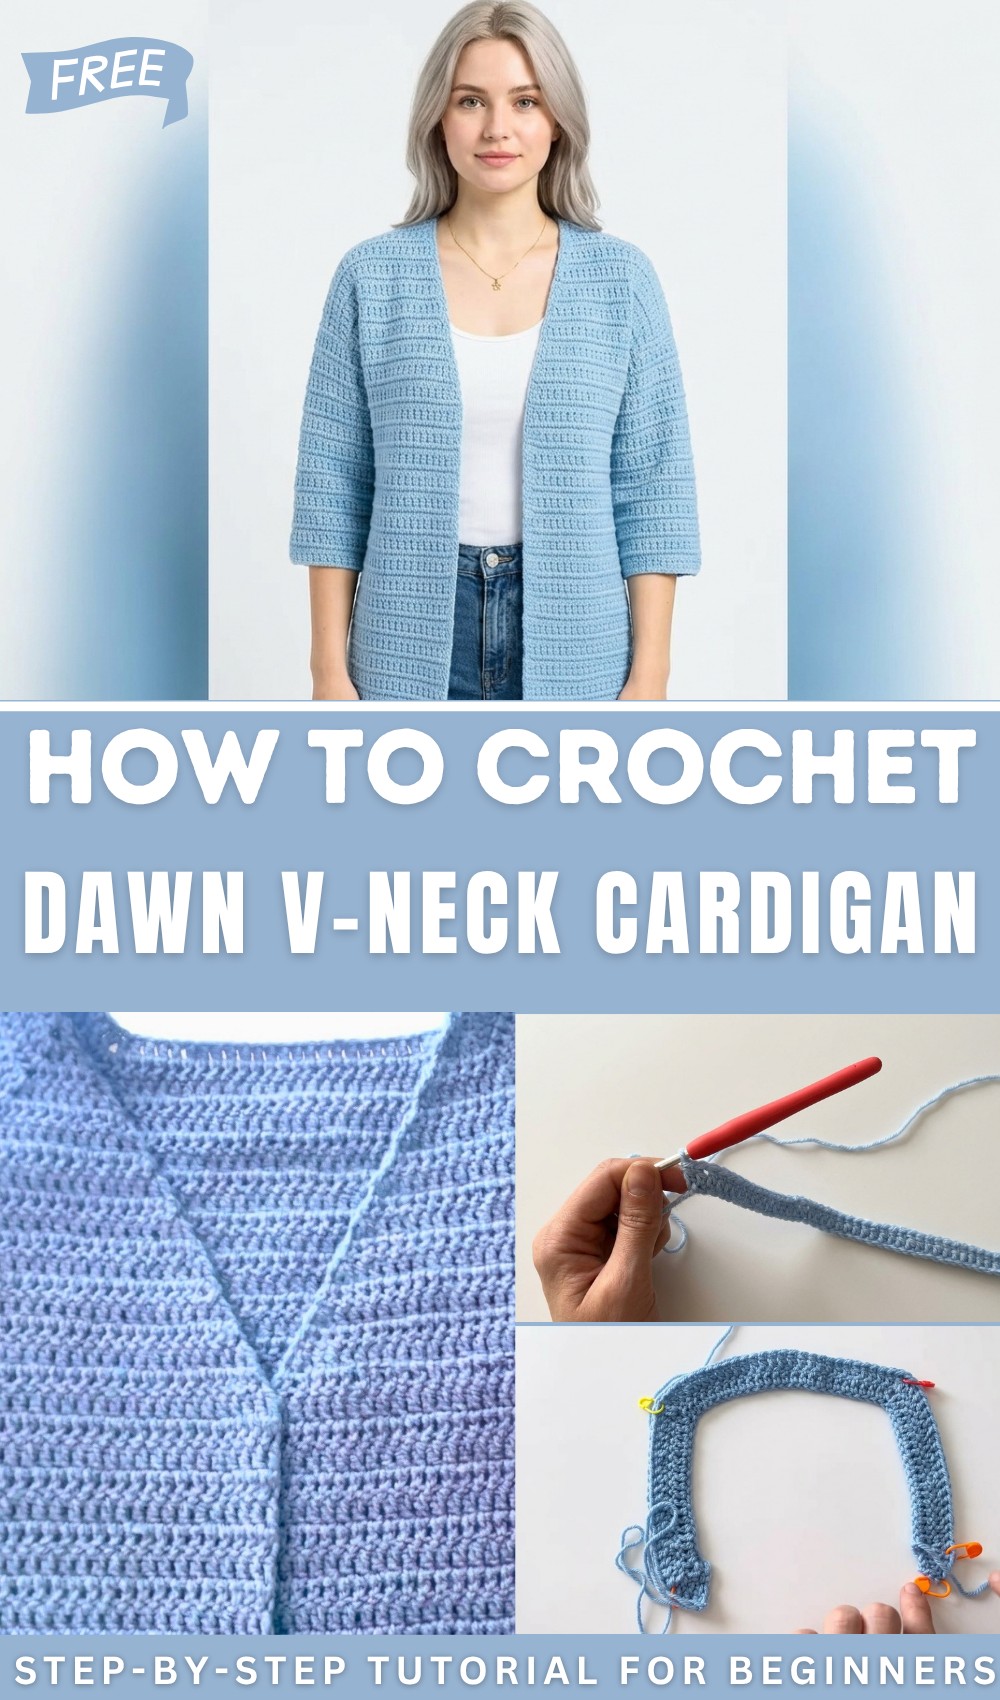
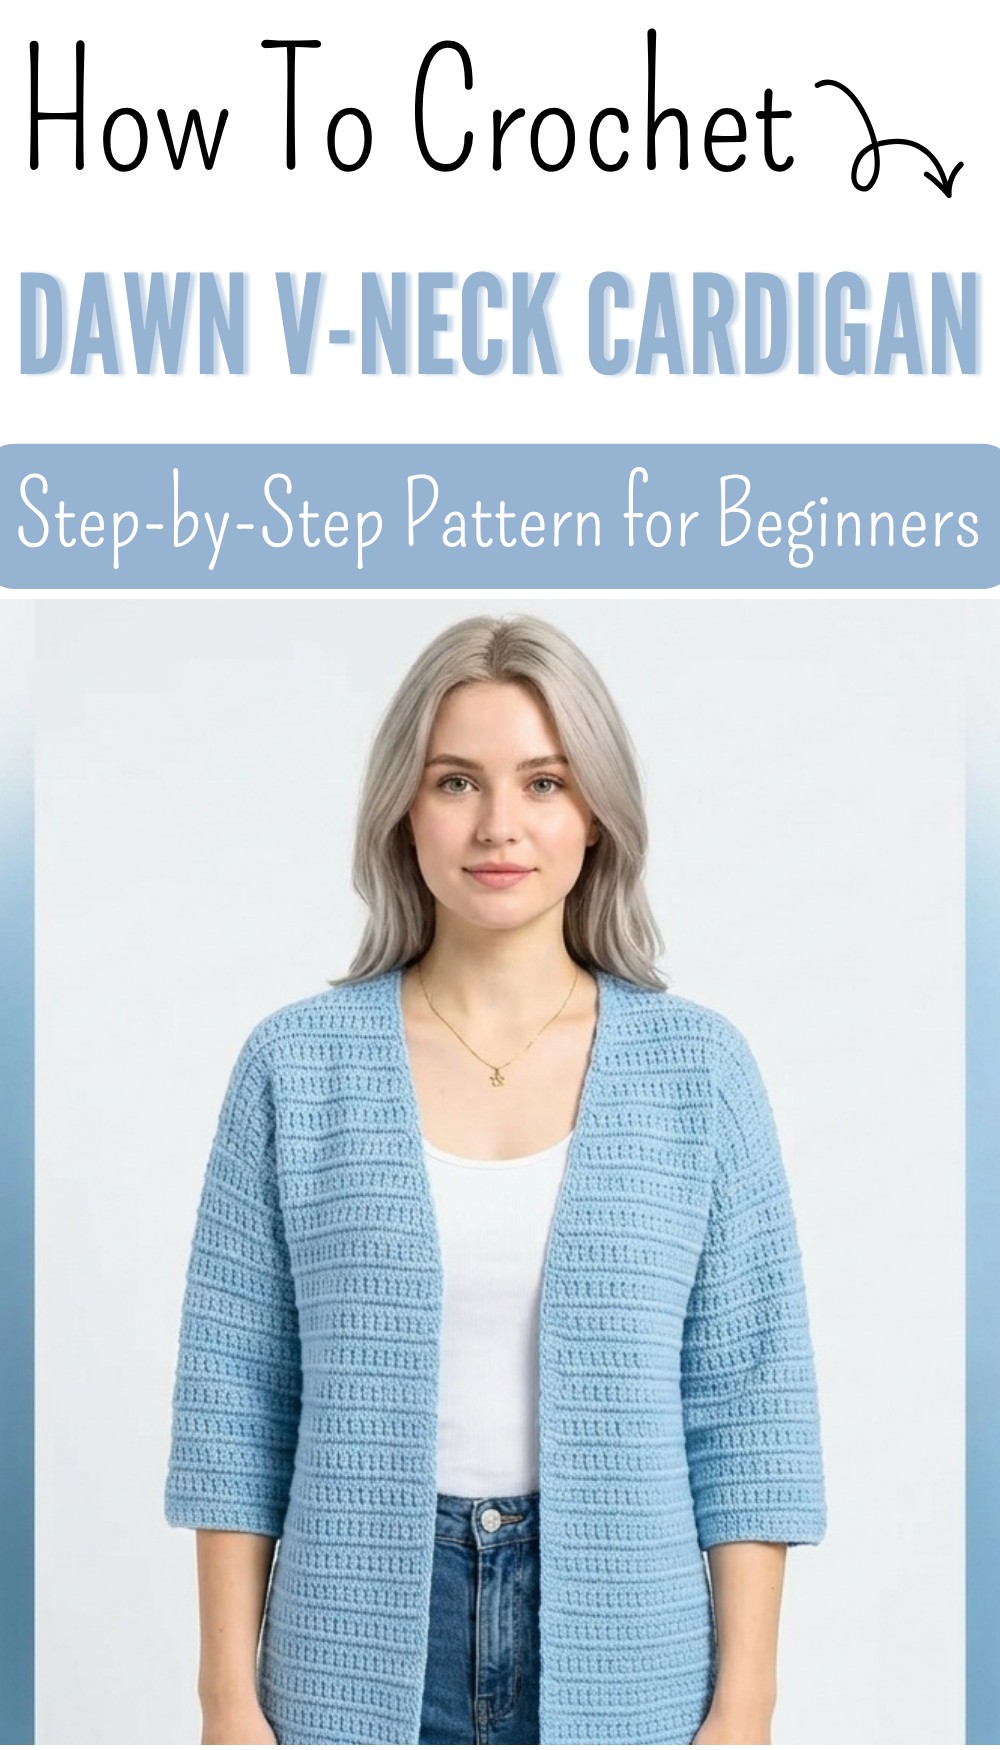
Beautiful Crochet V-Neck Cardigan Free Pattern for Everyday Comfort
Wrap yourself in comfort with the Free Crochet Dawn V-Neck Cardigan Pattern, featuring a timeless look, soft stitches, and the perfect balance of warmth and style.
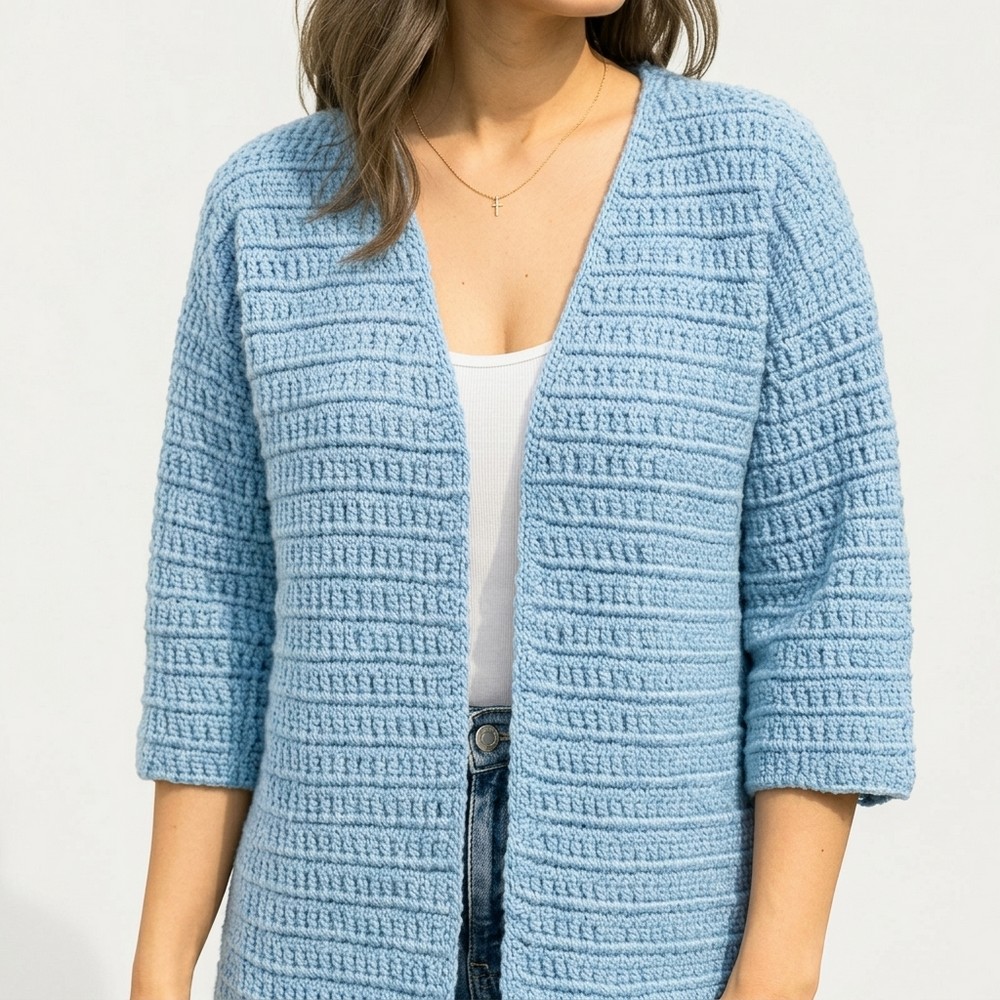
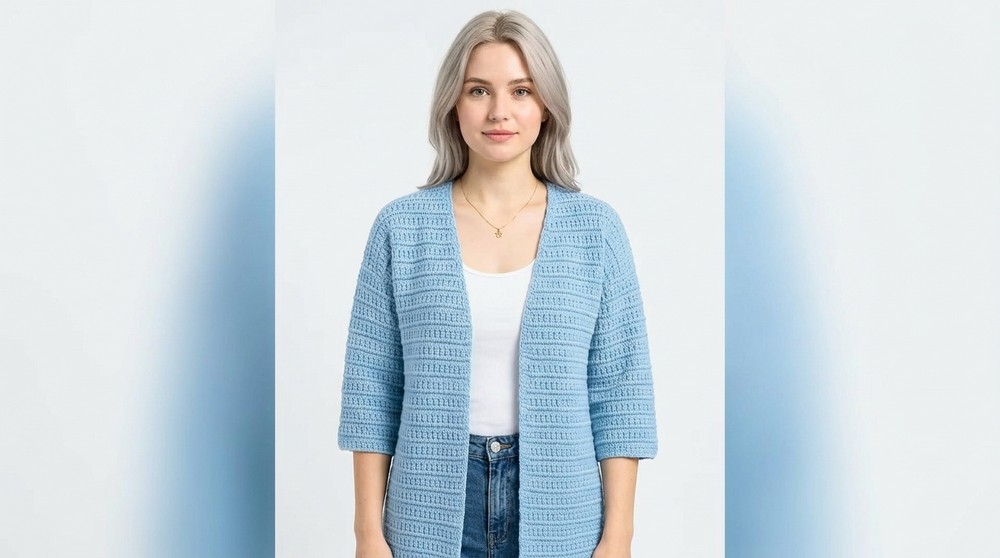
A cozy cardigan that feels just as soft and welcoming as a hug on a chilly morning. The Dawn V-Neck Cardigan brings both beauty and comfort together with its elegant design. This free crochet pattern guides you to create a timeless piece with lovely v-neck details and a relaxed fit, perfect for adding warmth and style to everyday outfits.
Crochet Dawn V-Neck Cardigan Free Pattern: Perfect for Beginners
Its versatile appearance makes it ideal for layering over dresses, jeans, or even pajamas while staying lightweight enough for year-round wear. Whether you want to wear it at home, for casual outings, or gift it as a handmade treasure, the cardigan’s charming texture and modern design stand out.
The pattern ensures simplicity, so even beginners feel confident creating it. Customize it with your favorite yarn colors to suit your style and get ready to enjoy a piece that’s not only practical but also a beautiful way to showcase your love for crochet.
Detailed Crochet Top-Down Cardigan Pattern
Materials
- Yarn:
- 350g of medium-weight wool yarn for size M. Adjust the quantity for other sizes as needed.
- Recommended: Soft yarn with good drape for comfortable wear.
- Crochet Hook:
- 4.0 mm + an extra hook for finishing, if preferred.
- Tools:
- Stitch markers (recommended for tracking increases).
- Scissors.
- Tapestry needle (for weaving in ends).
Special Techniques Used
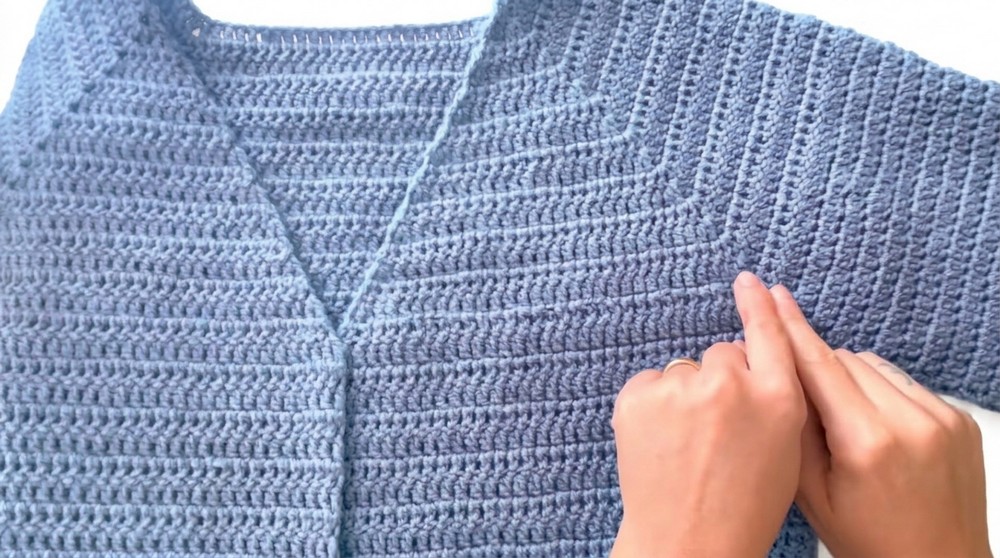
- V-Stitch Increase: Consists of one double crochet, a chain stitch, and another double crochet worked into the same space.
- Neckline Shaping: Increasing at the beginning and end of rows for a V-neck appearance.
- Joining Panels for Armhole: Invisible joining using incomplete double crochet stitches.
- Single Crochet Finishing: Adds structure and clean edges to the garment.
Pattern Instructions
Step 1: Foundation Chain
- Start:
- Make a slip knot and chain 62 stitches (this is the starting length for all sizes).
- Add one extra chain for turning purposes.
- First Row:
- Skip the first chain and work single crochet (sc) into the 62nd chain.
- Then, work two chains (these replace the first double crochet (dc) for subsequent rows).
Work V-Stitch Increase:
- Into the next stitch:
- Work a V-stitch (dc, ch1, dc).
- Proceed to work 16 consecutive double crochets (this forms the first side panel).
- Second Increase:
- Into the next stitch, work a V-stitch (dc, ch1, dc).
- Back Panel Formation:
- Work 24 consecutive double crochets, one stitch in each chain (width of the back).
- Third Increase:
- Work a V-stitch (dc, ch1, dc) into the next stitch.
- Second Side Panel:
- Work 16 consecutive double crochets into each chain.
- Final Increase:
- Into the penultimate chain, work a V-stitch (dc, ch1, dc).
- Complete the row by working one dc into the final chain.

Tip: Use stitch markers to mark each increase point for easier reference when working future rounds.
Step 2: Shaping the V-Neck and Increasing in Each Round
Row 2-Onward:
- Starting a Row:
- Chain 1, turn the work, and work 1 sc + 2 chains into the first stitch.
- Into the same stitch, work a dc (this forms an increase for the neckline, enabling a V-shape front).
- Work Across:
- Work one dc in each stitch until you reach the chain space of the V-stitch from the previous row.
- Increases in Corners:
- Into the chain space of each V-stitch, work a V-stitch increase (dc, ch1, dc).
- Repeat:
- Continue working stitches as they appear across the rest of the row, inserting V-stitch increases wherever markers indicate corners.
- Ending a Row:
- Work 1 dc into the final stitch, followed by another dc into the same stitch (to mirror the increase at the neckline).
Neckline Tracking:
- Continue working V-stitch increases at beginning and end of rows to maintain the V-neck shape for the cardigan.
Repeat Pattern:
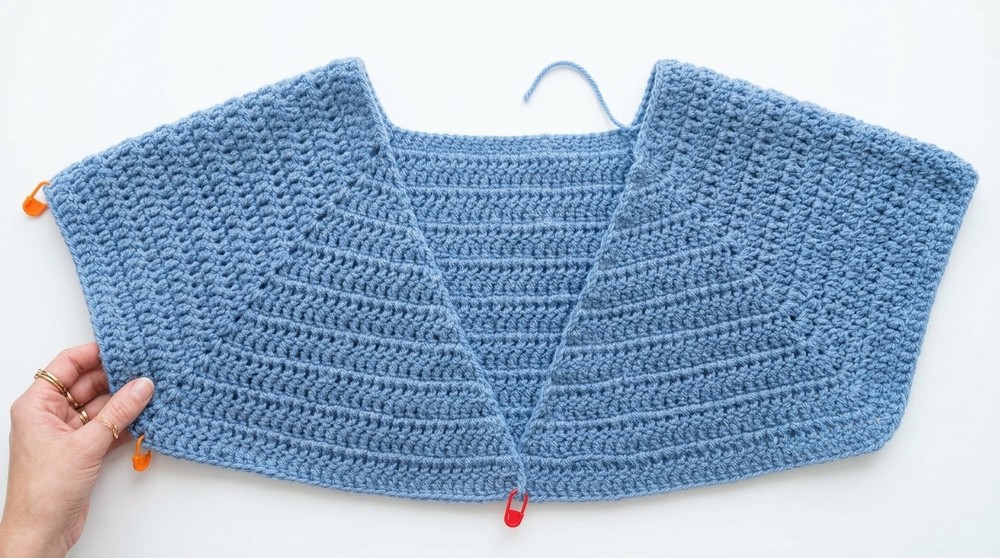
- Work this pattern (row-by-row) until you complete 18 rows. By now, the garment’s circumference should be sufficient for joining the panels and creating armholes.
Step 3: Joining the Panels and Creating Armholes
- Positioning the Panels:
- Use stitch markers to identify where the armholes will be joined (four corners where V-stitches were inserted).
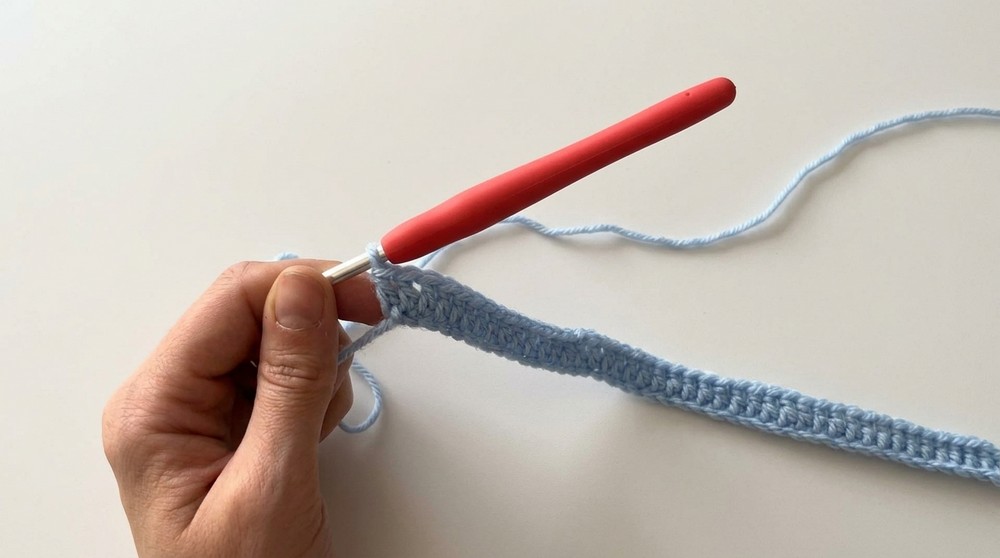
- Joining Corners:
- Insert the hook into the space of the V-stitch at one corner.
- Work an incomplete dc into this space. Leave the last loop unclosed.
- Joining Opposite Panel:
- Insert the hook into the V-stitch space of the opposite panel and work another incomplete dc.
- Close both stitches together to form the armhole seam.
- Continue Across:
- Work double crochets along the rest of the row, leaving the armholes joined at the corners.
Step 4: Adding Length to the Cardigan
Horizontal Rows:
- After creating armholes, stop working increases.
- From Row 19-Onward: Work dc into each stitch across the edges.
Measurements:
- Work rows evenly until the cardigan reaches the desired length.
Example: For a medium-sized cardigan, 25 additional rows were worked in the video, creating a longer, flowing design.
Step 5: Sleeves
- Starting Sleeve:
- After completing the body, pick up stitches around the armhole to begin the sleeve.
- Round 1:
- Work 56 dc stitches evenly around the armhole.
- Decrease Rounds:
- Round 2: Work 1 decrease (dc2tog) to bring the total to 55 stitches.
- Round 3: Work 6 decreases across the round to reduce to 49 stitches.
- Work Evenly:
- Continue working evenly in dc for desired sleeve length.
- Finishing Sleeve:
- The final round is worked entirely in single crochet (sc) to create a neat border.

Step 6: Border Finishing
- Bottom Hem:
- Work one round of single crochet along the bottom of the cardigan.
- Optional:
- Add a second round of sc for more structure.
Final Words
Congratulations on completing your top-down cardigan! This elegant design features a flowing fit, a classic V-neck, and seamless sleeves — perfect for layering in cooler weather.
Tips for Maintaining the Cardigan:
- Blocking: Steam block the cardigan to perfect its shape and drape.
- Washing: Use mild detergent and hand wash. Lay flat to dry.
- Customization:
- Add buttons or ties to the front for closure.
- Use contrasting borders for a pop of color.