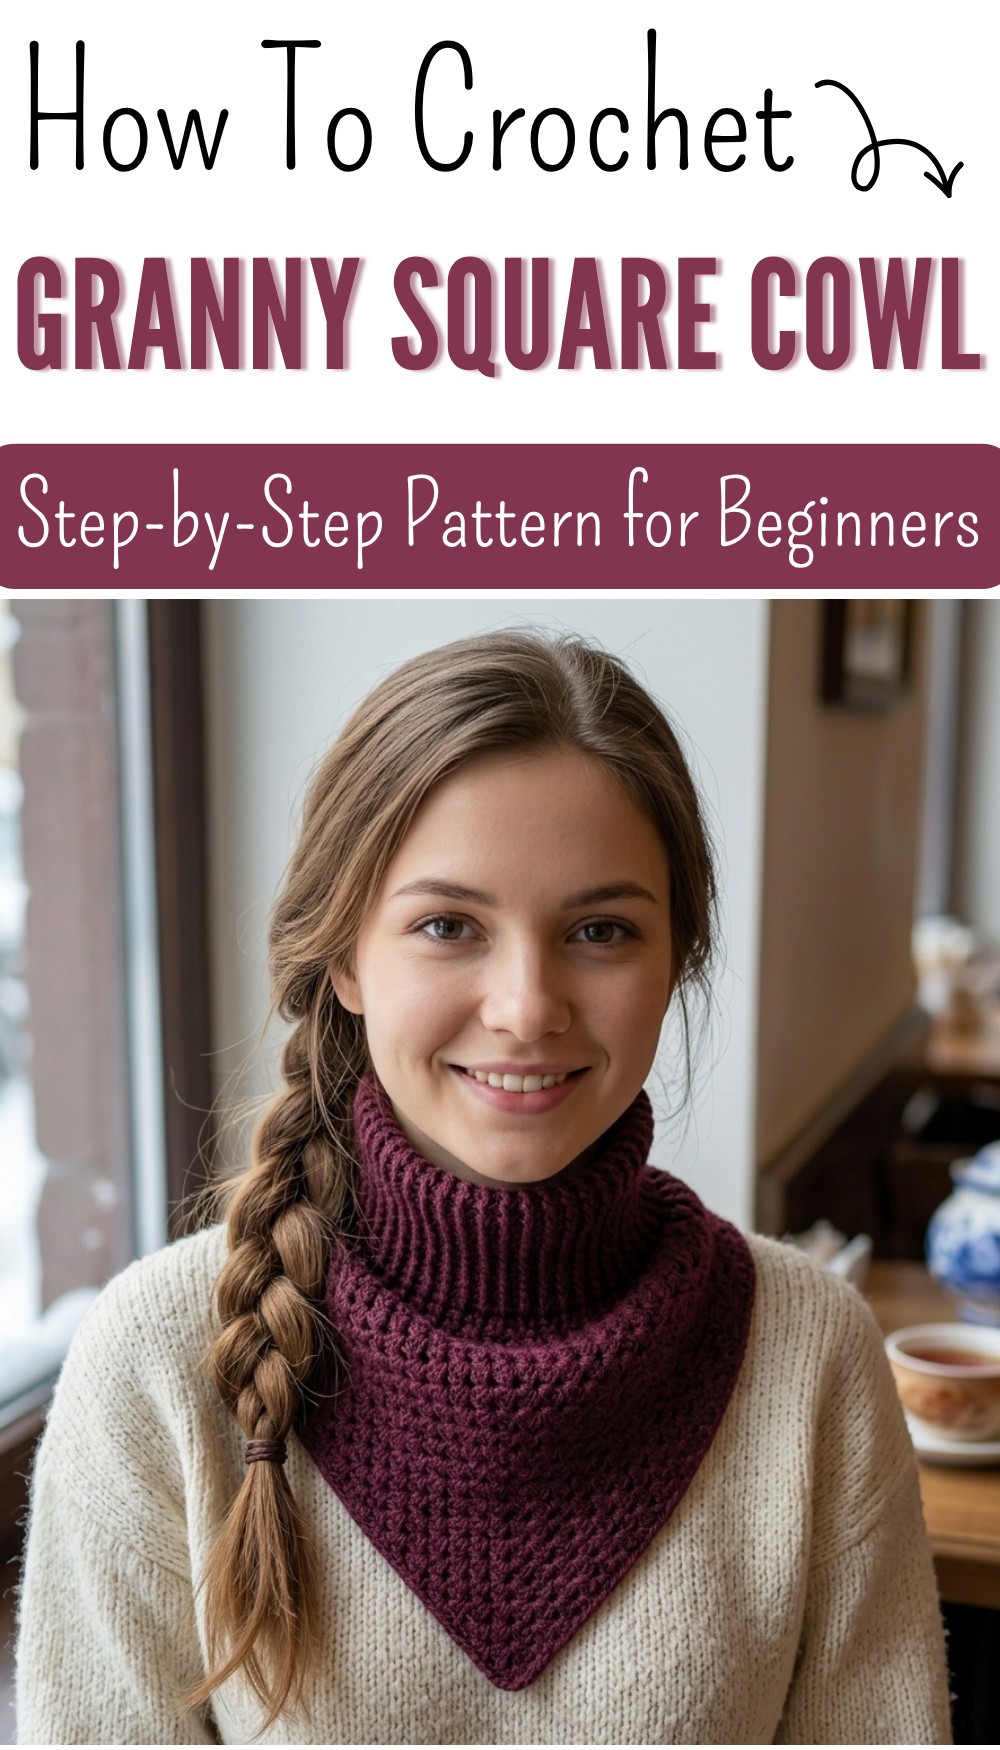
Granny Square Cowl Crochet Pattern Free Simple Joining Method
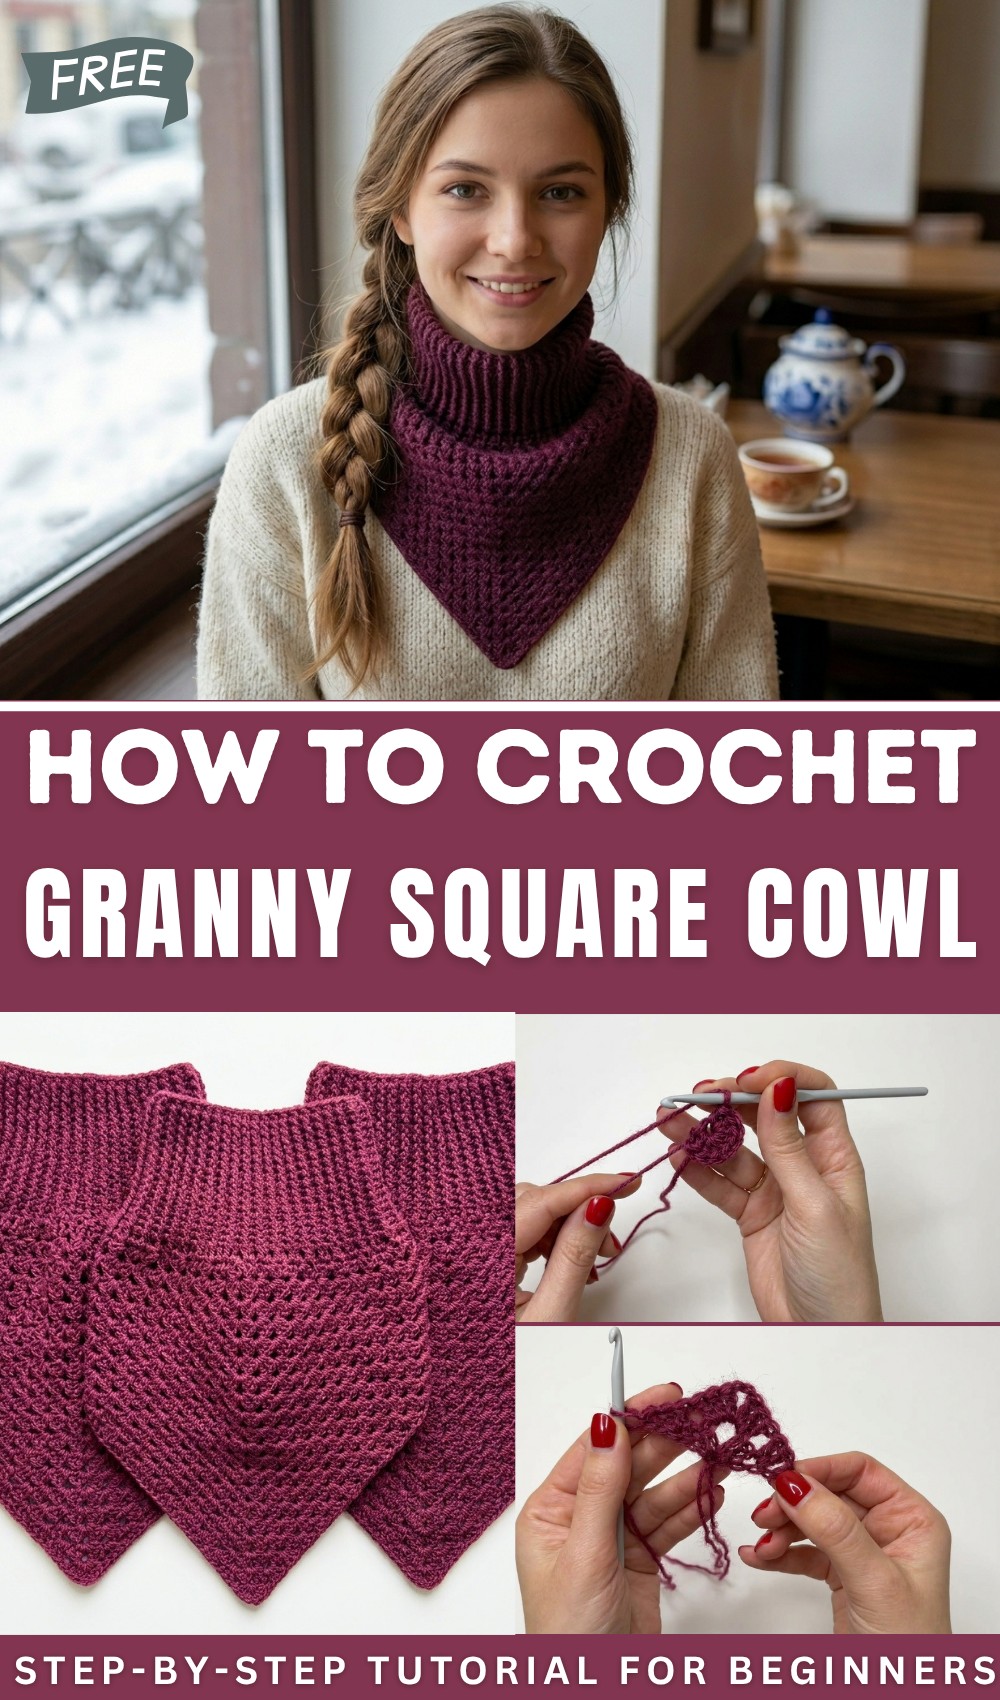
Warm up your style effortlessly with the Free Crochet Granny Square Cowl Pattern, a cozy and vibrant accessory perfect for adding charm to chilly days.
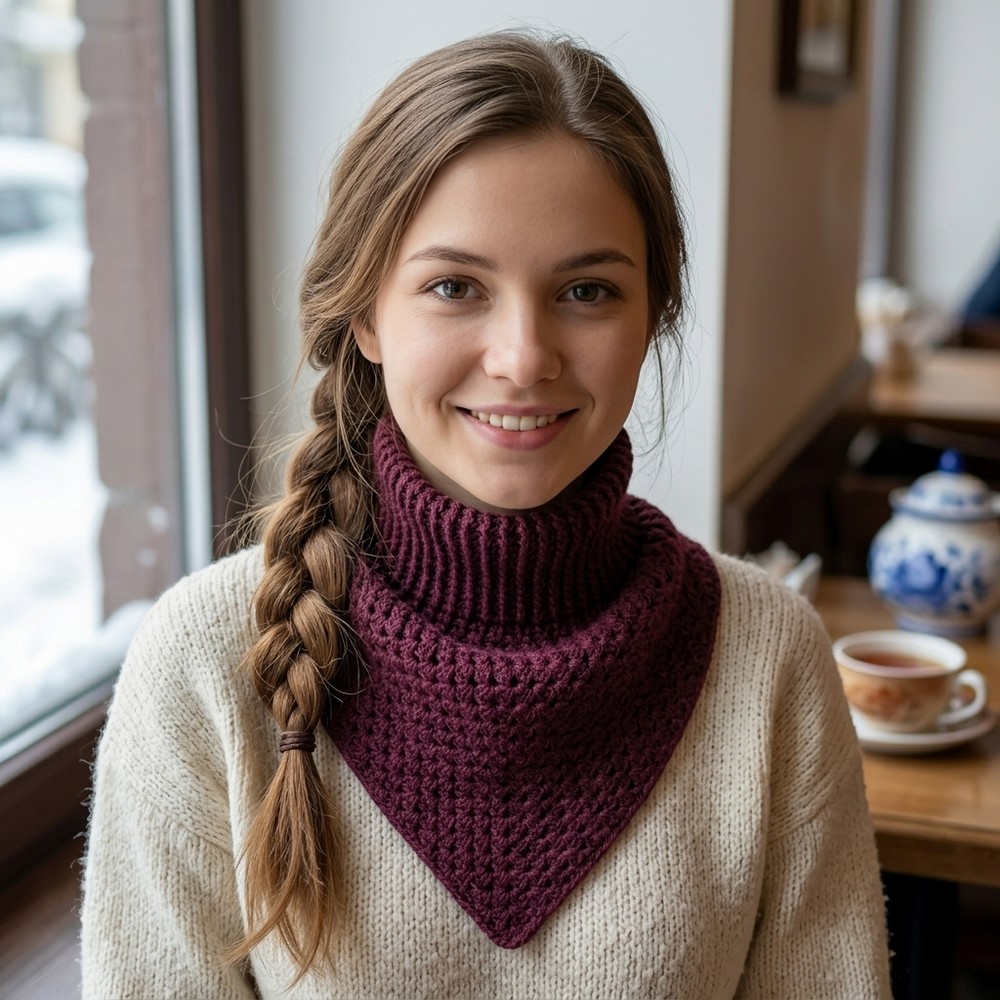
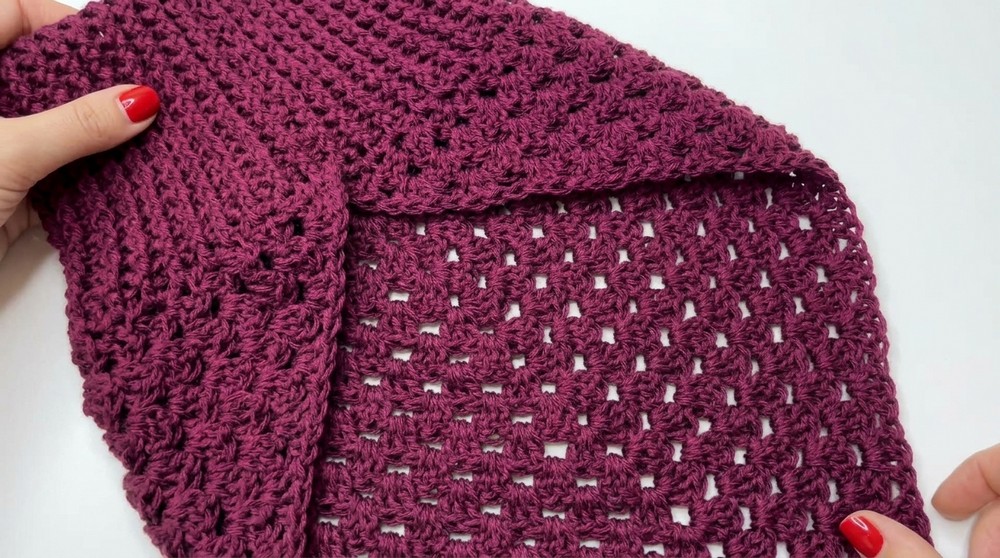
Wrap yourself in comfort and elegance with this soft and stylish Granny Square Cowl. With its warm texture and eye-catching color combinations like pink, gray, red, and white, it becomes the perfect accessory to charm up chilly days. Featuring a “Free Crochet Granny Square Cowl pattern,” this is an easy-to-follow design that results in a cozy and beautiful wardrobe piece. The signature look comes from carefully stitched granny squares, along with techniques like double crochets, chains, and alternating post stitches that give the cowl its special touch.
Free Crochet Granny Square Cowl Pattern Cozy Winter Wear
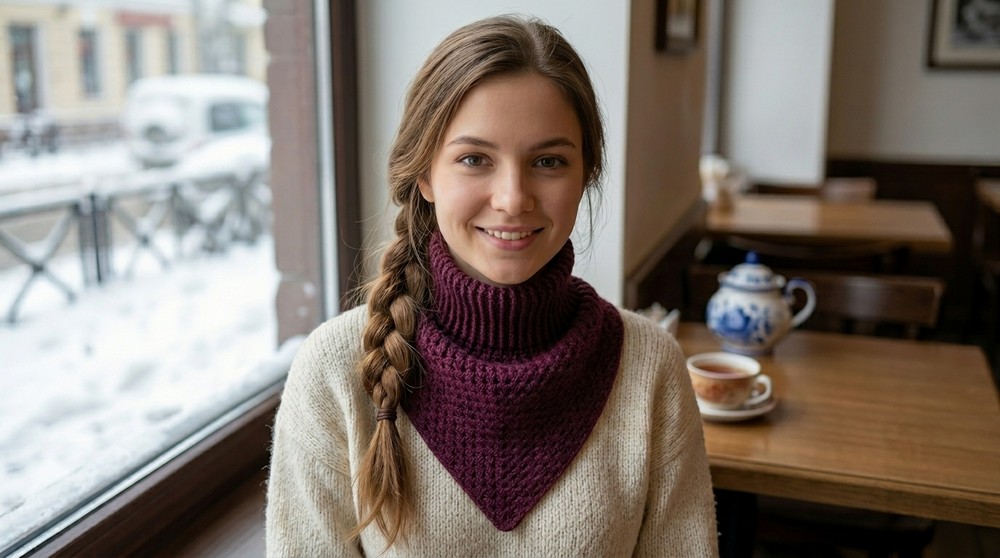
Its beauty lies not just in its appearance but also in the feeling it offers, warmth, softness, and the satisfaction of something made with care. The slip stitches and hook adjustments ensure a snug fit around the neck, making it both practical and stylish. Perfect for keeping away the cold or enhancing any outfit, this cowl provides comfort while looking absolutely stunning. It’s a lovely addition to anyone’s collection, combining coziness with timeless charm.

Granny Square Cowl – Crochet Pattern
Skill Level
Intermediate
You should be comfortable with granny style stitches and working relief stitches (front and back post double crochet).
Materials
- Yarn: Two types of yarn:
- Yarn A: Mohair or a similar soft yarn for a delicate finish.
- Yarn B: A complementary yarn of similar weight for blending.
- Hook Sizes:
- 5.0 mm (H-8) crochet hook (main body).
- 4.0 mm (G-6) crochet hook (neckband; optional).
- Notions:
- Scissors.
- Tapestry needle for weaving in ends.
Key Abbreviations (US Terminology)
- ch – Chain
- sl st – Slip Stitch
- sc – Single Crochet
- dc – Double Crochet
- fprdc – Front Post Double Crochet
- bprdc – Back Post Double Crochet
- st(s) – Stitch(es)
Special Notes
- Granny Square Foundation: The bib starts with a granny triangle, and the rows are worked outward to the desired width.
- Relief / Ribbing Neckband: The neckband alternates front and back post double crochet stitches for a textured ribbed effect.
- Customization: Adjust the size of the bib by adding or reducing the number of rows to the body before joining the edges.
Step-by-Step Pattern
1. Triangle Granny Bib Base
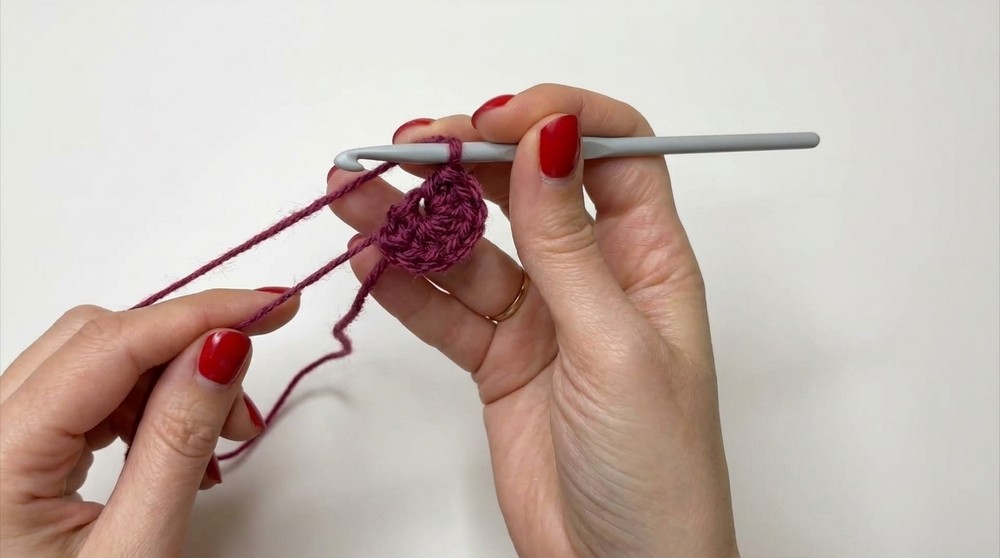
- Begin with a Magic Ring:
- Make a magic ring and secure it.
- Row 1 (Foundation Row):
- Ch 3 (counts as the first dc), work 2 dc into the magic ring.
- Ch 2, work 3 dc into the magic ring.
- Tighten the ring and secure it with a sl st.
- You should have two groups (clusters) of 3 dc separated by a ch-2 space.
- Row 2:
- Ch 3, turn the work (ch 3 counts as the first dc). Work 2 dc on top of the first dc (forming a cluster).
- In the ch-2 corner space, work 3 dc, ch 2, 3 dc (a corner increase).
- Work 3 dc on top of the last dc.
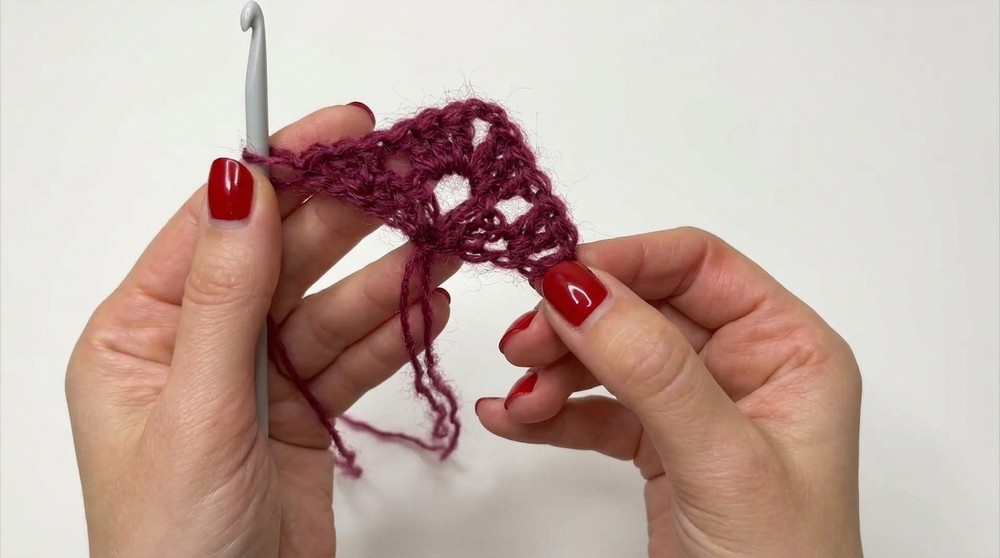
- Row 3:
- Ch 3, turn the work. Work 2 dc on top of the first dc.
- Work 3 dc into each space formed between the clusters from the previous row.
- In the ch-2 corner space, work 3 dc, ch 2, 3 dc.
- Continue working 3 dc in each space, and finish the row with 3 dc on top of the last dc.
- Repeat:
- Repeat Row 3, adding clusters of 3 dc in the spaces between clusters, and increasing at the corners with 3 dc, ch 2, 3 dc in the ch-2 space.
- Continue until you have 20 rows or until the width of your triangle measures approximately 68 cm (27 inches) across its widest edge.
2. Joining the Bib’s Edges
- Fold the Triangle:
- Fold the widest edge of the triangle so the two corners meet. This will create the bib’s shape.
- Join the Edges (Row 1 of Joining):
- Hold the triangle edges together and secure with a sl st at the corner.
- Ch 3, skip one stitch, and work 1 dc in the next st. Alternate:
- Work 1 dc under the “lying” post from the previous row,
- Then work 1 dc between regular stitches.
- Repeat this alternation until the edges are fully joined. If the fabric feels too tight, add extra stitches evenly.
- Connect the row with a sl st in the 3rd ch of the starting ch-3.
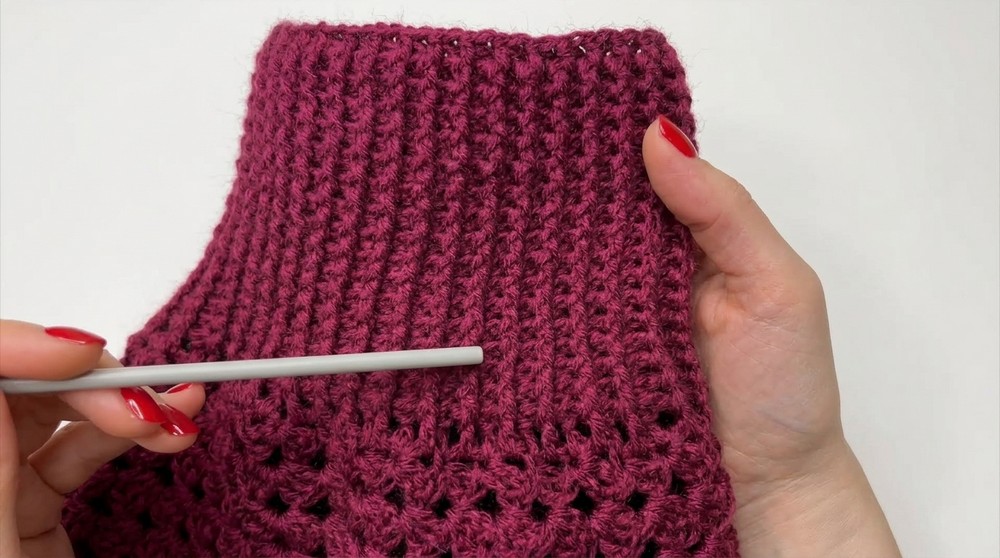
3. Adding the Neckband
Row 1 – Base for Neckband:
- Change to a 4.0 mm hook (optional):
- Attach yarn to the top of your joined edges.
- Work 1 sc in the first st, followed by relief stitches:
- Fprdc: Front Post Double Crochet (insert the hook around the front of the post, yarn over, pull through, and complete a dc).
- Bprdc: Back Post Double Crochet (insert the hook around the back of the post and complete a dc).
- Alternate:
- 1 fprdc, 1 bprdc until the end of the row.
- This creates a textured ribbing effect.
- Join with a sl st into the top of the first st.
Row 2 – Ribbing Continuation:
- Ch 1, work:
- Fprdc over fprdc,
- Bprdc over bprdc.
- Continue alternating stitches across the row.
- Join with a sl st to the top of the first st.
Row 3 Onward:
- Repeat Row 2 until the neckband reaches the desired height.
Example: The tutorial uses 16 rows for a medium-height neckband but can be adjusted based on yarn availability or preference.
Finishing Steps
- Fasten Off:
- After completing the last row of the neckband, ch 1, cut the thread, and fasten off.
- Weave in Ends:
- Use a tapestry needle to weave in all loose threads securely.
- Blocking (Optional):
- Lightly steam block the bib to enhance its shape, especially if using mohair or yarns prone to curling.
Pattern Correction or Clarification
- Row Adjustments for Corners: Consistently work 3 dc, ch 2, 3 dc into every corner ch-2 space.
- Neckband Tightness: If the neckband feels too snug, evenly increase the number of relief stitches in Row 1 by adding occasional dc between stitches.
Tips for Success
- Blend Yarn Textures:
If using mohair, pair it with a slightly stiffer yarn for the neckband to prevent excessive stretching. - Try Different Colors:
Experiment with color changes to create striped or gradient effects in the triangle section. - Measurements:
Ensure the width of the triangle complements the width of the baby’s neck and chest area.
Conclusion
This Granny Square Cowl is a timeless crochet project that combines beauty and functionality. With its delicate triangular shaping and ribbed neckband, the bib is perfect as a gift item or part of a baby’s wardrobe. It’s customizable in size, color, and style, allowing you to experiment with different materials and embellishments.