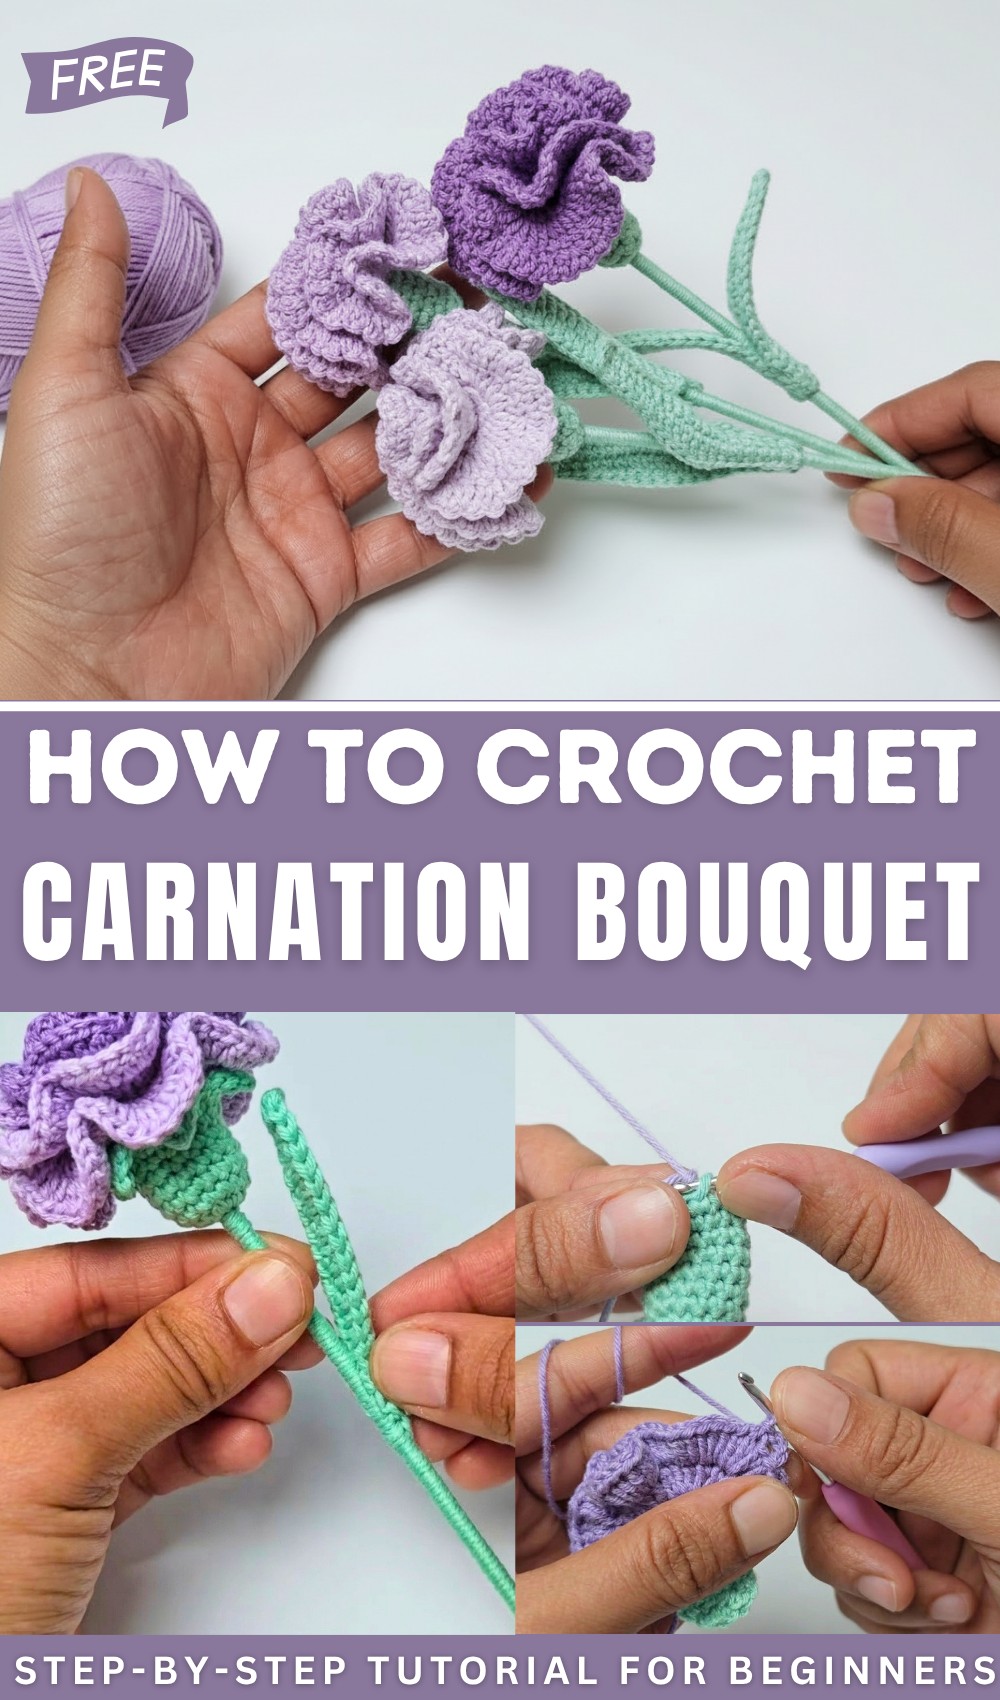
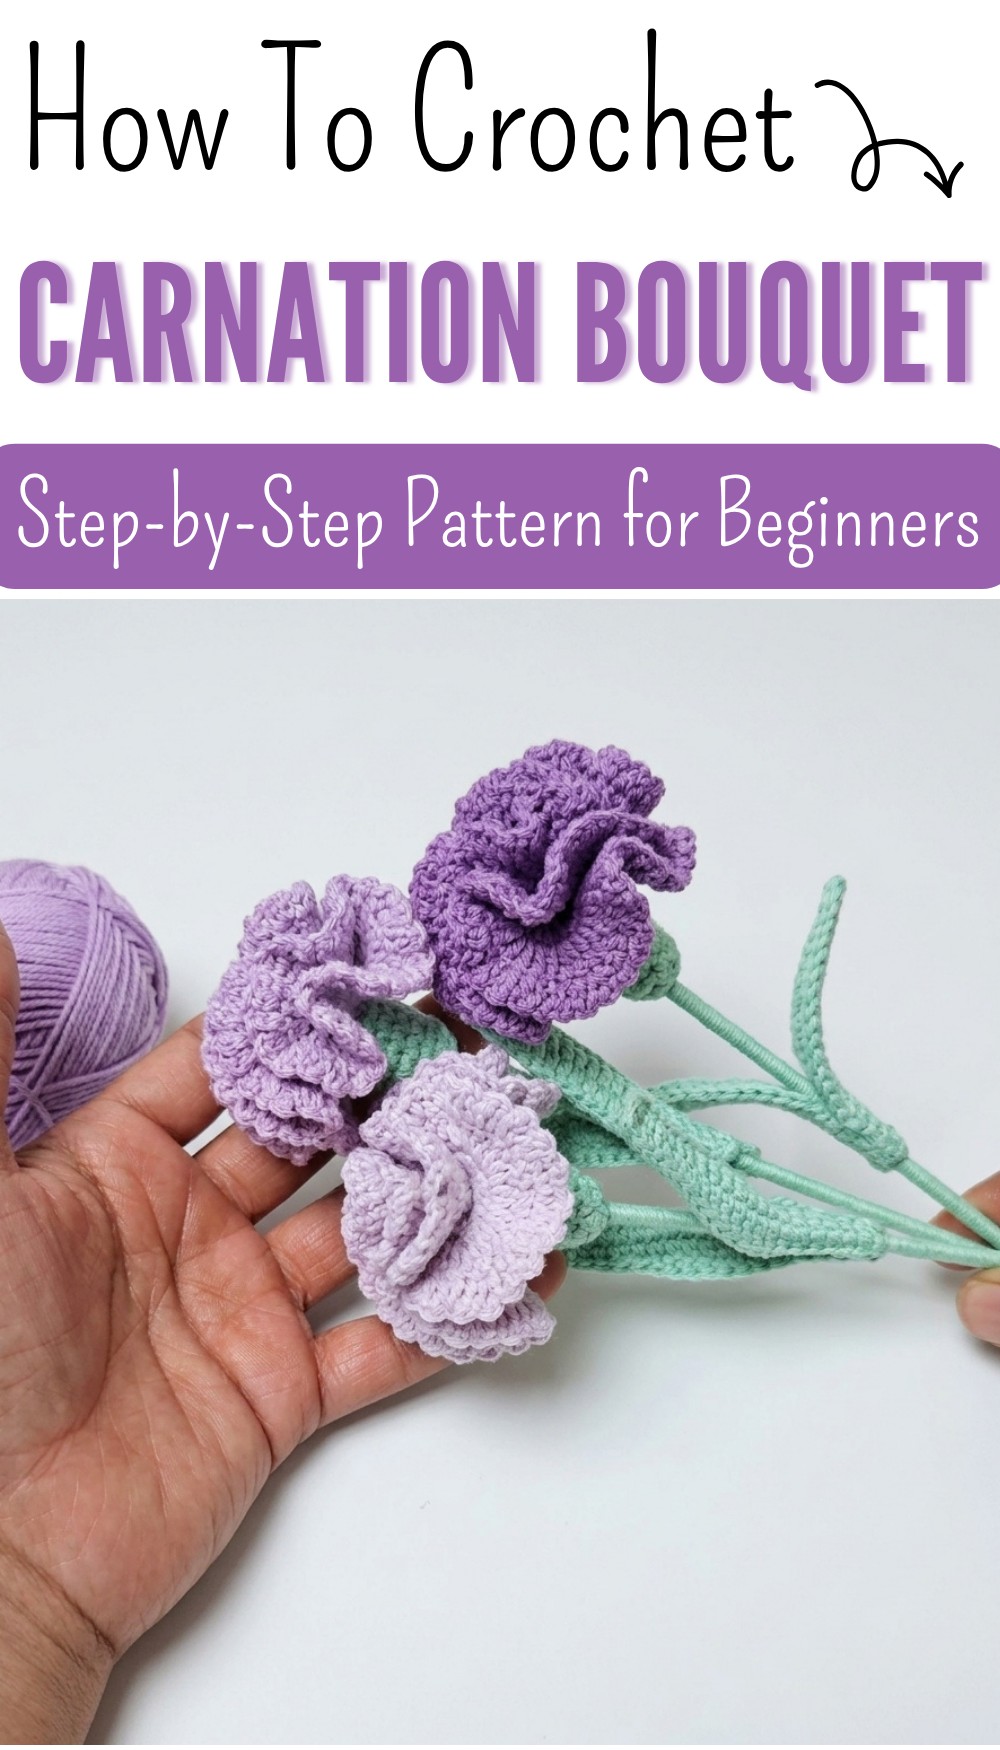
Beginner-Friendly Free Crochet Carnation Bouquet Pattern
Try this free crochet carnation bouquet to make lovely flowers that last forever, perfect for decorating spaces or gifting something special.
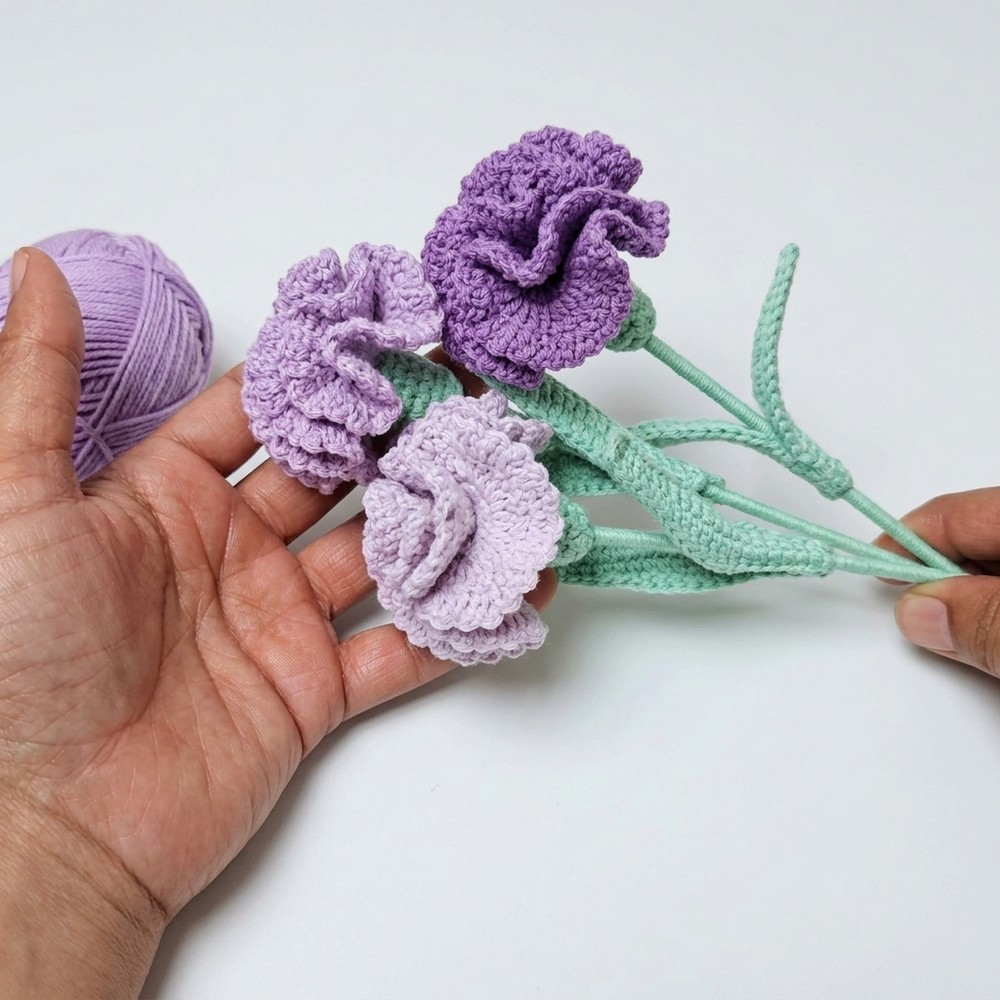
Flowers that never wilt and always stay bright and beautiful are a joy to have, especially when you can make them yourself. This crochet project lets you create stunning carnations with soft, textured petals that look just like the real thing. These handmade flowers can be used as lovely decorations for your home, thoughtful gifts for friends, or even a centerpiece for special occasions.
How to Make a Free Crochet Carnation Bouquet Pattern Step by Step
With their green stems and vibrant petals, they add a cheerful touch to any space. The design is easy and beginner-friendly, making it fun for anyone who enjoys crocheting with yarn. You can create a bouquet in any color you like, mixing shades to match your favorite style. Each carnation has a full, elegant shape and feels warm and personal, as it’s made with care and creativity. These flowers will stay perfect forever, becoming a unique addition to your crochet projects or home décor collection.
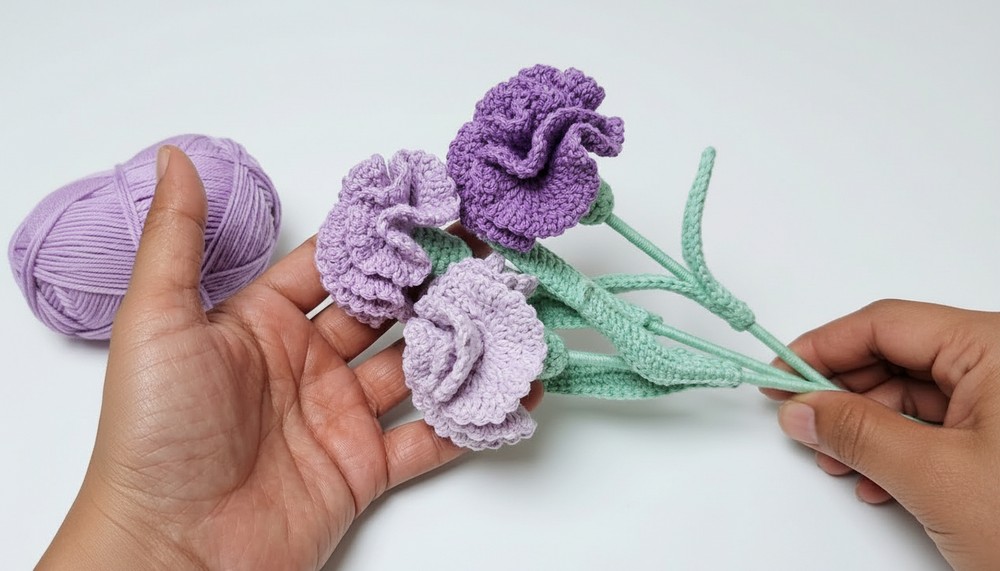
Carnation Bouquet Crochet Pattern
Materials
- Yarn: Medium-weight yarn, 50% cotton and 50% acrylic (5-ply).
Suggested colors: green (for the stem and leaves), lilic or purple (for the flower petals). - Crochet Hooks:
- 2.5 mm crochet hook for flowers.
- 2.2 mm crochet hook for leaves (optional for tighter stitching).
- Copper Wire: 5 mm wire (for leaves shaping).
- Sticks or Wires: Wooden sticks or craft wire to serve as the stem.
- Stuffing Material: Fiberfill or cotton for stuffing the flower base.
- Scissors: For cutting yarn.
- Needle: For weaving in yarn ends and making hidden joins.
- Glue: To secure the stem assembly.
Pattern Instructions
Part 1: Flower Base
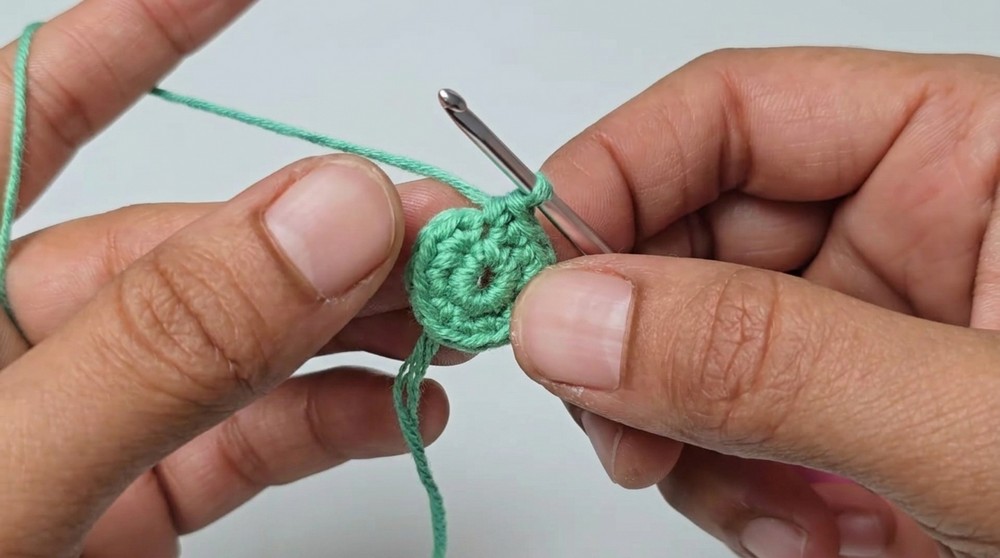
Starting the Magic Ring
- Using green yarn, create a magic ring.
- Ch 1. Work 8 single crochet (sc) stitches into the ring.
First Round
- Sl st into the first chain to close the round.
- Ch 1. In the same stitch, make 2 single crochet (sc) stitches.
- Continue working 2 sc into each stitch, alternating with single sc.
- At the end of the round, you should have a total of 12 sc stitches.
Next Rounds (2–9)
- Sl st to close each round, then ch 1.
- Make 1 sc in each stitch across the round (12 sc total per round).
- Repeat this step for 7 additional rounds (total of 9 rounds from the magic ring).
Finishing the Base
- After completing all rounds, sl st to the first chain, ch 1, and cut the green yarn.
- Ensure to leave a long yarn tail for weaving later.
Part 2: Adding the Petals
Attaching Pink Yarn
- Join pink yarn to any sc stitch from the last round. Ch 2.
- Work 4 double crochet (dc) into the same stitch (total of 5 dc including the starting chain).
Forming Petals
- Work 5 dc into each of the 12 sc stitches from the last round.
Second Layer
- Sl st to the first chain at the end of the round, then ch 2.
- In the same stitch, make 3 dc.
- Continue working 3 dc stitches into each stitch from the previous round.
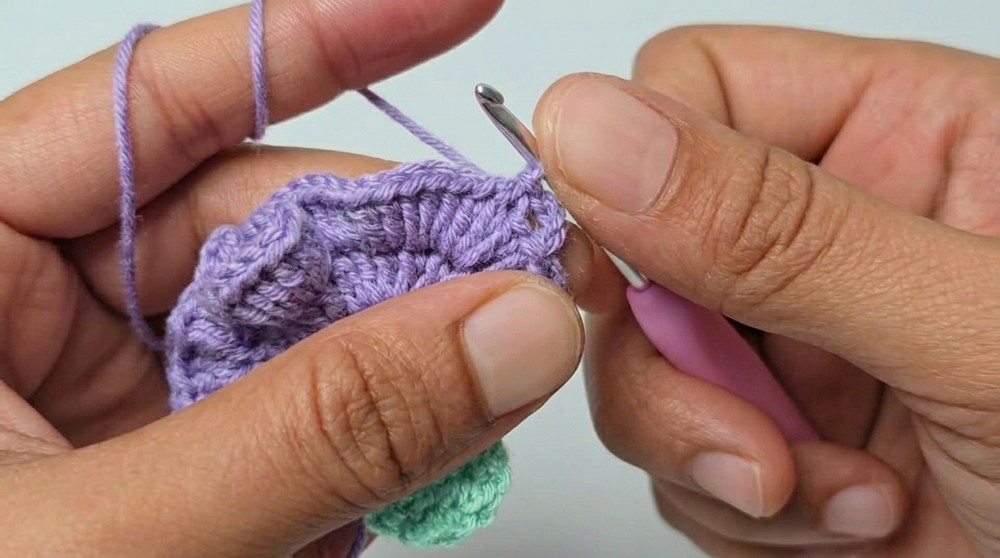
Final Layer (Edging)
- At the end of the second petal layer, sl st to the first chain and ch 3.
- Work a sl st into the next stitch, then ch 3 again.
- Repeat this process around the entire round to form the petal edges.
- Finish with sl st into the last stitch of the round, ch 1, and cut the pink yarn.
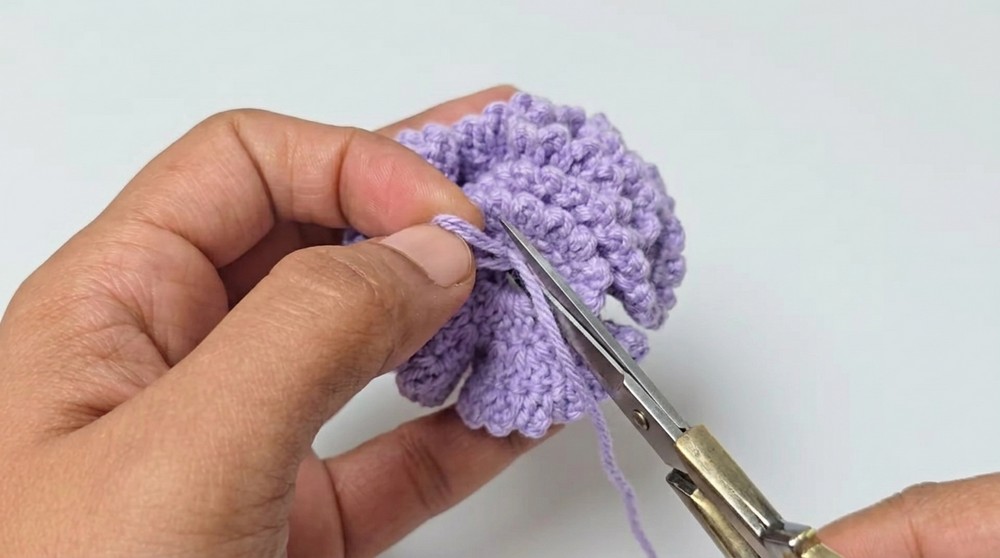
Part 3: Shaping & Stuffing the Flower
- Thread the yarn tail onto a needle.
- Create a hidden join and weave the tail through the back loops of the last green crochet row at the bottom of the flower.
- Fill the green section with stuffing until it forms a plump, rounded base.
- Zigzag through the last green sc stitches to gather and secure the base neatly.
- Knot the yarn and hide the tail inside the base.
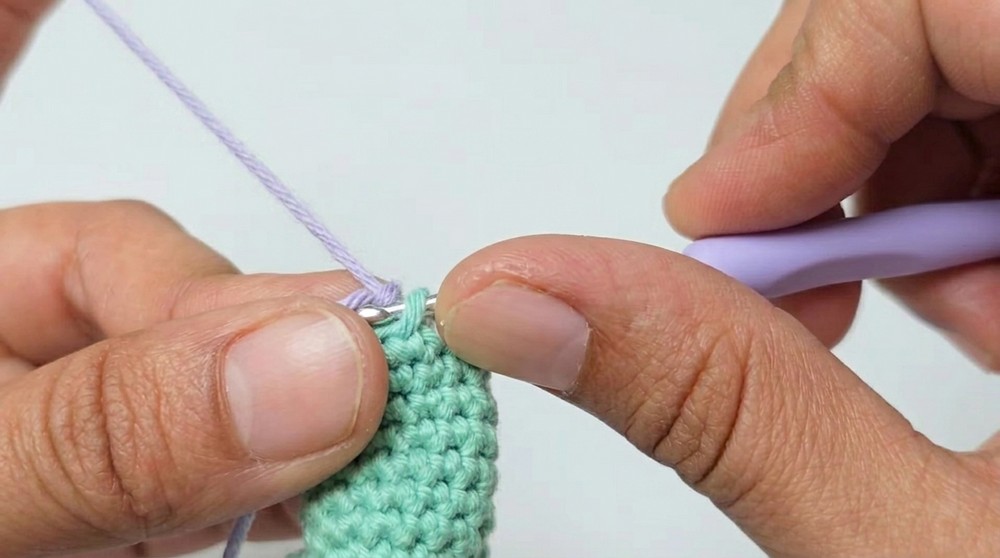
Part 4: Crafting Leaves
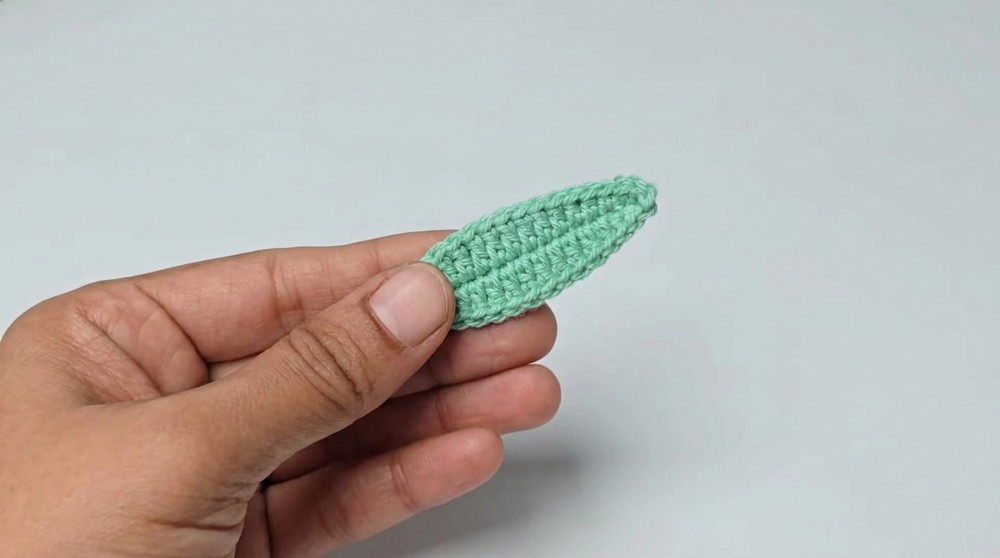
Leaf Base
- Use 2.2 mm hook with green yarn and ch 19.
- Starting from the 2nd chain, follow this sequence while weaving copper wire along the inside:
- 3 sc, 3 hdc, 3 dc, 1 tr, 3 dc, 3 hdc, 3 sc.
- Make the last sc into the first knot you created.
Second Half
- Slightly bend the wire at the top and ch 2. Work the same stitch sequence for the second half of the leaf:
- 3 sc, 3 hdc, 3 dc, 1 tr, 3 dc, 3 hdc, 3 sc.
Joining and Finishing
- Make a hidden join, weave the tail, and cut off extra wire for a clean finish.
- Create at least two leaves following the same steps.
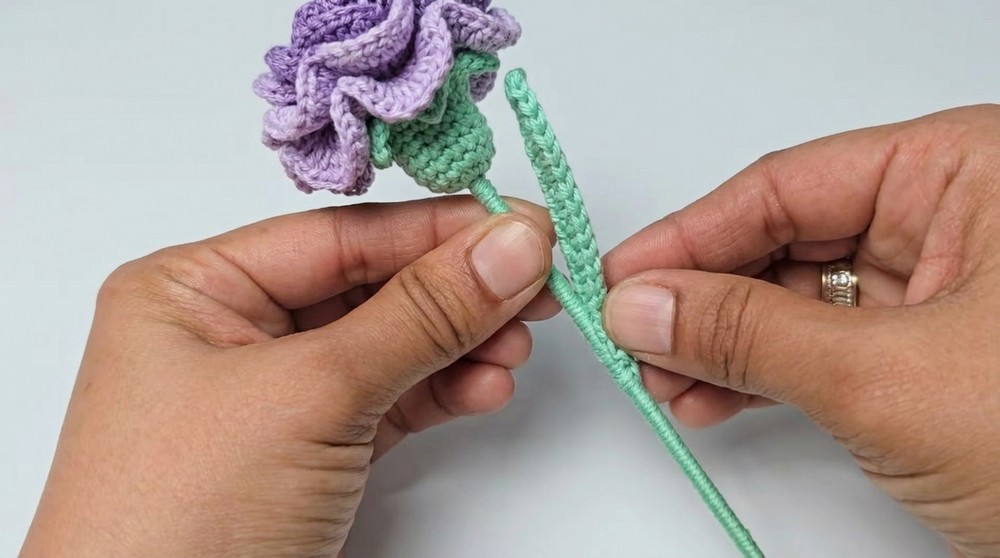
Part 5: Assembly & Stem Creation
Stem
- Insert a wooden stick or wire through the magic ring at the base of the flower.
- Add glue to the tip of the stick to secure it.
Covering the Stem
- Wrap green yarn tightly around the entire stick to fully cover it.
Attaching Leaves
- Position the leaves where you like, and secure them by wrapping or gluing the base onto the stem.
Finishing the Bouquet & Final Touches
- Shape the copper wires on the leaves to create realistic curves.
- Arrange the completed carnations into a bouquet and display them in a small vase or bind them together with ribbon.
Final Words
Congratulations on completing your carnation bouquet! This project is not only beginner-friendly but beautifully customizable. Tips for maintaining your bouquet:
- Avoid moisture: Keep the yarn dry to ensure longevity.
- Keep wires in shape: Re-adjust the leaf wires if they deform over time.
- Dust occasionally: Gently brush or shake off dust to preserve colors and texture.