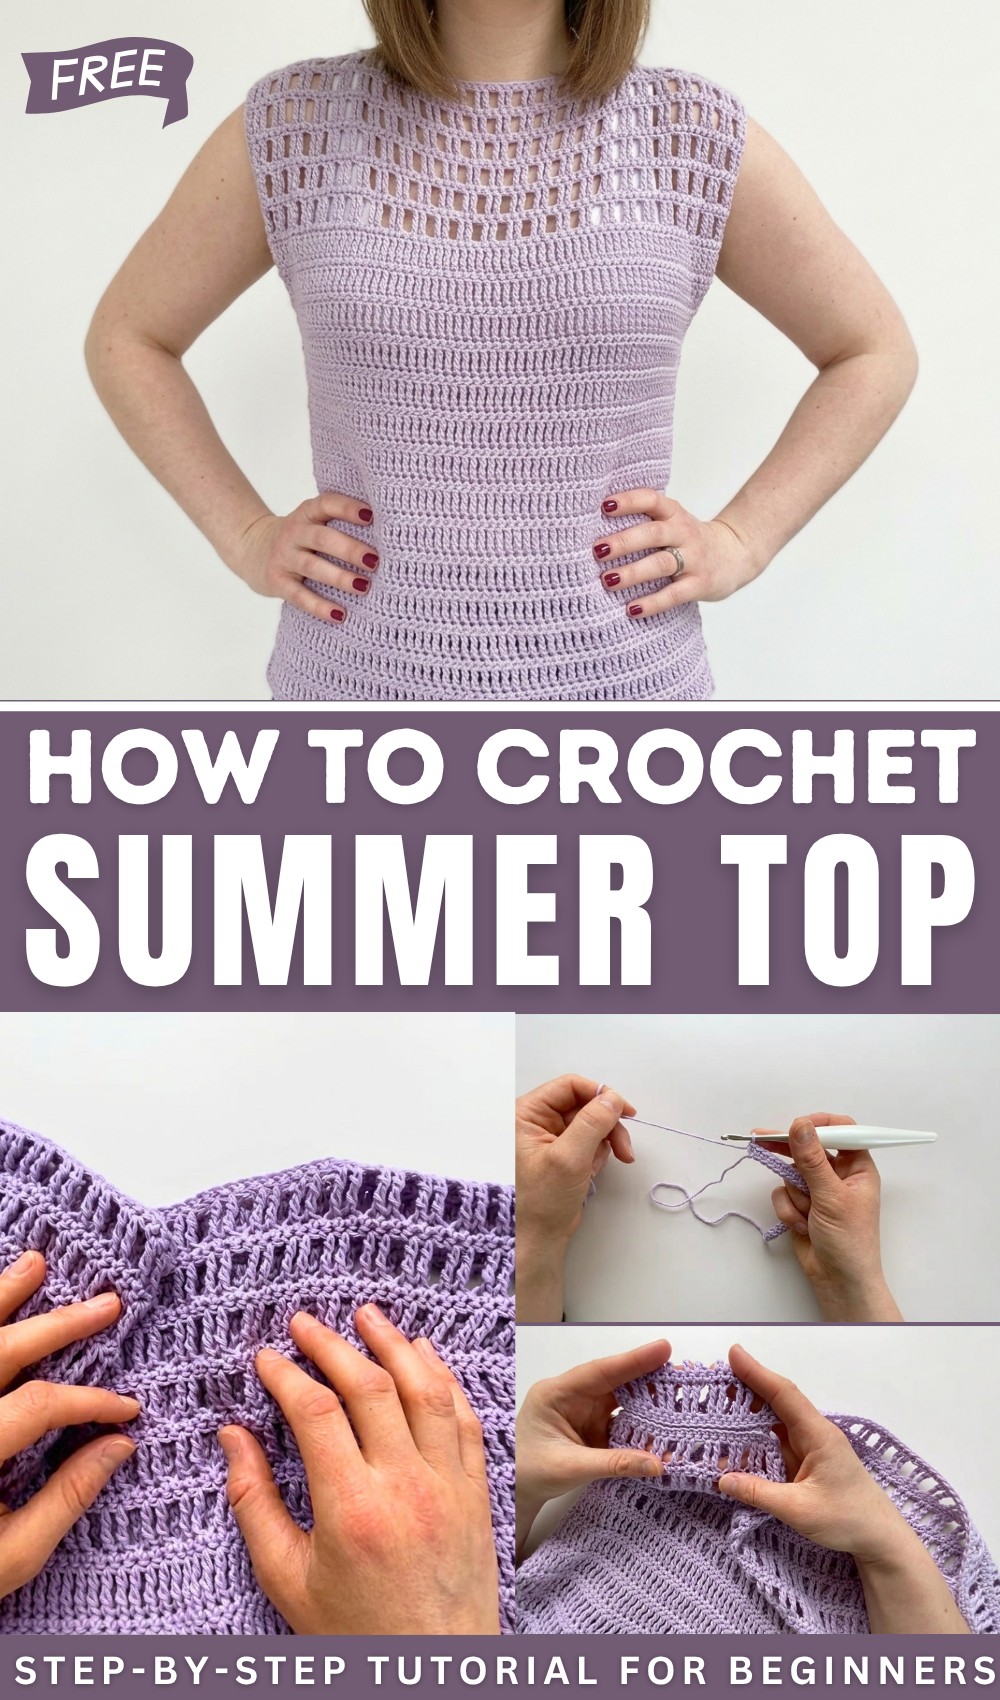
Crochet Summer Top Step-by-Step Free Pattern to Try
Wear a comfy and stylish crochet summer top that’s perfect for sunny days, casual outings, and beach fun while staying cool and fashionable all season long.
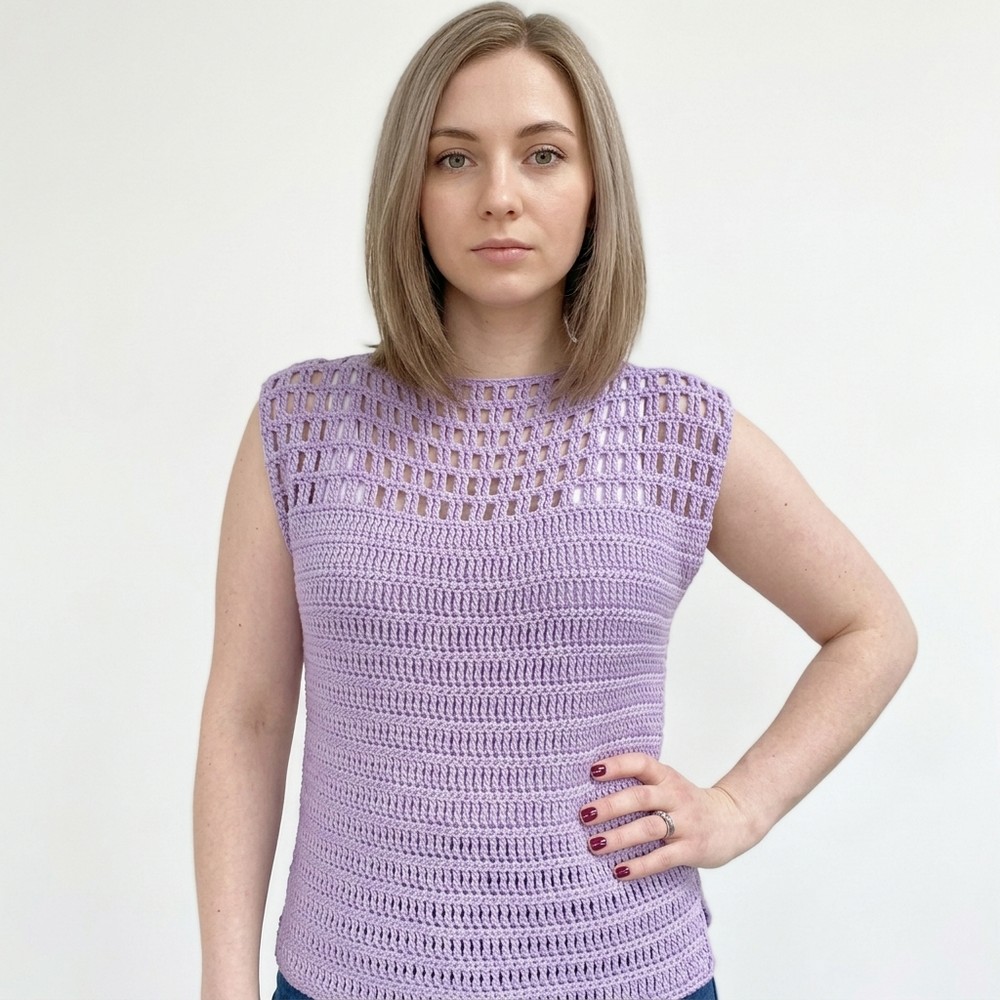
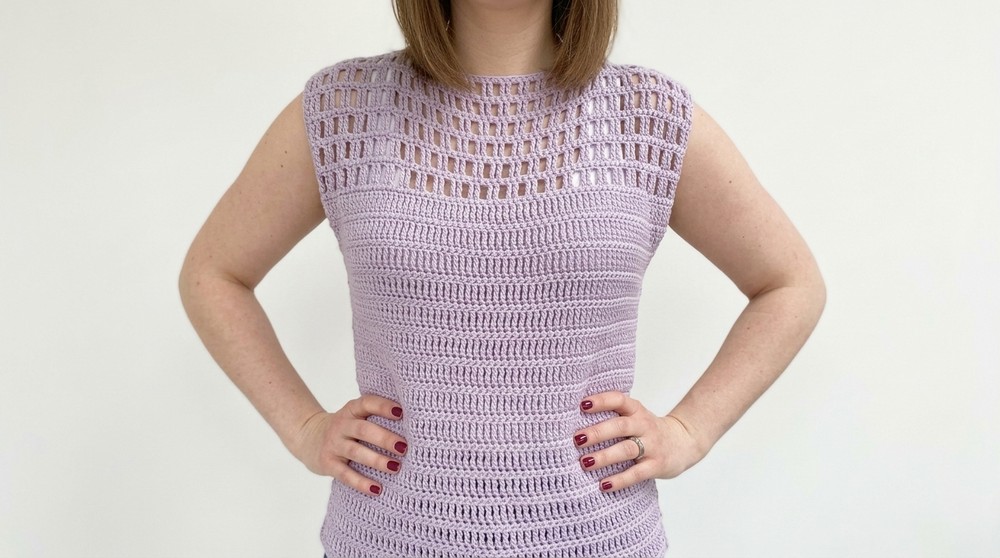
It’s hard to feel comfortable in summer when clothes are heavy and clingy. That’s why a crochet top made with light and airy stitches is perfect for warm, sunny days. With its soft texture and breathable patterns, it offers a refreshing way to stay cool while looking stylish. The delicate details in the crochet work give it a charming and unique appearance that instantly catches attention.
Free Crochet Summer Top Pattern for Beach-Ready Style
What makes this top special is how effortlessly it fits into any summer outfit. You can wear it with skirts, shorts, or as a cute layer over beachwear. The customizable nature allows you to choose colors that match your personality, whether that’s vibrant shades or gentle pastels. Its lightweight structure adds freedom and comfort, perfect for all-day wear. This crochet summer top is not just clothing; it’s a blend of beauty, practicality, and creativity wrapped up in one piece.
crochet summer top Pattern
Materials
- Yarn:
- DK weight cotton yarn (recommended: James C. Brett Pure Cotton or similar).
- Note: Cotton yarn is ideal for its breathable texture. Use yarn quantities listed in the pattern for sizes ranging from XS to 5X.
- Hook:
- 4mm crochet hook (or appropriate size for gauge).
- Notions:
- Scissors.
- Yarn needle (for weaving in ends and seaming panels).
Gauge
Gauge is important for achieving the correct size.
- Gauge: 16 stitches x 10 rows in single crochet = 4 inches (10 cm).
Finished Size
The pattern is written for sizes XS to 5X and is designed to fit loosely. Refer to the sizing guide on the blog or in the PDF for specific dimensions per size. Customizations for neckline width, armhole depth, and top length are also detailed below.
Special Techniques
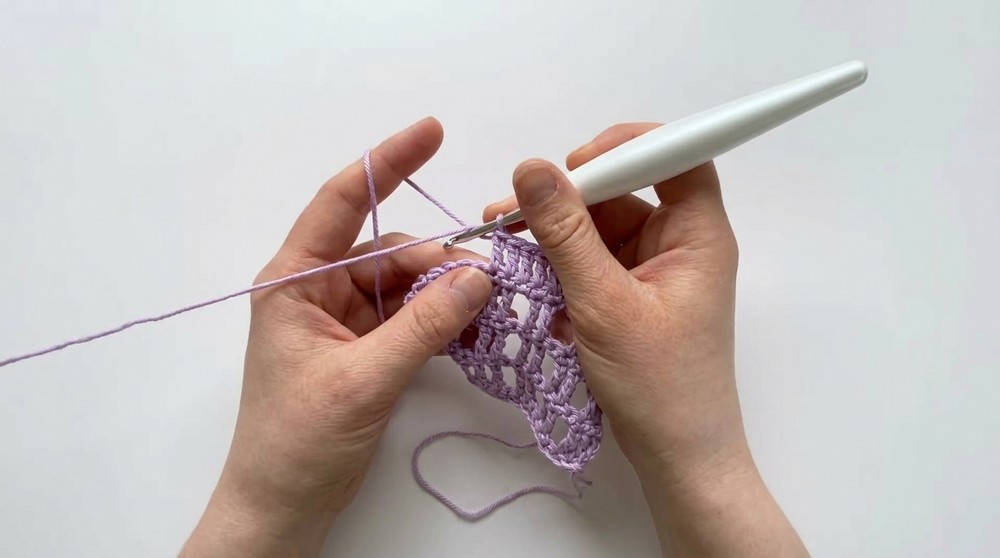
- Single Crochet (sc): Insert hook into stitch, yarn over, pull through, yarn over, pull through both loops.
- Treble Crochet (tr): Yarn over twice, insert hook into stitch, yarn over, pull through, yarn over and pull through two loops (repeat this twice).
- Treble Crochet Eyelet Pattern: Combines chains with treble crochets for an open, airy look.
- Stacked Treble: A substitution technique to create height in place of traditional turning chains; provides a cleaner edge for seaming.
- Seaming Methods: Includes options such as slip stitches, single crochet seaming, or sewing with a yarn needle.
Pattern Instructions
Step 1: Top Section
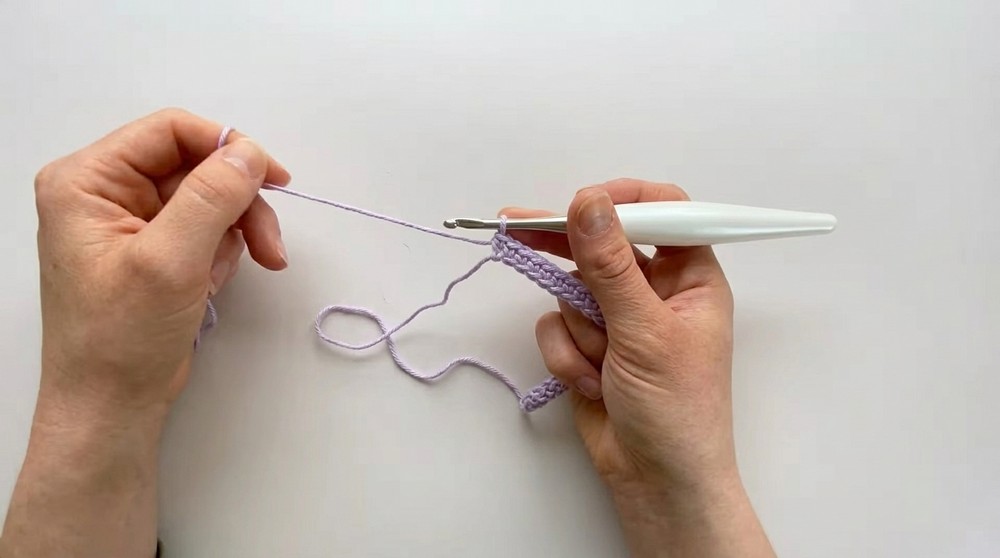
- Foundation Chain:
- Make a slip knot, then chain the required number of stitches for your size (as listed in the blog or purchased PDF).
- For this pattern example:
- XS: Chain 60.
- Row 1 (Single Crochet Base):
- Starting in the second chain from the hook, work 1 sc into each chain across.
- At the end of Row 1, turn your work.
- Stitch Count: The total number of single crochets will equal the starting chain minus 1. For example, XS will have 59 sc.
- Row 2 (Eyelet Lace with Treble Crochet):
- Option 1: Chain 3 (does not count as a stitch).
- Option 2: Use a stacked stitch for cleaner edges: Work 4 stacked single crochets consecutively into the first stitch (explained in the video).
- Treble Crochet Section:
- Yarn over twice, insert the hook into the next stitch, complete a treble crochet (tr).
- Chain 1, skip the next stitch, and work 1 tr into each of the next 2 stitches.
- Repeat: Chain 1, skip 1 stitch, work 1 tr into each of the next 2 stitches until you reach the last 3 stitches.
- End with chain 1, skip 1, and work 1 tr into each of the last 2 stitches.
- Row 3 (Single Crochet Row):
- Chain 1 (does not count as a stitch), and work 1 sc into each stitch across, including into the chain stitches from the previous row.
- This row preserves the stitch count from Row 1.
- Work into the actual chain stitch rather than the chain space for a more symmetrical effect.
- Chain 1 (does not count as a stitch), and work 1 sc into each stitch across, including into the chain stitches from the previous row.
- Eyelet Pattern Section:
- Repeat Rows 2 and 3 five more times, for a total of 13 rows in the top eyelet section.
Step 2: Middle Panel
- Row 14 (Solid Treble Section):
- Begin with a stacked stitch or chain 3, followed by 1 tr into each stitch across the row.
- Turn your work at the end.
- Row 15 (Single Crochet Row):
- Chain 1, and work 1 sc into each stitch across.
- Customize for Length:
- Repeat Rows 14 and 15 12–14 more times, depending on your size and desired length.
- XS: Repeat 12 times.
- 5X: Repeat 14 times.
- Tip: Try your piece against yourself to determine length, keeping in mind a cuff section will be added.
- Repeat Rows 14 and 15 12–14 more times, depending on your size and desired length.
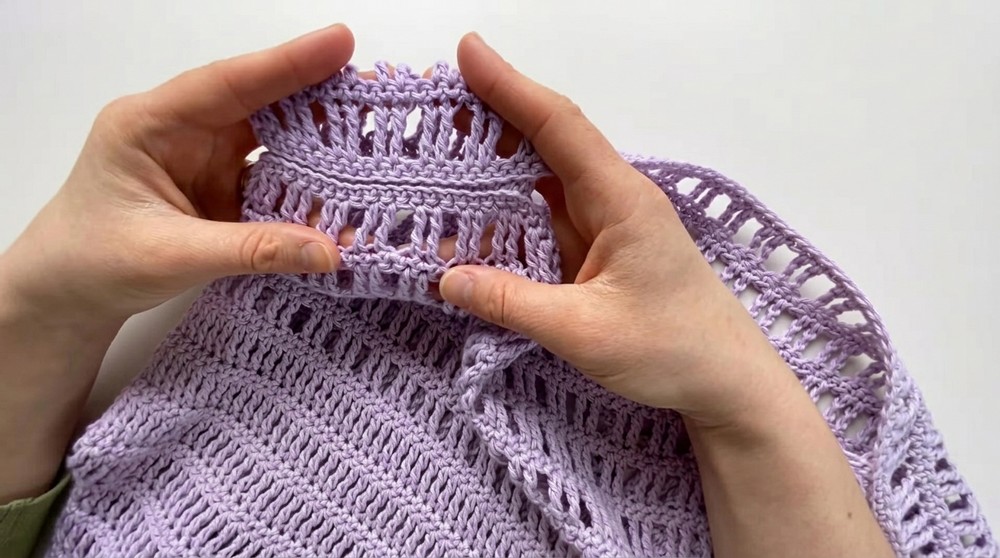
Step 3: Bottom Cuff Section
- Row 16: Repeat Row 2 (Eyelet Treble Section).
- Row 17: Repeat Row 3 (Single Crochet Row).
- Repeat Rows 16 and 17 two to four more times, depending on your size or desired cuff length.
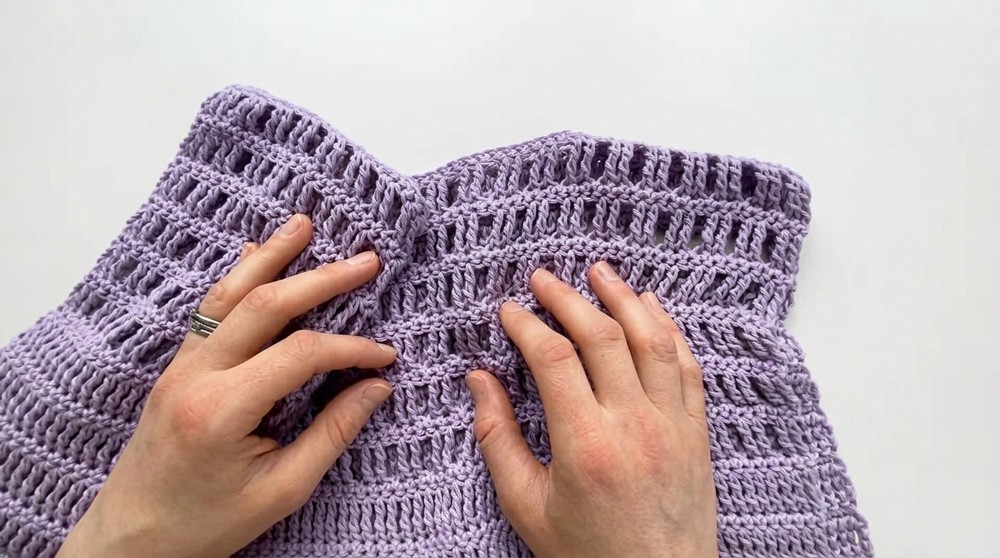
Step 4: Create Back Panel
- Repeat the entire process (Steps 1–3) to create a matching back panel.
Assembly Instructions
Seaming
- Shoulder Seams:
- Lay the panels flat with the correct sides facing.
- Match the edges of the panels, ensuring stitch patterns align.
- Seam the shoulder edges using one of the following methods:
- Slip Stitch: Insert your hook into the back loops only of both panels, yarn over, pull through, and repeat along the seam.
- Single Crochet Seam: Work sc into the back loops of each stitch along the seam.
- Sewing: Use your yarn needle to sew the back loops together with whipstitch or mattress stitch.
- Tip: Adjust the neckline size to your preference before fully seaming the shoulders.
- Side Seams:
- Leave the bottom cuff open for a flared effect, starting your side seam at the beginning of the middle section.
- Seam the desired number of rows for your armholes:
- Tip: Deeper armholes are ideal for layering with camisoles. For higher armholes, simply continue seaming further.
- Weave in Ends:
- Weave all loose ends securely into the wrong side of the garment with your yarn needle.
Tips for Success
- Customize Fit: Tailor the neckline, armholes, and overall length to suit your preferences by adjusting seam placements and adding or subtracting rows.
- Even Tension: Keep an even tension for a polished and symmetrical finish.
- Blocking: Lightly block your finished garment to smooth the stitches and ensure proper drape.
- Add Embellishments: Consider adding decorative edging or embroidery to personalize your tee.
Conclusion
The crochet summer top is an elegant and versatile summer garment perfect for every crocheter’s wardrobe. Its simple construction, consisting of two rectangles, makes it ideal for beginners, while the eyelet detailing adds sophisticated flair. With its customizable features, you’re able to tailor this piece to fit comfortably and stylishly.

Important Remarks
- Loose and Breezy Fit: This top is designed for comfort, making it a wardrobe staple for warmer days.
- Customizable Design: Use the pattern as a base to experiment with different yarns, colors, and embellishments.