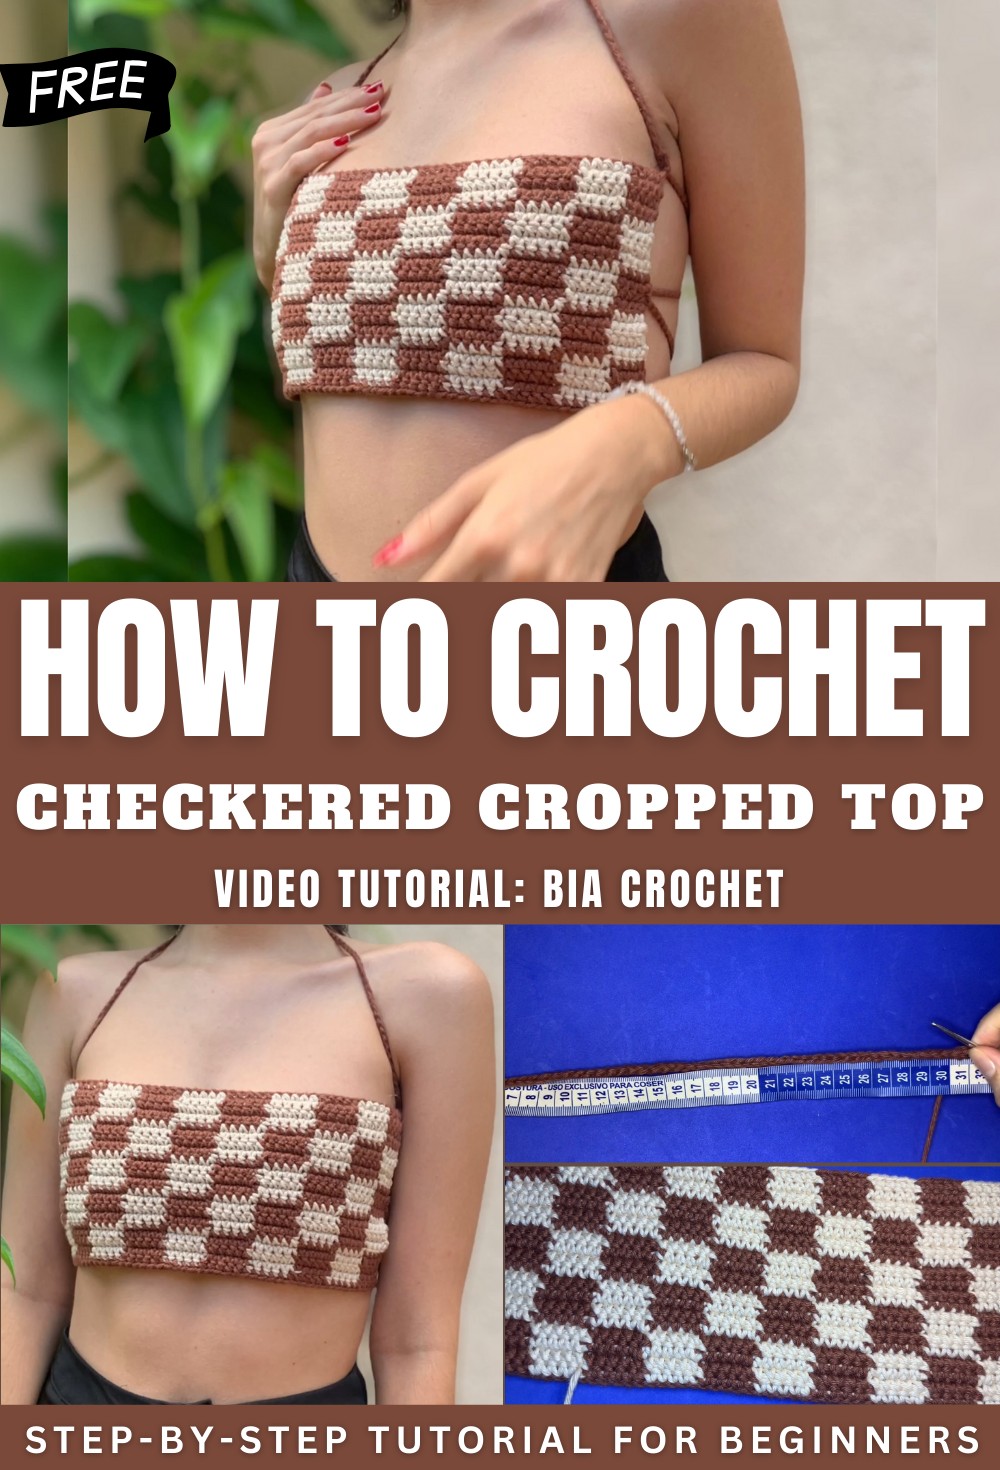
Free Checkered Cropped Top Pattern In Every Color
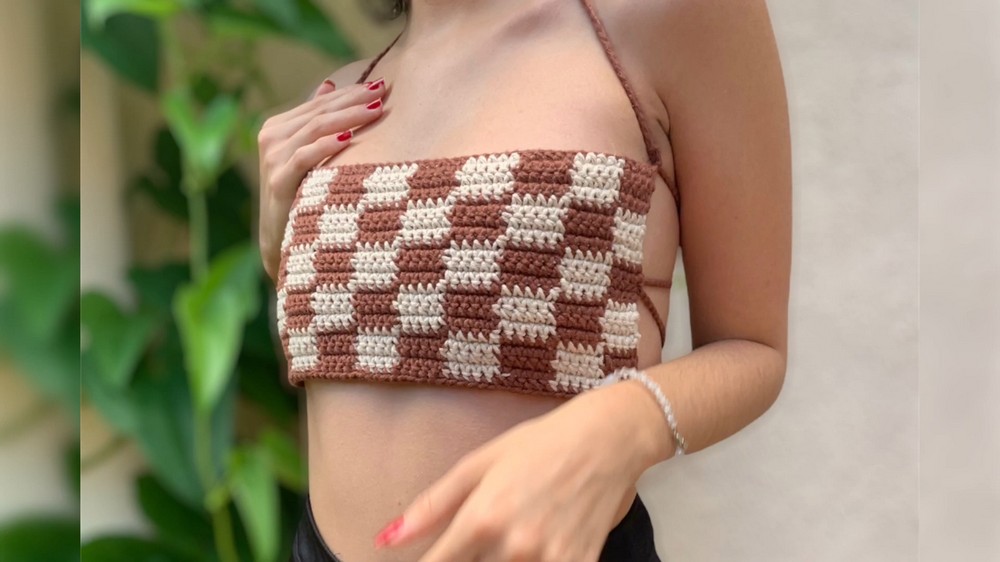
Inspire your style with this bold crochet checkered cropped top pattern, providing a funky aesthetic and a sharp fit that feels totally outstanding.
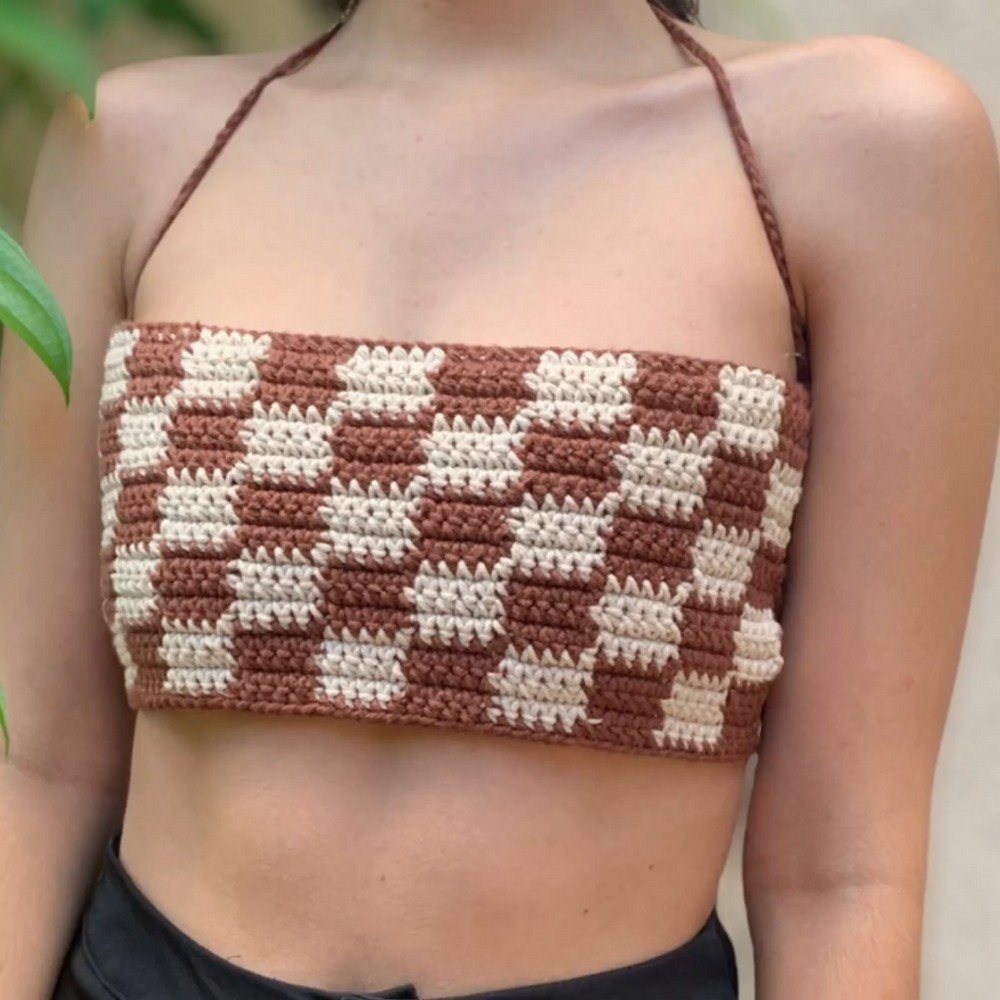
The allure of this contemporary garment lies in its perfect fusion of retro aesthetics and modern silhouettes. This structured, geometric design offers a refreshing departure from traditional lacework, providing a bold, graphic impact that elevates any wardrobe. By utilizing a repeating grid technique, the style allows for effortless customization of color palettes, making it a versatile staple for those seeking a unique, personalized aesthetic.
Snatch This Modern Checkered Crochet Pattern For Summer
Beyond its visual appeal, the design is highly valued for its lightweight and breathable nature, making it an ideal choice for transitional seasons. Its cropped length promotes better airflow and freedom of movement compared to heavy, full-length knits. The beauty of this top resides in its crisp lines and the satisfying symmetry of the squares, which exude a sophisticated, chic vibe. Whether styled with high-waisted denim for a casual outing or layered over a sleek slip dress for an evening event, this top remains a standout choice for fashion-forward enthusiasts.
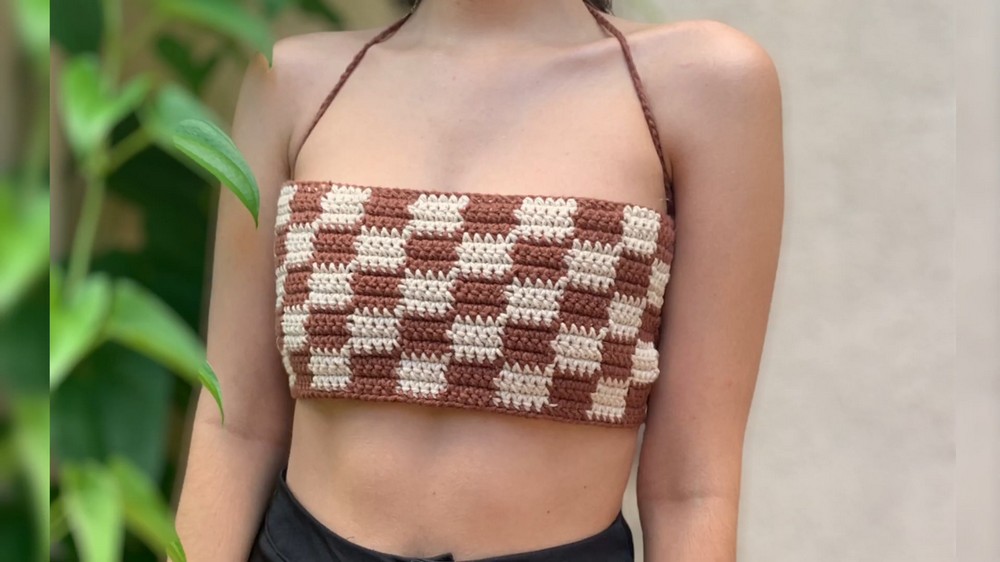
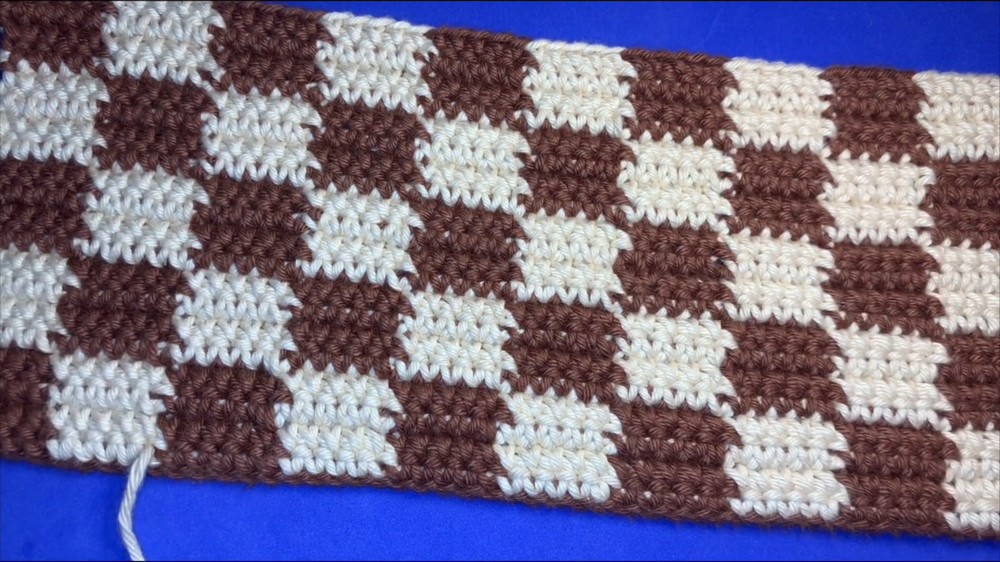
This chic checkered crochet crop top is a standout piece that pairs simplicity with high-impact style. Inspired by trendy Pinterest aesthetics, this project uses the tapestry (carried yarn) technique to achieve a sharp geometric finish.
Model sizing & calculation
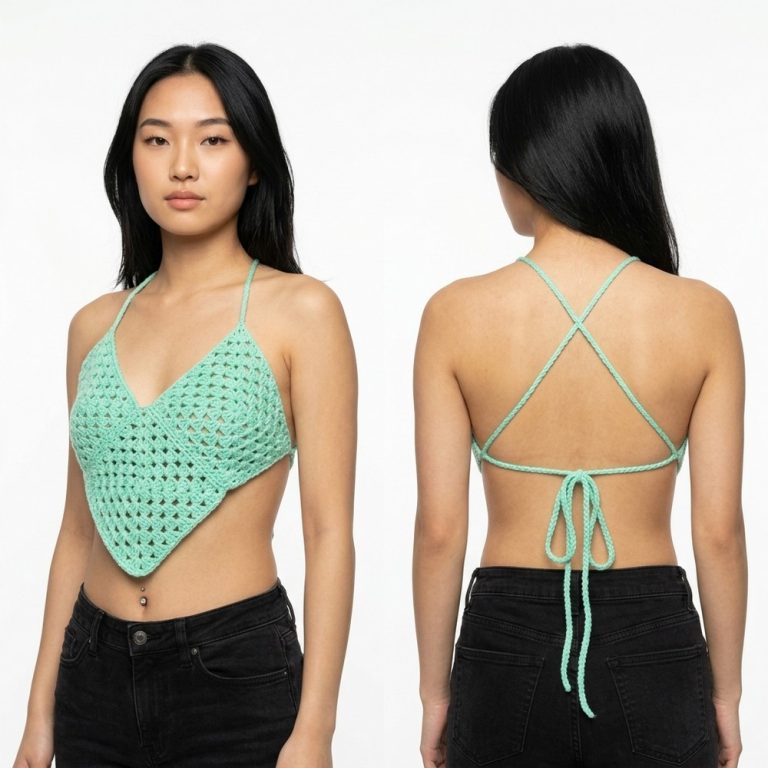
The design is a large rectangle that wraps around the torso and laces up at the back. To customize for any size:
-
Measure Bust: Take the full bust measurement. (Example used: 84 cm). [01:38]
-
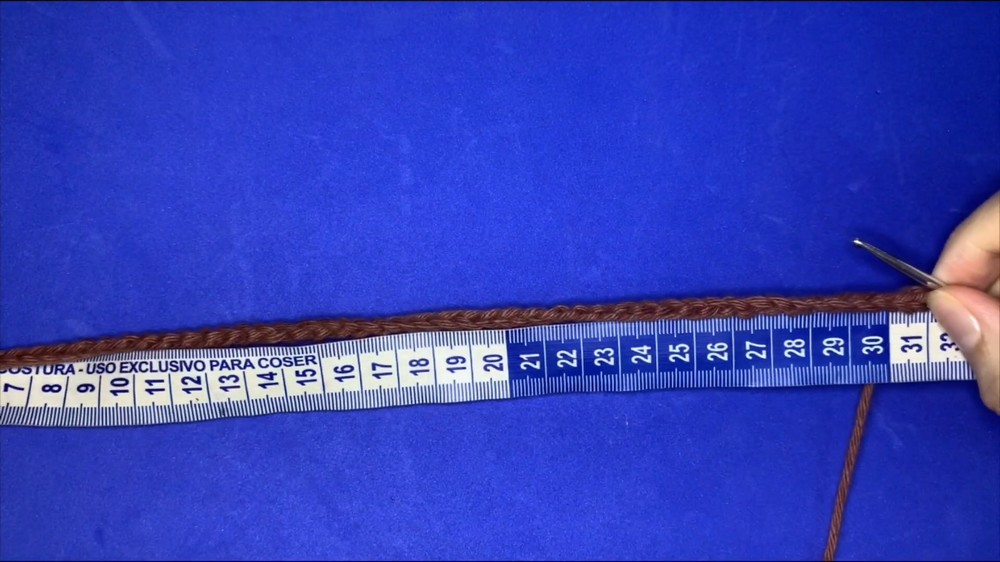
Calculate Width: Divide the bust measurement by 2 (84 / 2 = 42 cm). To account for the natural stretch of crochet, subtract about 25% of that value. (Example calculation: 42 cm – 11 cm = 31 cm final chain length). [02:57]
Materials Needed
-
Yarn: Barroco No. 6 (100% cotton) in two contrasting colors (e.g., Brown and Cream). [03:59]
-
Hook: 3.0 mm or 3.5 mm crochet hook. [03:47]
-
Notions: Measuring tape, scissors, and a tapestry needle for finishing.
Pattern Phase 1: The Base Chain
Construct the foundation based on your custom width.
-
Foundation: Chain until your piece reaches your calculated width (approx. 31 cm for size S). In the video, this equaled 55 chains. [04:33]
-
Structure: The pattern is worked in blocks of 5 stitches wide by 4 rows high. [05:05]
Pattern Phase 2: Checkerboard Rows (Fio Conduzido)
Harness the carried yarn technique to switch colors seamlessly.
-
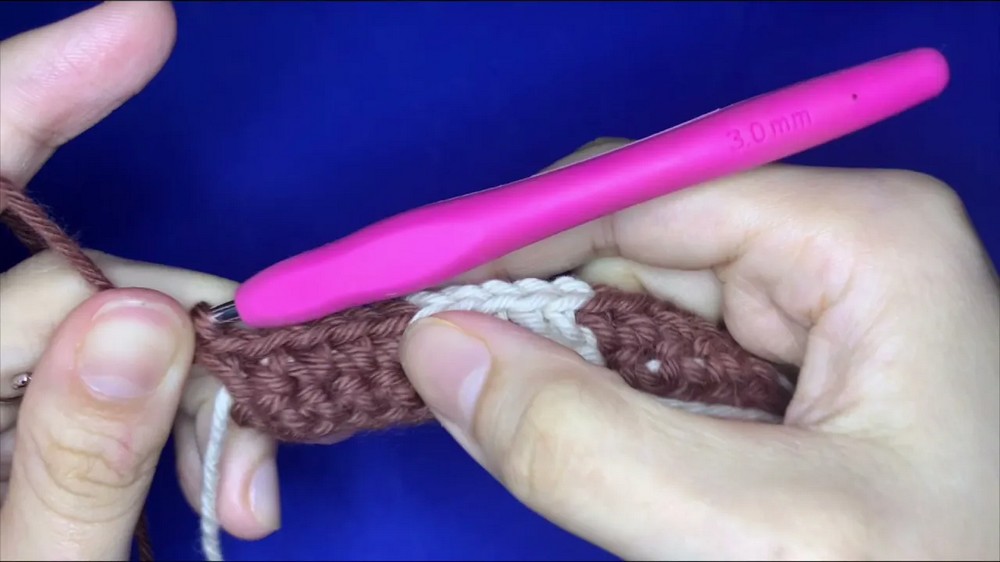
Row 1 (Color A): Work 4 single crochets (sc). On the 5th sc, insert hook, pull up a loop, and finish the stitch using Color B. [06:19]
-
Color Management: Keep the unused yarn (Color A) laying across the top of the previous row. Work your next stitches over this yarn to “carry” it inside the stitches. [07:00]
-
Row 1 (Color B): Work 4 sc with Color B. On the 5th sc, switch back to Color A to finish the stitch. [07:55]
-
Repeat: Continue this sequence across the row. With 55 chains, you will have 11 alternating blocks. [10:25]
-
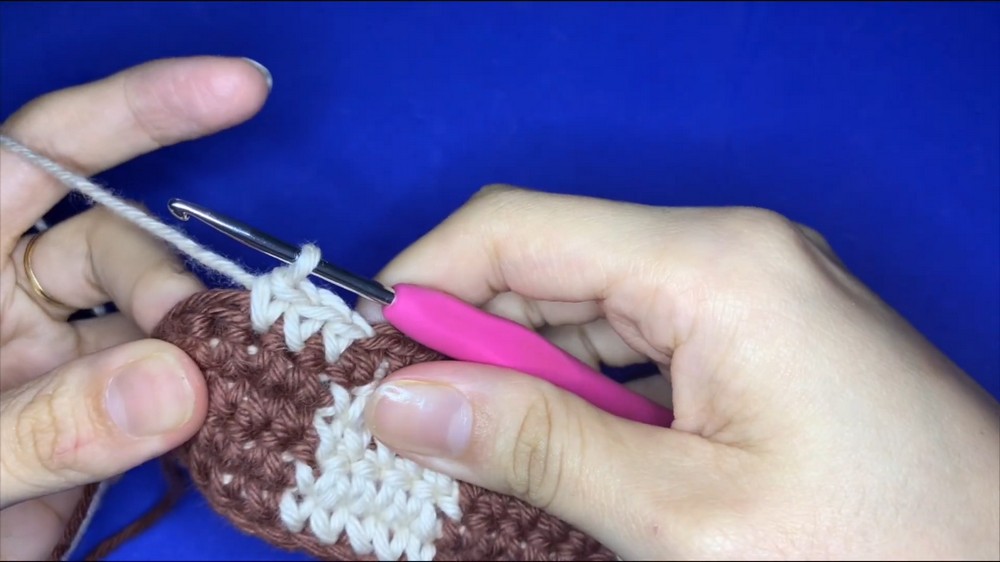
Rows 2-4: Turn and repeat the same color sequence as Row 1 to build the height of the squares. [13:41]
Pattern Phase 3: Inverting the Pattern
After completing 4 rows, switch the placement of the colors to create the “checkered” effect.
-
Switch: Where you previously worked Color A, now work Color B, and vice versa. [19:04]
-
Block Height: Work another 4 rows in this new configuration. [20:53]
-
Total Length: Continue alternating these 4-row blocks until the top reaches your desired height. The video uses 20 rows total (5 blocks of color sets) for a standard crop fit. [24:23]
Pattern Phase 4: Straps & Finishing
The top is secured with long integrated ties.
-
Shoulder Straps: At the top corner of the rectangle, create a long foundation chain (approx. 100-150 chains) to serve as a tie. [25:35]
-
Top Edging: Work 1 sc into every stitch across the top edge of the rectangle to stabilize the piece. [26:10]
-
Second Strap: Once you reach the other corner, create a matching long chain. [27:03]
-
Assembly: Weave the long straps through the side edges of the rectangle at the back in a “criss-cross” corset style to wear. [27:40]