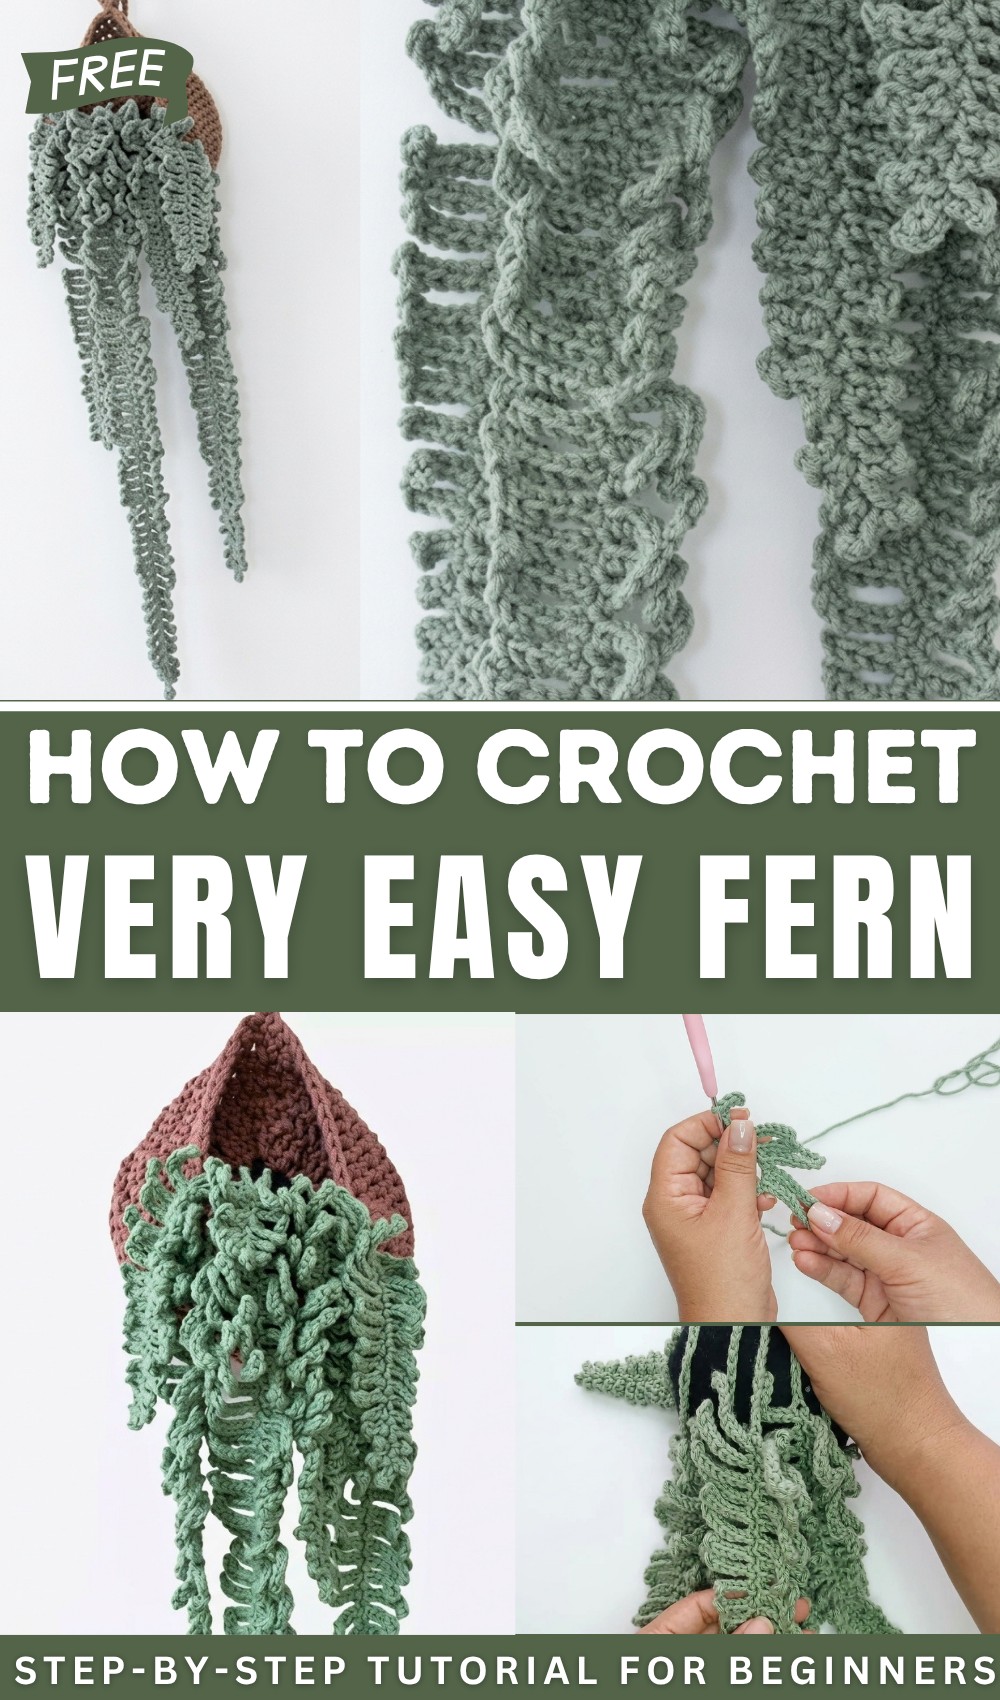
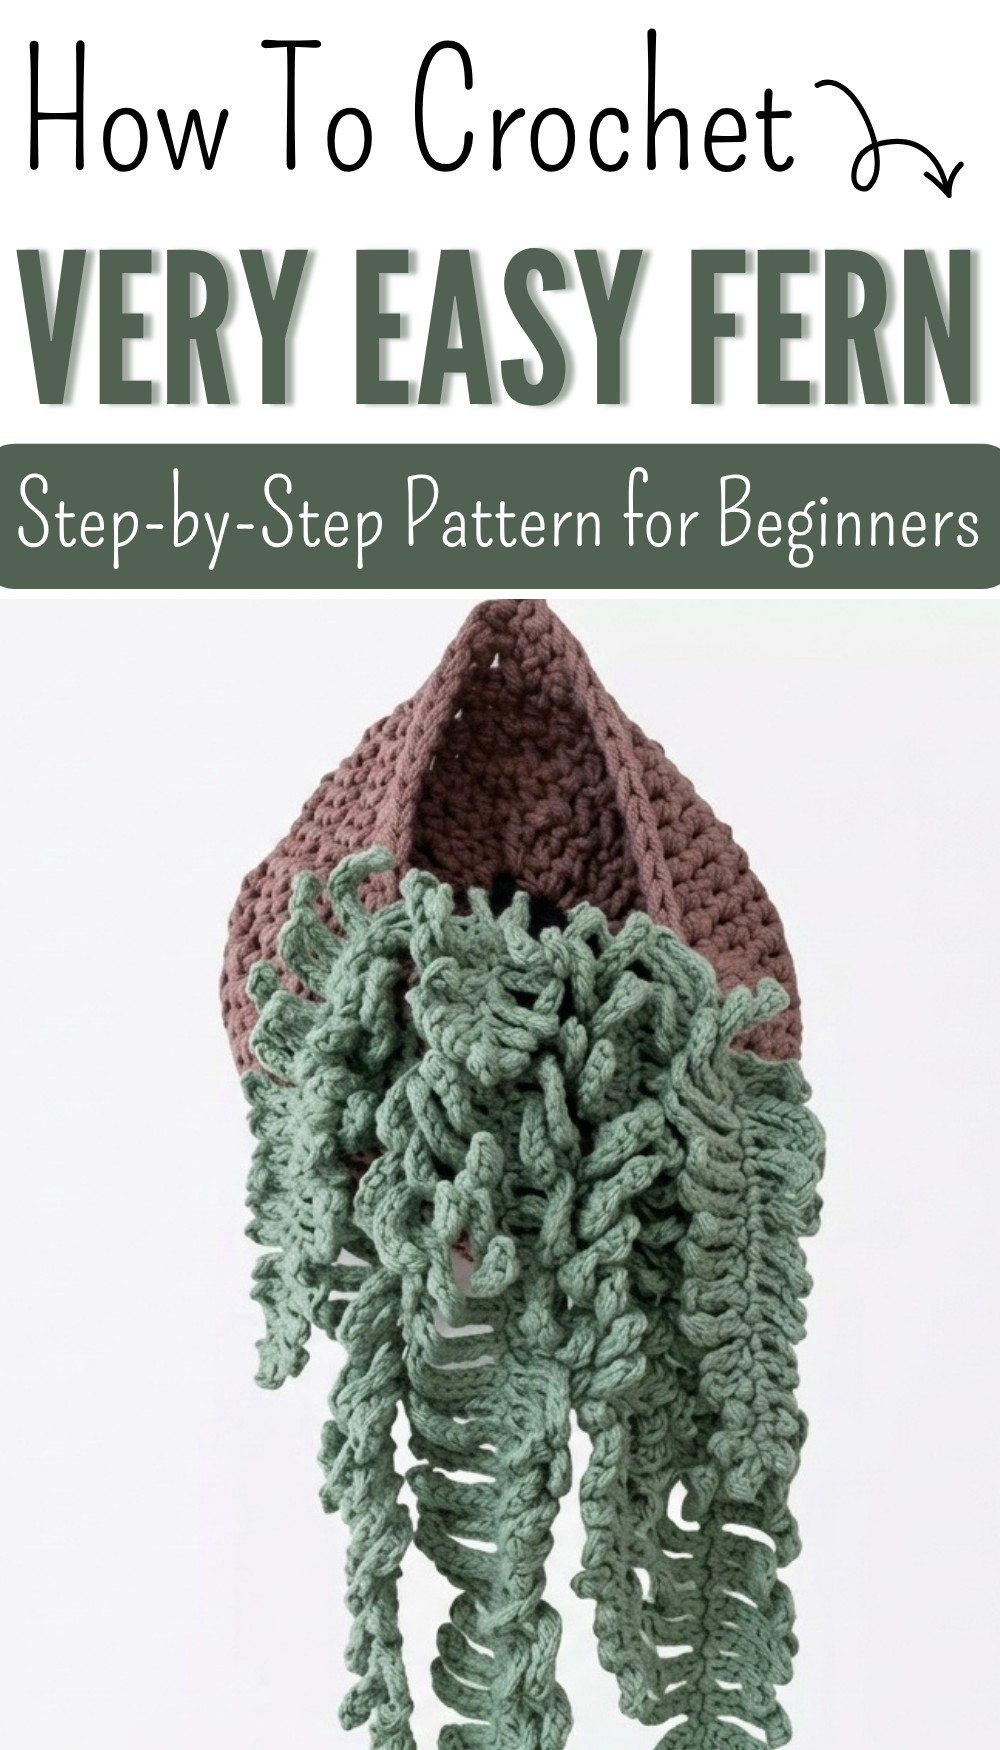
How to Crochet Fern Free Pattern for Beginners
Build a lifelike crochet fern that brings beauty and freshness to your space, offering a simple way to enjoy greenery without the upkeep of real plants.
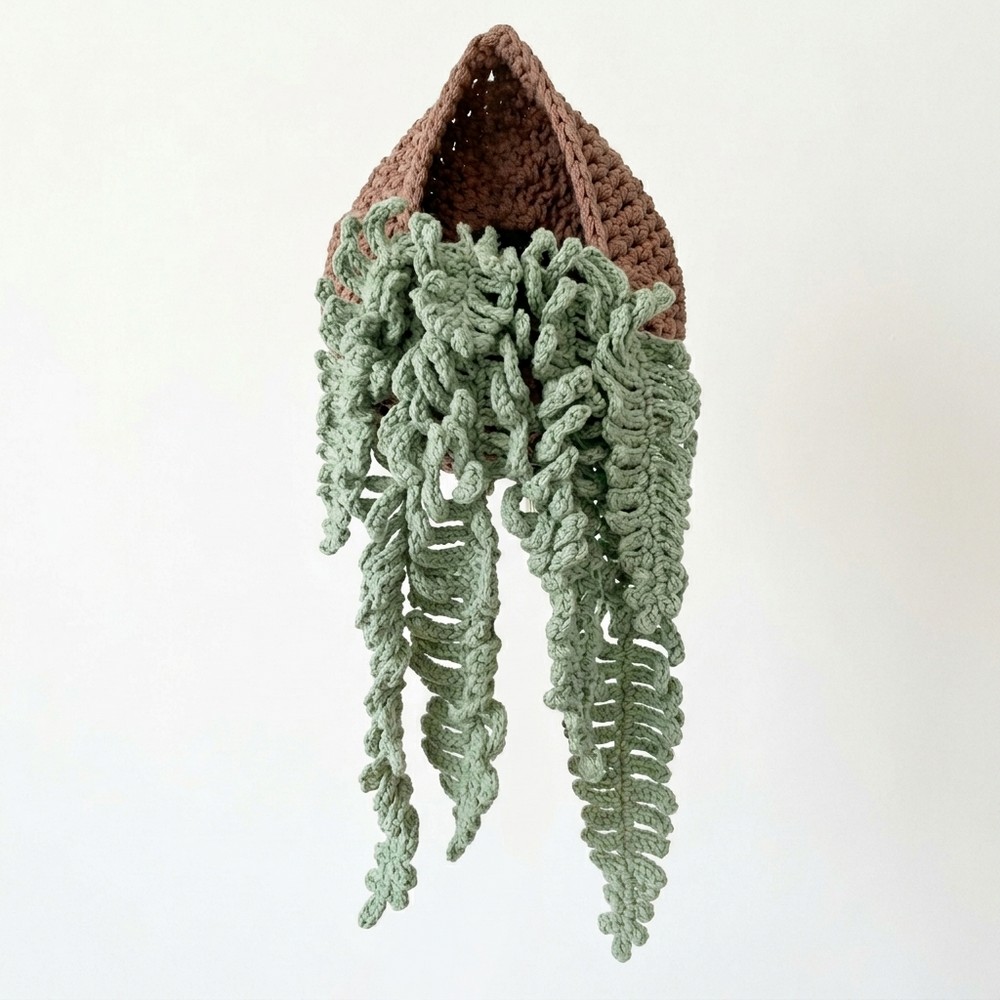
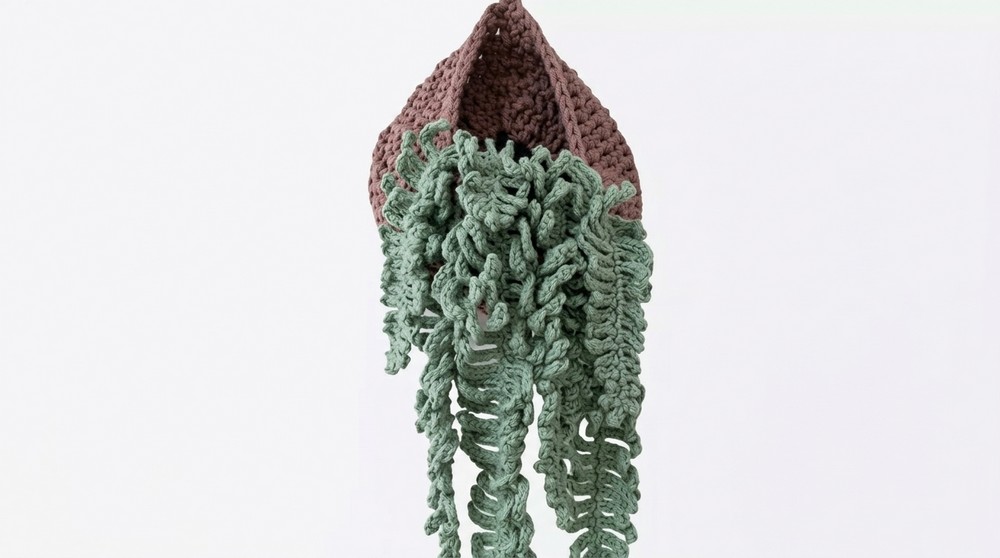
Have you ever wanted to bring the beauty of nature into your home but struggled with keeping real plants alive? Some plants need too much sunlight, while others need constant watering, and it can quickly become overwhelming. That’s where a crochet fern comes to the rescue. This handmade option solves the problem by capturing the delicate appearance of real ferns without any of the maintenance. Its soft, leafy texture adds a refreshing, green touch to your space, whether it’s placed on a shelf, table, or hanging by a window.
Free Crochet Fern Pattern to Brighten Any Space
Perfect for any season, it brings life to indoor corners that need a little charm. The detailed design and realistic look make it an eye-catching decoration, all while letting you proudly show off your creativity. It’s lightweight, easy to handle, and can be customized in your favorite shades of green. For anyone searching for long-lasting greenery that’s unique and hassle-free, it’s the perfect solution.
Crocheted Fern Leaf Pattern
Materials
- Yarn:
- Size 6 yarn in any shade of green. (For smaller ferns, use thinner yarn).
- Adjust yarn type and thickness based on your desired size and look.
- Hook:
- 3.5mm crochet hook.
- Stitch Markers:
- You may use actual stitch markers or small pieces of string to help track each frond section.
- Fabric Glue (optional):
- Used for securing ends after finishing.
- Scissors:
- For trimming yarn ends.
Special Techniques
- Slip Stitch (sl st): Insert the hook into the designated stitch, yarn over, and pull through both loops on the hook.
- Chain Stitch (ch): Yarn over and pull through the loop on the hook.
- Single Crochet (sc): Insert the hook into the designated stitch, yarn over, pull through the loop, yarn over again, and pull through both loops on the hook.
- Invisible Joining/Stitch Marking: Use stitch markers on each frond to keep track of your work and maintain symmetry.
Pattern Instructions
Step 1: The Stem
- Foundation Chain:
- Start with a slip knot.
- Chain 15 for the central stem of the fern.
- Note: If you need a shorter or longer stem, adjust this number accordingly.
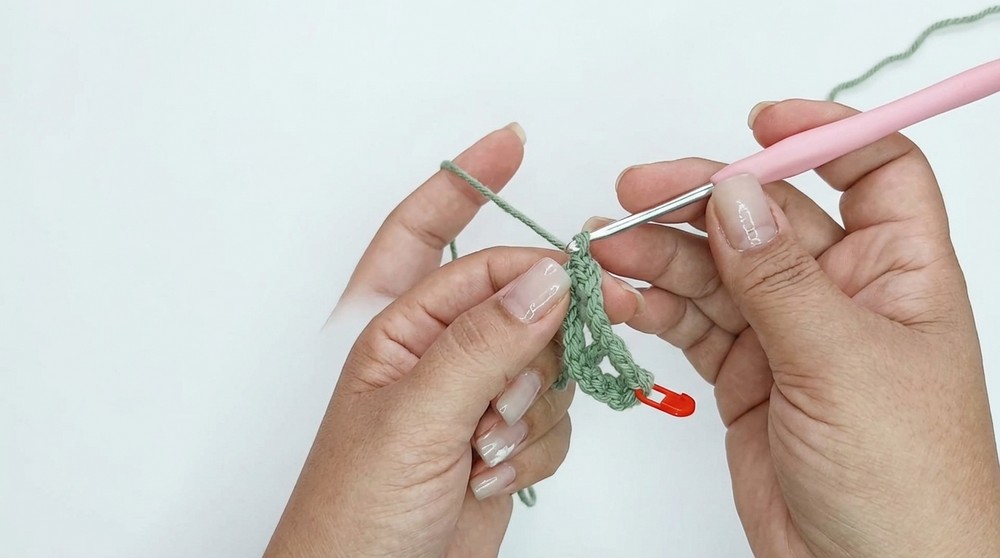
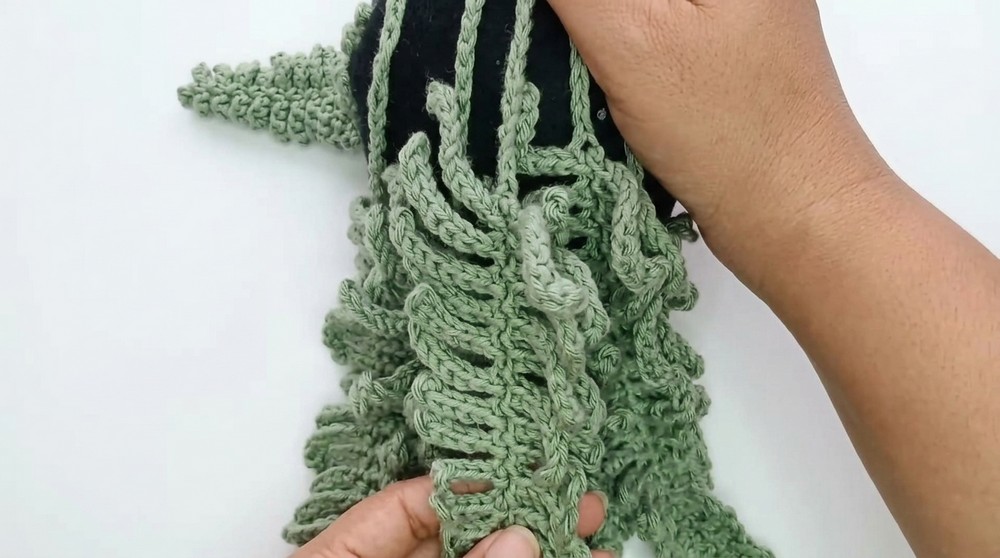
Step 2: First Frond
- Create Frond Chains:
- After completing the stem, chain 10 stitches (this will be the first frond).
- Work Back Along the Frond:
- Skip the first chain, and sl st into the next chain.
- Work 1 sl st into each chain down the frond until you return to the main stem. You will complete 9 sl sts in total.
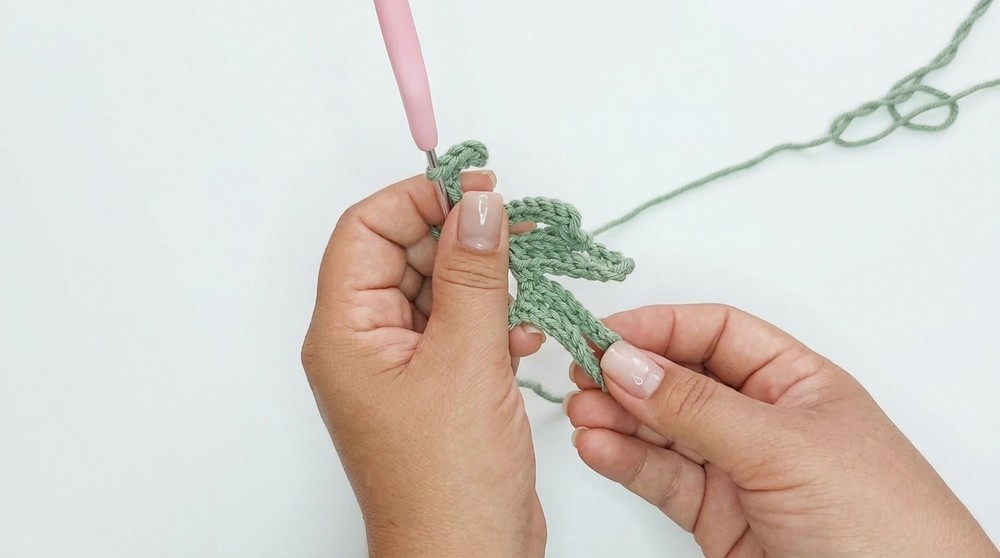
- Attach Back to Stem:
- Slip stitch into the next stitch along the main stem to secure the frond.
- Repeat Step 2:
- Make another 10-chain frond in the same manner and attach it back to the main stem.
Step 3: Adjusting Frond Sizes
- To mimic the natural tapering shape of a fern, fronds gradually decrease in length as you move up the stem.
- Work two fronds with 10-chain stitches.
- Then work two fronds with 9-chain stitches, skipping the first chain and slip stitching back down (8 sl sts per frond).
- Move to fronds with 8 chains (7 sl sts per frond).
- Continue reducing by 1 chain length every two fronds until you reach 3 chains for the smallest fronds at the top.
- Use Stitch Markers: Place a stitch marker on completed fronds to track sections and avoid errors.
Step 4: Second Side
- After completing one side of the stem, chain 3 stitches at the top to form the fern’s tip.
- Start working down the opposite side of the main stem:
- Repeat the process of creating fronds. Begin at the top with 3-chain fronds and gradually increase the size down the stem (e.g., 4-chain fronds, then 5-chain fronds, and so on).
- Ensure symmetry by mirroring the number and size of the fronds on the first side.
- Slip stitch into the base of the stem to secure.
Step 5: Finishing
- Weave In Ends:
- Pull the working yarn to the back of the piece, using a tapestry needle to weave in and secure it neatly.
- Optional Step:
- Add a small amount of fabric glue to the back of the stem and fronds for added stability.
- Decorative Use:
- If desired, attach a thin wire along the stem for added structure and flexibility. This allows you to shape your fern leaves for decorative arrangements.
Customization Options
- Size & Length:
- To make smaller or larger fern leaves, adjust the number of initial chains for the fronds. You can also add or reduce the number of fronds per size increment.
- Create a larger fern leaf by repeating groups of fronds with the same chain count before reducing. For example:
- Work 6 fronds with 10 chains, 6 with 9 chains, and so on, instead of 2 per size.
- Color Variations:
- Use different shades of green to create dimension and a more natural appearance.
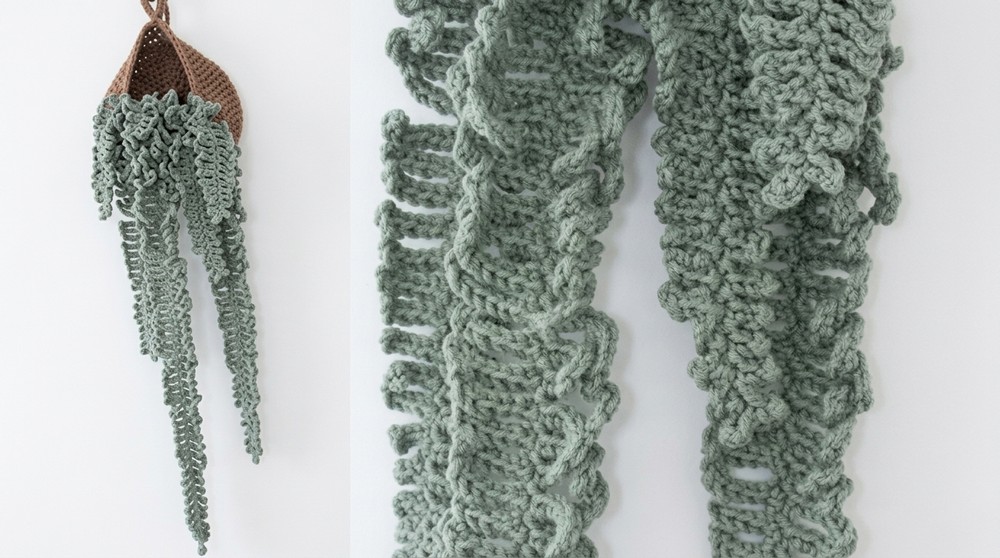
- Assembly Tips:
- You can group multiple fern leaves into a basket or pot. Leave the stems long for positioning.
- Add a decorative base, such as felt or foam, to create a finished look.
Conclusion
The crocheted fern leaf is a delightful project that is both easy and rewarding. Its versatility allows it to be used in various decorative settings, from hanging arrangements to table centerpieces. The ability to customize the size and shape of the leaves makes this pattern highly adaptable.
Important Remarks and Tips
- Use Stitch Markers: Always use markers to indicate completed sections, especially for larger leaves with many fronds. This ensures you maintain symmetry and don’t lose track of your work.
- Wide or Tight Stitches: Avoid working your stitches too tightly; loose stitches will make the leaves more flexible and natural-looking.
- Experiment with Yarn: A thinner yarn will produce finer, more delicate leaves, while a thicker yarn will result in a bold and larger piece.