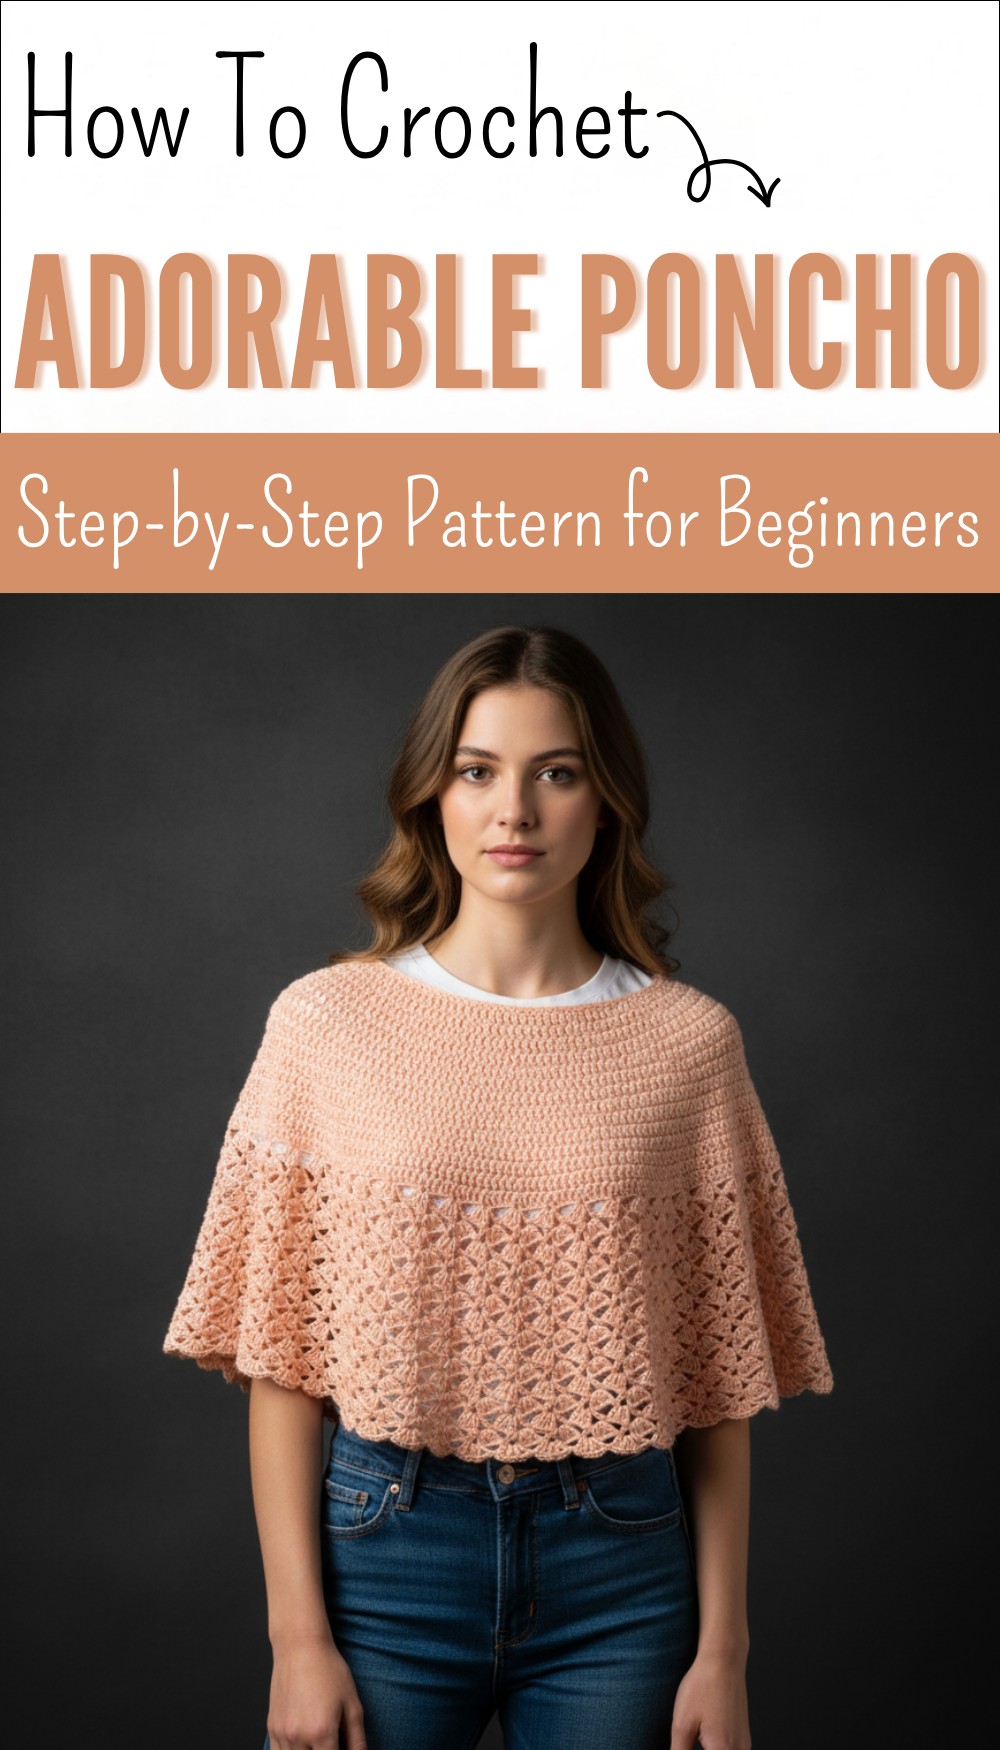
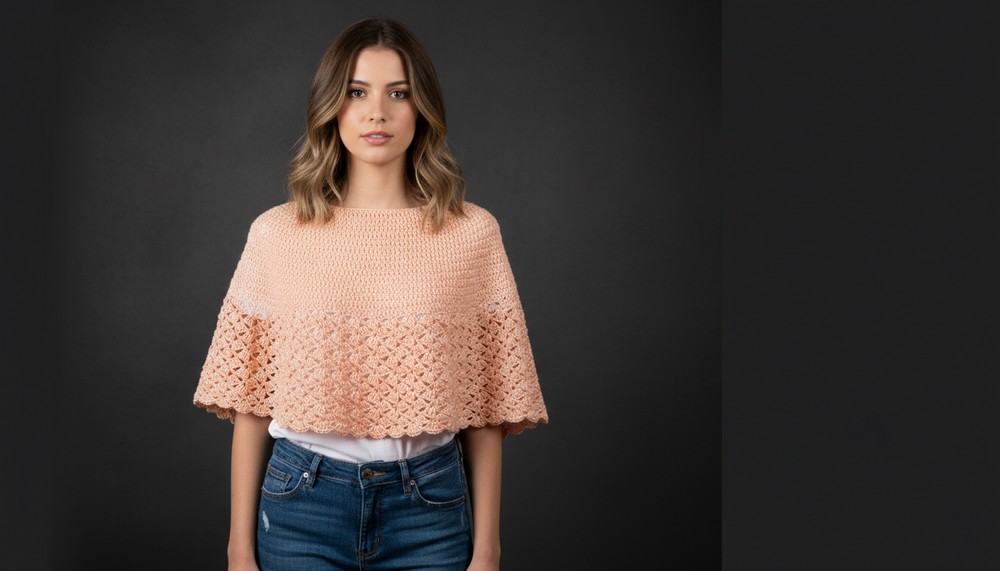
Free Crochet Poncho Pattern for Layering
Brighten your style instantly with this free crochet poncho pattern that adds warmth comfort and beautiful flair to any outfit every season.
Layering up with a cozy and colorful garment brings joy and warmth to anyone’s day. A handmade piece like a poncho easily drapes over your shoulders to keep you comfortable while allowing your arms to move freely. With so many beautiful yarns and easy stitch patterns you can create designs with bright stripes subtle textures or fun fringes making every project unique and special. The crochet poncho pattern offers plenty of options for size and color letting you crochet something perfect for chilly days cool evenings or even as a stylish cover up for special events.
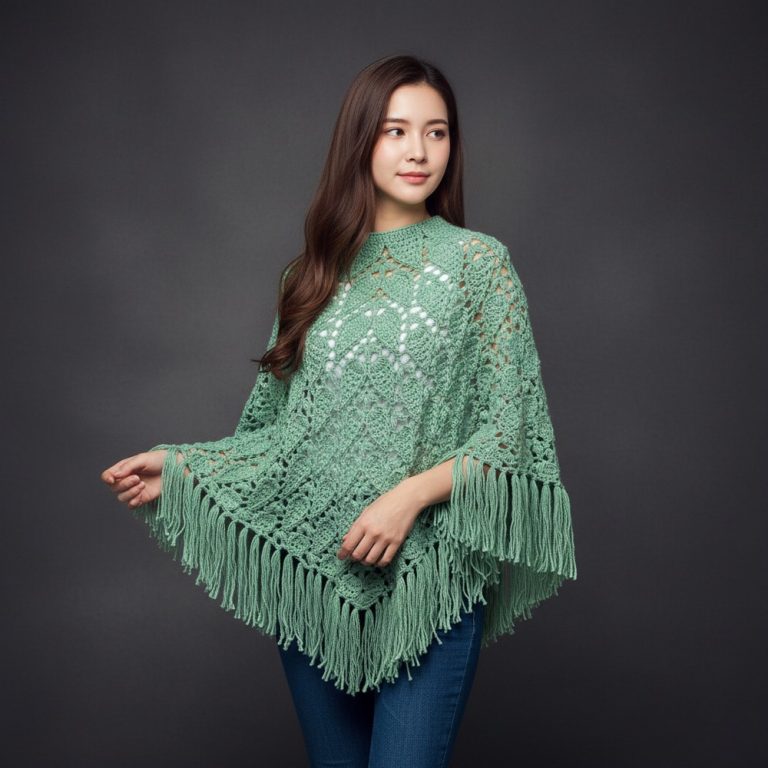
Minimalist Free Crochet Poncho Pattern for Simple Outfits
Lightweight or bulky a poncho is always practical simple to wear and effortlessly stylish for people of every age. You can wear it at home at work or outside for a quick walk and it fits every body shape without the need for buttons or zippers. Creativity friendship and comfort all come together in this wonderful handmade accessory.
Crochet Poncho Pattern
Materials
- Yarn: 400g 100% acrylic, approx. 1.5 mm thick (sample: 150g balls, 1.5 mm strand, color of your choice)
- Hook: 5 mm crochet hook (US H-8)
- Scissors
- Tapestry needle
- Measuring tape
Finished Measurements (Sample, Size XL)
- Neckline width: 30 cm (approx. 12 inches, circumference 58 cm unstretched)
- Cape height (neckline to lower edge): 38.8 cm (approx. 15.5 inches)
- Cape width at hem: 70 cm (approx. 27.5 inches)
Pattern is adaptable for other sizes; see notes for adjusting.
Key Abbreviations (US Terms)
- ch = chain
- sl st = slip stitch
- sc = single crochet
- hdc = half double crochet
- dc = double crochet
- rep = repeat
- st(s) = stitch(es)
- beg = beginning
Special Notes
- Sizing: Adjust initial chain to match your (unstretched) head circumference for desired neckline fit, measuring with a tape.
- Joining: Invisible joins are used for a neat, seamless look.
- Neckline edge: Worked last, using leftover “unused” foundation chain loops.
- No border needed at hem: Fancy stitch forms decorative arches.
- Odd rounds (after increases): Work even, no increases.
Even rounds: Insert increases as described. - Fancy Stitch: Four double crochets + ch-2 + dc all in one stitch, then grouped with skip stitches.
Pattern
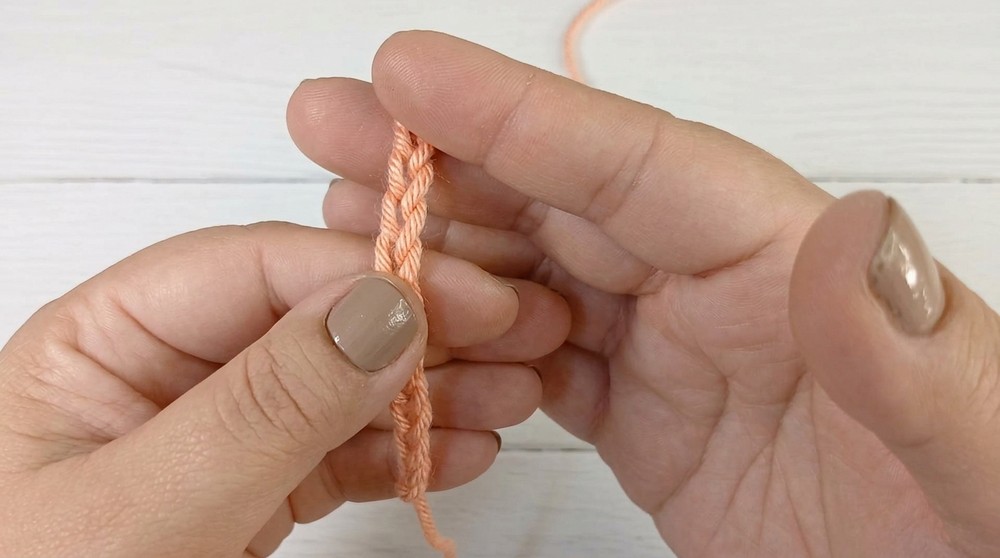
1. Foundation Chain & Joining
A. Foundation Chain
- Work a starting chain equal to your head circumference (in cm or inches), unstretched.
- Sample size XL: 100 ch ≈ 58 cm; adjust as needed.
- Chains should have some elasticity, not too tight or loose.
- Do not twist. Join with sl st to first chain to form a ring.
*B. Subsequent instructions assume 100 ch.
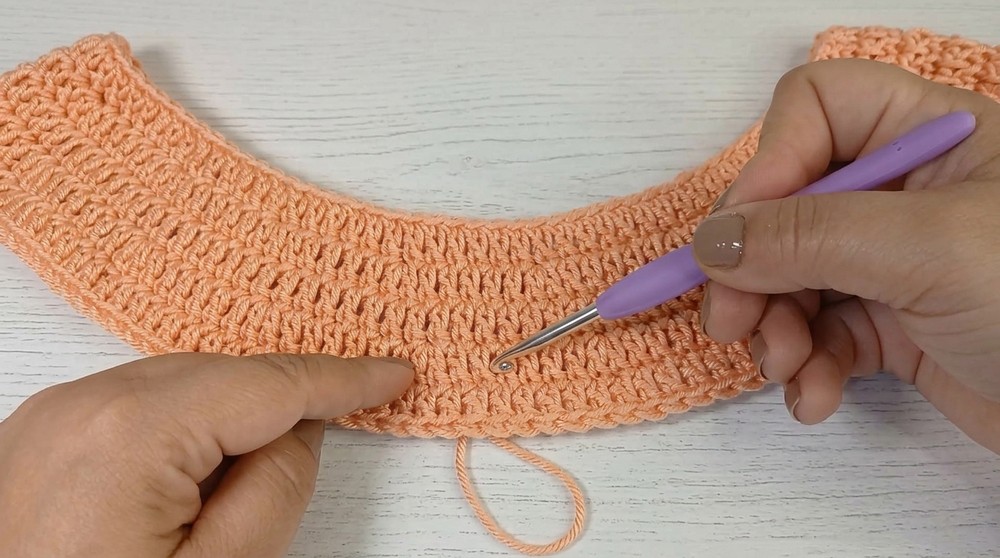
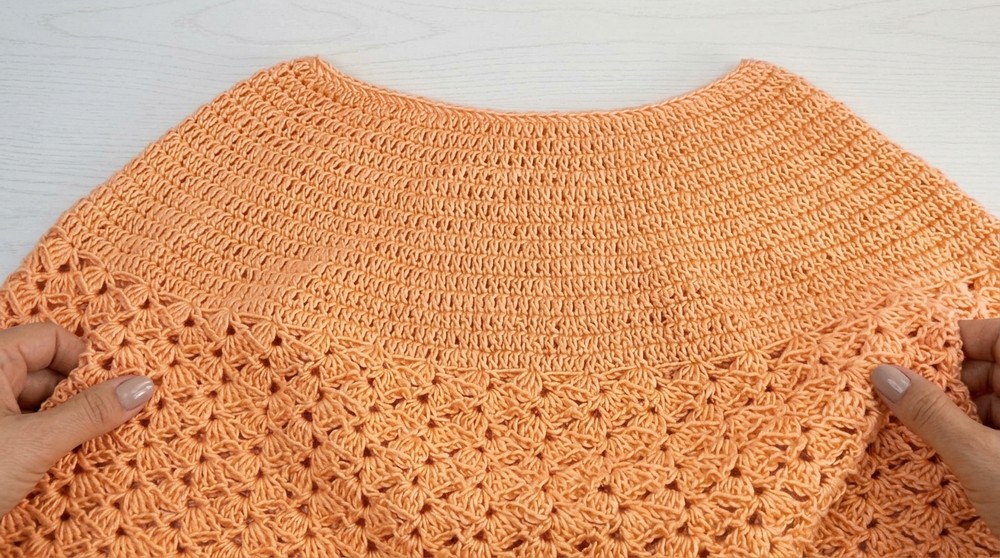
2. Yoke / Top – Double Crochet, Evenly Shaped
Round 1
- Insert hook taking only the back loop of each chain (leave the other two for the neckline edge).
- Start closure for a seamless finish:
- With ring joined, lift yarn slightly. Insert hook into same space, yarn over, pull up a loop, yarn over, pull through both loops (hdc made), ch 1.
- This “hdc, ch 1” acts as your first dc.
- Dc in each chain (taking back loop only) around. (100 dc at end, or number of chains you started with.)
- Invisible join: at the end, sl st into the ch of the initial (hdc, ch 1) to close round.
Invisible Join for All Rounds
- Remove hook from loop.
- Insert hook in next st, from back to front. Grab working loop, pull through to back.
- Insert hook (from back to front) in same st, yarn over, pull up a loop, yarn over, pull through both (hdc made), ch 1 — acts as first dc of round.
- Keep this join loose; do not overtighten.
Round 2: (Increase Row)
- Work 5 dc, then an increase:
- Dc in each of next five sts.
- 2 dc in next st.
- Repeat: [5 dc, 2 dc in next st] around.
- If stitch count doesn’t divide perfectly, distribute extra single dcs as evenly as possible before closing round.
Round 3:
- Dc in each st all the way around (no increases).
Round 4: (Increase Row)
- Work 6 dc, then an increase:
- Dc in each of next six sts, 2 dc in next st, rep around.
Round 5:
- Dc in each st.
Round 6: (Increase Row)
- Work 7 dc, then an increase:
- Dc in each of next seven sts, 2 dc in next st, rep around.
Continue:
- Repeat this alternation:
- Odd rounds: dc in each st.
- Even rounds: alternate dc in X sts and 2 dc in next st, with X increasing by 1 each time.
- Check fit as you go. Stop when yoke emulates desired shoulder/arm length (sample: 14 rounds in dc; approx. 17 cm deep).
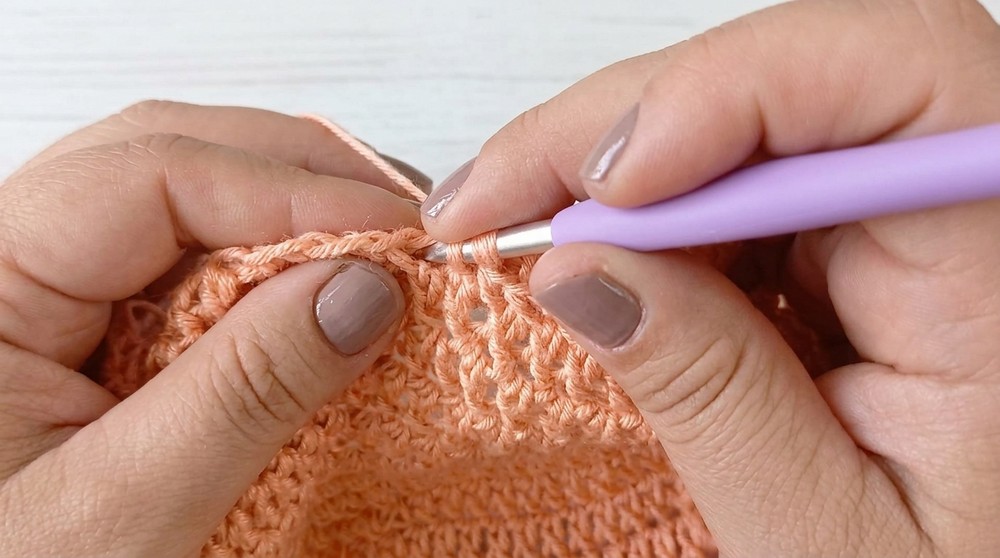
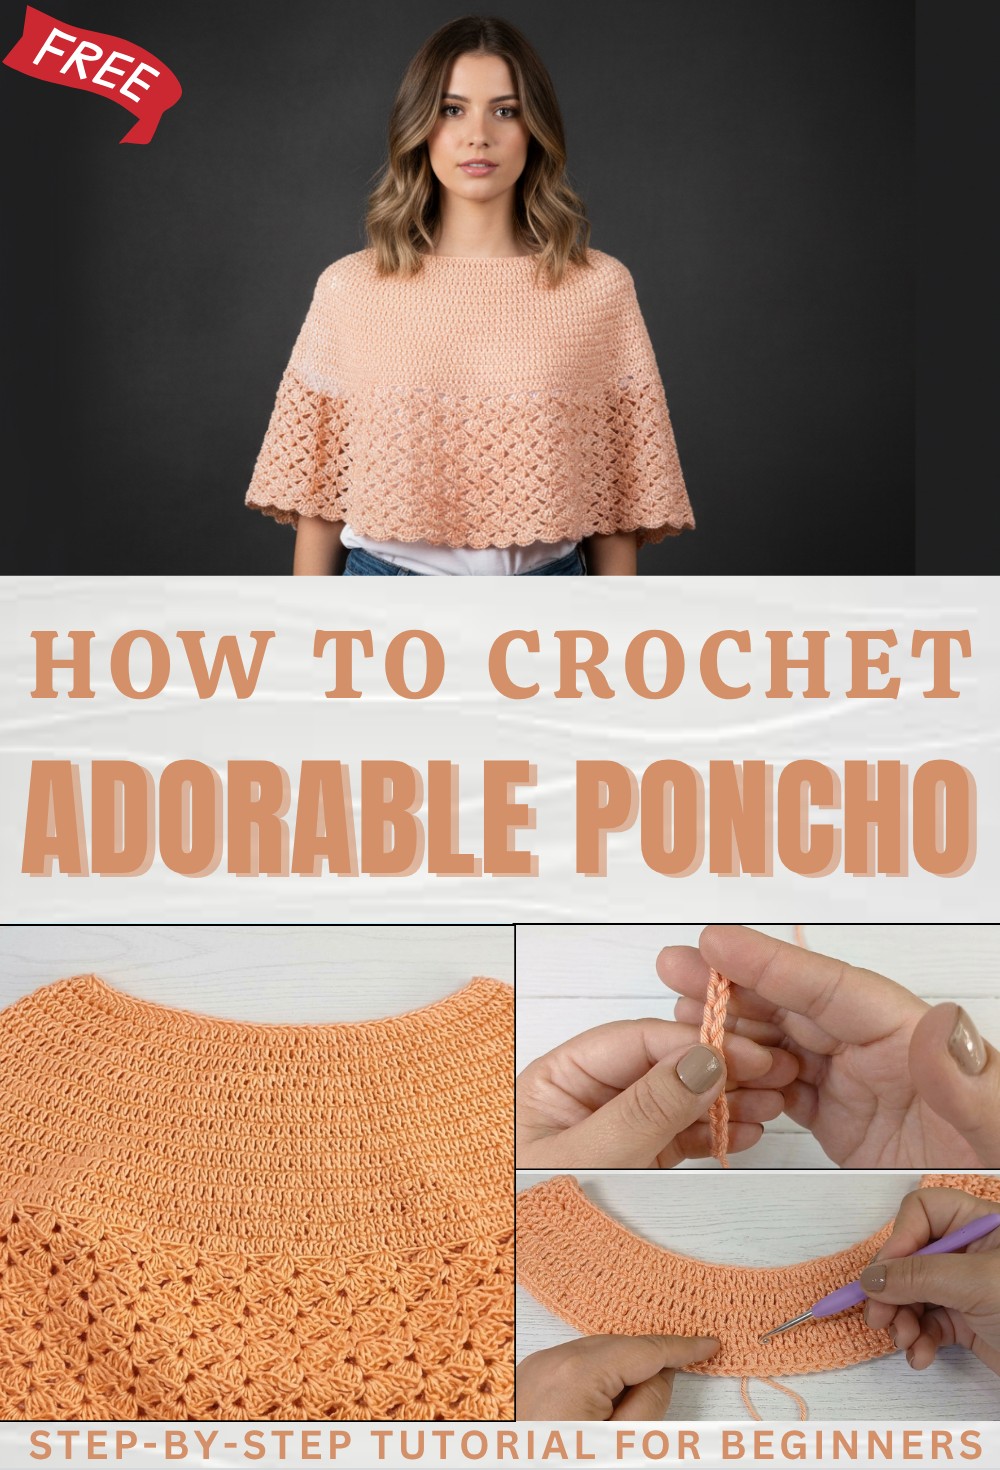
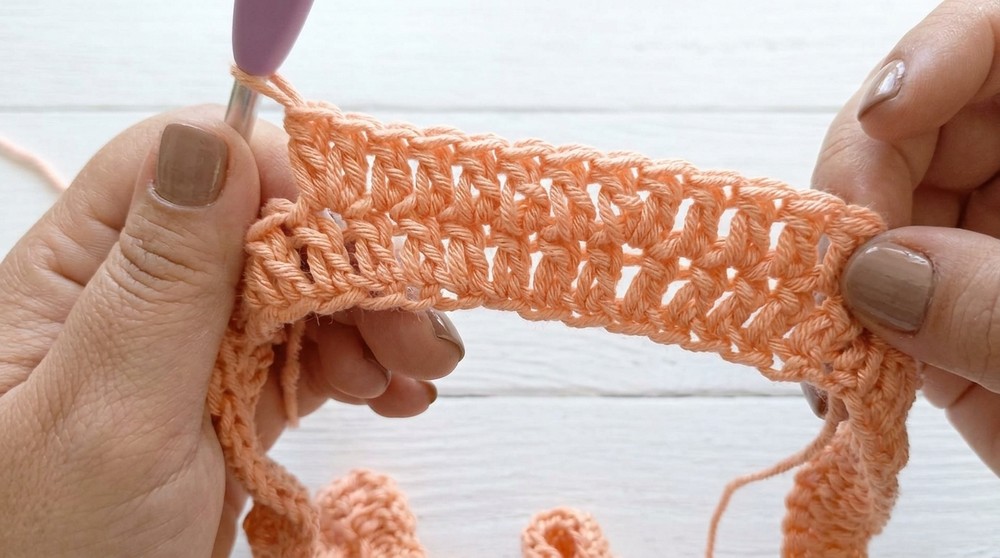
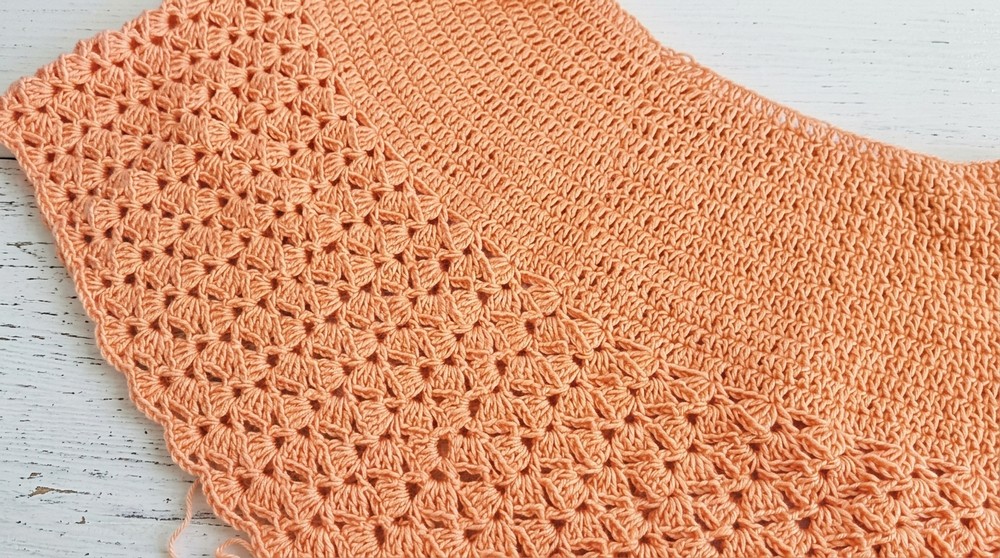
3. Body – Fancy Stitch Section
Begin immediately after last dc round; work in round.
Pattern for the Fancy Stitch:
Each “motif” (in one st):
- 4 dc in same st
- ch 2
- 1 dc in same st.
Fancy Stitch Row 1:
- Ch 3 (counts as first dc), in same st: 3 dc (so 4 dc total), ch 2, 1 dc in same st.
- Skip 4 sts, in next st repeat motif: 4 dc, ch 2, 1 dc all in same st.
- Rep [skip 4 sts, work motif] to end of round.
- If ending doesn’t land exactly, adjust final skip (3–5 sts left, just continue and join).
- Join to first dc with sl st.
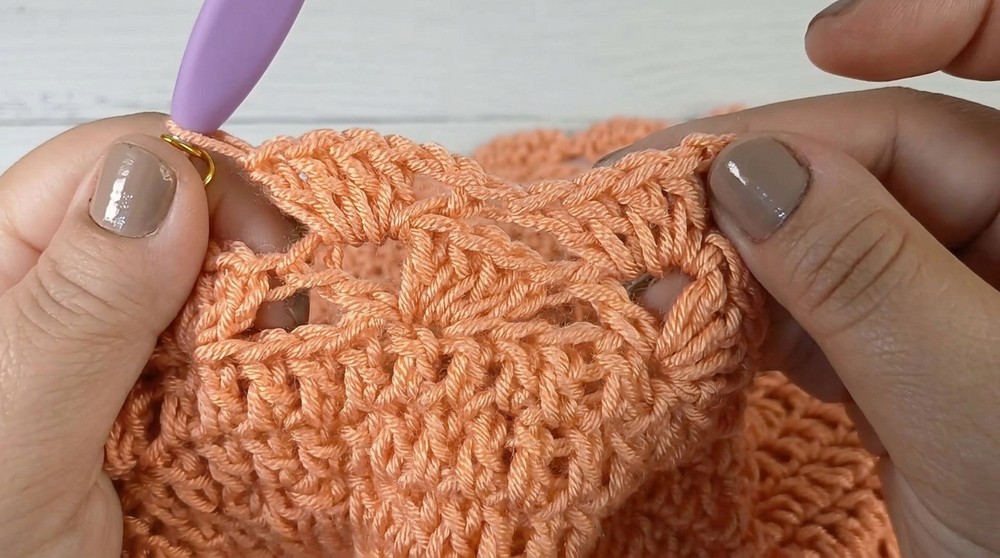
Fancy Stitch Row 2 (Motifs Shifted):
- Sl st in next sts till you reach ch-2 space.
- Ch 3 (first dc), ch 2, 4 dc in ch-2 space (reverse of previous row).
- Skip to next ch-2 space, dc, ch 2, 4 dc in ch-2 space.
- Continue [skip to ch-2 space, dc, ch 2, 4 dc in ch-2 space] around.
- Join as before.
Fancy Stitch Row 3:
- Sl st to next ch-2 space.
- Ch 3, 3 dc, ch 2, 1 dc all in ch-2 space (as Row 1).
- Skip to next ch-2 space and repeat motif.
- Join as before.
Repeat Rows 2 & 3 until cape reaches desired length (sample: 15 pattern rounds; approx. 36 cm from neckline).
4. Finishing & Perfect Closure
- At the end of your final round, fasten off leaving a long tail.
- Pull tail through last loop, thread tail through tapestry needle.
- Skip the beg ch-3 and insert needle under the top 2 loops of first dc, pass through.
- Insert needle back through the closing stitch to the inside; adjust for a seamless join.
- From the inside, secure the yarn securely (see Tips below), weave in all other ends.
5. Neckline Edge (Optional but Very Polished)
Slanted HDC Edge:
- With RS facing, make a slip knot with new yarn.
- Insert hook into one unused pair of foundation chain loops left at neckline.
- Sc in both loops of first unused chain.
- Next: Insert hook into the left loop of previous sc and into next unused base ch; yo, pull up loop (3 loops on hook), yo, pull through all 3 (slanted hdc made).
- Repeat: [Insert hook into left loop of previous st and next base ch, yo and pull up loop, yo and through all loops] around neckline.
- Work loosely for best appearance and to avoid puckering.
- Join end as you did for body: pass tail through live loop, use needle to seamlessly join ends, secure, and weave in.
Pattern Correction
- Check sizing by comparing to your own measurements before starting and after the dc yoke.
- Distribute increases as evenly as possible if your stitch count doesn’t allow exact repeats.
- Work the neckline edge loose for elasticity.
- Always use invisible closes for neatest results.
Tips
- Try cape/poncho on at various stages for best fit.
- If you use a different yarn or hook size, adjust foundation chain and overall row counts.
- For best drape, use a soft but robust DK or light worsted yarn.
- For the slanted hdc edge, work very loosely—if too tight, it will make neckline too snug.
- Matching the slip stitch/invisible join each round keeps the garment professional-looking.
- Place a removable stitch marker at the end of the round to help find your closing point.
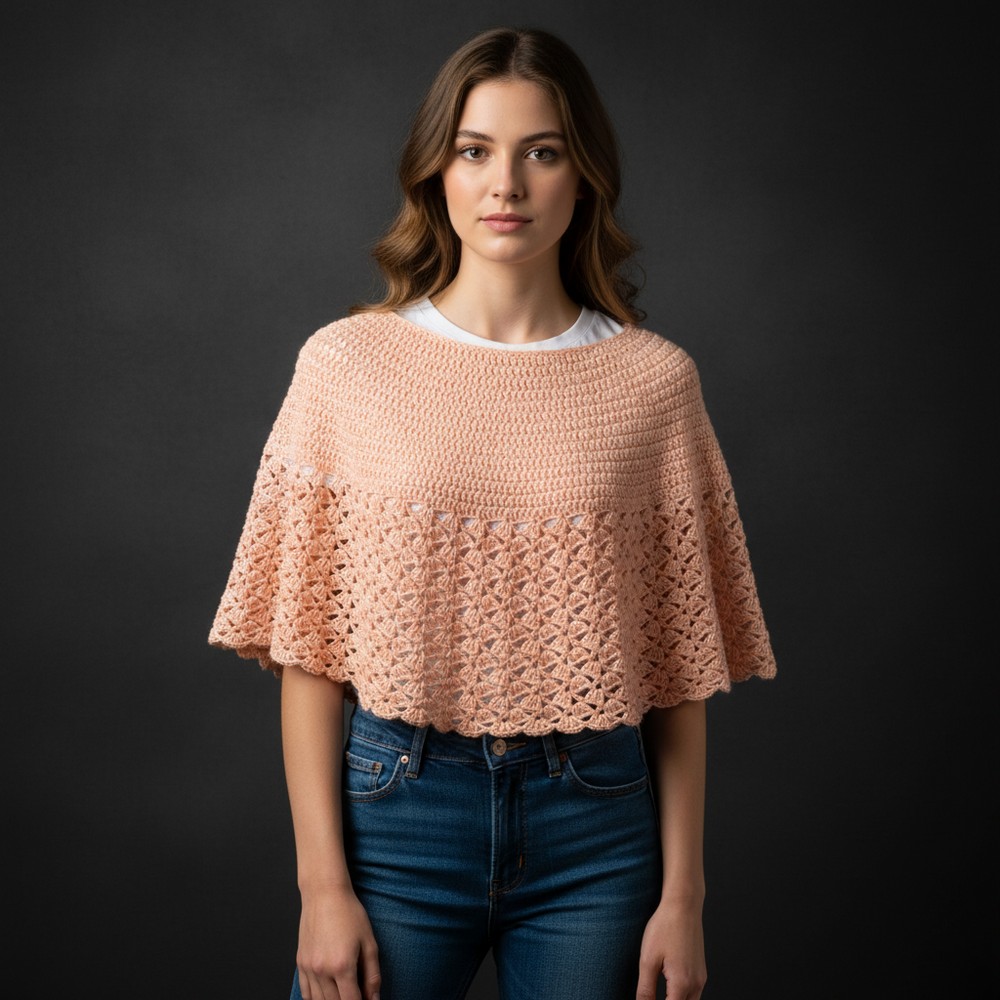
Conclusion
This modern short cape/poncho is crocheted top-down seamlessly with easy, rhythmic increases and a beautiful lacy fancy stitch. It’s highly customizable for any size and features a neat built-in edge and optional elegant slanted hdc neckline. The decorative lower edge needs no additional border. This project is fast, satisfying, and yields professional, wearable results—perfect for all seasons.