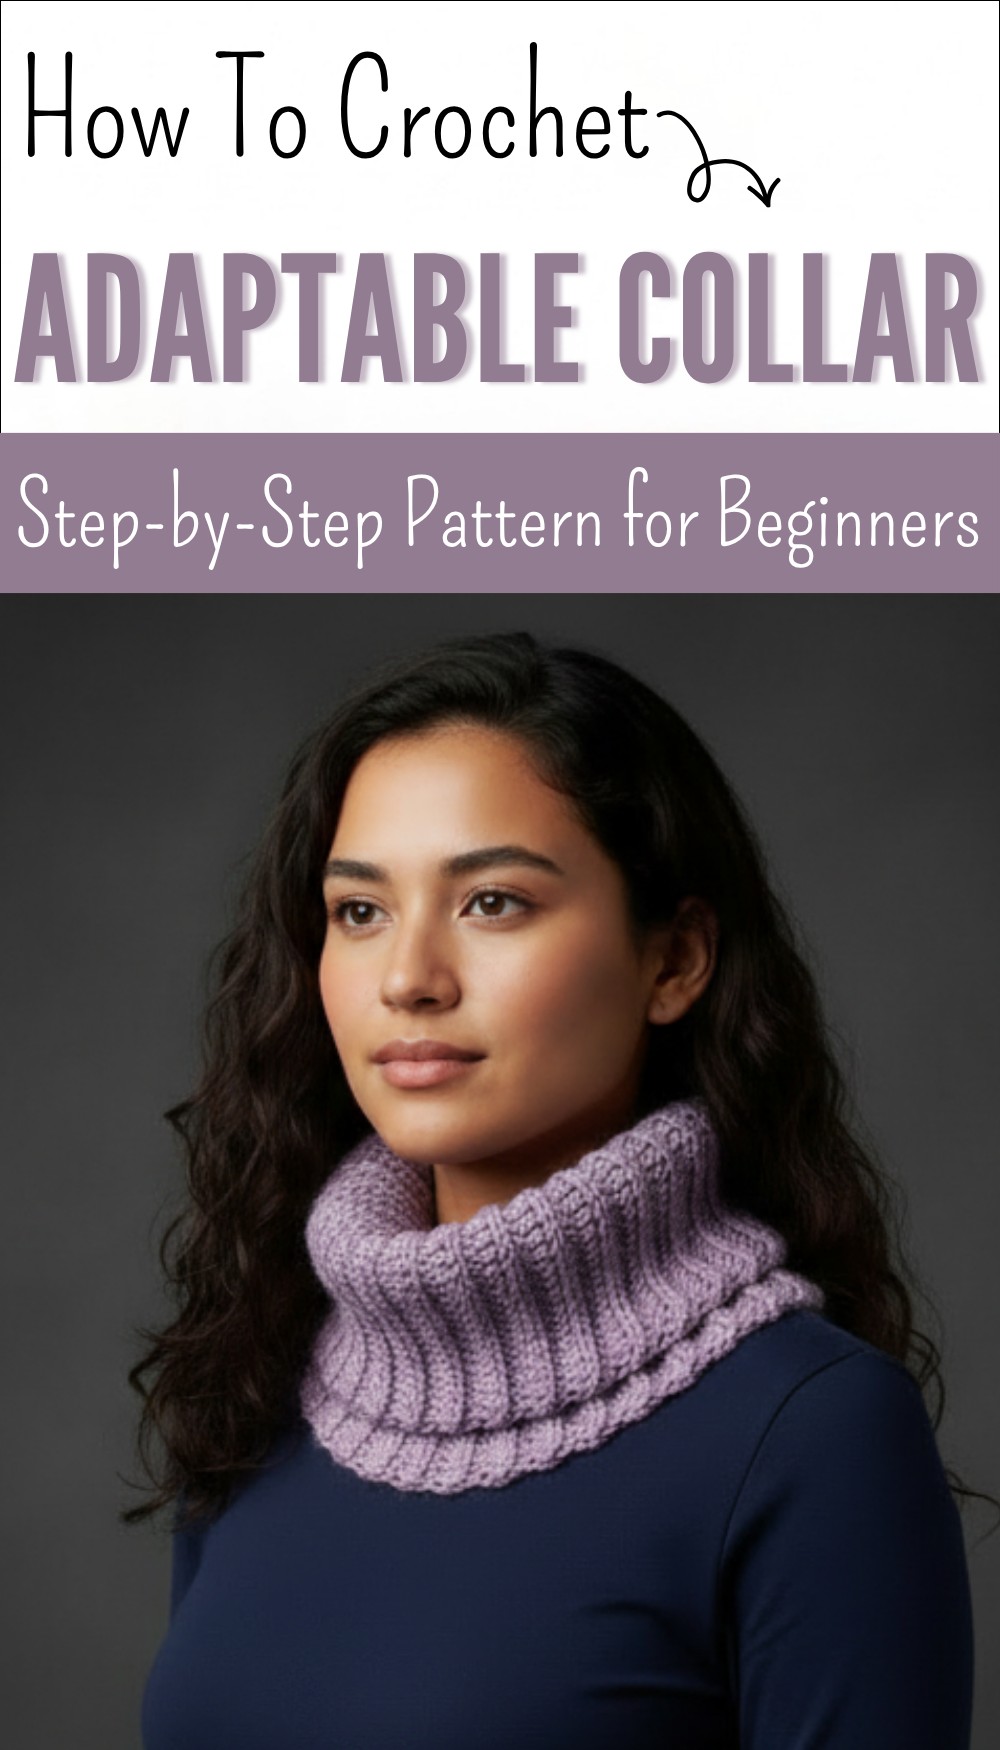
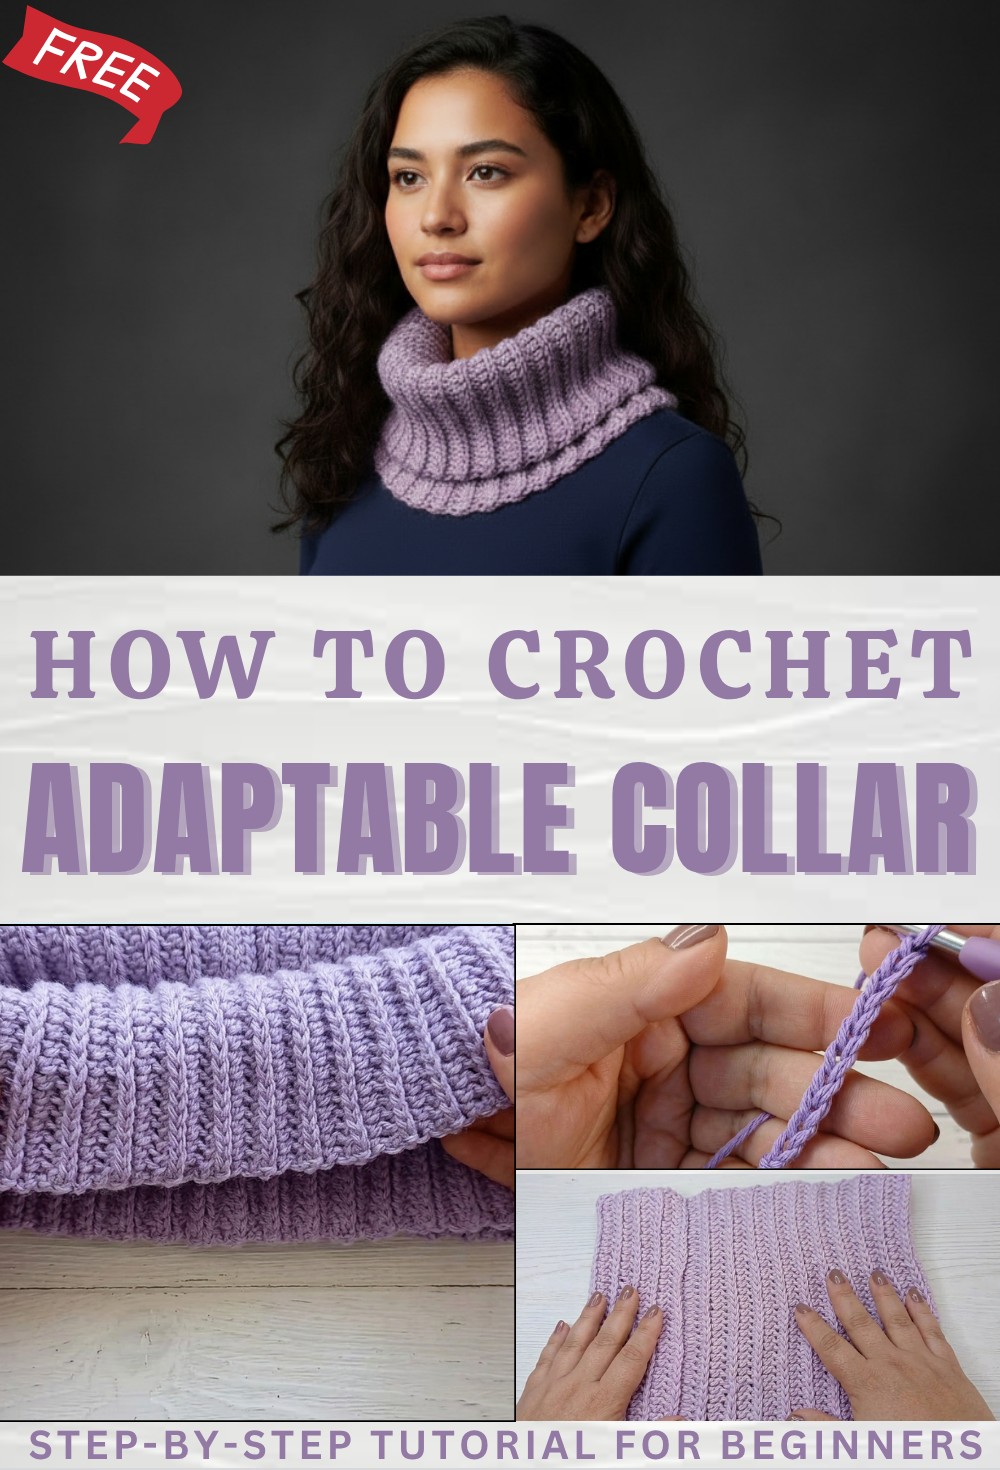
Free Crochet Adaptable Collar Pattern to Elevate Your Wardrobe
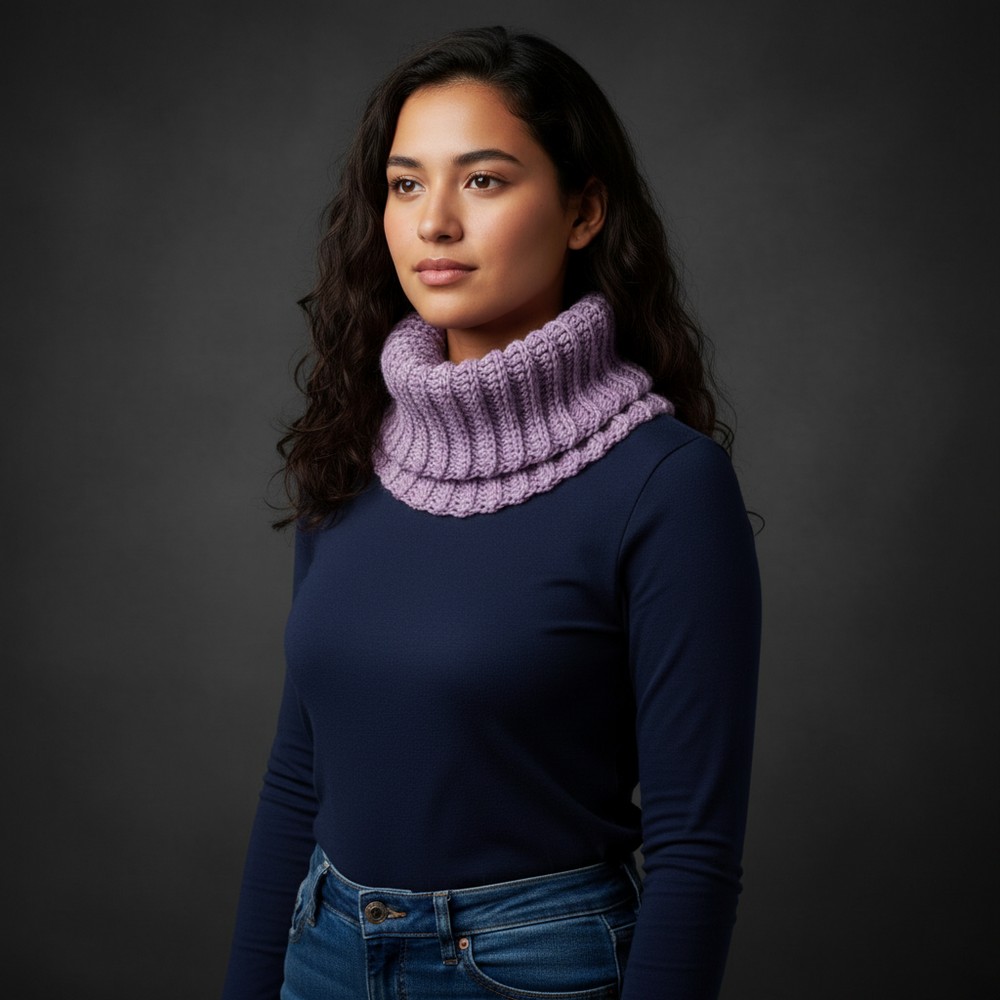
Boost your basic outfits with this free crochet adaptable collar pattern to improve every plain shirt and add a touch of charm for any event.
Could you find a use for a dainty neck piece that turns any old shirt into a royal outfit? This beautiful circle of yarn has a frilly edge and a tiny button to stay in place. A crochet adaptable collar pattern helps you make a clever item that is both very strong and lovely to see. It works well for a big wedding or a quick trip to the shop because it makes you look very smart. The thin thread and small loops make it look like a handmade treasure from a queen’s closet.
Minimalist Free Crochet Adaptable Collar Pattern for Sleek Looks
This special piece is great because you can move it from one dress to another in just a second. A helpful feature is that it hides a torn neckline and makes a worn top look very new and fresh. This single item can turn a boring shirt into something very grand and sweet. It stays soft and keeps you looking sharp while you go about your busy day.
Crochet Adaptable Collar Pattern
Materials
- Yarn: 135g medium-weight acrylic yarn (approx. 2.5 mm thick)
- Hook: 5 mm crochet hook (US H-8)
- Tapestry needle
- Scissors
- 2 stitch markers (recommended)
Finished Measurements (Sample for Adult Woman)
- Width (laid flat, before seam): 26 cm (approx. 10 ¼”)
- Height: 23 cm (approx. 9″)
- Rectangle length (before joining): approx. 54 cm (approx. 21 ¼”)
Pattern is easily adjustable for any size—see “Sizing & Notes”.
Key Abbreviations (US Terms)
- ch = chain
- sl st = slip stitch
- hdc = half double crochet
- rep = repeat
- st(s) = stitch(es)
Special Notes & Sizing
- The cowl is made as a simple rectangle and then joined to form a tube.
- The “ribbing” is achieved by working hdc in the third loop (camel stitch).
- Make sure your rectangle height fits your neck/cozy preference; length = head circumference or how loose you want the cowl to sit.
- Always use an even number of rows for a balanced join.
- Use a stitch marker to mark the first stitch of each row and avoid confusion.
Pattern
1. Foundation
- Make a slip knot.
- Ch 44 (or to desired width; sample = 26 cm).
- Ensure your chain is even and slightly wider than finished width, as fabric contracts after joining and with stitch pattern.
- Tip: Do not ch too tightly—fabric should not pucker.
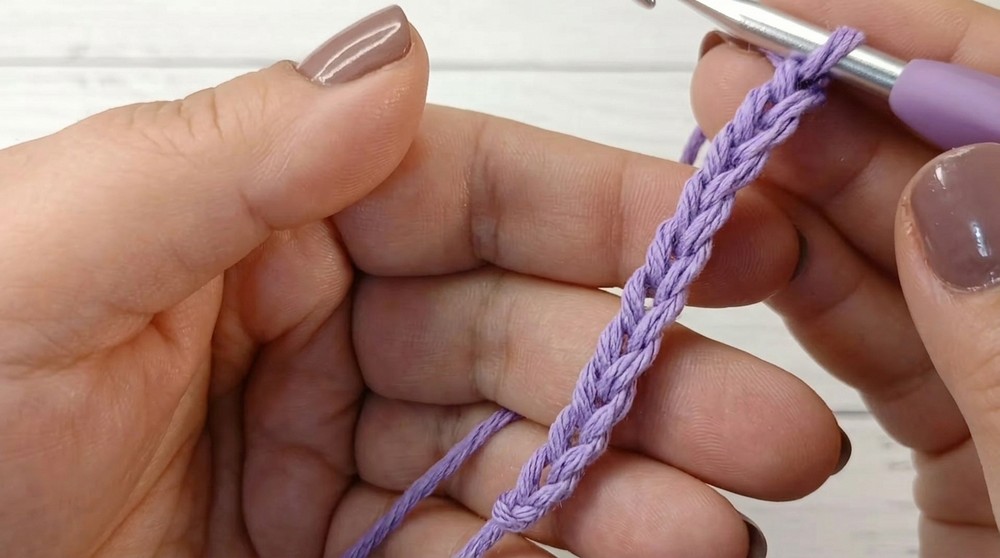
2. Row 1: Setup Row
- Ch 2 (does not count as a st).
- Hdc in the third ch from hook, taking the back bump (underside/back of ch) (important for neat edge), and place a stitch marker in this first hdc.
- Hdc in the back bump of each remaining ch across (total of 44 hdc).
- Turn.
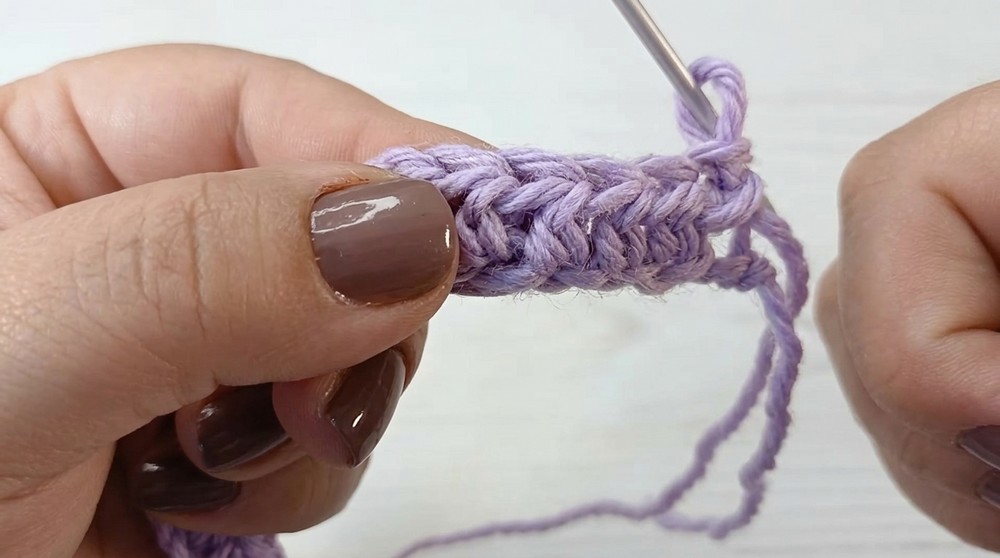
3. Row 2 and All Following Rows (Ribbing: Hdc in 3rd Loop/Camel Stitch)
- Ch 2 (does not count as a st), turn.
- Hdc in third loop (“camel stitch”):
- Look at previous row’s hdc from front side (not top/“V”).
- Find the “third” horizontal bar/loop just below the top two loops.
- Yarn over, insert hook under this third loop (from bottom to top), yo, pull up loop, yo, pull through all three loops.
- Mark the first hdc.
- Rep hdc in the third loop in each st across.
- At end of row, check for correct st count (44).
- Turn; rep this row until rectangle measures about 54 cm (or desired length; sample is 64 rows, must be even).
- **Each even-numbered row creates a visible “chain” ridge—relief/rib.

4. Joining (Invisible Rib Join)
- Do not cut yarn after final row.
- Fold rectangle in half, RS together, aligning foundation edge with last row.
- Joining row:
- Ch 1 (does not count as a st).
- For each st across:
- Insert hook under third loop of the ending row and under the corresponding unused loop(s) of the foundation chain (look for the “back bump”).
- Sl st through both layers, keeping tension loose.
- Rep for all sts to seam the cowl into a tube.
- Seam is nearly invisible and reversible.
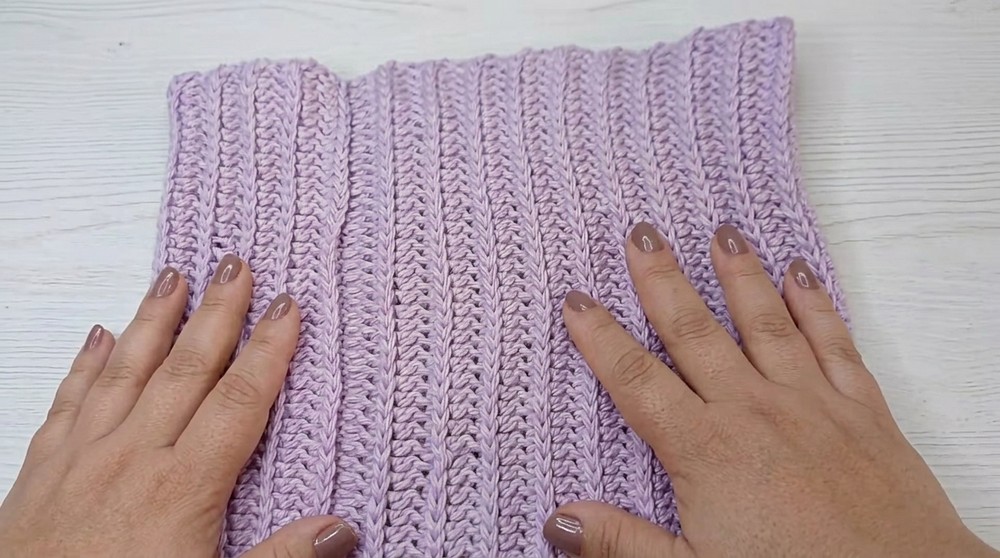
5. Finishing
- Cut yarn, pull tail through last loop.
- Use tapestry needle to sew in tails securely:
- Weave in at the join for extra security, then horizontally and vertically for best hold.
- Work from WS.
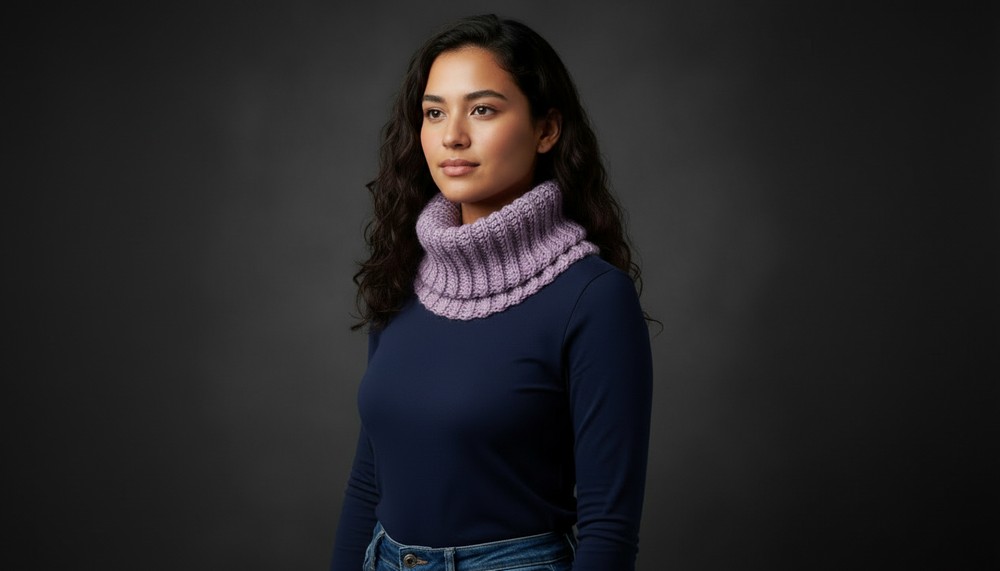
- Arrange cowl, fold over as demonstrated; both seams/edges are neat and wearable on either side.

Pattern Correction
- The initial ch is longer than the final cowl width due to contraction by stitch pattern.
- Always count your sts—chains do not count as sts.
- To avoid losing or adding stitches, use markers in the first/last st of each row.
Tips
- The “third loop” is easier to find if you stretch the fabric gently.
- For a taller cowl, add more chains; for a looser cowl, add more rows.
- If you’re a beginner with the camel stitch, practice the insertion before starting your main rectangle.
- Use even row count for best results and straight seam.
- Work slip stitches for seaming loosely to preserve stretch.
Conclusion
This modern, warm, and reversible crochet cowl is stylish, quick, and perfect for practicing camel stitch ribbing. The seamless invisible join makes it look professional inside and out. Highly customizable for fit and style—a great project for gifts and self-care alike.