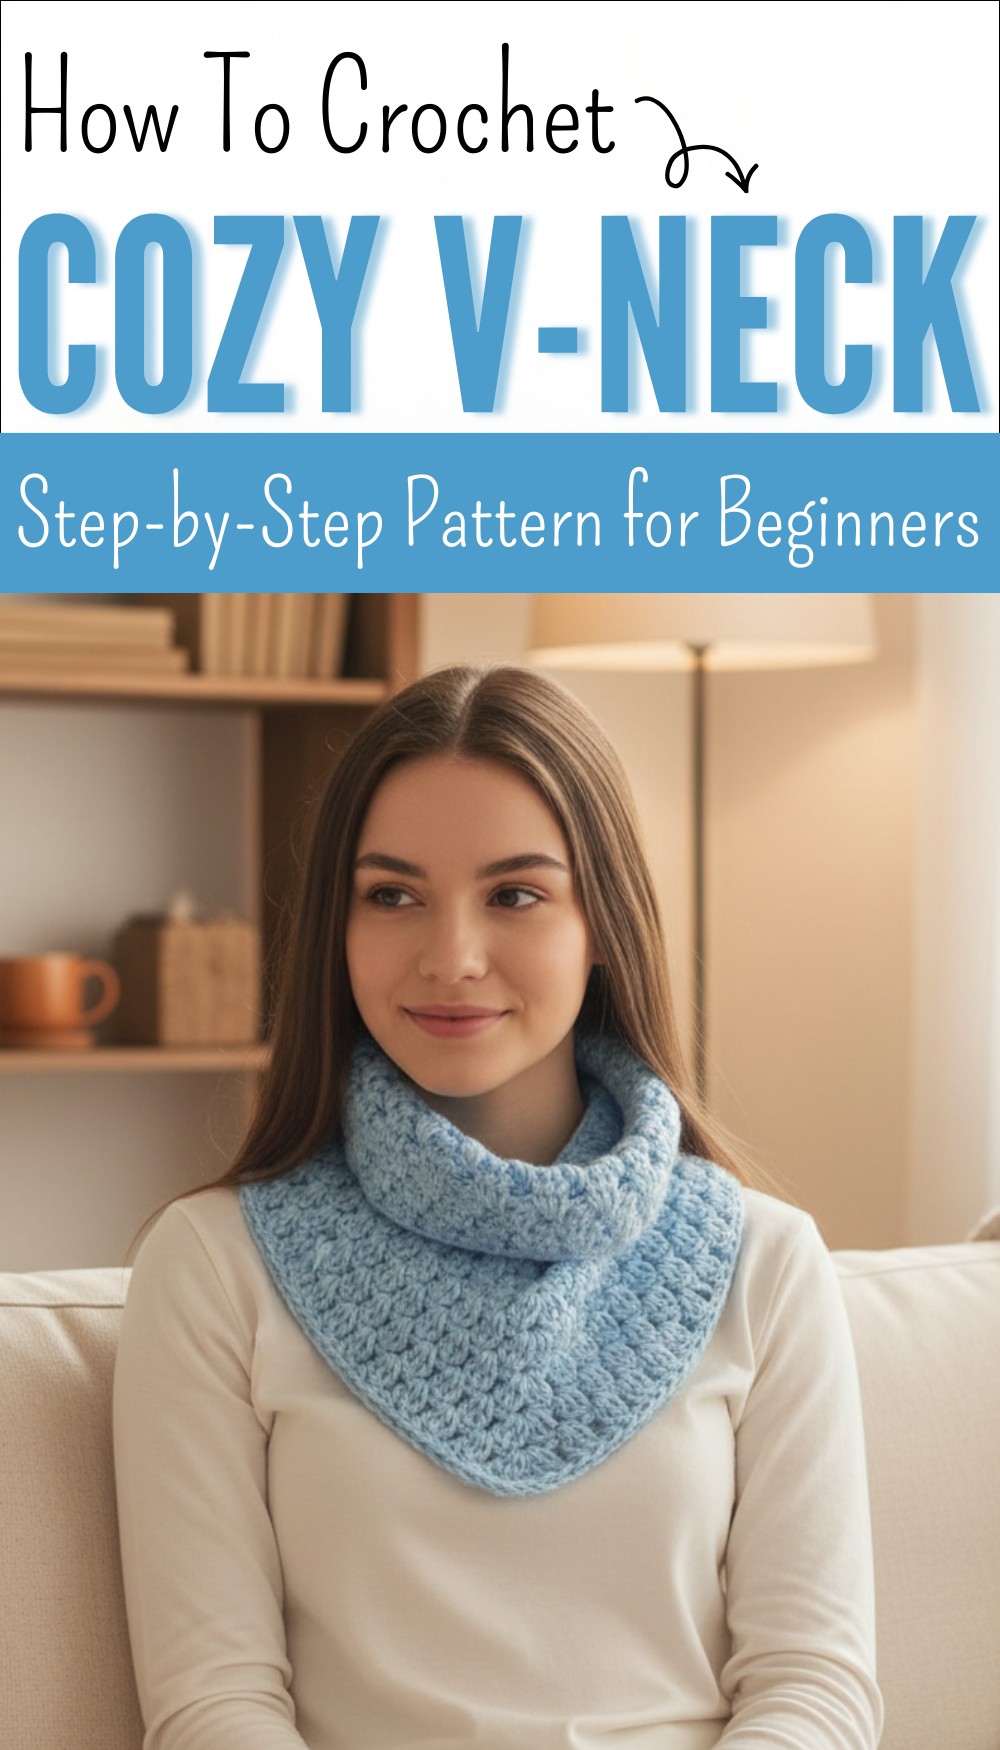
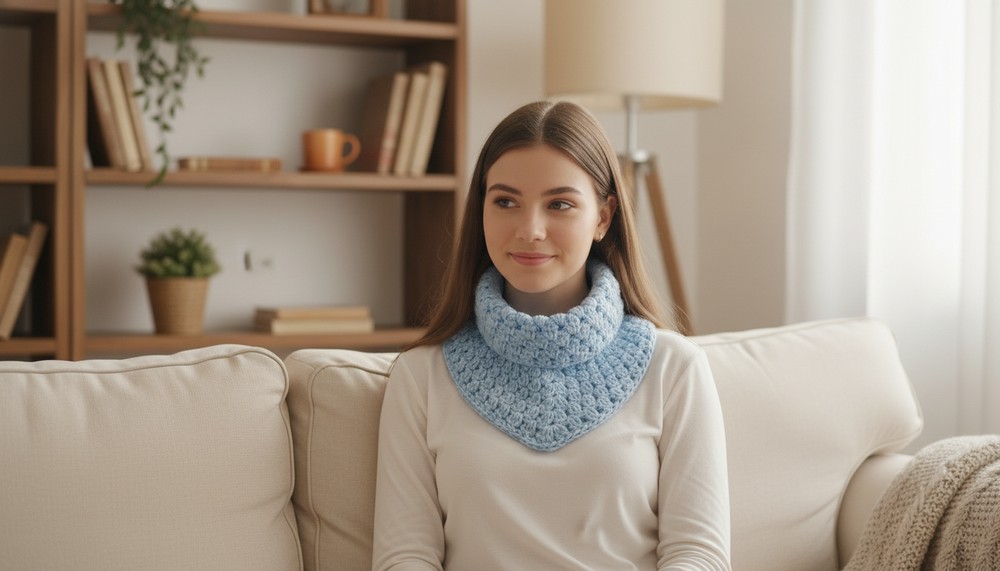
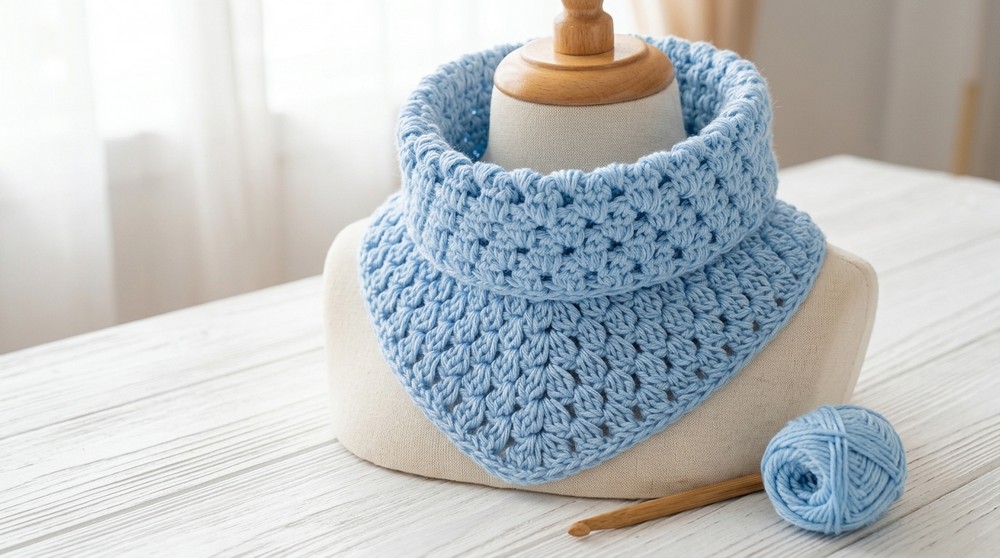
Trendy Free Crochet V-neck Cowl Pattern You’ll Love to Wear
Stay warm in comfort with Free Crochet V neck Cowl Pattern that fit softly around the neck and adds cozy charm & neat touch to daily outfits.

You can wear it at home outside or during travel as it is light and easy to carry. It also makes a lovely gift as it is both useful and beautiful. Creating it brings a sense of calm and joy while the finished piece offers comfort style and a neat appearance for everyday wear.
Crochet V-neck Cowl Pattern
Materials
- Yarn: 106g acrylic yarn, ~2mm thickness
- Hook: 5mm crochet hook
- Notions: Scissors, yarn needle, stitch marker (optional)
- Measuring tape (for personalized fit)
Finished Measurements
- Beak (point): 23 cm
- Shortest edge: 21 cm
- Width (neck area): 27 cm
- Widest point: 30 cm
Abbreviations (US terms)
- ch = chain
- sl st = slip stitch
- sc = single crochet
- hdc = half double crochet
- dc = double crochet
- rep = repeat
- st(s) = stitch(es)
Special Notes
- Pattern is worked in the round, but not in spirals.
- The first round is foundation half double crochet for a stretchy edge (foundation chain/hook method can be substituted).
- Increases are placed at a marked “vertex” to create the point.
- “Three dc closed together” refers to a cluster of 3 dc, all worked into the same space, closed together at the top.
- Substitute a regular foundation chain + hdc row if finding foundation hdc difficult.
Pattern
1. Foundation and Joining
- Foundation row:
Work 70 foundation half double crochets (fhdc), or
Alternative: Ch 70, hdc in each ch across (70 hdc).- This should fit comfortably around your head; adjust number for fit.
- Join into a round:
Ensure strip is not twisted.
Sl st into first st to join. Place stitch marker if desired.- If needed, use a yarn needle later to neaten the join.
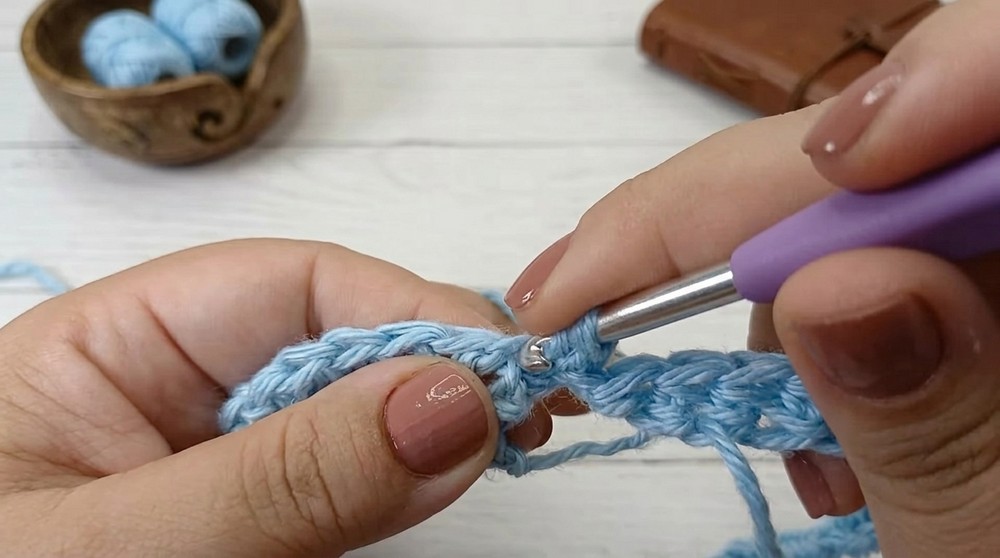
2. Textured Body Stitch (Cluster Stitch Rows)
Round 1:
- [3 dc closed together, ch 1, skip 1 st,] across.
- To work 3 dc closed together in same st/space:
- (Yarn over, insert in st, yarn over, pull through, yarn over, pull through 2 loops) x3 (all into same st/space; 1 loop more added per partial dc).
- Yarn over, pull through all 4 loops on hook.
- At the end of the round: After your last ch 1, skip a st, sl st to top of first cluster to join.
- Move to first ch-1 space with sl st.
- To work 3 dc closed together in same st/space:
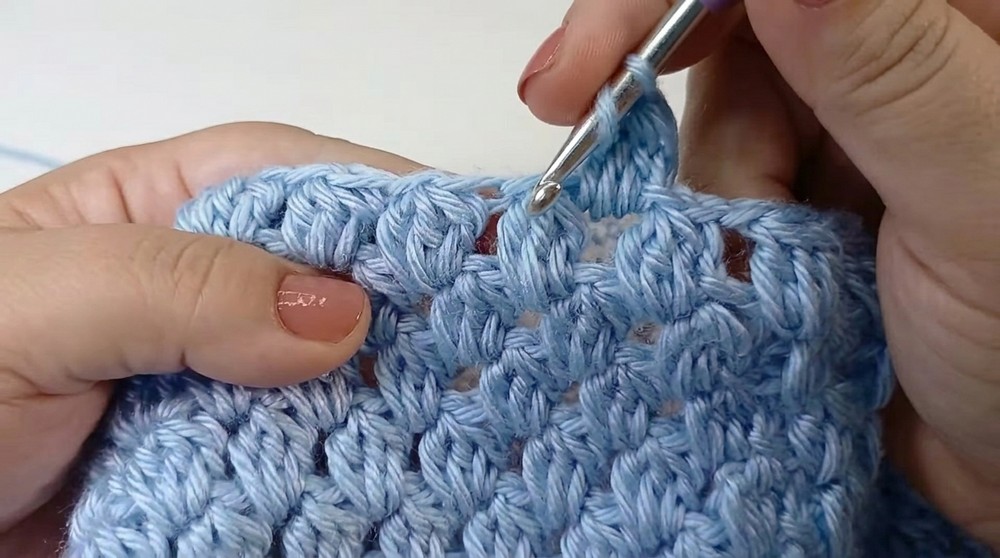
Rounds 2 – 6:
- [Ch 1 (does not count as a st), in each ch-1 space:
- 3 dc closed together, ch 1, skip next cluster]*
- Join each round with sl st at top of first cluster.
- Move into each round’s first ch-1 space with sl st.
- Work until you reach 9–10 cm height (for the sample, 1 hdc base round + 6 cluster stitch rounds).
3. Vertex Increases (Creating the Point)
You will now mark the center “vertex” to begin the flare.
- Mark Center:
- Count clusters; mark the center cluster (for 35 clusters, it’s cluster 18).
- Begin Next Round:
- As before, cluster in each ch-1 sp and ch 1, until you reach the marked vertex ch-1 space.
- Into the vertex ch-1 space, work:
- (3 dc closed together, ch 2, 3 dc closed together) in SAME space (forms the increase at the point).
- Continue patterned round.
In the following round:
- When you reach the ch-2 space at the point, always (3 dc closed together, ch 2, 3 dc closed together) in that space, placing a marker if needed to easily find vertex for next round.
- Continue all other spaces with 3 dc closed together, ch 1, as before.
- Each round, the piece will flare and the point will be more pronounced.
4. Continue until Desired Height
- Repeat the last round (with the increase at the vertex) until collar measures desired depth (sample: 15 rounds total — 1 hdc foundation + 14 fancy stitch rounds).
5. Edging (Optional but Recommended)
Creates a neat finish matching the look of the base edge.
- Sl st to first ch-1 space after last round.
- Ch 1 (does not count as a st).
- [sc in each ch-1 space and in top of each cluster] around, using a special variation for neatness:
- Before inserting hook for each sc, pick up the leftmost loop from the previous st for a linked effect (looser tension helps).
- At the vertex (ch-2 space), work 3 sc into same space.
- Join to first st with sl st.
6. Finishing and Closing
- Fasten off; use yarn needle to make an ‘invisible join’ (duplicate look of previous stitches).
- Hide all ends vertically and horizontally on the WS.
- To close the foundation round invisibly:
- Use needle to sew through the first and last hdc stitches, as described, mimicking the surrounding hdc stitches and passing thread ends to the wrong side to secure with a knot and weave in.
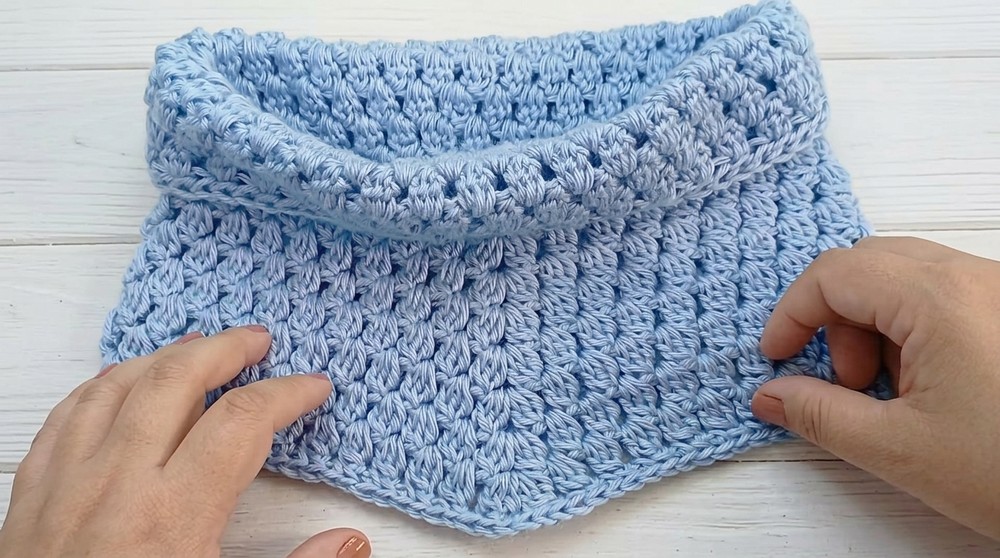
Conclusion
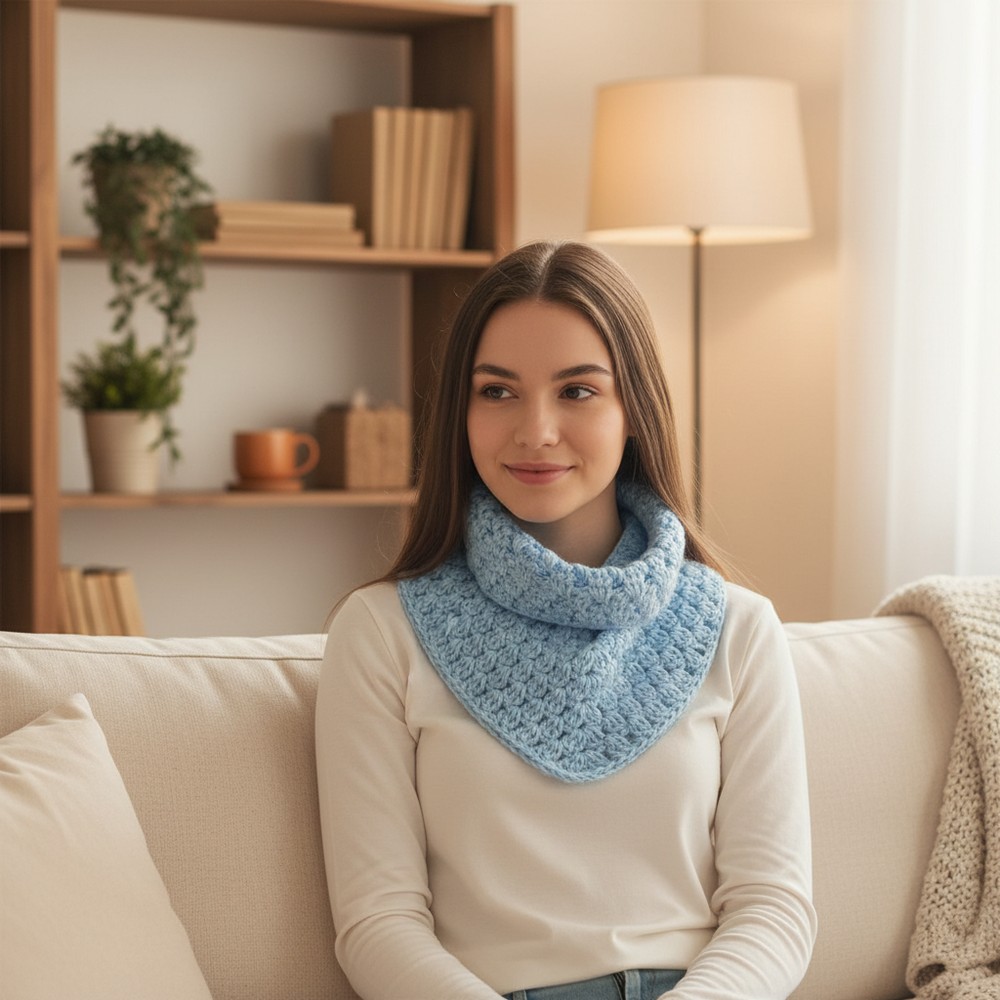
This project creates a comfortable, beautiful cowl with a single, smooth point and subtle shoulder shaping, ideal for everyday wear. The clustered stitch pattern gives a soft texture, and the unique increase makes a flattering fit.
Pattern Corrections & Tips
- Pattern Correction: “Three rods that close together” = 3 double crochet closed together (dc3tog cluster).
- If foundation hdc is difficult, make a regular chain and work first row of hdc into it.
- Mark the vertex each round to keep the increases in the correct spot.
- Work edge rounds loosely for comfort and a matching finish.
- Adjust foundation length for best fit around the neck.
- For extra neatness, always use an invisible join when fastening off.