Free Crochet Mesh Front Tie Cardigan Pattern for Daywear

Layer looks softly with this Crochet Mesh Front Tie Cardigan Pattern ideal for breezy days, light coverage, and relaxed everyday styling.

Loose Crochet Mesh Front Tie Cardigan Pattern for Warm Weather
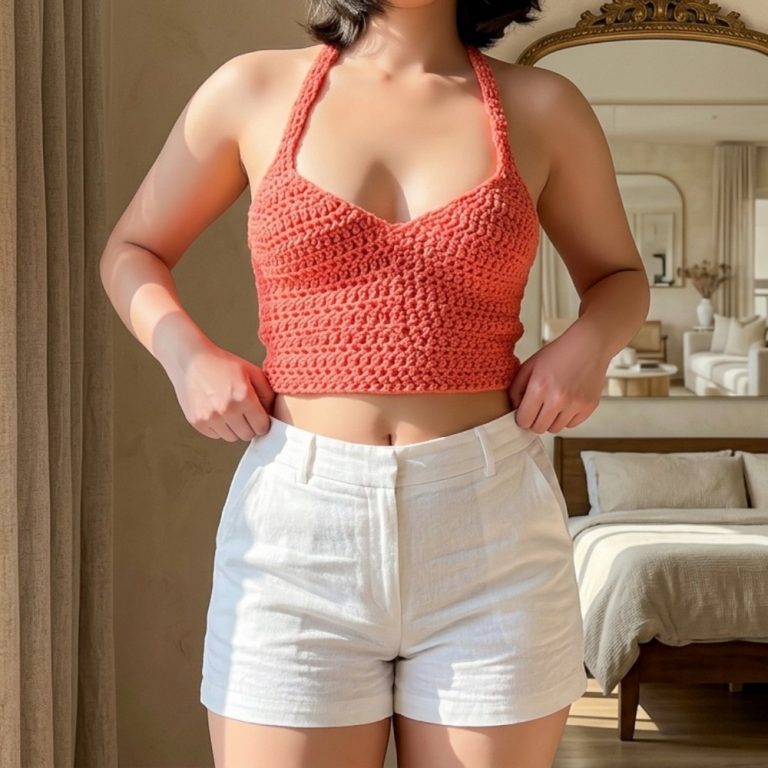
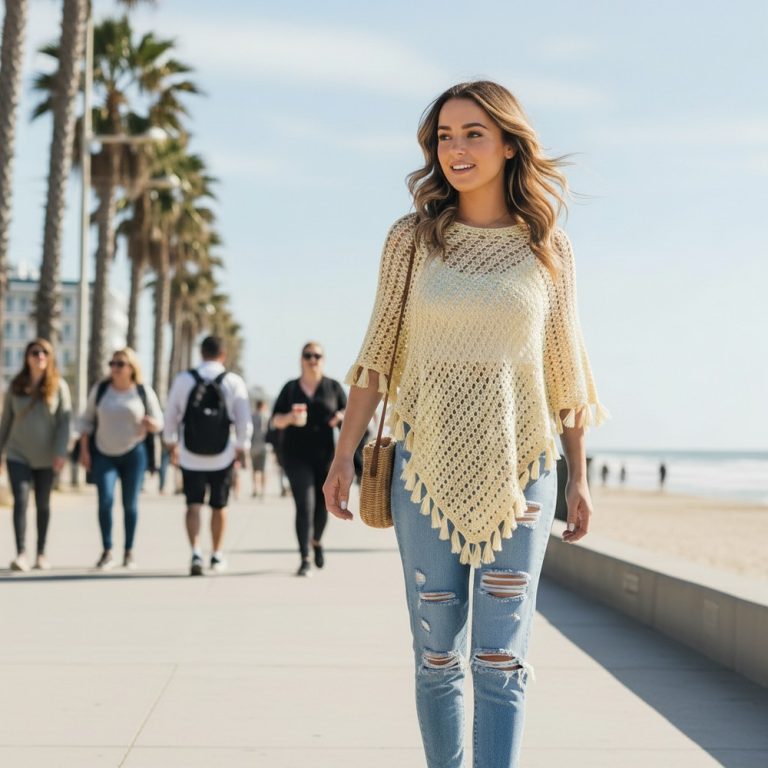
A touch of breezy elegance is easily achieved with the Crochet Mesh Front Tie Cardigan Pattern, which seamlessly blends comfort and style. Presenting a lightweight, airy construction, this cardigan remains ideal for layering during warmer days or enhancing a dressy evening look. Its openwork mesh design offers excellent breathability, making it a smart option for vacations, beach days, or casual strolls. The front tie not only adds a modern, playful twist but also allows for a customized, flattering fit.

Crocheters are drawn to the approachable techniques involved, making it accessible to those eager to create a fashionable piece with minimal fuss. The overall versatility ensures it transitions effortlessly from day to night, complementing everything from denim and tees to dresses or swimsuits. Present-day makers enjoy both the creative satisfaction and the wardrobe practicality this stylish cardigan brings to their collection.
Materials
- Weight 3 (DK) yarn: about 400 yards (cotton/polyester blend used in tutorial)
- 4 mm crochet hook
- Scissors
- Tape measure
- Darning needle (for weaving in ends)
Step-by-Step Pattern
1. Make a Gauge Swatch
- Follow Rows 1–3 of the tutorial to make your swatch.
- Gauge: For a 4×4 inch (10×10 cm) section: 5 stitches wide and 11 rows tall.
- Swatch should be at least 6×6 inches (15×15 cm) for accuracy.
2. Measure Your Shoulders
- Measure from one side of your shoulder to the other (e.g., 14 inches).
3. Calculate Foundation Slip Stitches
- Divide your shoulder measurement by 4 (e.g., 14 in / 4 = 3.5).
- Multiply this by the number of stitches in 4 inches on your swatch (3.5 x 5 = 17.5, round up to 18).
- Multiply the result by 3 for total foundation slip stitches (18 x 3 = 54).

4. Back Panel
Foundation Row
- Create the number of foundation slip stitches you calculated (e.g., 54).
- Chain 2.
- Insert hook in second chain from hook, pick up both loops, yarn over, pull through first loop, yarn over, pull through both loops.
- For each subsequent stitch, insert hook into the bottom of last stitch, repeat as above.
Mesh Pattern Rows
- Row 2: Chain 6, turn. Skip first 2 stitches, single crochet in 3rd stitch.
- Repeat: Chain 5, skip 2 stitches, single crochet in next stitch. Continue to end.
- Row 3: Chain 6, turn. Repeat: Single crochet in first chain-5 space, chain 5, single crochet in next chain-5 space, repeat across.
- Repeat Row 3 until desired length, ending on an odd row.
- Example: 23 rows for 8–8.5 inches.
5. Shoulder Straps
- From the end of the back panel, begin a shoulder strap over 6 mesh stitches (for around 4–4.5 inches width).
- Row 1: Chain 6, turn. Repeat: Single crochet in first chain space, chain 5, single crochet in next chain space, for a total of 6 mesh stitches.
- Continue working as above for 9 rows (or until desired strap length), ending on an odd row.
6. Front Panels
- Begin at strap edge; both front panels will be the same length as the back panel (e.g., 23 rows).

Increasing Rows
- Row 1 (Increase Row): Chain 6, turn. Single crochet in first chain space, chain 5, single crochet again in same space (increase), chain 5, single crochet in next space, repeat to end.
- Rows 2–4 (Normal Rows): Chain 6, turn, single crochet in first chain space, chain 5, single crochet in next space, repeat to end.
- Row 5 (Increase Row): Repeat Row 1.
- Repeat Rows 1–4 until one row before last.
7. Front Tie Strap
- On your last row (e.g., Row 23), with working yarn, chain a multiple of 3 for length (e.g., 69 chains).
- Skip 5 chains, single crochet in 6th chain.
- Repeat: Chain 2, skip 2 chains, single crochet in next chain. Repeat across the chain.
- Slip stitch into bottom of front panel.
- Chain 5, single crochet in first chain space, repeat across panel.
8. Seaming Front Panel to Back Panel
- Do NOT cut yarn after finishing the strap.
- Seam up the side using slip stitches:
- Line up front and back panels, working your stitch into each row, matching up the mesh stitches.
- Sew up about 10–12 rows for armhole (e.g., 6.5–7 inches deep for a relaxed arm fit).
9. Second Front Panel
- Attach yarn to the opposite side of the back panel at the outside edge.
- Repeat all steps for the first front panel.
- Seam up as above, matching the number of mesh spaces with the first armhole.

10. Sleeves
- With right side out, attach yarn to one side of the armhole chain space.
- Round 1: Chain 5, skip the seam, single crochet into first chain space on other side of seam.
- Repeat: Chain 5, single crochet in next chain space; continue around armhole. Slip stitch to first chain space to join.
- Round 2: Flip work, slip stitch into first chain space, chain 5.
- Single crochet into next chain space, repeat around, slip stitch to join round.
- Repeat Round 2 until sleeve reaches desired length.
- Example: 43 rounds = around 16 inches (try on after ~10 rounds to check fit).
- If you want a slimmer fit, skip more chain spaces on the first round.
- Repeat for the second sleeve.
11. Finishing
- Fasten off, weave in all ends with darning needle.
- Try on and enjoy your new mesh crochet shrug!

Notes
- All increases on the front panel should be made only on the inner edge (center of the top), not the outside edge.
- Make sure to stretch your panel lightly when measuring, as the mesh stitch stretches a lot in wear.
- If your yarn runs short, you can make sleeves a bit shorter.
Tip:
Regularly check the fit as you go by trying on your work. The mesh stitch is very stretchy, so gently stretching while measuring will give more accurate results for wear.
Certainly! Here’s a structured summary and review for the video tutorial from https://youtu.be/g3cpVgcEHSo, using the details you provided:
Mesh Crochet Shrug – Step-by-Step Video Overview
Introduction
This video tutorial guides you through making a stylish mesh crochet shrug featuring airy sleeves and a delicate openwork mesh pattern. The design uses simple stitches, customizable measurements, and easy slip stitch seaming. The result is a fashionable layering piece that’s great for warmer weather and can be tailored to your fit.
Materials
- Weight 3 (DK) yarn – about 400 yards of a cotton/polyester blend is used
- 4 mm crochet hook
- Scissors
- Tape measure
- Darning needle (for weaving in ends)
Special Features
- Custom Fit: The shrug is made to your shoulder and torso measurements, allowing a perfect fit for any body shape.
- Light, Airy Fabric: The mesh pattern creates a lightweight and breathable garment, ideal for layering and summer wear.
- Simple Seaming: The panels, straps, and sleeves are joined with slip stitches for an almost invisible seam.
- Stretchy Design: The mesh stitch stretches to hug your body comfortably, so you can adjust the finished fit by stretching while measuring.
- Adjustable Sleeves: You can easily choose the desired length and width for a relaxed or tighter sleeve fit.
Level of Difficulty
Advanced Beginner – The construction requires basic crochet stitches (chains, single crochet, slip stitch), but includes foundational slip stitches, mesh stitch pattern, custom measurements, and seaming. Some row and measurement math is needed, but the instructions walk you through every step.
Tutor’s Suggestions
- Gauge Swatch: Make a large swatch for accurate measurements since the mesh stitch is very stretchy. The tutor recommends a swatch at least 6 inches square.
- Fit Checks: Try on the shrug as you build the panels and before attaching sleeves. Adjust as you go for your desired fit and comfort.
- Armhole Sizing: Mark and count mesh spaces carefully for symmetrical sleeves; relaxed arm fit works well, but you can skip mesh stitches for a slimmer sleeve.
- Finish Neatly: Flip your seams inward and weave in all ends for a professional-looking garment.
Uses
- Summer cover-up shrug
- Light layering piece for dresses, tanks, or camisoles
- Beachwear or festival wear
- Transitional season fashion accessory
Tip
Make sure all your final measurements are taken with the fabric slightly stretched—mesh shrugs expand noticeably with wear.
Conclusion
This mesh crochet shrug tutorial teaches you how to craft a custom-fitted, lightweight accessory that’s both functional and fashionable. With clear explanations and simple stitches, you achieve a breezy design perfect for layering in warm weather. Enjoy your new handmade shrug and experiment with different yarns and colorways!