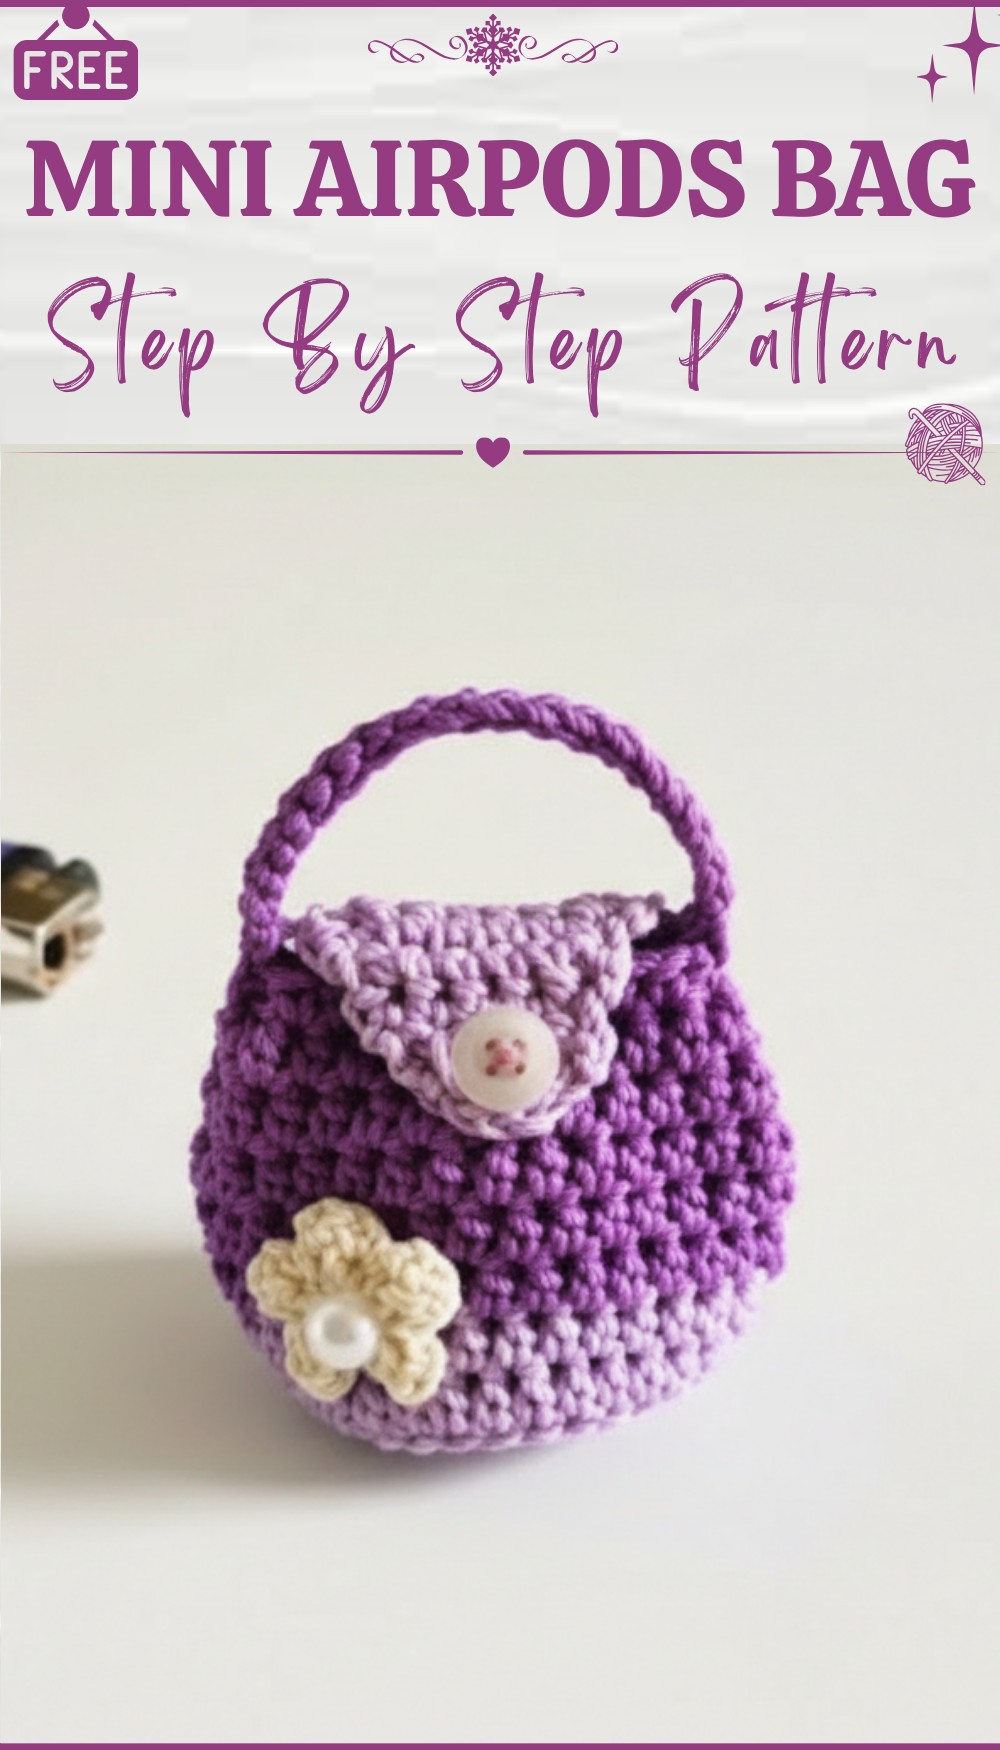
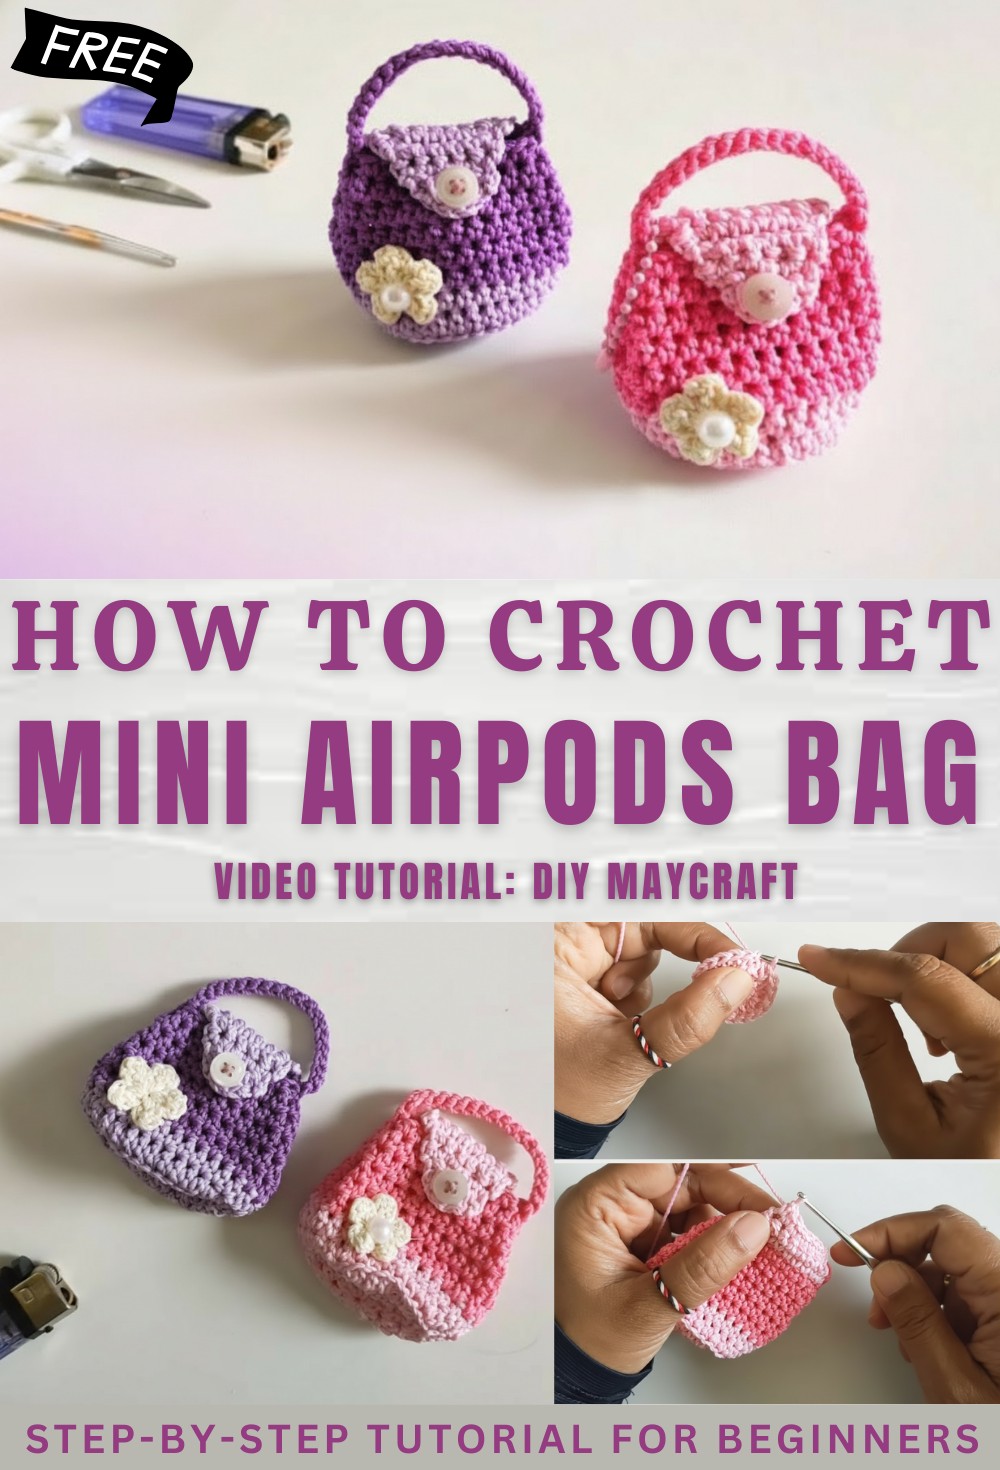
Free Crochet Airpod Bag Pattern with Step-by-Step Guide
Protect your AirPods in style with this free crochet Airpod Bag Pattern that guides you to a fun colorful pouch for safe and easy storage.
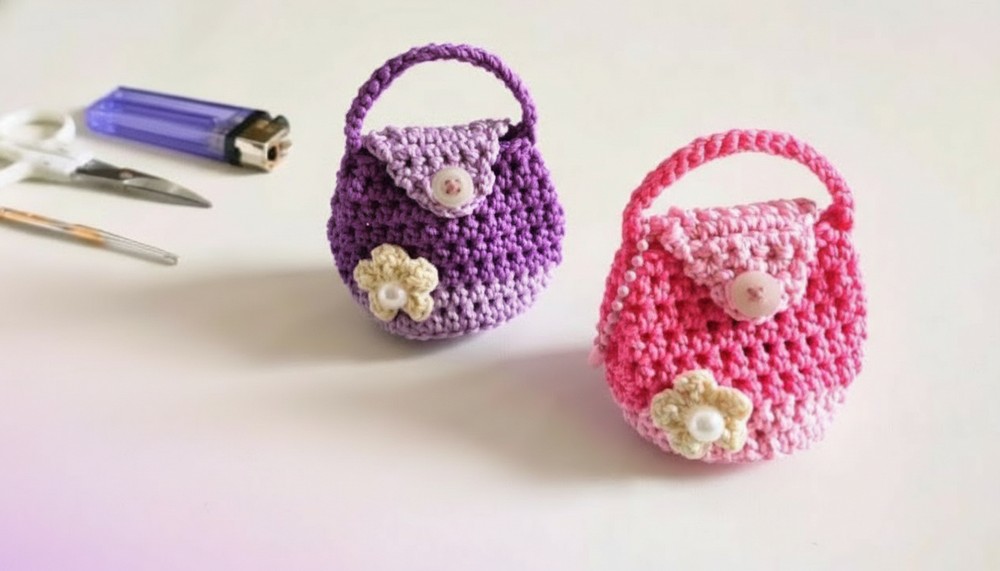
A tiny pouch full of charm keeps your AirPod safe and easy to find anywhere you go. With a crochet Airpod Bag pattern you can make a soft little cover that fits right in your hand or attaches to your bag. Each bag is colorful and unique showing off bright shades or gentle tones you love. This pouch is strong and comfy so your earphone stays clean and protected from scratches or dust. You can add a button for extra safety or a loop to hang it wherever you like.
Free Crochet Airpod Bag Pattern for Personalized Style
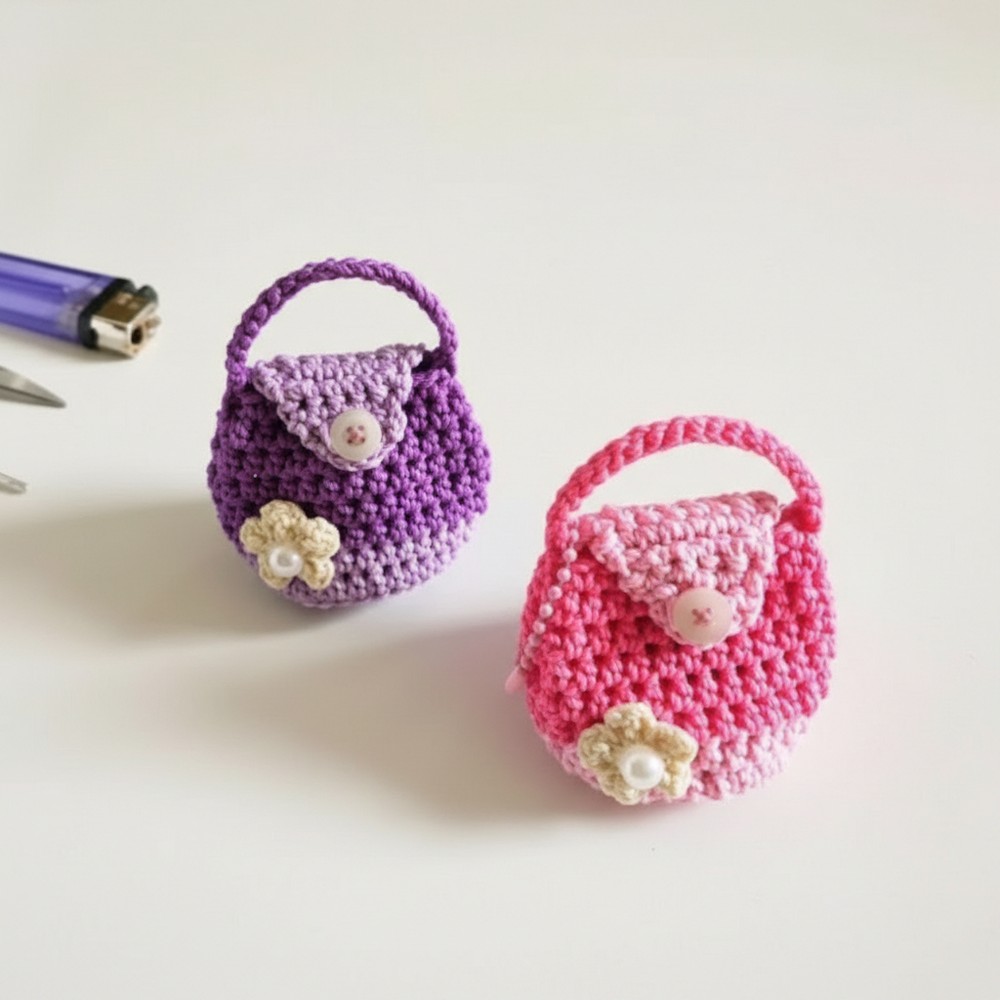
Making your own means you pick the look and feel that matches your style best. This cute bag is simple to create and it makes sure you never lose your AirPod again. It is perfect as a small gift for someone special. A handmade touch turns a simple case into something cheerful and personal each time you use it.
Mini Free Crochet Bag Hanger Pattern
Materials List
- Yarn: Polycherry Hook Yarn (or similar DK/light worsted weight cotton or acrylic)
- Main Color: For bag body (e.g., soft pink or color of your choice)
- Contrast Color: For cover/flower (e.g., bright pink/yellow)
- Hook: 4/0–2.5 mm crochet hook (or size to obtain firm stitches)
- Small Button: For bag closure
- Beads: For flower center embellishment (optional)
- Tapestry Needle: For sewing and weaving in ends
- Scissors & Lighter: For tidying yarn ends
- Stitch Marker
Key Abbreviations
| Abbreviation | Definition |
|---|---|
| MR | Magic Ring |
| ch | Chain |
| sl st | Slip Stitch |
| sc | Single Crochet |
| hdc | Half Double Crochet |
| dc | Double Crochet |
| inc | Increase (2 stitches in same space) |
| dec | Decrease (sc2tog: single crochet decrease) |
| BLO | Back Loop Only |
| RS/WS | Right/ Wrong Side |
Special Notes
- Begin in the round for bag base, then BLO at row 4 for shaping sides.
- US crochet terminology is used throughout.
- Adjust hook/yarn weight as desired for a larger or smaller bag.
- Always join with a slip stitch unless stated otherwise.
Pattern
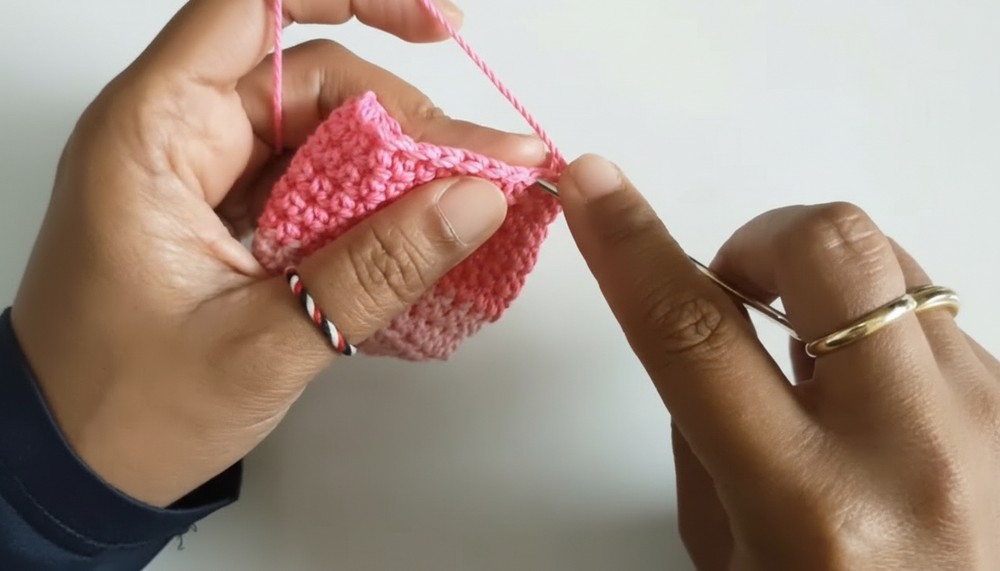
1. Bag Base & Body
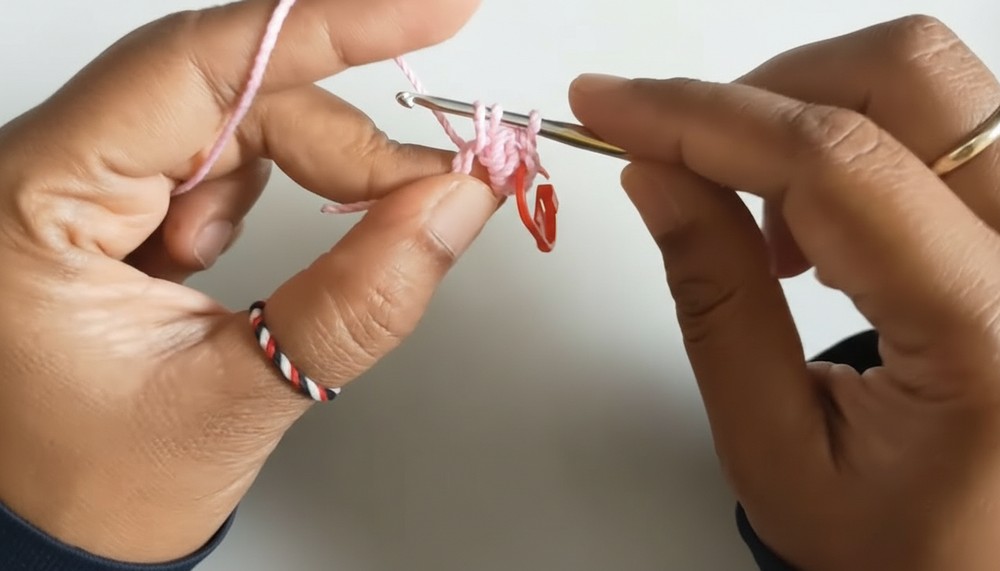
Base – Round 1:
- Begin with MR.
- Ch 2 (does not count as a stitch).
- Work 10 hdc in the ring.
- Place a stitch marker in the first hdc.
- Pull ring tight.
- Join with sl st to first hdc. (10 hdc)
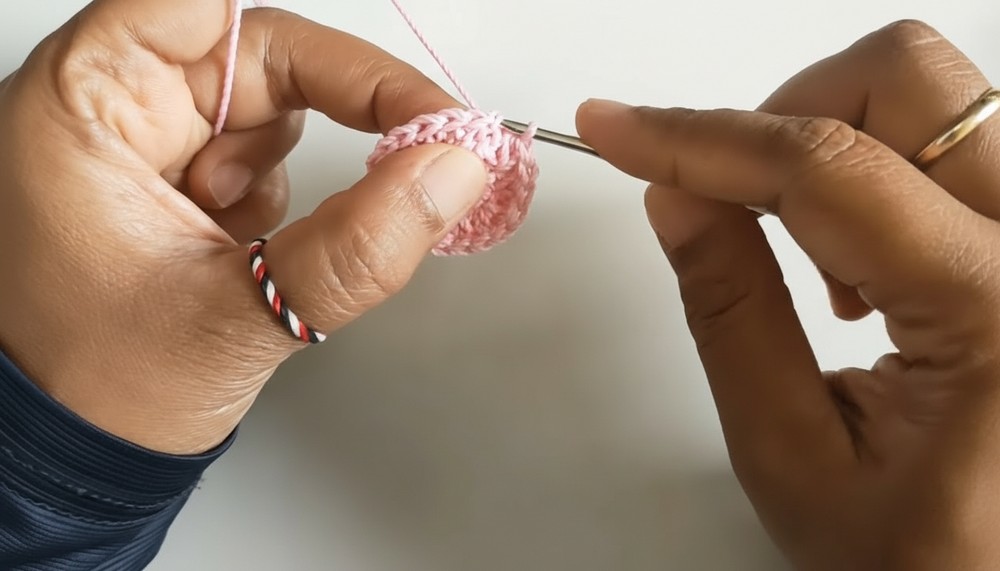
Round 2:
- Ch 2 (not a stitch),
- 2 hdc in each st around (hdc inc in each st)
- Join with sl st. (20 hdc)
Round 3:
- Ch 2.
- hdc in same st, 2 hdc in next st; repeat around (1 hdc, inc); total 10 times.
- Join with sl st. (30 hdc)
Round 4 (Form Sides):
- Ch 2.
- Working BLO only, hdc in each st around.
- Join with sl st. (30 hdc BLO)
Round 5:
- Ch 2.
- Hdc in each st around (regular hdc—not BLO).
- Join with sl st. (30 hdc)
- Finish off and fasten yarn.
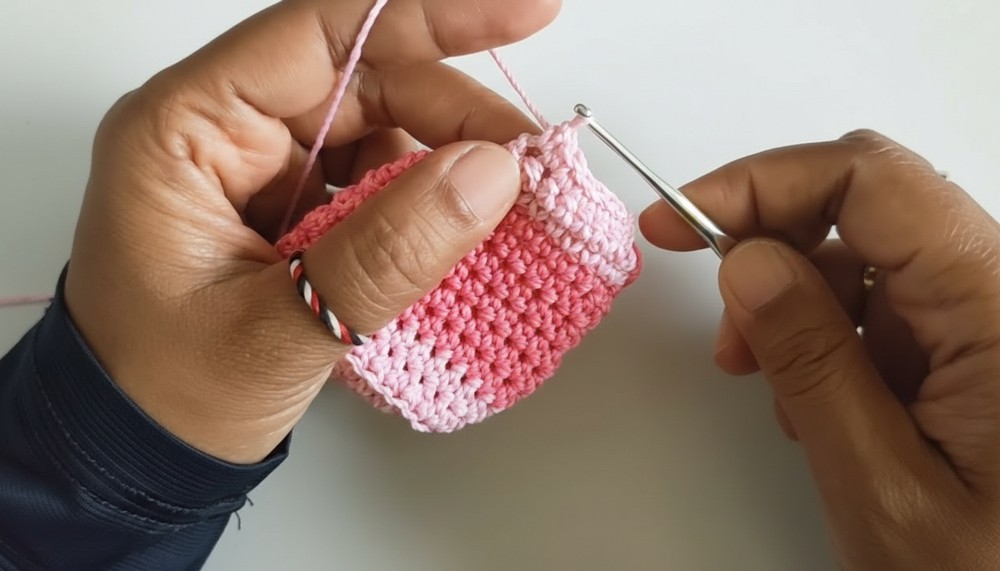
2. Bag Body Color Change & Height (Bright Pink)
Join new color at sl st join.
Rounds 6–10:
- For each round:
- Ch 2, hdc in each st around.
- Join with sl st. (30 hdc per round)
- Repeat for 5 rounds (rows 6–10).
3. Bag Shaping & Closure Row (Row 11)
Shaping:
- Identify the side: From last sl st, count 5 sts, mark the 6th.
- Ch 1.
- Work a “front post” effect as follows:
- Insert hook into the marked st’s front (fold of the bag), pull up a loop.
- Insert into next front post (stitch), pull up a loop.
- Insert into the 5th and 6th marked st, then sc through all, joining the bag sides.
- Sc in next 9 sts (across the edge for width of flap)
- Repeat the “join” process at the other side: mark the 6th st, repeat the front post insert/join with sc.
- Sc in next 9 sts to return to join point.
- Join with sl st.
(Now your mini bag pouch is formed with an open top and connected sides.)
4. Bag Strap (Handle)
- Ch 1.
- Insert hook into the center fold of the side of the flap (middle of the bag edge).
- Ch 20 for the strap.
- Insert hook to the opposite side center, join with sl st.
- Ch 1.
- Work a sl st in each chain across the strap (for sturdiness).
- Join again at original connection with sl st.
- Ch 1, finish off.
- Tidy up ends.
5. Mini Bag Flap (Cover)
- Join yarn at the edge next to the strap, on the main opening edge.
- Ch 1, sc in same st and the next 8 sts (9 sc). Turn.
Row 2:
- Ch 1, turn.
- Sc2tog (decrease) over first 2 sts, sc in next 5 sts, sc2tog over last 2 sts. (7 sts)
Row 3:
- Ch 1, turn.
- Sc in each st across. (7 sts)
Row 4:
- Ch 1, turn.
- Sc2tog, sc in next 3 sts, sc2tog. (5 sts)
Row 5:
- Ch 1, turn.
- Sc in each st across. (5 sts)
Row 6 (Button Loop):
- Ch 1, turn.
- Sc2tog (first 2 sts),
- Ch 3 (button loop), skip 1 st,
- Sc2tog last 2 sts.
- Finish off. Tidy up ends.
- Sew button to the front of the mini bag so the loop closes over it.
6. Crochet Flower Decoration
- MR, ch 2, dc in ring, ch 2, sl st in ring = one petal.
- Repeat from * to * five times, for five petals.
- Tighten ring, finish off, and sew flower to bag.
- Sew bead in flower center (optional).
Pattern Correction
- Row counts: Check to ensure you have the correct stitch counts, especially on the flap and when joining the handle.
- Bag opening: If you want a more secure closure, increase the number of scs or adjust for a tighter fitting flap.
Tips
- When working the side “front post” joins, take care to align both front and back so the pouch is even.
- Always weave and secure yarn ends inside the lining of the bag.
- Try a glitter, variegated, or contrasting color flower for more decoration.
- For a durable handle, crochet tightly or double the yarn.
- You can add a small keyring or lobster clasp at the end of the handle for hanging.
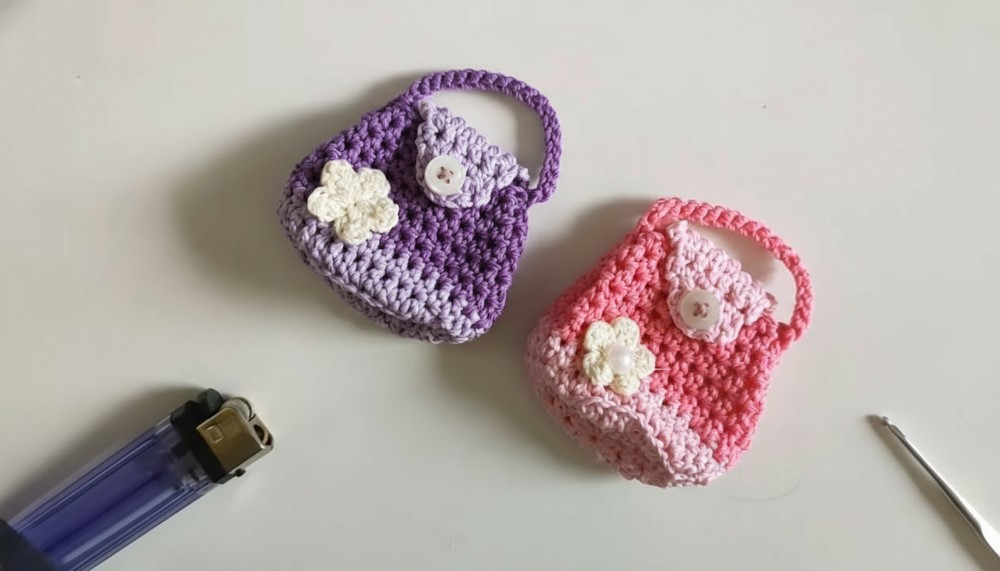
Conclusion
You now have a mini bag hanger with a secure closure and charming flower decoration. This motif is perfect for gifts, decor, or as a beginner/intermediate crochet project. Adjust the size, colors, and embellishments to make it truly your own.