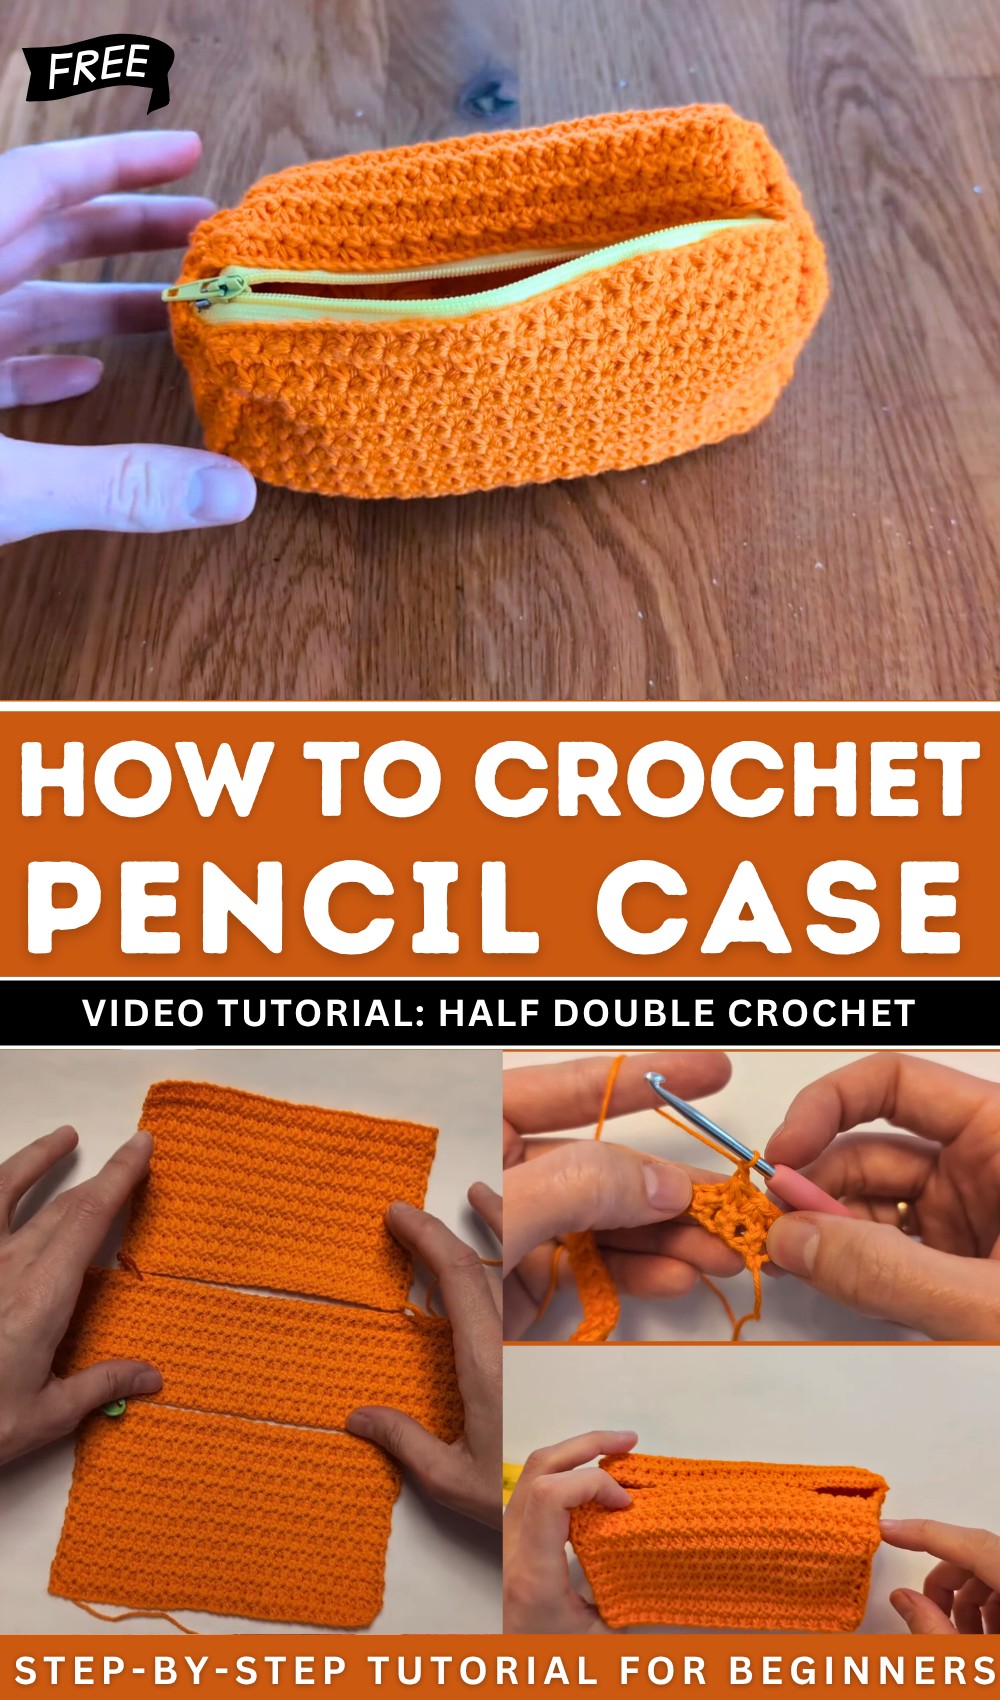
How to Crochet Textured Pencil Case for Beginners
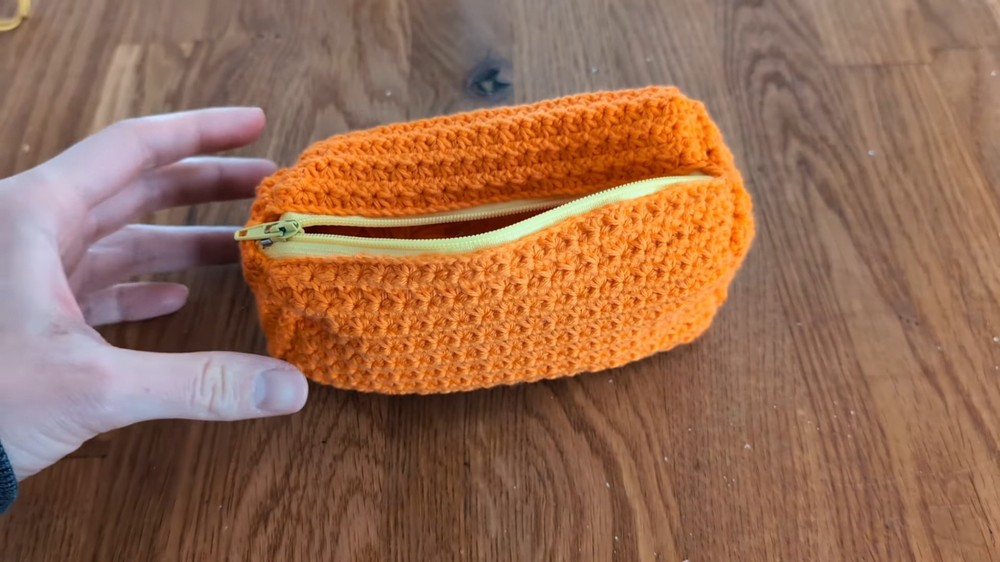
This tutorial walks you through crocheting a stylish and functional textured pencil case using cotton yarn and a 3 mm hook. The design features a star-like textured stitch, three panels of different sizes, and a practical zipper. Step-by-step instructions guide you through chaining, pattern repeats, assembling the panels, and sewing in the zipper. It’s a beginner-friendly project that’s quick, secure, and perfect for storing your crochet tools or other small items.
This crochet tutorial guides you through creating a charming pencil case with a practical zipper for storing crochet tools or small items. Using 100% cotton yarn, a 3mm crochet hook, and simple techniques like the star-like pattern and single crochet stitch, three pieces are crafted and sewn together.
Crochet Star Pencil Case Pattern
Materials
- Yarn: 100% cotton (any color; recommend worsted or DK weight)
- Crochet Hook: 3 mm (US size C/2 or D/3)
- Zipper: Standard size suitable for a small pencil case (about 15 cm to 30 cm, depending on finished size)
- Darning Needle: For sewing pieces and attaching zipper
- Scissors
- Stitch Markers: Optional but helpful for sewing and marking
- Pins: To hold zipper in place before sewing
Key Abbreviations (US Crochet Terminology)
- ch – chain
- sc – single crochet
- st – stitch
- sl st – slip stitch
Special Notes
- This pattern uses a star stitch variation worked over three chains, pulling up loops and then working through all loops on hook.
- Gauge is not crucial, but follow given measurements for the pieces.
- If altering yarn or hook, adjust piece sizes as needed.
- Finished pieces (“fabric”) will shrink a little in width compared to chain length due to the stitch pattern.
Pattern
Step 1: Foundation Chains
You will make three separate pieces:
Piece A & Piece B (Side Panels)
- Make a slip knot.
- Ch until you have 15 cm of chains.
- Add 2 additional chains.
- Total chain length: 15 cm + 2 ch.
Piece C (Main Panel)
- Make a slip knot.
- Ch until you have 30 cm of chains.
- Add 2 additional chains.
- Total chain length: 30 cm + 2 ch.
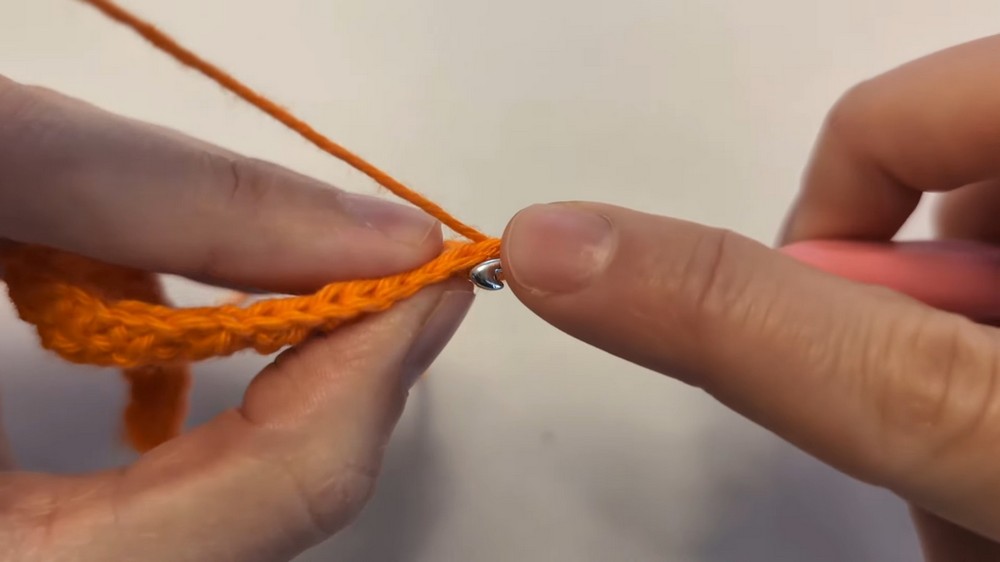
Step 2: First Row (Star Stitch Variation)
For all pieces:
- Skip the last chain.
- Insert hook into the next chain, yarn over and pull up a loop (2 loops on hook).
- Sc: Yarn over and pull through both loops.
- Insert hook into same chain again, yarn over and pull up a loop.
- Insert hook into next chain, yarn over and pull up a loop.
- Insert hook into next chain, yarn over and pull up a loop.
You should now have 4 loops on your hook. - Yarn over and pull through all four loops.
- Ch 1.
Repeat Steps 4–8 for the entire row:
- Always begin the repeat by inserting hook into the chain that was already occupied by the previous stitch, then into the next two free chains.
- At the end of row, do not ch 1; instead, finish with a single crochet:
- Insert hook into the last occupied chain, yarn over and pull up a loop, yarn over and pull through both loops.
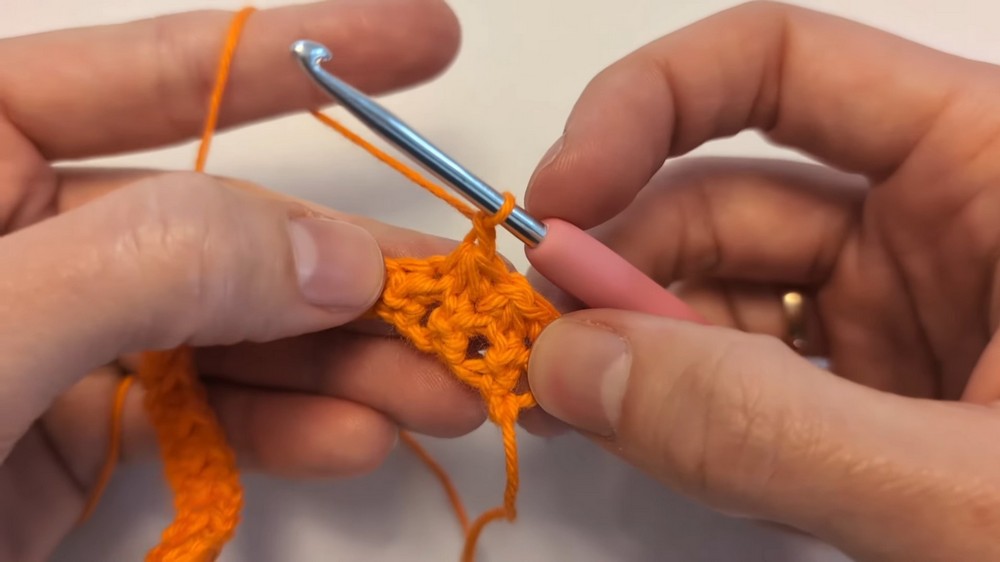
Step 3: Working the Rows (One-Row Repeat)
- Ch 1, turn.
- Start each new row with a single crochet into the last stitch of the previous row (skip the ch 1).
- Insert hook into same stitch (already occupied), yarn over and pull up a loop.
- Insert hook into next stitch, yarn over and pull up a loop.
- Insert hook into next stitch, yarn over and pull up a loop.
You now have 4 loops on hook. - Yarn over and pull through all four loops.
- Ch 1.
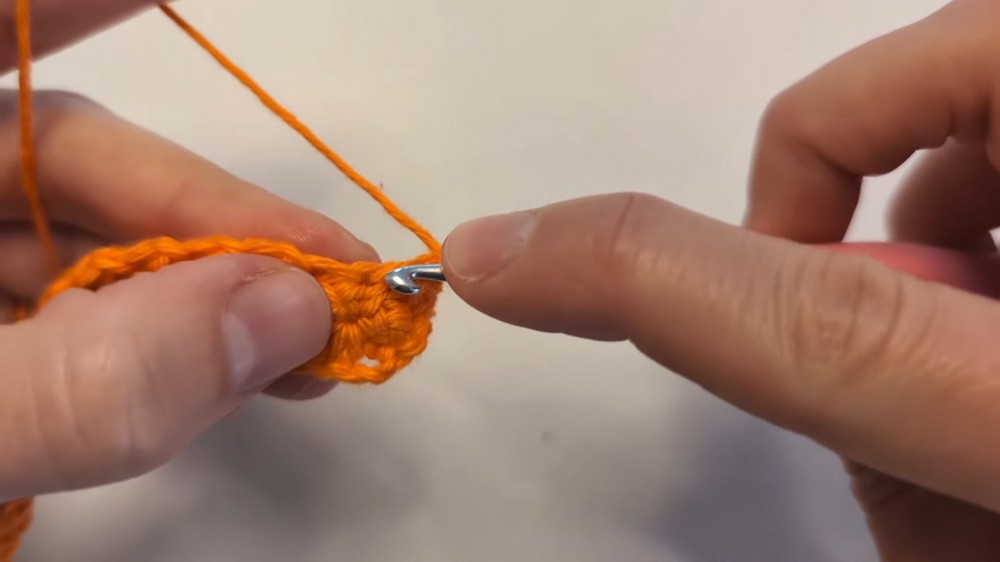
- Continue:
- Insert hook into the last stitch (already occupied) and the next two free stitches; pull up loops.
- Yarn over, pull through all loops, then ch 1.
- At end of row, skip the final ch 1 and finish with a single crochet in the last occupied stitch.
Step 4: Piece Sizing
- Side panels (Pieces A & B): Work one-row repeats until your piece measures 9 cm high.
- Main panel (Piece C): Work one-row repeats until your piece measures 6 cm high.
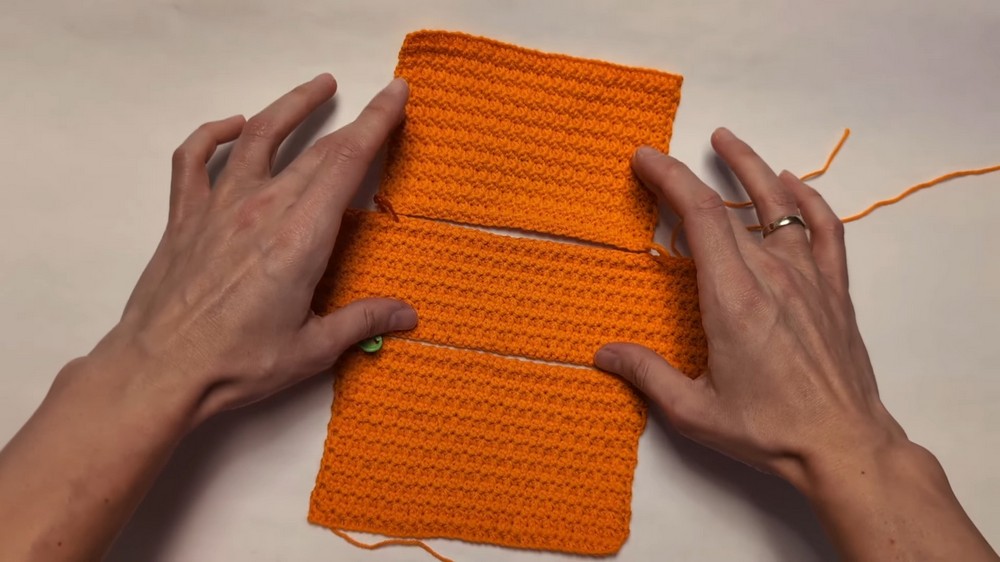
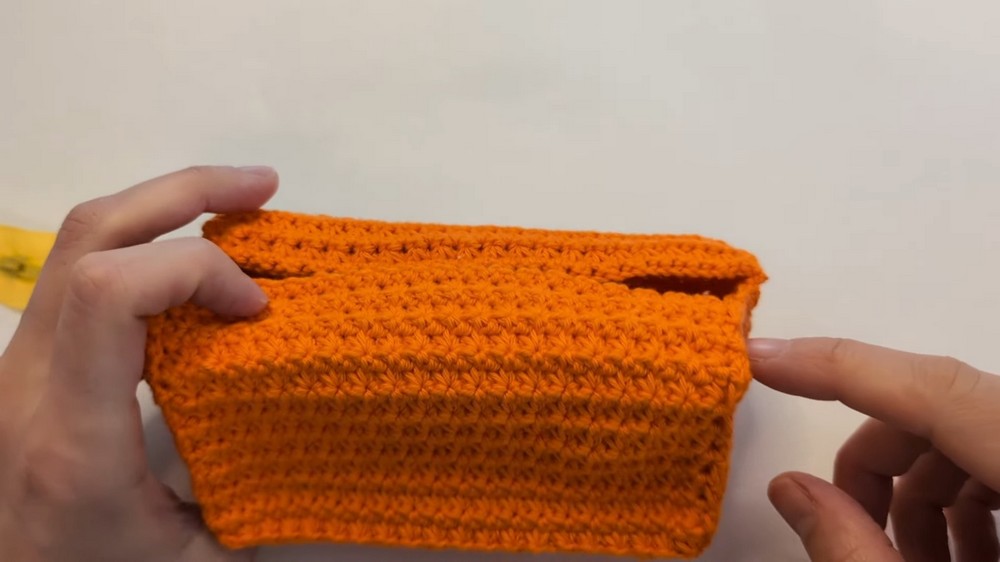
Step 5: Assembly
1. Position the pieces
- Lay pieces out as shown in the video:
- The two 15 cm × 9 cm panels on either side of the main panel (30 cm × 6 cm).
2. Use stitch markers or pins to hold the three pieces in place for sewing.
3. Sew with a darning needle and cotton yarn in a zigzag pattern:
- Sew down one side, across the bottom (or up the side), and up the other side.
- Leave the top open and some space in the middle for the zipper.
- Take care to evenly match up stitches to avoid crooked or uneven seams.
Step 6: Attaching the Zipper
- Place the zipper in the opening.
- Use pins to hold the zipper in place.
- Sew the zipper with the darning needle and cotton yarn, working along the zipper tape and edge of the crochet fabric on both sides.
Step 7: Finishing
- Turn the pencil case right side out.
- Check that the zipper functions smoothly.
- Remove all stitch markers and pins.
- Weave in any remaining yarn ends.
Conclusion
You have now completed a charming, practical pencil case featuring a star-like crochet stitch and a zipper closure. This project is useful to store crochet supplies or other small items. The stitch pattern adds visual interest and texture, making the case unique and fun.
Pattern Corrections & Tips
Correction:
- Be aware the stitch pattern will reduce the fabric’s width compared to initial chain length—this is normal due to the pulling up of loops.
Tips:
- Use stitch markers liberally while sewing to ensure pieces align perfectly.
- For the zipper, a sewing needle and thread may work better for a neater finish, but yarn matches the body for a unified look.
- If you prefer a lining, sew one in after attaching the zipper.
- Adjust measurements as needed for larger or smaller cases.
- Cotton yarn is durable and holds shape well; other fibers may vary in outcome.