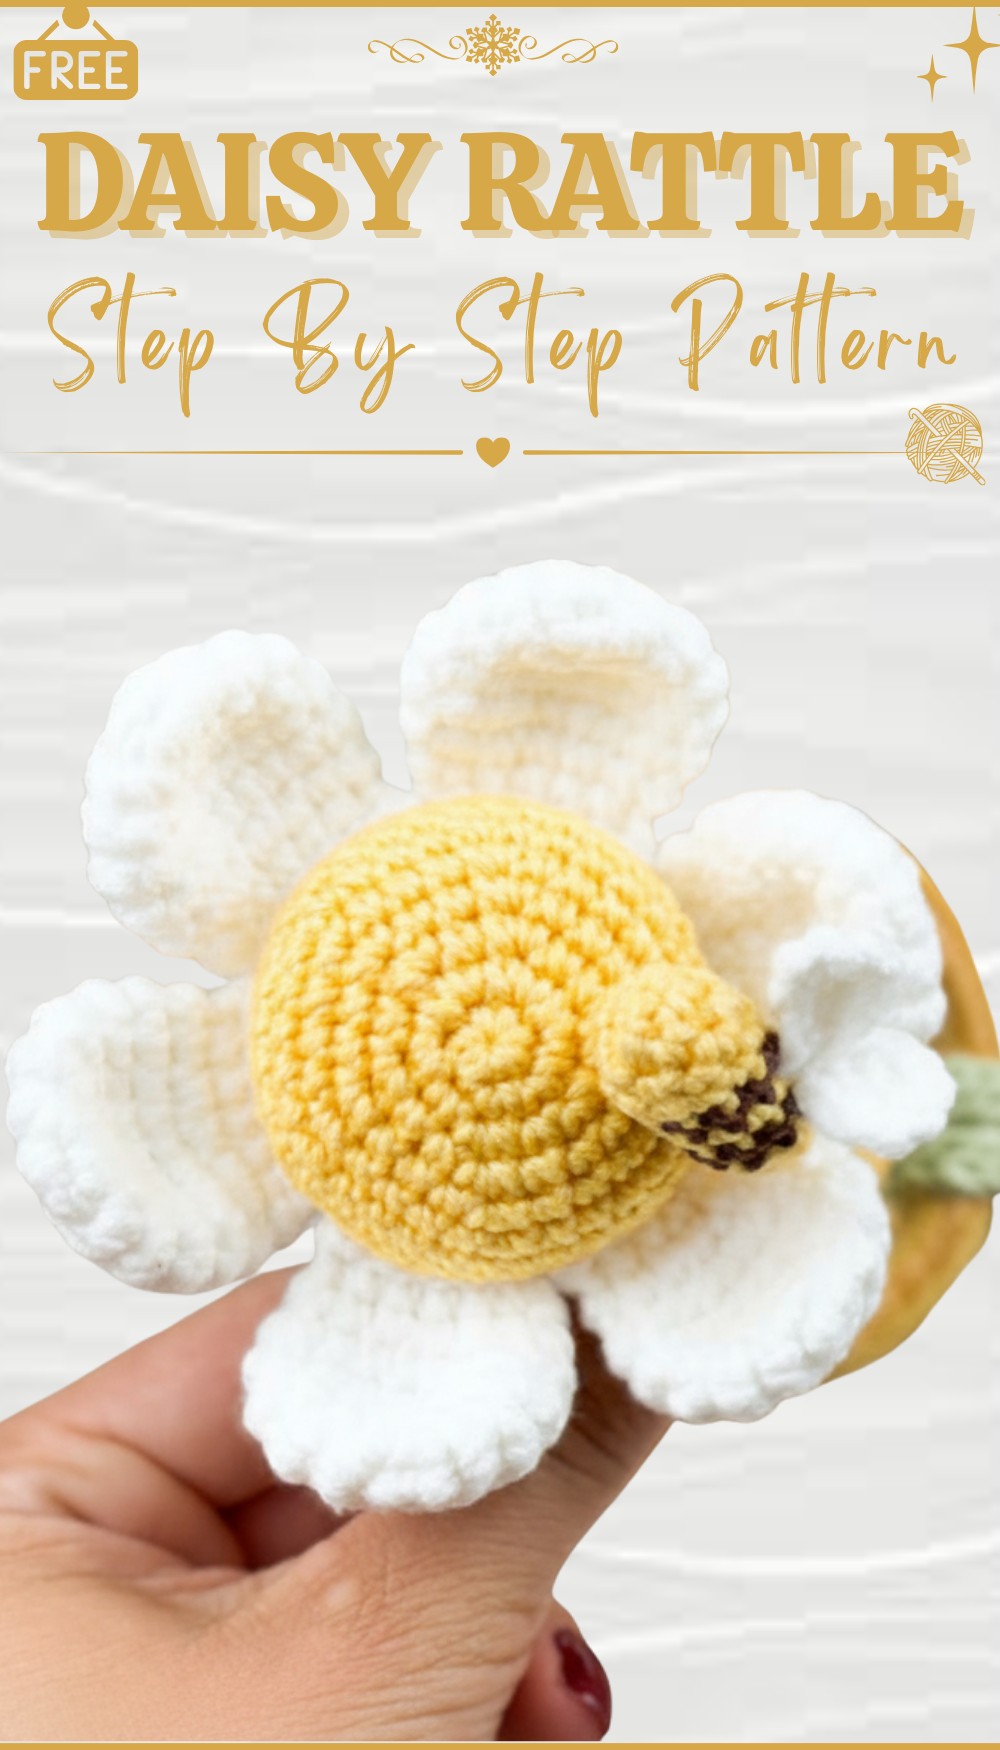
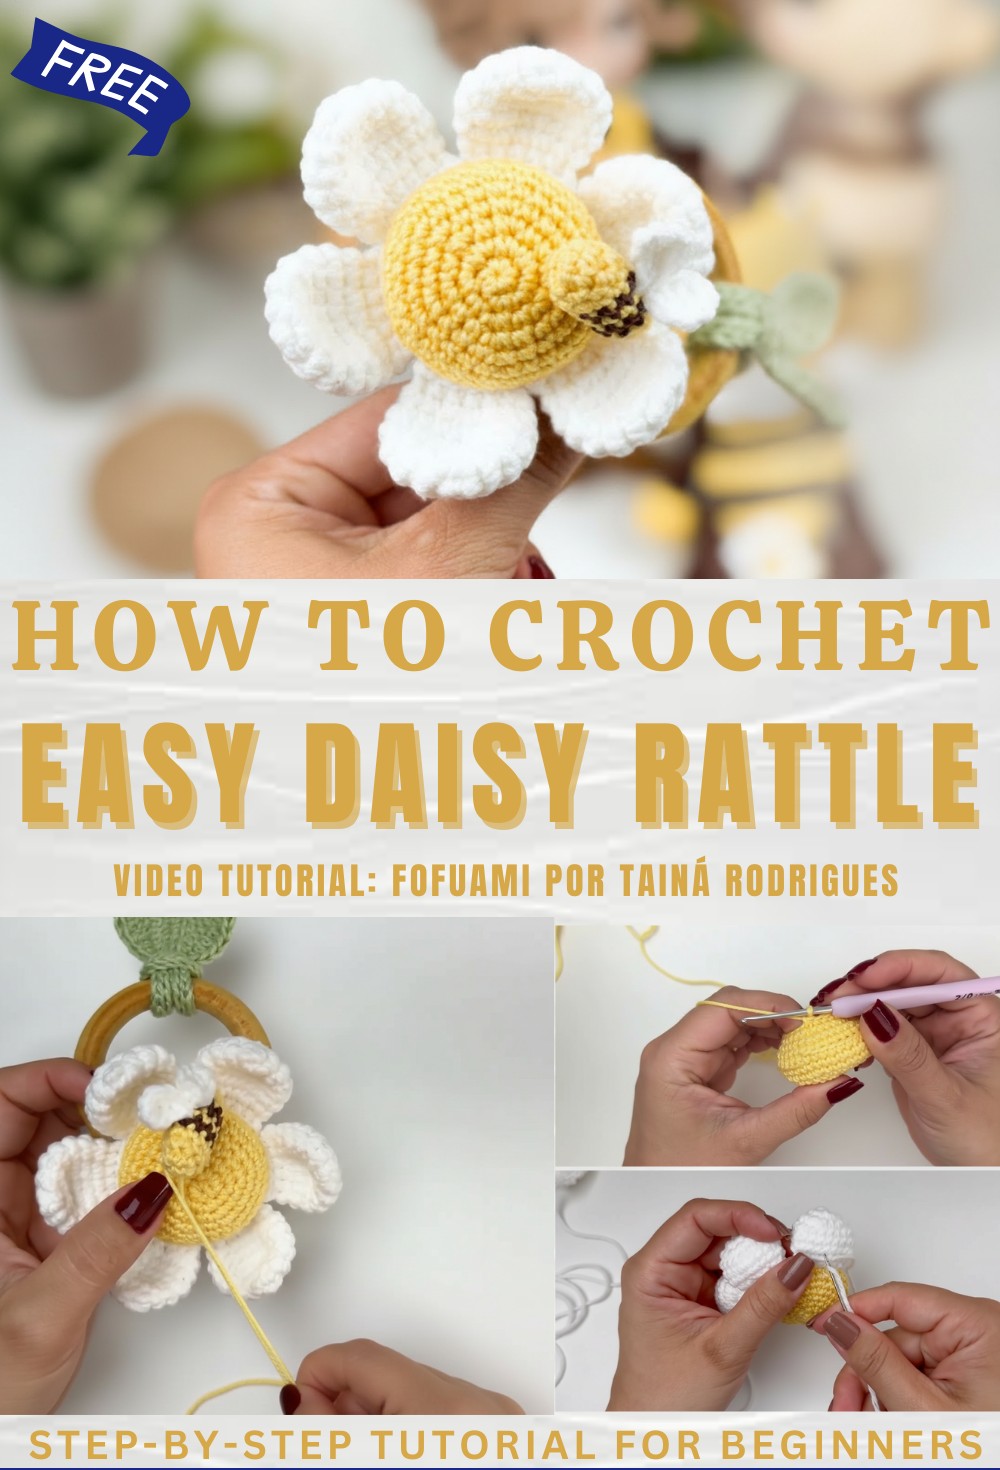
Soft Crochet Daisy Rattle Pattern Totally Free
Shake up playtime with this Free Crochet Daisy Rattle Pattern that lets you whip up a cute & cheerful toy little hands will love to explore.
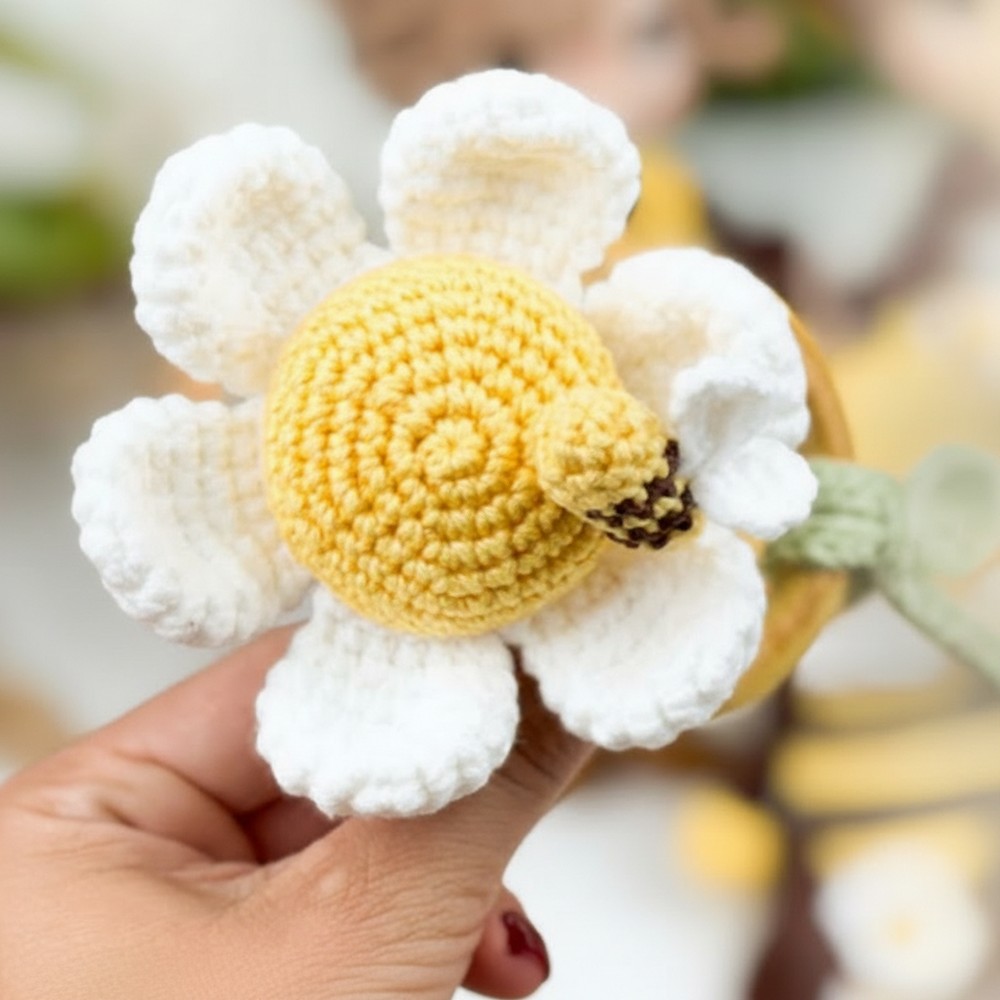
Little hands love to hold soft toys with bright colors and gentle sounds that bring joy and comfort. Tiny petals and a sunny center create a flower shape that feels happy and safe when squeezed. When you use a crochet Daisy Rattle pattern you make a sweet little playfriend for your baby that is both soft and light to carry. The gentle shake makes a soothing sound that helps calm a little one and brings a smile each time.
Crochet Your Own Free Daisy Rattle for Little Ones
Its round center is easy to hold and the soft petals are perfect for tiny fingers to explore. This rattle is easy to wash and safe for babies to chew or hug. You can make it with colors that match your baby’s favorite things or your home. It is a sweet gift for new parents and adds a handmade touch to any nursery bringing beauty and delight each day.
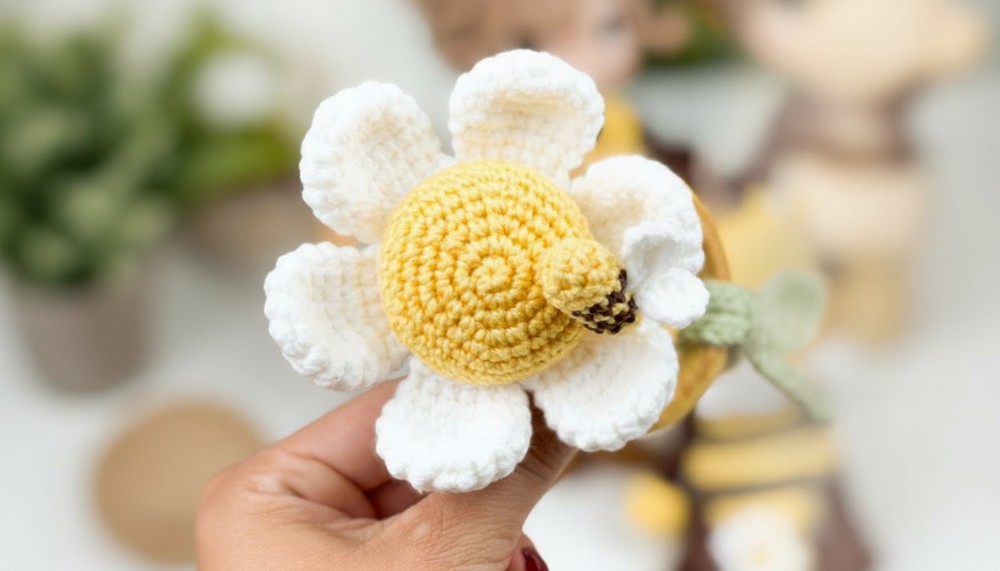
Crochet Daisy Rattle with Bee Pattern
Materials List
- Yarn:
- Amigurumi yarn (eg: Circulo Amigurumi or similar)
- Solar (Yellow) – for flower center & bee
- White – for petals & bee wings
- Brigadeiro (Brown) – for bee stripes
- Parakeet (Green) – for leaves
- Feel free to substitute with other yarns of similar thickness.
- Amigurumi yarn (eg: Circulo Amigurumi or similar)
- Crochet Hook: 2.0 mm (or size to achieve tight amigurumi stitches)
- Fiberfill stuffing
- Rattle insert (optional, for sound)
- Tapestry needle
- Plastic or wooden ring (for the rattle base)
- Scissors
- Stitch marker
Key Abbreviations
| Abbreviation | Meaning |
|---|---|
| MR | Magic Ring |
| ch | Chain |
| sc | Single Crochet |
| inc | Increase (2 sc in one st) |
| dec | Decrease (sc 2 together) |
| sl st | Slip Stitch |
| hdc | Half Double Crochet |
| dc | Double Crochet |
| tr | Treble Crochet |
| BLO | Back Loop Only |
| (…) xN | Repeat instructions in parentheses N times |
Special Notes
- Pattern is worked in continuous rounds unless otherwise specified.
- Use stitch markers to note the beginning of rounds, especially for small amigurumi work.
- Always stuff as you go.
- The rattle insert is optional but recommended for a true baby toy.
Pattern
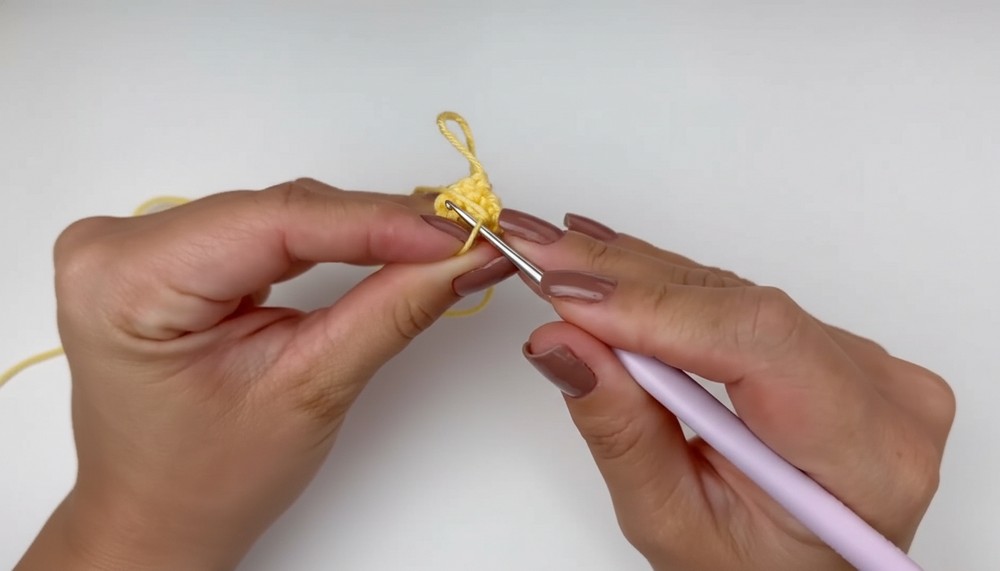
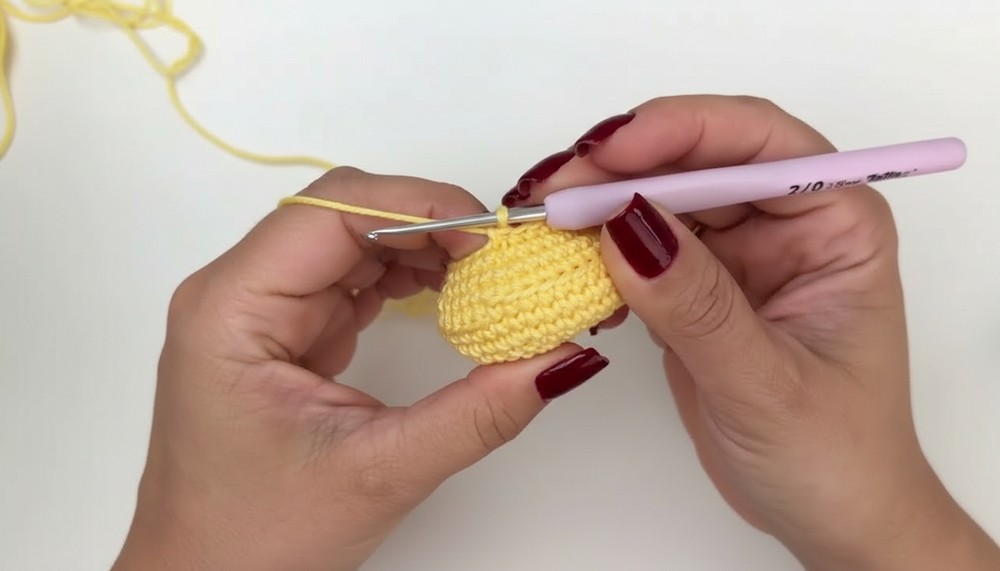
Flower Center (Yellow/Solar)
- MR, 6 sc in MR (6)
- inc in each st (12)
- (sc, inc) around (18)
- (2 sc, inc) around (24)
- (3 sc, inc) around (30)
- (4 sc, inc) around (36)
7-8. sc in each st (36) — 2 rounds even - This round: sc in BLO around (36)
- sc in each st (36)
- (4 sc, dec) around (30)
- (3 sc, dec) around (24)
- Insert rattle and begin stuffing firmly but not overstretched.
- (2 sc, dec) around (18)
- Add more stuffing if needed.
- (sc, dec) around (12)
- dec around (6)
- Fasten off. Close the hole using a tapestry needle by weaving through the front loops, pull shut, knot, and hide tail into the center.
Daisy Petals (Make 6 – White)
- MR, 6 sc in MR (6)
- inc in each st (12)
- (sc, inc) around (18)
4-6. sc in each st (18) — 3 rounds even - (sc, dec) around (12)
- Fold petal in half. Work through both layers across to close: sc through matching st of both sides to join (6).
- Ch 1, fasten off, leaving a long tail for sewing.
Assembling the Flower
- Sewing the Petals:
- Place petals evenly around the flower center.
- Sew each petal to the center, working between rounds 8 and 9, taking 6 sts per petal.
- Fasten off and hide yarn ends securely.
Leaves (Green/Parakeet)
- Ch 49.
- Work into the chain as follows:
- Skip first ch, sc in next ch,
- hdc in next,
- dc in next 2,
- tr in next,
- dc in next 2,
- hdc in next,
- sc in next.
- Sl st in next 30 ch (forms stem).
- For remaining chains:
- sc in next,
- hdc in next,
- dc in next 2,
- tr in next,
- dc in next 2,
- hdc in next,
- In last ch: 3 sc together to turn.
- Now work down the other side of the chains (mirror image):
- hdc in next,
- dc in next 2,
- tr in next,
- dc in next 2,
- hdc in next,
- sc in next,
- sl st in next 30 chains,
- At the end: sc, hdc, 2 dc, tr, 2 dc, hdc, 2 sc in final space.
- Fasten off, weave in ends.
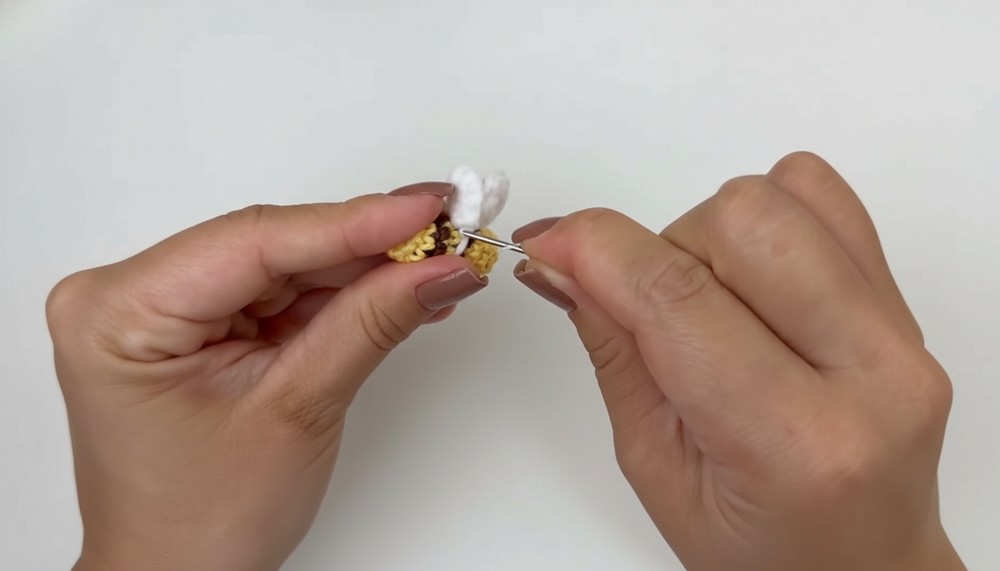
Mini Bee
Body
- With yellow (Solar): MR, 5 sc in MR (5)
- inc in each st (10)
3-4. sc in each st (10) - Switch to brown (Brigadeiro), sc around (10)
- Switch to yellow, sc around (10)
- Switch to brown, sc around (10)
- Switch to yellow, sc around (10)
- Stuff lightly.
- dec around (5)
- Fasten off, use the end to weave through FLO of last 5 sts and draw closed. Hide tail.
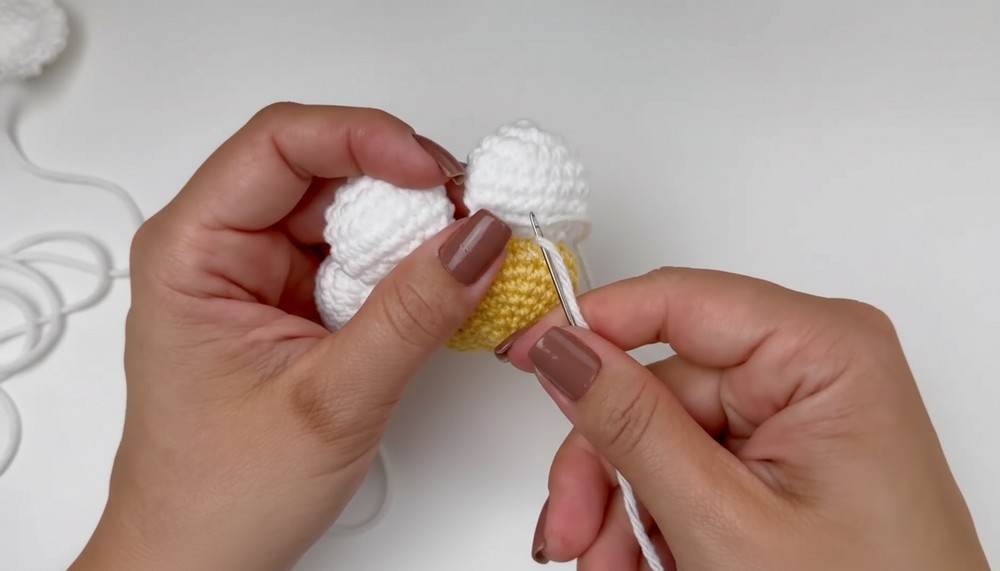
Wings (Make 2 – White)
- Ch 3, skip 1st ch, sc in next ch,
- In next ch: 6 sc (all into the same ch for curve).
- On unworked side of foundation ch: sc in next ch,
- Join with sl st to first st (8)
- Fasten off, leave long tail for sewing.
Assembly
- Position each wing on the 5th round of bee’s body; sew securely.
- Weave in yarn ends.
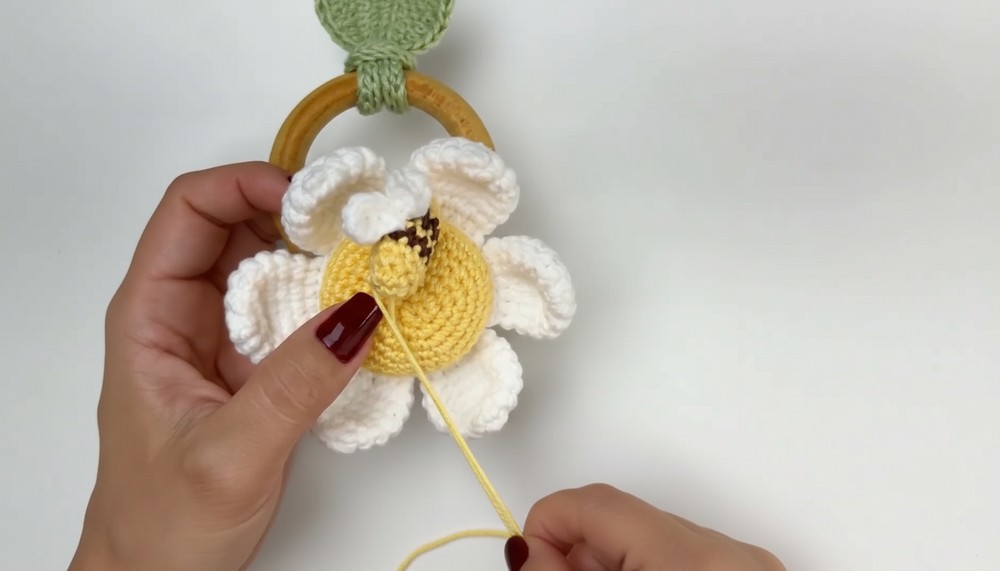
Joining Bee, Flower, Leaves, and Rattle
- Sew flower to the ring:
- Take yellow yarn and sew through the back of the flower center onto the ring, making several firm passes.
- Knot and hide ends inside the flower.
- Attach leaves:
- Fold the leaf strip in half and loop or stitch it onto the ring beside or beneath the flower.
- Attach bee:
- Using yellow yarn, sew or tie the bee at the top center of the flower, catching just a few stitches of both so it sits firmly.
- Knot at the back and weave in tails.
Conclusion & Finishing
- Weave in all loose ends.
- Adjust petals and leaves into a pleasing shape.
- Ensure all parts are very securely attached, especially if gifting to a child.
Pattern Corrections & Tips
Pattern Correction:
- For leaves: The narration refers to slip stitches; remember this forms the straight “stem” between leaves.
- For petals: After decreasing to 12, fold in half, and join with sc, not whipstitch—this gives more structure.
Tip:
- Keep stitches tight for a more defined amigurumi shape.
- Use a stitch marker to keep track of the start of each round.
- Safety: If this is for a baby, ensure the rattle insert is safe and all pieces are exceptionally well-attached to prevent any choking hazards.
- For an elegant finish, block your petals gently to lay smoother before assembly.