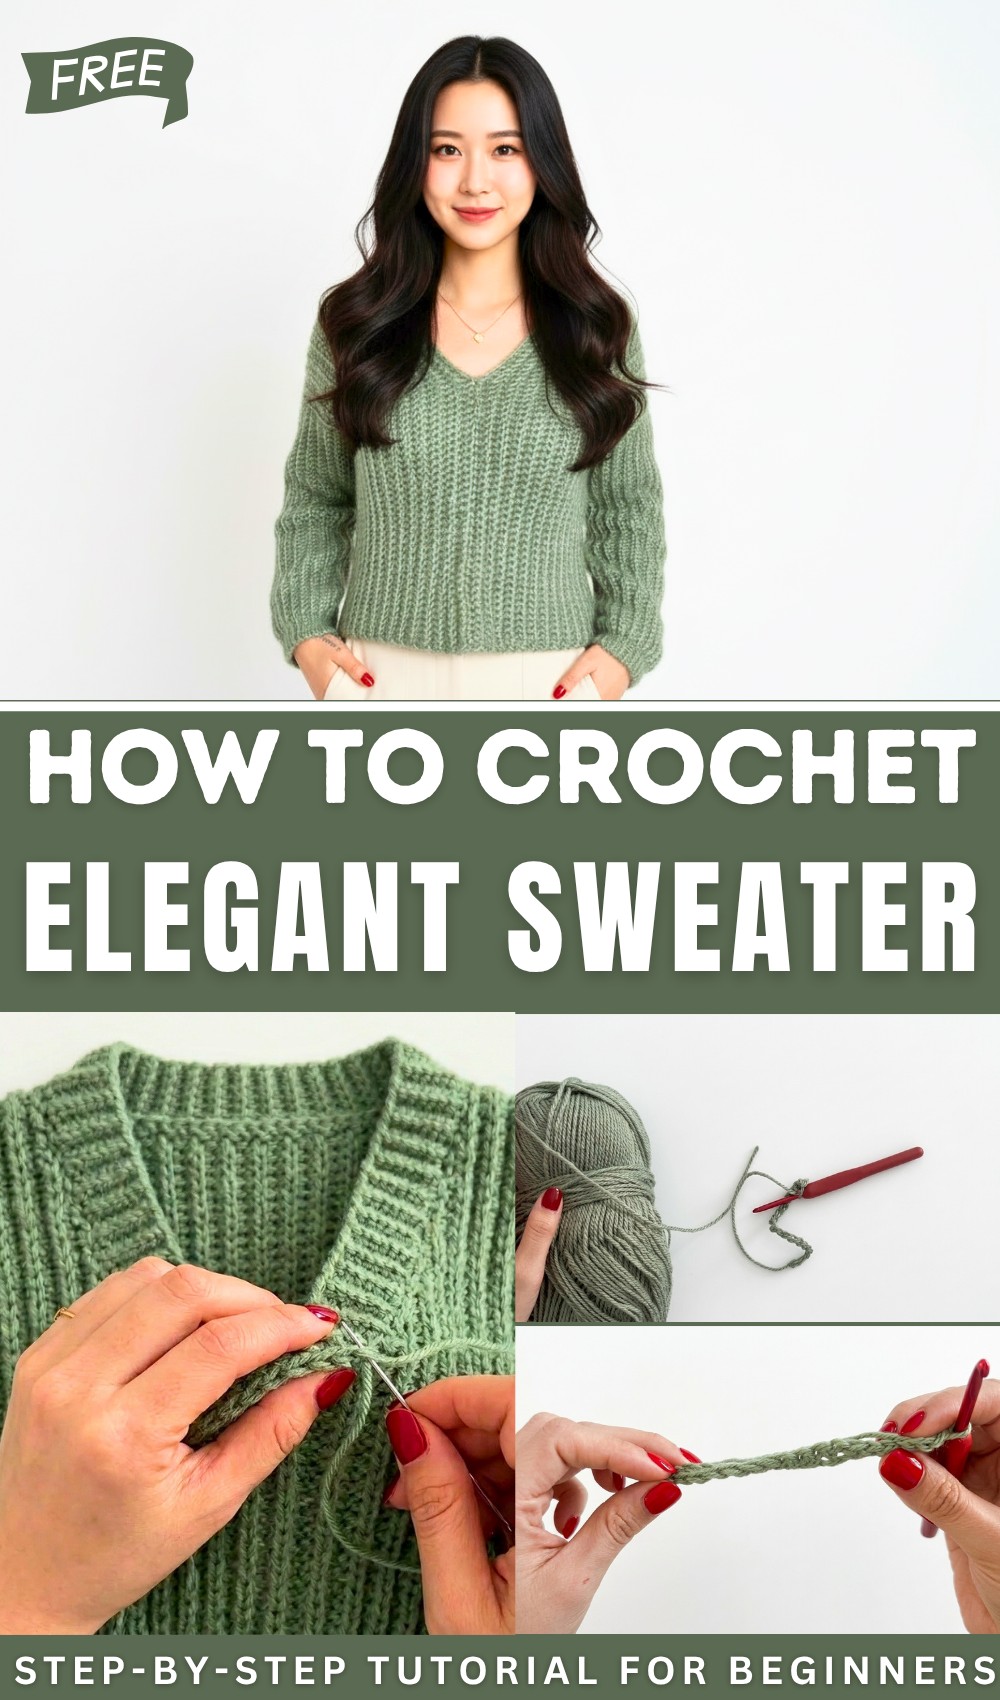
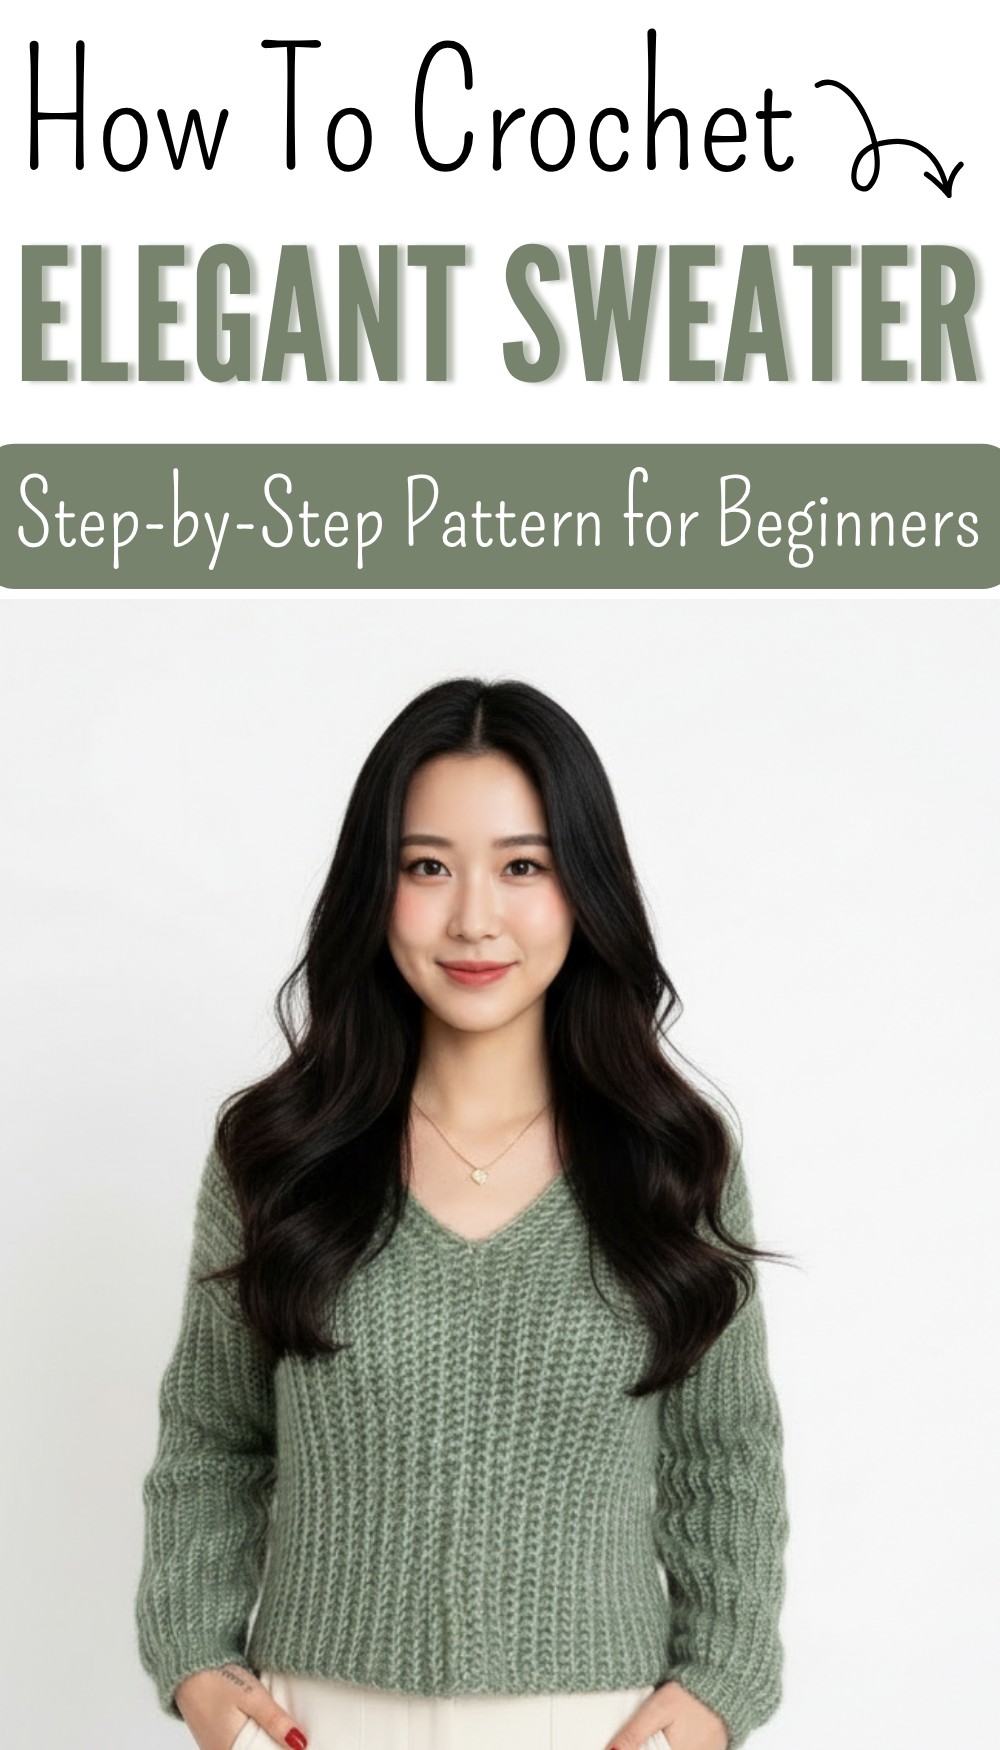
Free Crochet Sweater Pattern with Unique Textures

Stitch a cozy Crochet sweater Pattern and enjoy playful textures and custom fits while you relax with yarn and hook and turn simple rows into wearable charm.
Turning yarn into a sweater can feel like sculpting warmth with your fingertips. A crochet sweater offers endless opportunities to combine practicality with personality, it’s wearable art with a purpose. Shaping stitches into something cozy allows for playful experimentation, whether it’s bold stripes, textured cables, or soft pops of color. Chunky yarns can keep things snug for winter, while lighter threads breathe life into airy, seasonal layers.
Free Crochet Sweater Pattern You’ll Love Wearing
Oversized sleeves or decorative accents, such as tassels or wooden buttons, make every detail personal. While creating a sweater requires patience and focus, the satisfaction of wrapping yourself in something uniquely yours is unmatched. It’s a tangible expression of skill, care, and style—all in the form of a wardrobe statement piece.

Easy & Elegant Crochet Sweater Pattern
Materials
- Yarn:
- Approx. 5 skeins of yarn (50g, 170m per skein).
- For different sizes, adjust the quantity of yarn as necessary.
- Choose an elegant yarn with texture or sheen for the best results. Example: a metallic sheen yarn with a soft fuzzy texture.
- Crochet Hook: 5mm (US H/8).
- Scissors.
- Yarn Needle (for sewing seams and weaving in ends).
- Stitch Markers.
- Measuring Tape (to determine your size and preferred lengths).
Skill Level
Beginner to Intermediate. This pattern is beginner-friendly and uses a timeless ribbed single crochet texture.
Key Abbreviations (US Terminology)
| Abbreviation | Meaning |
|---|---|
| ch | Chain |
| sc | Single Crochet |
| sl st | Slip Stitch |
| st(s) | Stitch(es) |
| blo | Back Loop Only |
| rep | Repeat |
| rnd | Round |
Special Notes
Sweater Construction:
- Made up of four rectangles: two for the body (front and back) and two for the sleeves.
- No shaping is required—structure is created by seaming the rectangles together.
- Front and back rectangles are folded at the shoulders, leaving a V-neck.
- Sleeves are attached to the body and sewn at the sides and underarms to finish.
- For customizations, adjust the length and width of each rectangle as desired.
Texture: The elastic ribbed texture is created by working single crochet in the back loop only (sc-blo).
Pattern Instructions
Step 1: Body Rectangles
- Measurements for Body Rectangles:
- Length (Width when folded): 100 cm (approx. 39.5″).
- Height (Body length): 18 cm (approx. 7″).
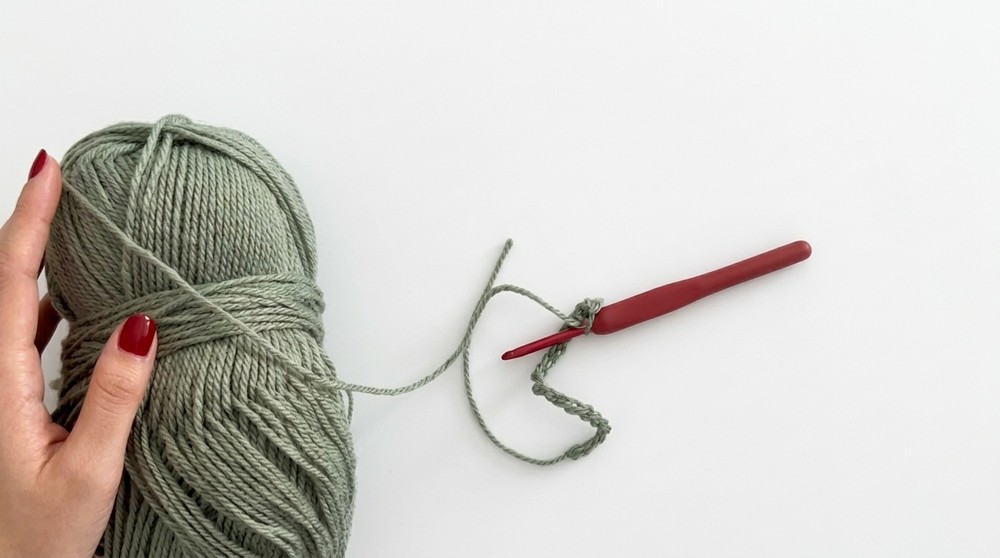
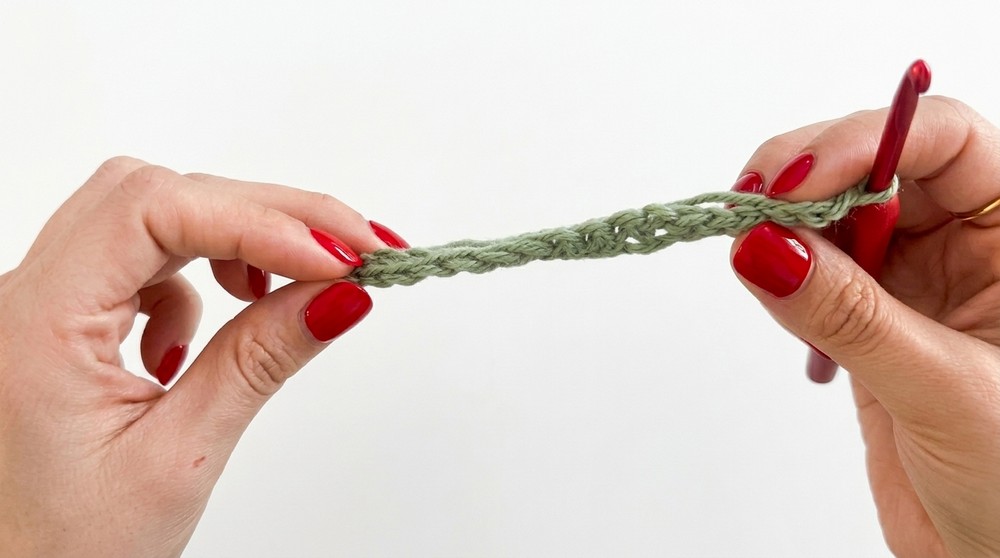
- Foundation Chain:
- Chain 120 ch for 100cm width.
- Adjust the number of chains depending on your measurement. Adjustments can be made in increments of 1 ch = approx. 0.83cm (0.33″).
- Row 1:
- Starting in the 2nd chain from hook, sc across. (119 sts). Tip: Place a stitch marker in the first sc of the row to easily identify it later.
- Ch 1, turn.
- Row 2:
- Sc in back loop only (blo) across. This creates the characteristic ribbed texture of the sweater.
- Ch 1, turn.
- Repeat Row 2:
- Continue working rows of sc-blo until the rectangle measures 18 cm (approx. 25 rows for this size).
- Complete Second Rectangle:
- Rep Steps 1–5 to create a second identical rectangle for the back or front.
Step 2: Sleeves
- Measurements for Sleeves:
- Width (Arm circumference): 53 ch = 42 cm (approx. 16.5″).
- Length (Cuff-to-shoulder): 28 cm (approx. 11″) = 44 rows.
- Foundation Chain:
- Chain 53 ch for the width of the sleeve. Adjust for size as necessary.
- Row 1:
- Starting in the 2nd chain from the hook, sc across. (52 sts).
- Ch 1, turn.
- Row 2:
- Work sc-blo across, but for the last 6 stitches, work sl st into the back loop (sl st-blo).
- This creates a slightly more elastic and decorative cuff edge.
- Ch 1, turn.
- Work sc-blo across, but for the last 6 stitches, work sl st into the back loop (sl st-blo).
- Row 3:
- Begin with sl st-blo in the first 6 sts, then continue with sc-blo across.
- Ch 1, turn.
- Repeat Row 3:
- Continue working rows of sc-blo with slip stitch cuff edge until the rectangle measures 28 cm (approx. 44 rows).
Tip: Use stitch markers to mark the first slip stitch in each row to avoid confusion.
- Complete Second Sleeve Rectangle:
- Rep Steps 1–6 to create a second identical sleeve rectangle.
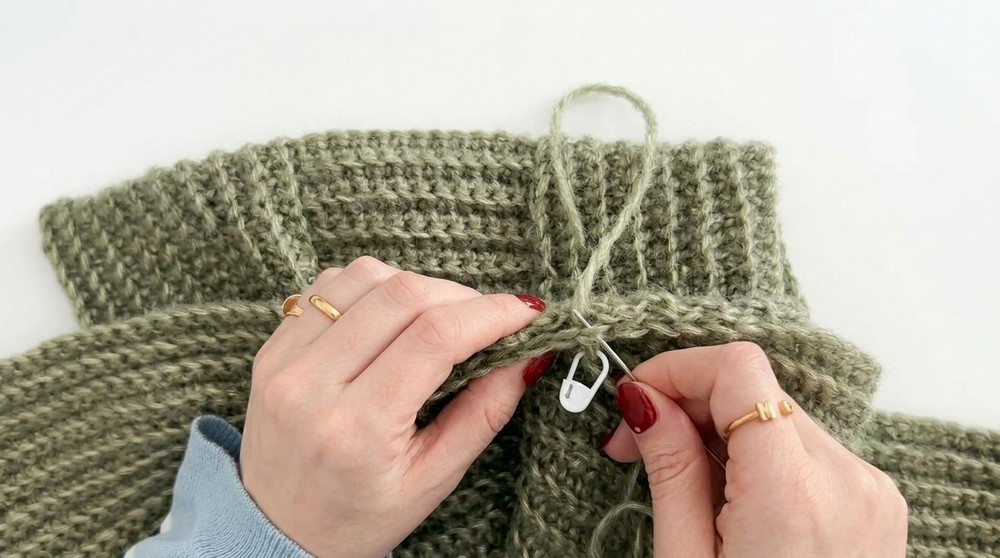
Step 3: Assembling the Sweater
Join Body Rectangles:
- Lay front and back rectangles flat. Align the edges at shoulders (short sides), leaving the center open for the neck.
- Seam the shoulders:
- Measure and sew 34 stitches per side, starting from the edge using a yarn needle. Use an inner loop seam for a neat finish.
Attach Sleeves:
- Fold each sleeve rectangle in half to find the center. Place the center of the sleeve at the shoulder seam of the body.
- Pin in place using stitch markers. Seam the sleeve using the same technique as shoulder seams.
Seam the Sides:
- Fold the sweater in half with the right sides together.
- Sew from the sleeve cuff down to the underarm and then continue down the side of the body to the bottom hem.
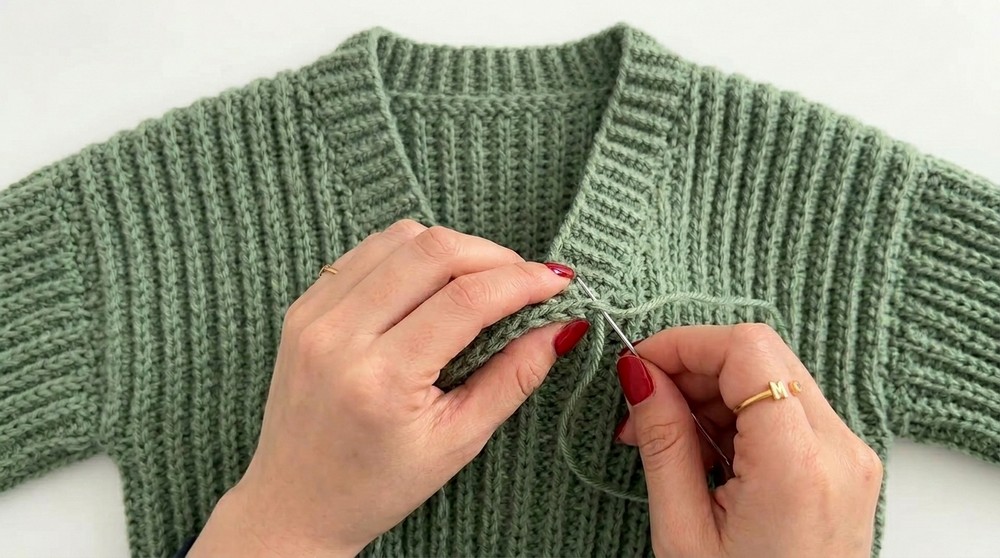
Step 4: Finishing the Cuffs and Necks
Optional Cuffs:
- For a clean/elastic edge:
- Work 1 rnd of sl st-blo around each wrist opening.
Neckline Finishing:
- For added detail: Optionally work sc-blo around the neckline to create a ribbed edge.
Final Words and Tips
Conclusion:
This simple crochet sweater offers a minimalist design with elegant texture. Its construction from flat rectangles makes it ideal for beginners, while its cleanly stitched edges and ribbed neck and cuffs provide a professional finish. Customize the fit and style by experimenting with yarn types, colors, and rectangle dimensions.
Tips for Success:
- Check Gauge: Ensure consistent tension to maintain rectangle dimensions.
- Use Stitch Markers: Mark critical points like the center of the neck and sleeve placement.
- Yarn Substitution: Use a high-quality DK or light worsted weight yarn with a natural elasticity for the best results. Avoid overly stiff yarns for better drape.