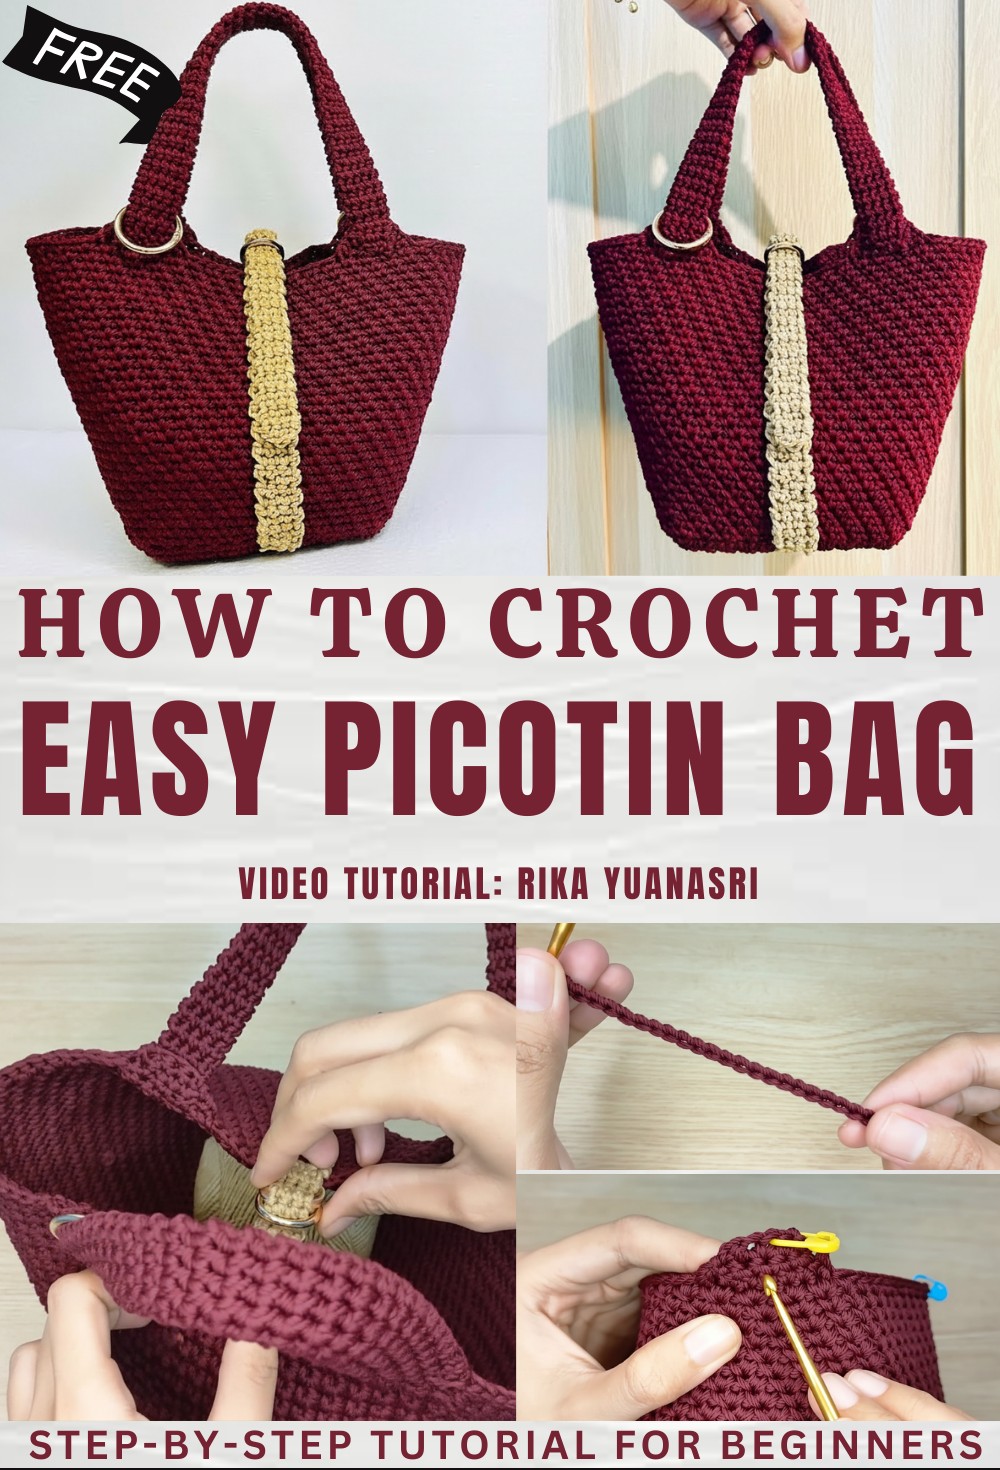
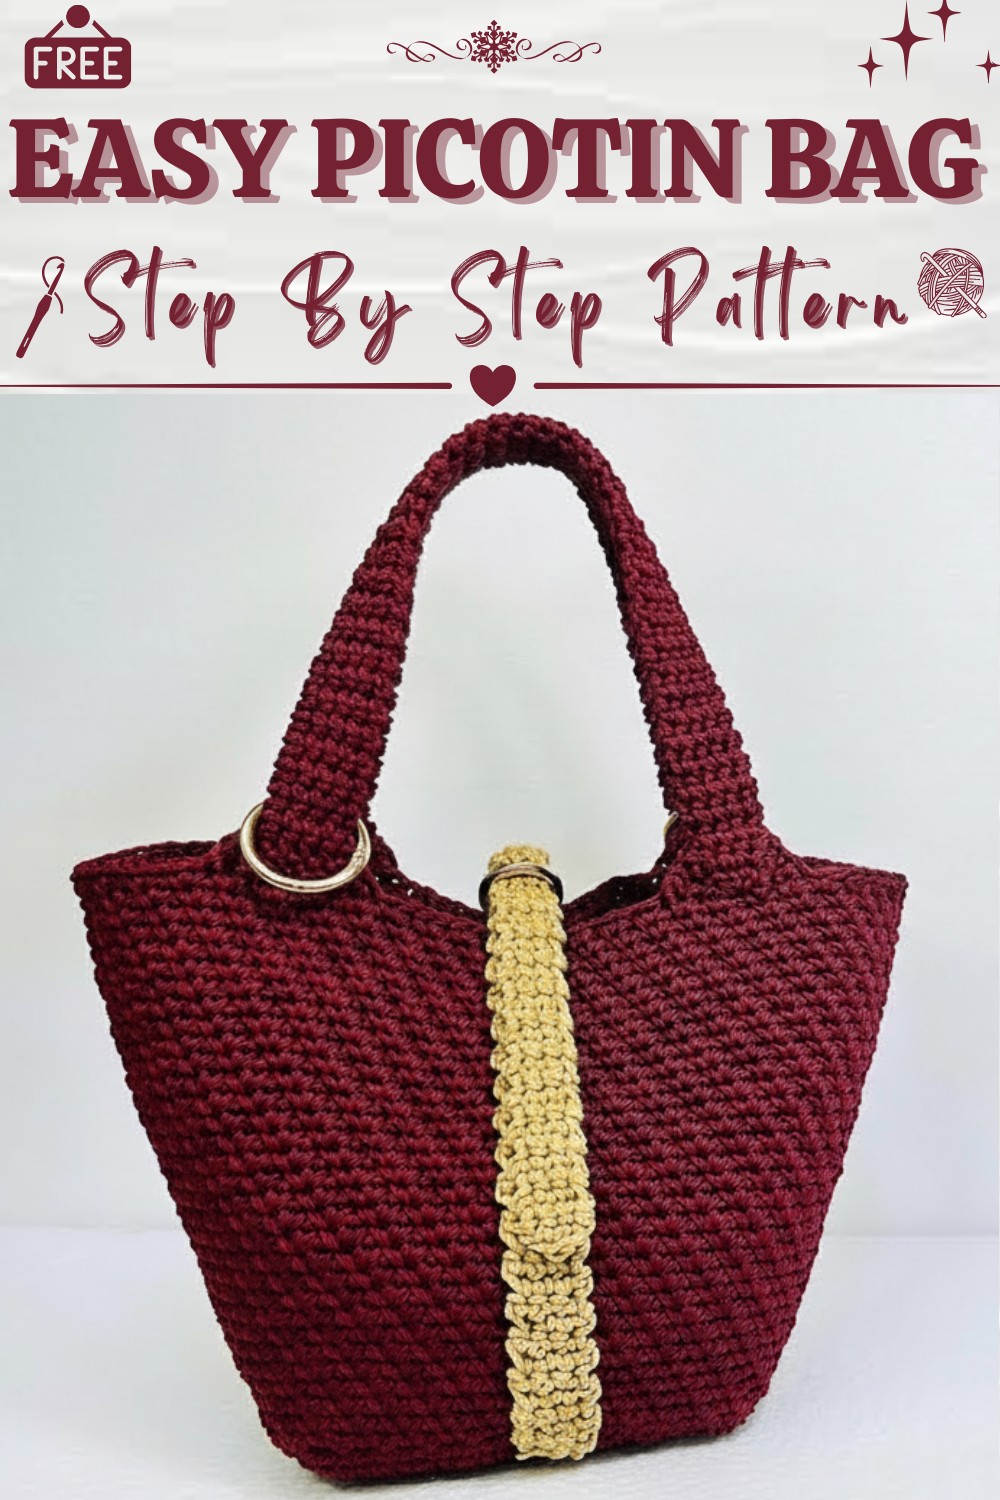
Practical Crochet Picotin Bag Pattern That’s Always in Style
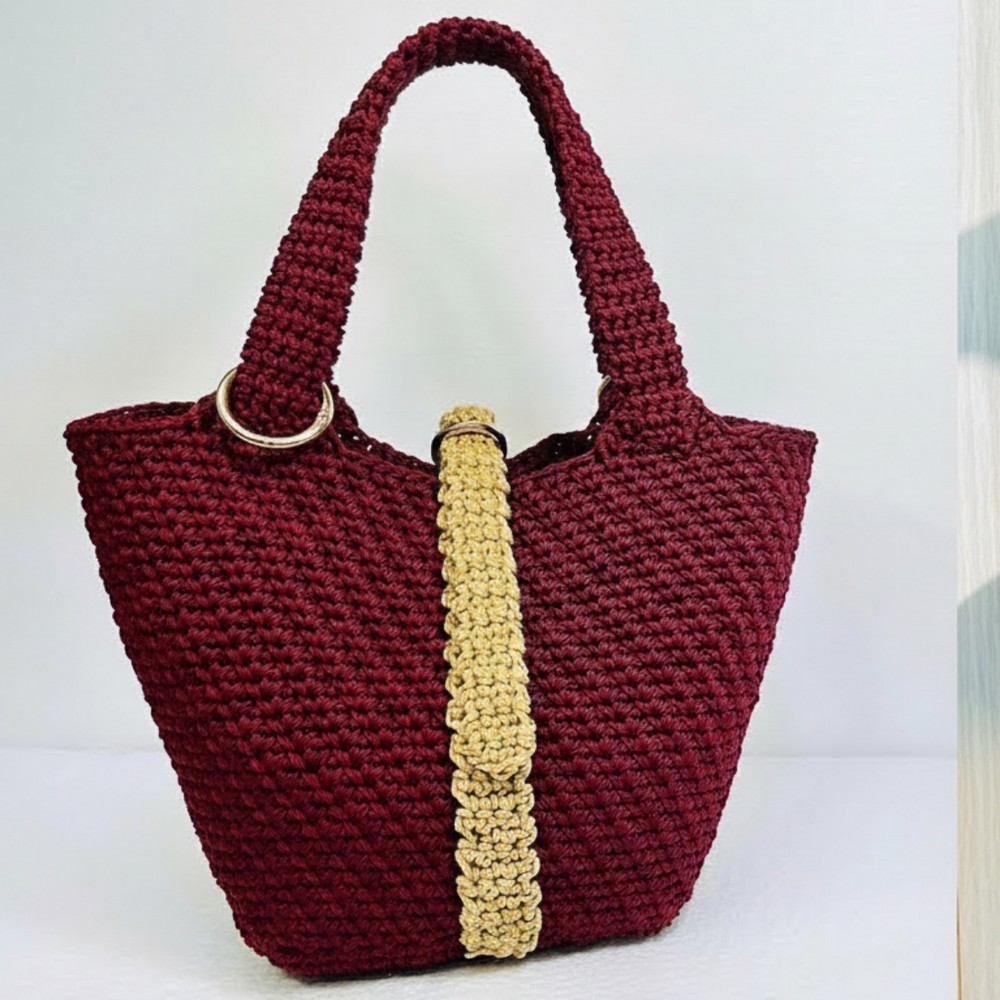
Have you ever wondered what it feels like to carry a bag that’s not just useful but also a stunning piece of art? The Picotin bag, created with the beauty of crochet patterns, offers exactly this. It showcases a blend of elegance and practicality, forming a boxy yet soft structure that’s both charming and versatile. Ideal for daily errands, casual meet-ups, or even special events, this bag can comfortably hold essentials like your wallet, phone, and more.
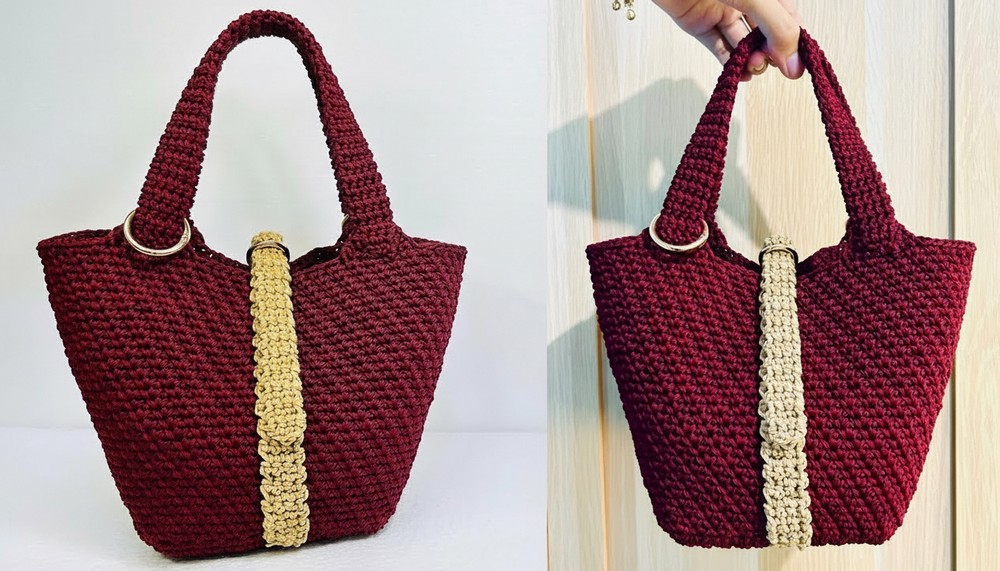
Minimalist Crochet Picotin Bag to Keep It Simple
What makes the Picotin bag truly stand out is its open-top design and gentle curves, often paired with convenient handles or straps. The handcrafted nature of the bag adds a personal touch, highlighting the skill and artistry behind each stitch. Whether you prefer bold colors or subtle hues, you can customize your Picotin bag to match your style, making it a delightful and personal accessory that’s perfect for any occasion.
Materials Needed
- Yarn: Onit Political Yarn or Red Heart Thread (you can choose a similar medium-weight yarn):
- Size D30 with a weight of 100 grams and length approximately 140 meters.
- Primary and contrasting colors can be personalized.
- Crochet Hook:
- Recommended sizes 5 mm and 6 mm (Tulip brand).
- D-Rings: Two (gold or other colors based on preference).
- Round Rings: These allow the bag to convert to a sling bag or tote bag.
- Scissors: For trimming excess yarn.
- Tapestry Needle: For weaving in loose ends and sewing closures/handles.
- Markers: Used for positioning handles and motif alignment.
- Inner Fabric (Optional): To neaten the bag interior.
Special Techniques
- Slip Knot: For chain creation at the start.
- Single Crochet (SC): Yarn over, insert the hook, YO again, pull through the loop, YO again, and pull through both loops.
- Foundation Increase: Filling the edge holes of the base with multiple SCs to allow the shape to curve.
- Alternating SC Motif: Used in decorative rows to give a textured finish.
- Slip Stitch: For joining rows and finishing neat ends.
- Sewing with Tapestry Needle: Seamlessly attaching D-rings, round rings, and closures.
Pattern Instructions
Step 1: Foundation Base
- Start with a slip knot and create 30 chains.
- Adjust the length to your preference, ensuring the chain count remains a multiple of two.
- Add 1 chain at the end (total: 31 chains).
- Begin working Single Crochet (SC):
- Insert the hook into the second chain from the hook, and create 1 SC.
- Continue creating SC stitches across the entire chain row.
- At the end of each row, chain 1 to turn your work.
- Repeat SC stitches back and forth for 20 rows.
- This forms the rectangular base of your bag.
Step 2: Building the First Foundation
- Work foundation increases at the base edges:
- In each edge hole, work 2 SC stitches to create smooth corners.
- Work 1 SC into each hole along the longer sides of the rectangle.
- Continue filling each hole with SC stitches until you return to the starting edge.
- Join with a slip stitch to finish the first foundation round.
Ensure that the stitch count is an even multiple of two before proceeding. Example: The transcription confirms 100 SC stitches evenly divisible by two.
Step 3: Second Foundation Row
- For the second foundation, work 1 SC into every hole around the bag base without increasing.
- At the edges, continue working 1 SC without increments to maintain evenness.
- Join the row with a slip stitch at the starting edge.
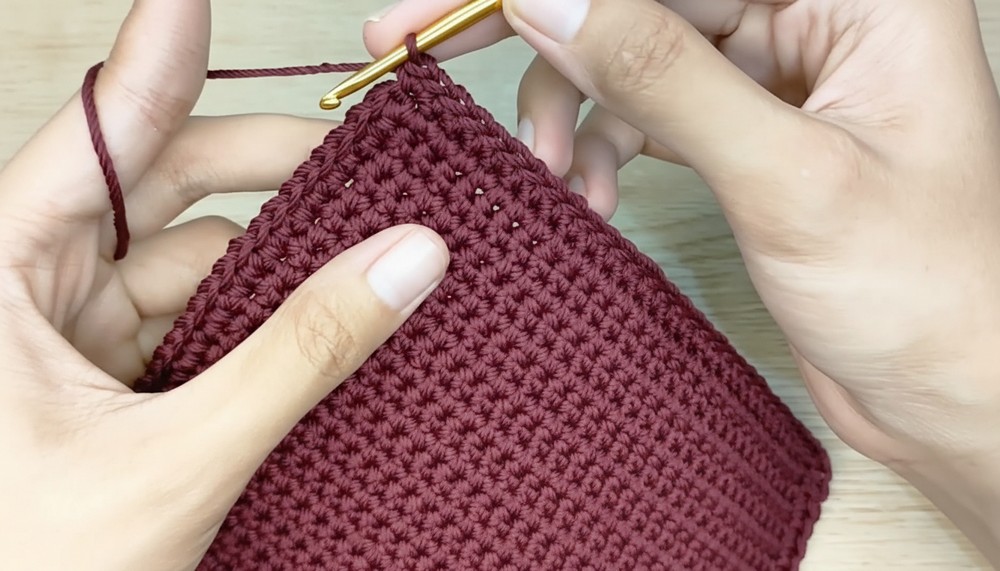
Step 4: Alternating SC Motif
- Begin working the alternating motif:
- Skip 1 hole, then work 2 SC stitches into the next hole.
- Repeat: Skip 1 hole, work 2 SC in the next hole.
- Continue the motif stitches around the bag foundation.
- Join with slip stitch at the end of the row.
- For subsequent rows:
- Skip 1 hole and work 2 SC between the threads of the second SC stitch of the previous row (not the SC hole itself).
- Continue alternating motifs row by row until the preferred bag height is achieved.
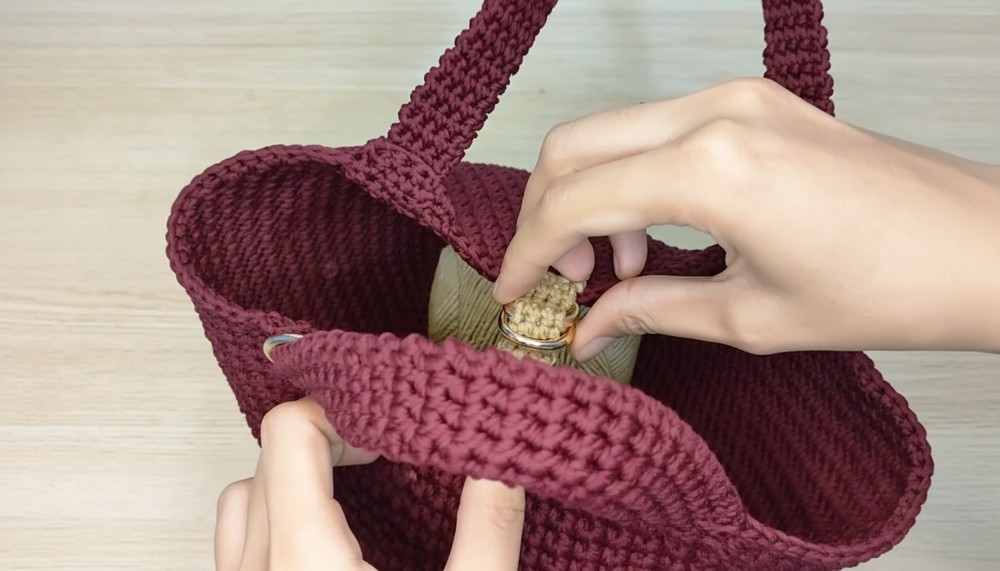
Step 5: D-Ring Placement
- Attach D-rings to the base of the bag for closure:
- Using a tapestry needle and yarn, sew small folded strips of SC stitches to secure D-rings on each side of the bag.
- Ensure the placement of D-rings is symmetrical to optimize functionality.
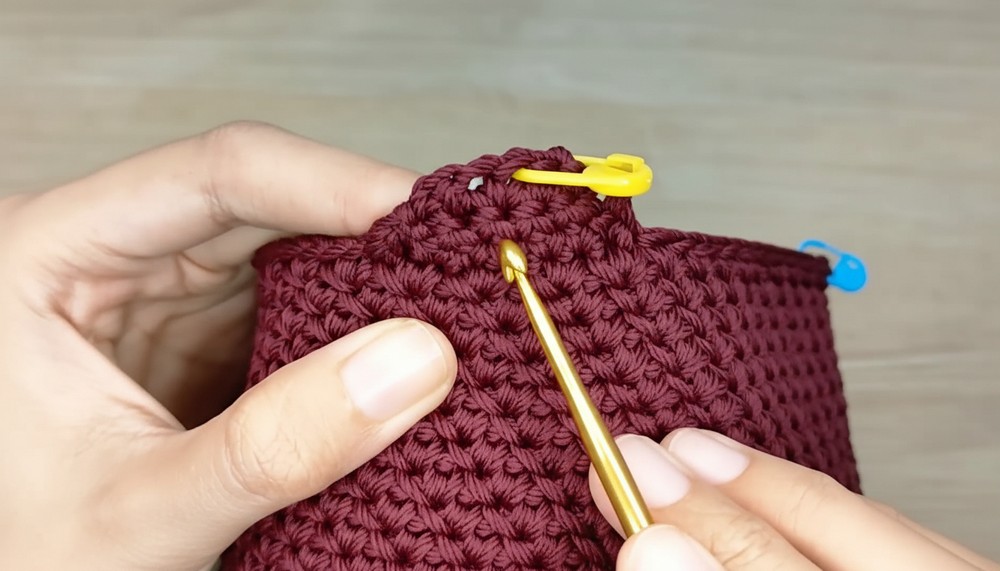
Step 6: Handle Placement
- Mark positions for handles:
- Measure 25 SC from each corner base edge and place markers for symmetry on yellow, green, blue, and red markers as described in transcription.
- The center SC position between markers should be used for sewing handles.
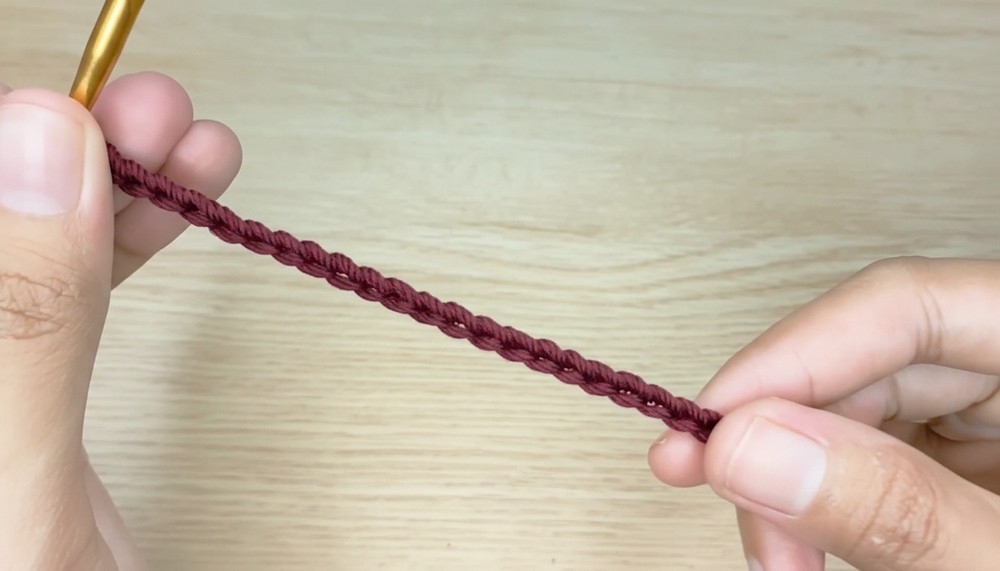
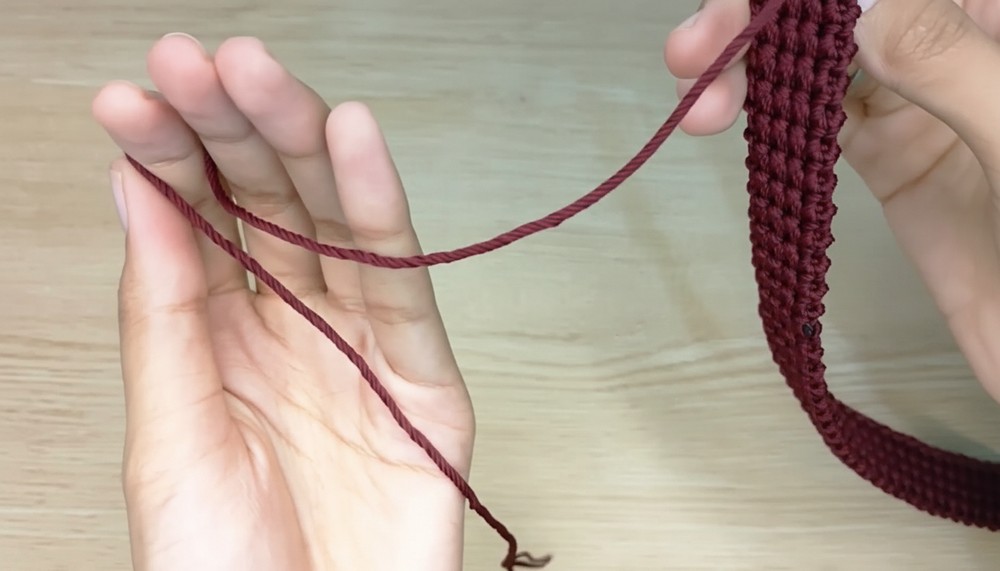
- To create handles:
- With yarn, work alternating SC stitches back and forth:
- Enter the front loop and bottom loop simultaneously for added sturdiness.
- Continue making SC rows until the handle reaches a total length of 40 rows.
- Leave long yarn tails for sewing.
- With yarn, work alternating SC stitches back and forth:
- Sew handles securely into place at the marker positions:
- Align handles along the width of the base and ensure symmetry.
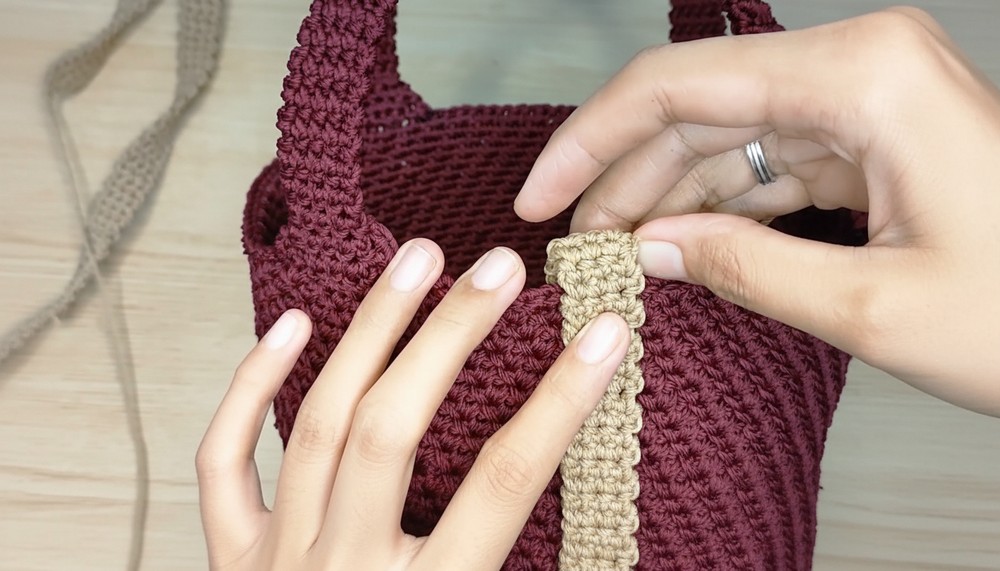
Step 7: Final Details and Locks
- For the closure mechanism:
- Create longer and shorter flap pieces using SC stitches (short flap approx. 20 cm, long flap approx. 34 cm).
- Attach the shorter flap by folding inward to secure the D-ring.
- Sew the longer flap outward parallel to the bag base width while ensuring alignment.
Step 8: Optional Accessories
- Add round rings to handles:
- Use for convertible sling bag functionality.
- Attach an inner lining:
- Sew the lining to fit snugly inside the bag body, either around the lip of the bag or using drawstring-style linings.
Finishing the Bag
- Weave in all loose thread ends with a tapestry needle.
- Inspect the bag for symmetry and edge alignment.
- Test the D-ring closure and adjust flaps if needed.
Final Words
Congratulations! Your racut bag is complete. This versatile accessory is customizable for various purposes: handbag, tote bag, sling bag, or backpack. The thoughtful addition of handles, closures, and flaps ensures that the bag remains functional, durable, and visually appealing.
Tips for Success
- Symmetry:
- Double-check stitch counts and placements to maintain balance between handle and flap positions.
- Tension:
- Keep your yarn tension consistent to avoid uneven motifs.
- Inner Lining:
- Adding a lining ensures the bag maintains a clean interior finish, protecting its structure over time.
- Experiment with Colors:
- Switch colors creatively for motifs to enhance aesthetic appeal.