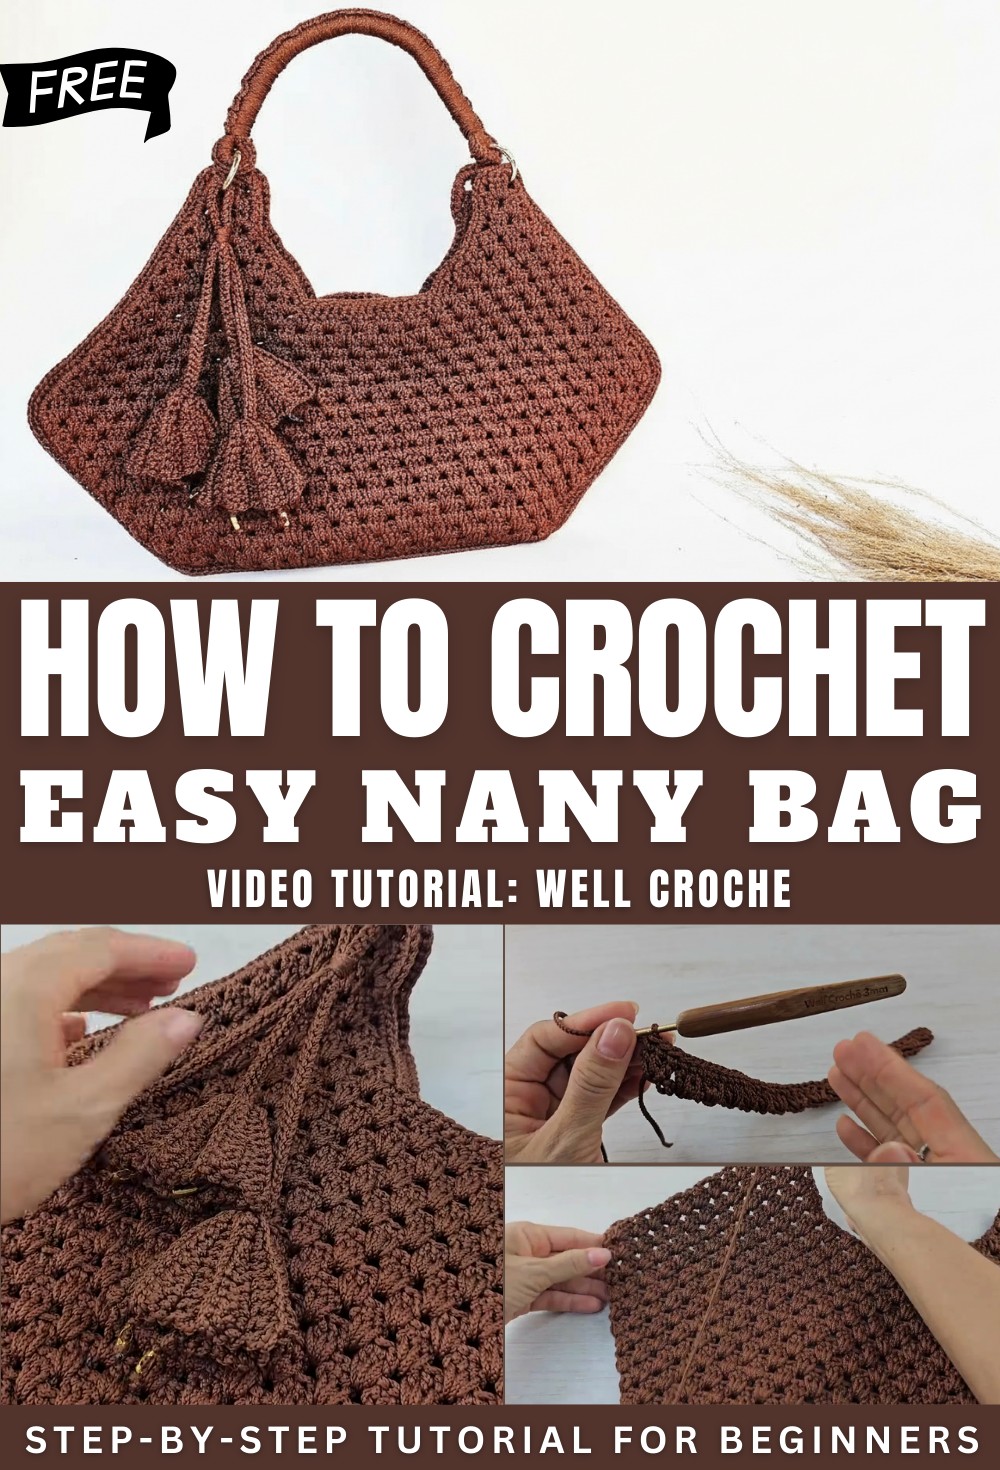
Fashionable Crochet Nany Bag Pattern That Completes Any Look
Carry charm everywhere with this Free Crochet Nany Bag Pattern for stylish convenience, cute details, and effortless everyday elegance.
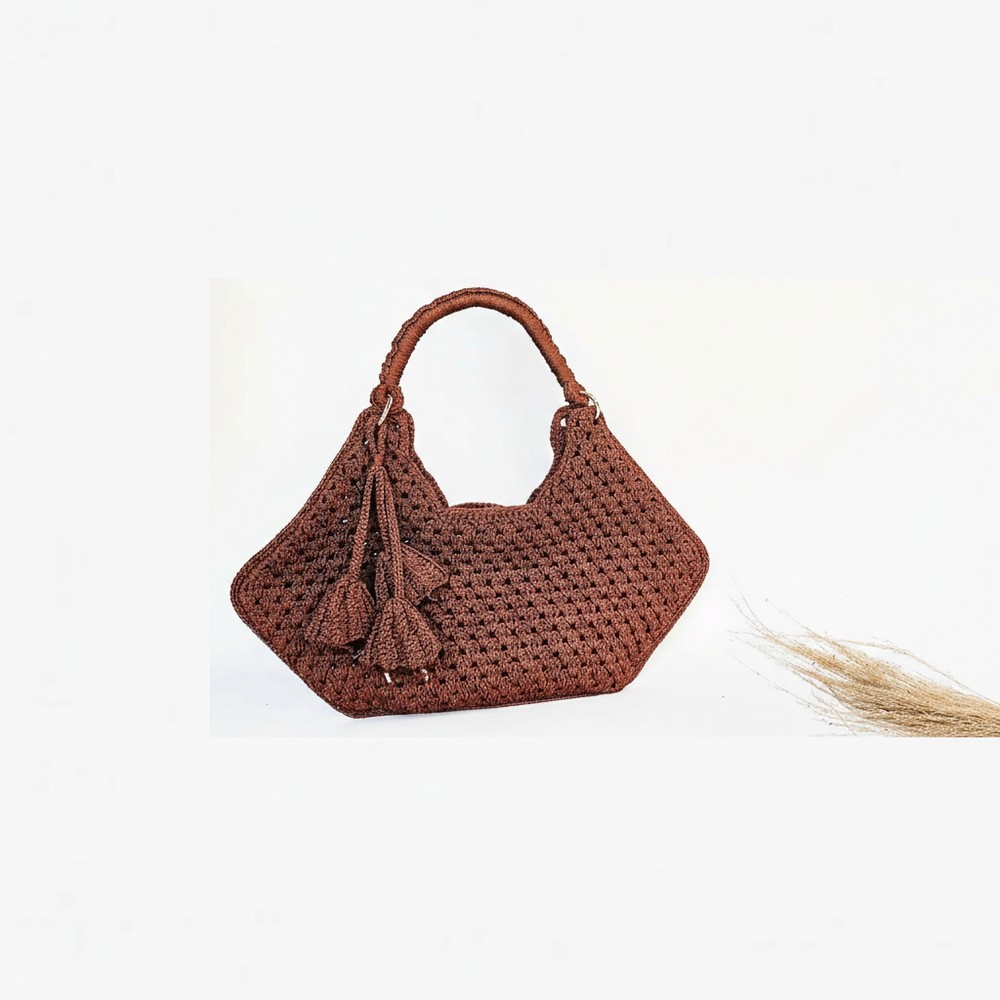
Chic Crochet Nany Bag Pattern You’ll Want to Carry Everywhere
Infuse your accessory collection with a blend of charm and functionality with the Crochet Nany Bag Pattern, designed for a stylish yet practical finished piece. Its intricate crochet detailing adds a unique texture and visual appeal, making it perfect for daily use or special occasions. Lightweight but sturdy, the bag comfortably holds essentials like your phone, wallet, keys, and small personal items, combining convenience with elegance.
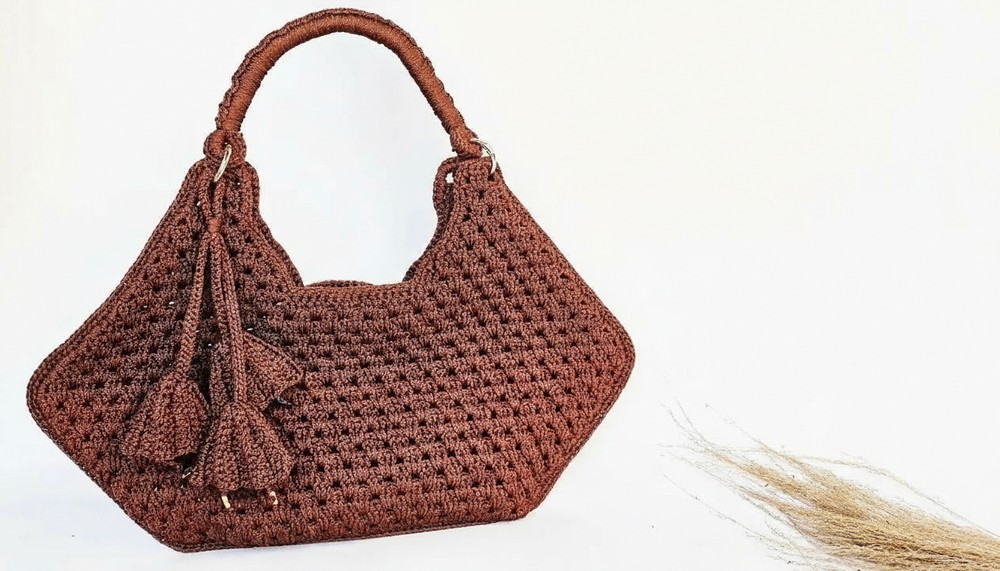
The pattern offers versatility, allowing for variations in color and stitch style to suit different tastes, from casual outings to sophisticated looks. Each stitch reflects attention to detail and artistry, resulting in a piece that is both functional and visually captivating. With its balanced size and durable design, this bag stands out as an accessory that complements any wardrobe while offering a subtle touch of individuality and charm.
Special Features
- Designer-inspired “it bag” look
- Super sturdy, using 2 mm 100% polyester yarn (wear-resistant, holds shape)
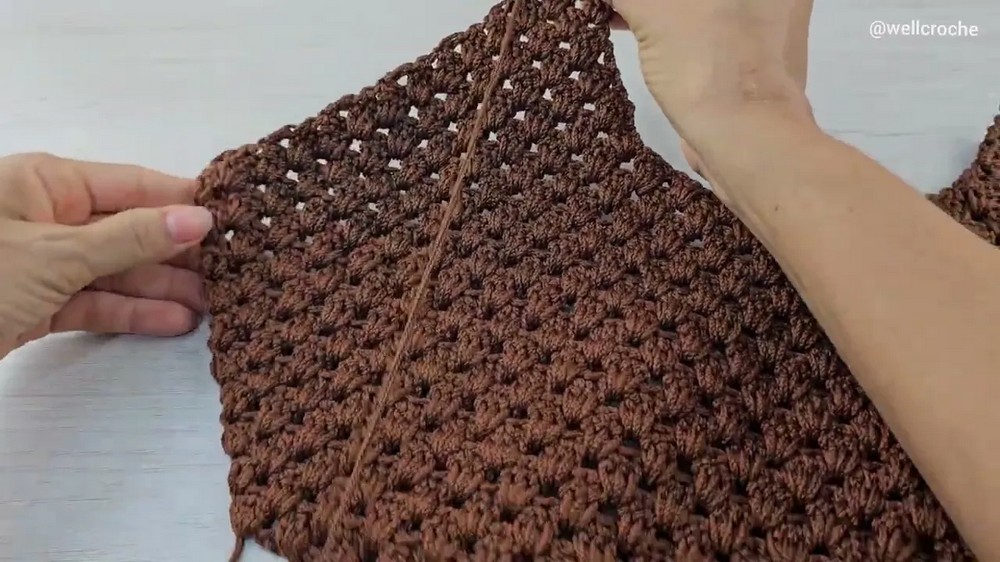
- Elongated double crochet for texture and dimension
- Dense, structured strap for secure and comfortable wear
- Removable decorative pendant, easily customized
- Use of hinged rings and “end cap” tricks for a professional finish
Level of Difficulty
Confident Beginner
If you’re comfortable with chains, basic stitches (especially elongated double crochet and single crochet), and working in rows, you can complete this project. A little experience with joining and finishing is helpful, but not required.
Tutor’s Suggestions
- For a perfect fabric: Always elongate your double crochets! It prevents the fabric from cinching and keeps your bag looking polished.
- Don’t skip blocking: Steam your finished pieces gently to help even out stitches and achieve the best shape.
- Make it uniquely yours: Add or reduce rows to adjust the shape, swap pendant colors, or use a statement clasp for a custom finish.
- Use a lighter to carefully heat-seal the polyester ends for extra durability.
Uses
- Everyday handbag
- Statement accessory for events
- Selling at craft fairs or giving as gifts
Materials
- 2 mm 100% polyester yarn (approx. 400g; 1 cone = 500g)
- 3 mm crochet hook
- Tapestry needle
- Scissors
- Lighter (for polyester ends)
- Measuring tape
- Stitch markers
- 2 hinged rings (3 cm wide)
- Optional: metallic end caps, button or snap for closure, decorative pendant hardware (as shown, or improvise with other jewelry parts)
Step-by-Step Pattern
Bag Body
Bottom Foundation
- Foundation chain: Chain 46 (keep the initial slipknot loose for finishing).
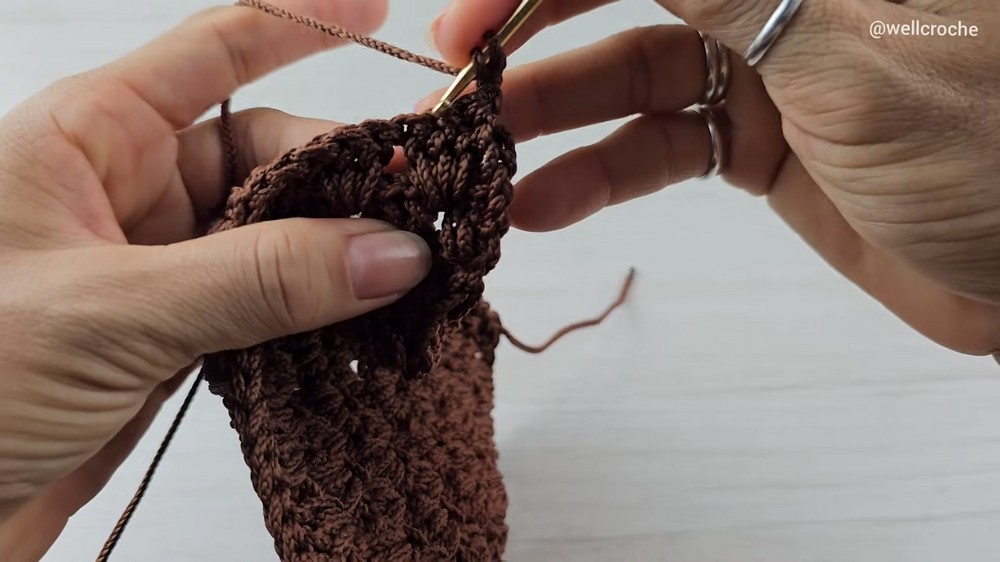
- Row 1:
- In the 4th chain from hook, work 3 elongated double crochets (dc) together in the same space (counts as block #1).
- Skip 2 chains, then 3 elongated dc together in the next chain, repeat until end. You’ll have 15 blocks.
- Do not chain between blocks.
Increase Rows
- Rows 2–11 (Increase rows):
- Turn, ch 3, 2 elongated dc in same base (to make 3 with ch-3), then in each space, 3 elongated dc.
- At the end, always finish the last block in the top of your turning chain.
- Each row adds one block (row 2: 16 blocks, row 3: 17…up to row 11: 24 blocks).
Decrease Rows
- Rows 12–17 (Decreases):
- Turn, ch 2, begin right away in the next space (no dc in base), 3 elongated dc in each space across.
- End row with 2 elongated dc in the last space, then half-finish a final dc in both chain and next block, close together.
- Continue for 6 rows, ending with 18 blocks, placing markers at 6th block on each end.
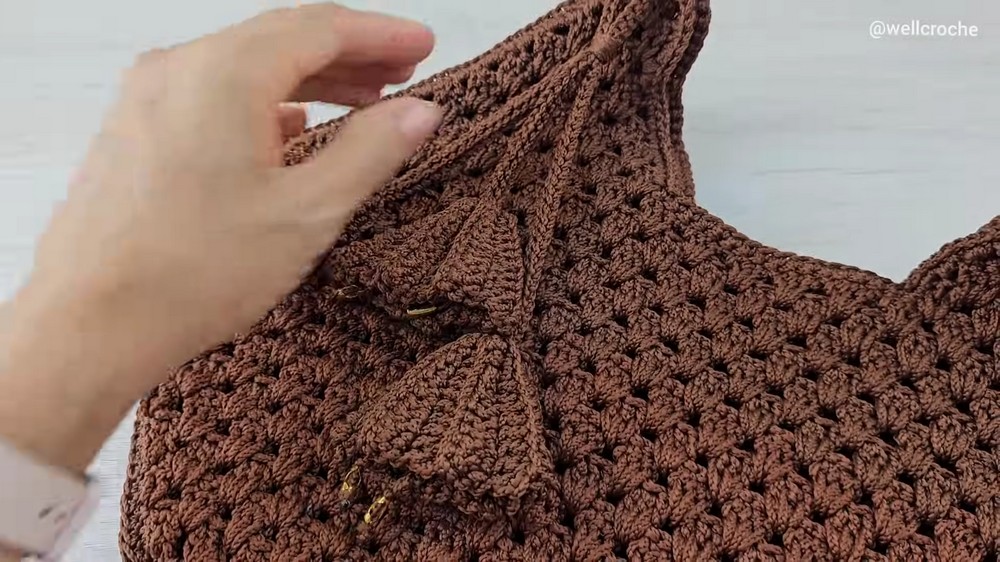
Handle/Notch Shaping
- Rows 18–23 (Dividing for handles):
- Continue decreases on each end, working from each outer marker toward the center as before, until you have only 2 blocks left at the top of each handle notch.
- On final rows, increase if the pattern indicates (follow as per the tutorial for a clean finish).
Second Side
- Make a second, identical piece from step 1 through step 23.
- Leave the last yarn end uncut for joining the halves.
Bag Assembly
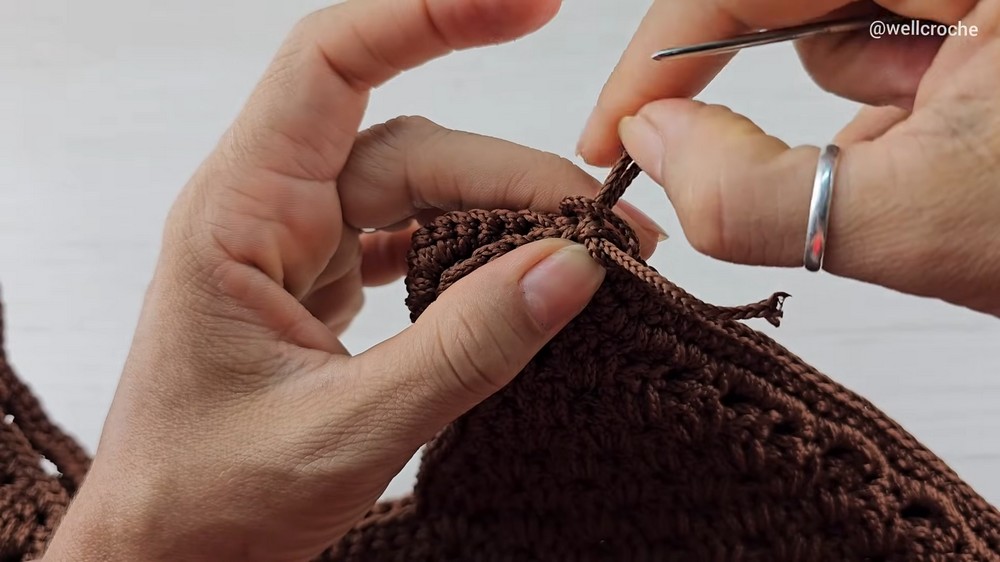
Seaming the Bag
- Lay both panels “wrong side” to “wrong side” (the single crochet border determines right/wrong side).
- Join with single crochet all the way around the outer edge, aligning stitch for stitch. Work 3 sc at each corner for a rounded look.
- Weave in all yarn tails; for polyester, seal with a lighter.
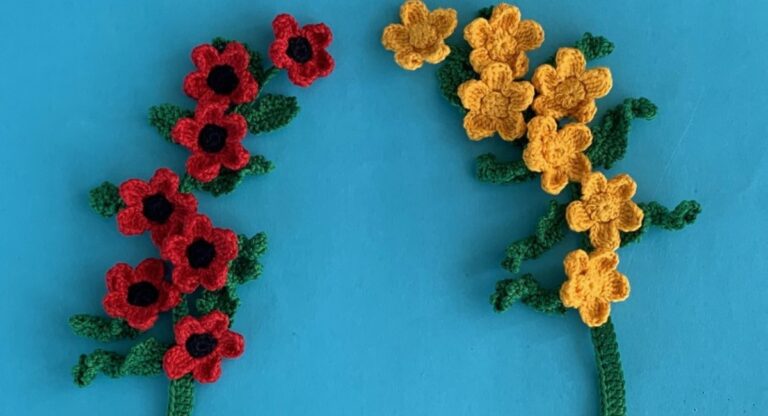
Pendant (Optional, but recommended!)
- Flower Motif (make 3 in varied colors):
- Ch 12. Work slip stitches, single crochet, half-dc, dc, treble, and elongated treble stitches as follows:
- In each chain: sl st 2x, sc 2x, hdc 3x, dc 3x, tr 2x
- In each row, always work in BACK LOOPS ONLY for ribbing effect.
- Turn, ch 3, repeat matching stitch heights: elongated tr into tr, tr into tr, etc.
- Work 11 rows total per motif.
- Ch 12. Work slip stitches, single crochet, half-dc, dc, treble, and elongated treble stitches as follows:
- Form each flower:
- With tapestry needle, sew row ends together to form a circle.
- Weave in ends and heat-seal if desired.
- Pendant Cord:
- Create a chain cord (90 chains for two flowers, 30 chains for third flower).
- Slip stitch back along cord (using back loop of each chain for structure).
- Attach flowers at staggered heights using tapestry needle and secure well.
- Attach Pendant:
- Secure pendant to bag ring using tapestry needle or included hardware.
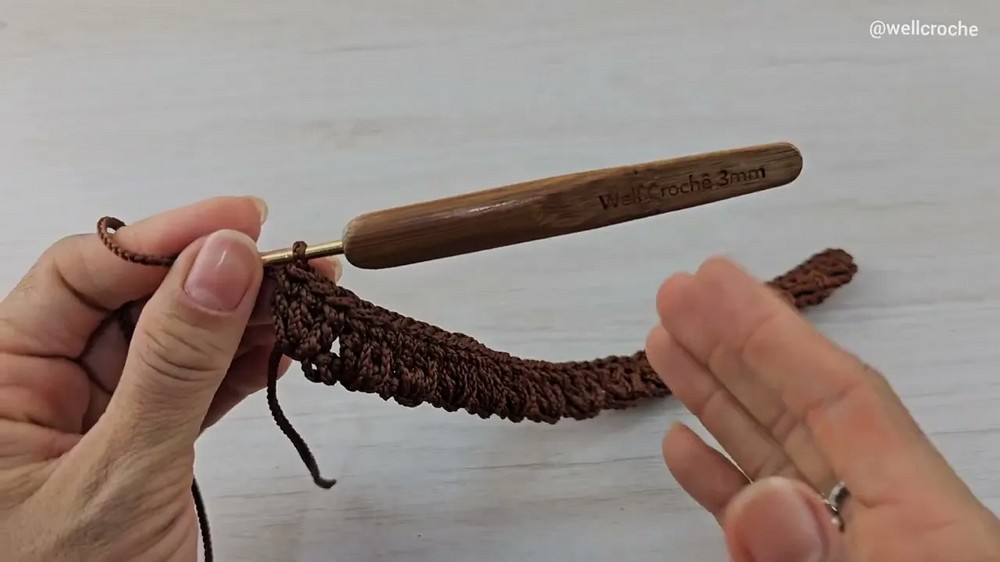
Strap
- Wrap 20 turns of yarn loosely around a 30 cm ruler or notebook. Mark the center and ends for alignment.
- At the center, insert your crochet hook and create single crochet stitches along the length (about 15 sc per side for strap ends).
- Once the centers are joined, continue adding sc tightly over both sides for the entire length (about 103 sc in sample) for a sturdy, rounded strap.
- Heat-seal yarn ends.
- Attach strap to bag using hinged rings.
Finishing Touches
- Steam-block panels before assembly for a polished result.
- Add a button or snap if desired for closure.
- Attach all hardware, burn remaining ends, and gently brush to remove excess lint.
Pro Tip
When working with metallic or gold hardware, apply a coat of clear nail polish before assembly. This helps prevent tarnishing and keeps your bag looking new for longer!
Conclusion
You’ve just created a stunning, durable, and fashionable handbag inspired by a famous designer for a fraction of the cost! Not only is this project fun and accessible for confident beginners, but it’s also endlessly customizable. Flaunt your bag, share your creation with friends—or whip up more for selling. Handmade really is the new luxury.