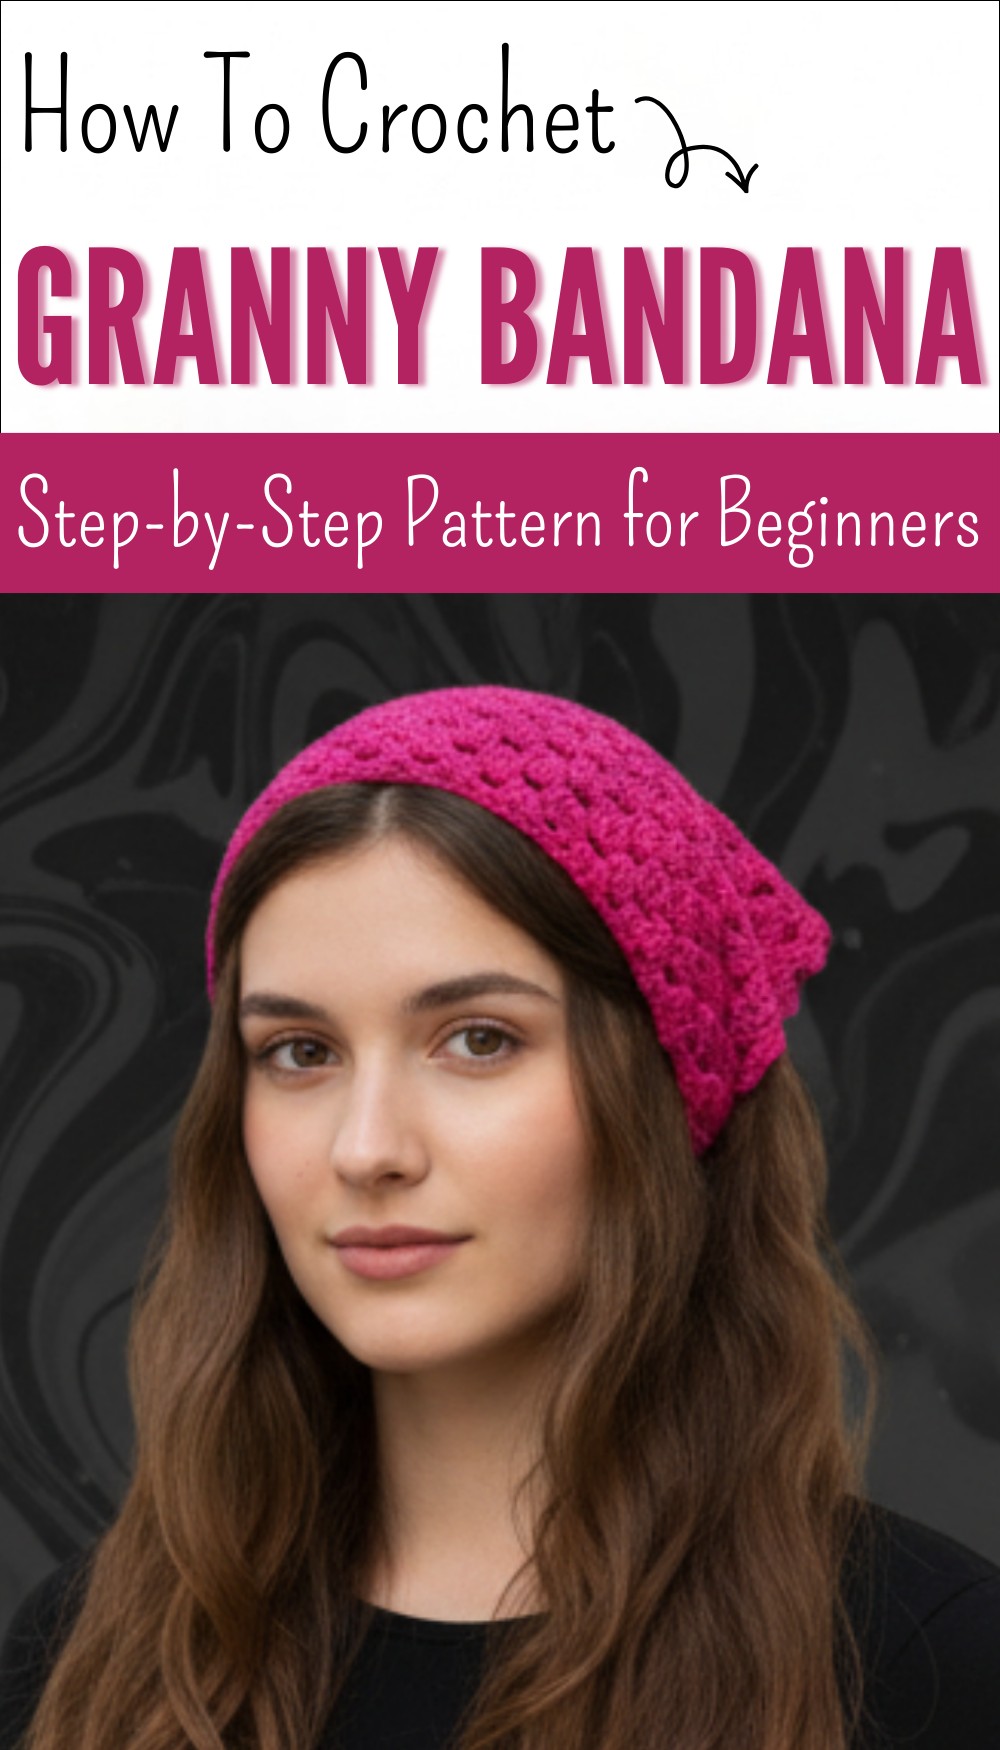
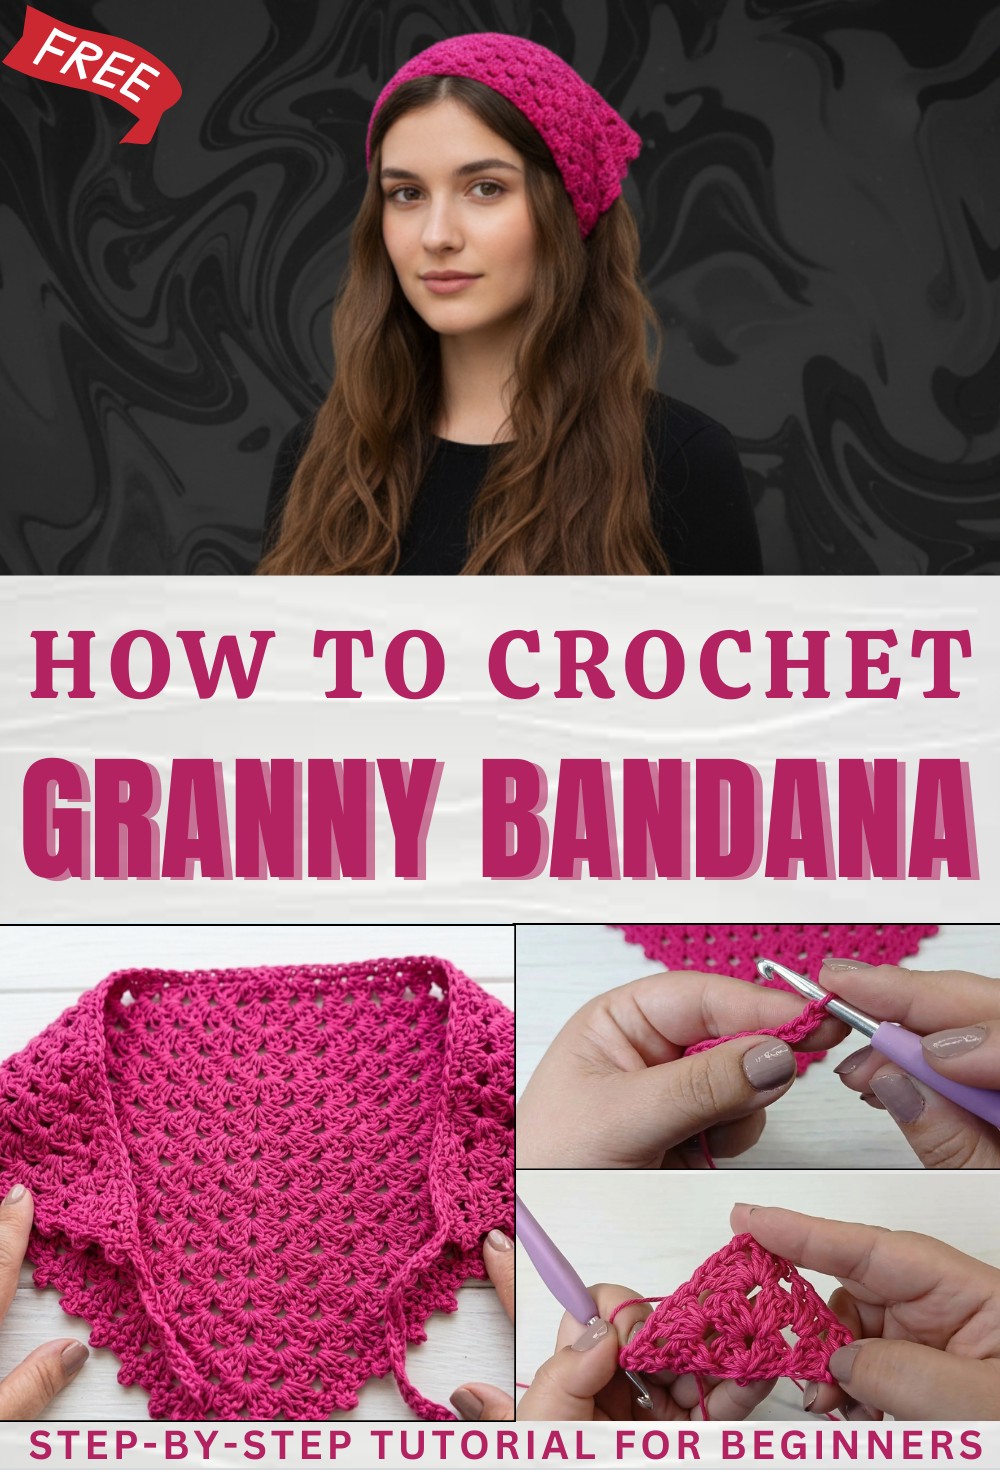
Free Crochet Granny Bandana Pattern For Hair & Style
Show your unique style with an easy Free Crochet Granny Bandana Pattern that adds color texture and charm to every outfit for any season.
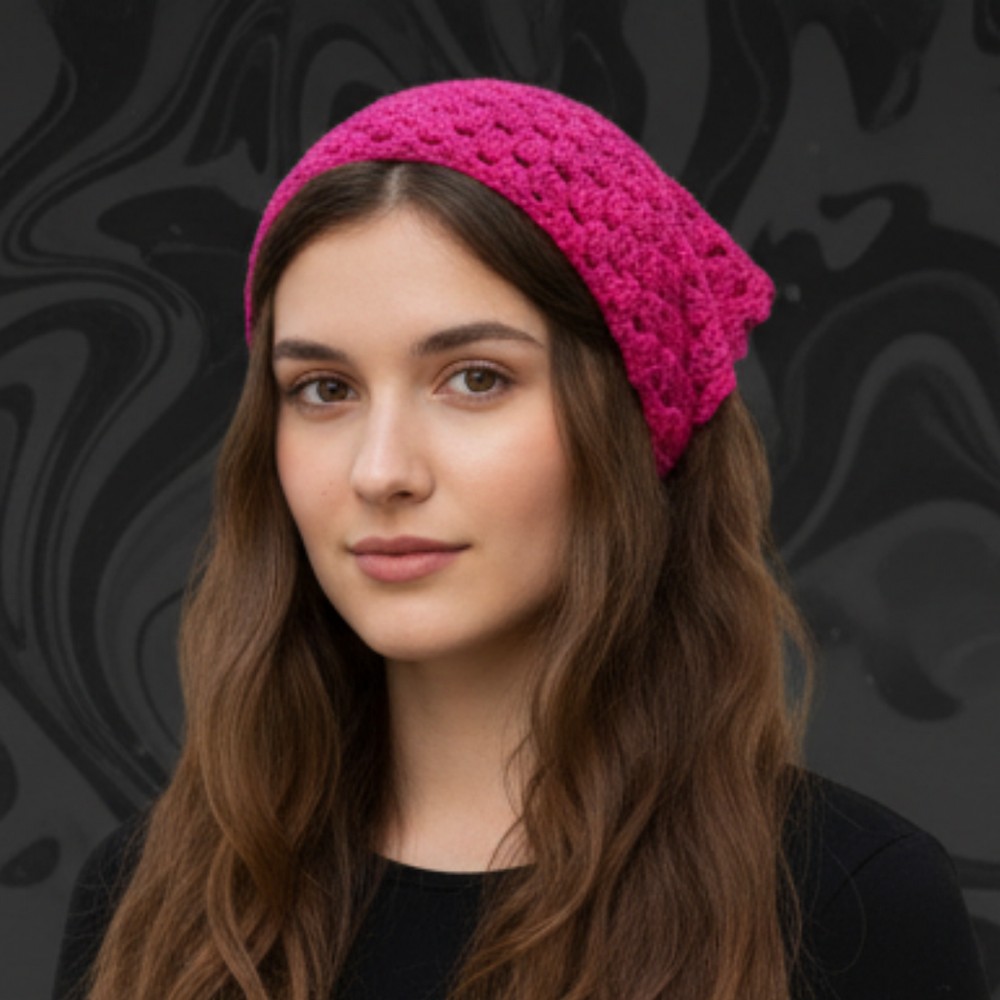
Simple designs can bring a special charm to any look and one colorful accessory can brighten both your day and your style. The crochet granny bandana pattern adds a splash of playful texture and warmth to your outfits making it perfect for everyday wear or even special gatherings. Its traditional granny stitch creates a unique, eye-catching look that stands out from ordinary hair wraps or headbands. Soft yarn hugs your head gently while the openwork keeps things light and breathable so you can feel comfortable all day long.
Stylish Free Crochet Granny Bandana Pattern for Boho Lovers
People enjoy this bandana because it is easy to wear with jeans dresses or even beachwear giving you endless options for self-expression. The crochet granny bandana pattern can also serve many purposes such as keeping hair tidy offering sun protection and bringing a handmade touch that makes every outfit a little more special. No matter your style this project easily finds a place in your life.

Classic Crochet Bandana Pattern
Materials
- Yarn: 50g cotton yarn, approx. 2mm thickness (fingering or sport weight recommended)
- Crochet Hook: 5.0mm (US H-8)
- Extras:
- Small auxiliary length of matching yarn for one tie
- Scissors
- Tapestry needle (for finishing/weaving in ends)
- Optional: Stitch markers
Key Abbreviations (US Terms)
| Abbreviation | Meaning |
|---|---|
| ch | chain |
| sc | single crochet |
| hdc | half double crochet |
| dc | double crochet |
| sl st | slip stitch |
| st(s) | stitch(es) |
| sk | skip |
| rep | repeat instructions |
| RS | right side |
| WS | wrong side |
| [] | repeat sequence |
Special Notes & Stitches
- False DC (Mock Double Crochet):
For a clean edge, substitute the traditional “ch-3” turning chain with a two-step process:- Insert hook, yarn over, pull through (as if making a sc), yarn over, pull through both loops (sc made).
- Find leftmost strand, insert hook, yarn over, pull through, yarn over, pull through both loops (second sc stacked).
- These two sc work as one “mock dc.”
- Picot:
[Ch 3, insert hook into front loop and left leg of hdc just made, sl st] to form a small bump. - A “small group” always refers to a cluster of three dc in the same space.
- The entire project is worked flat in rows except for the tie extensions.
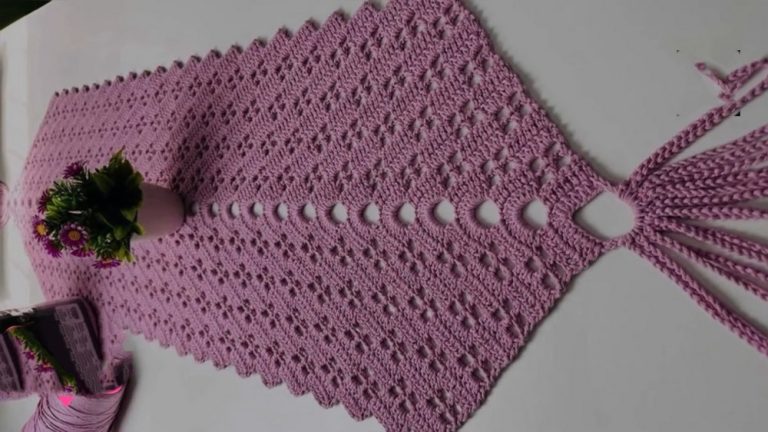
Finished Measurements (Approximate)
- Bandana triangle: 50 cm-wide (top edge), 24-25 cm deep (center triangle)
- Ties: 16 cm (customizable)
- Total yarn used: 50g
Pattern Instructions
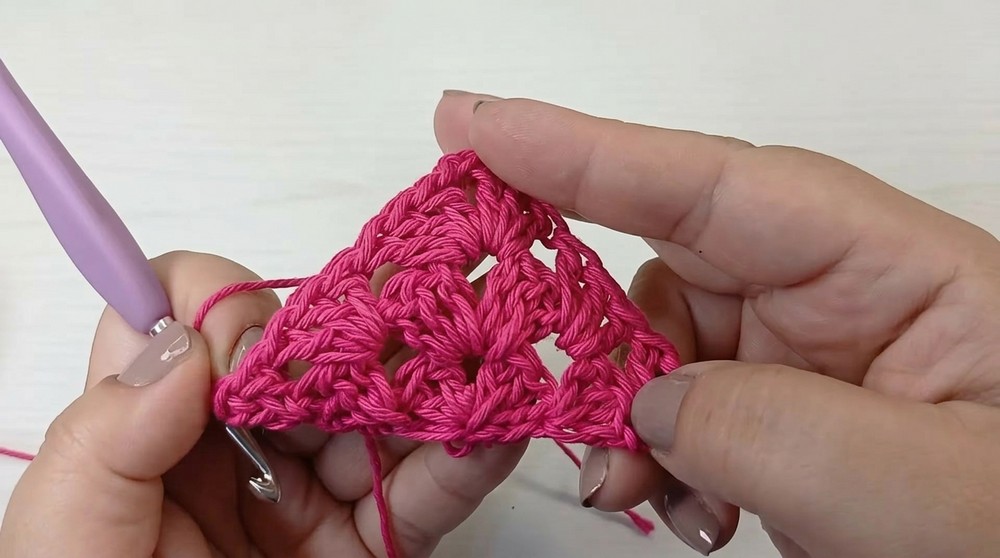
1. Triangle Center
Row 1:
- Make a magic (adjustable) ring.
- Mock dc (counts as first dc), 2 dc in ring, ch 2 (vertex), 3 dc in ring. Pull ring closed. TURN.
Row 2:
- Mock dc in first st, 2 dc in same st (always 3 dc in first st of each row).
- SK next 2 sts, in the ch-2 space at triangle point: 3 dc, ch 2, 3 dc (corner increases).
- SK next 2 sts, in last st (the “mock dc” from previous row), 3 dc. TURN.
Row 3:
- Mock dc in first st, 2 dc in same st.
- [In space between next two 3-dc clusters: 3 dc] repeat to center (ch-2 space).
- In ch-2 space: 3 dc, ch 2, 3 dc.
- [In space between 3-dc clusters: 3 dc] until last st.
- In last st: 3 dc. TURN.
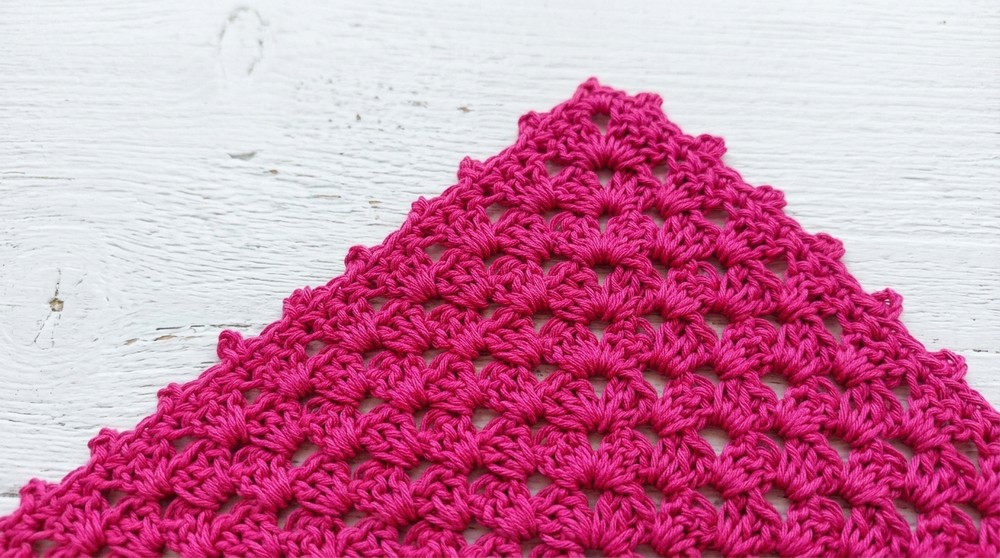
Row 4 and onward:*
- Mock dc in first st, 2 dc in same st.
- [In each space between 3-dc clusters: 3 dc] up to the center.
- In ch-2 center: 3 dc, ch 2, 3 dc.
- [Continue 3 dc in each space between clusters] to last st.
- In last st: 3 dc.
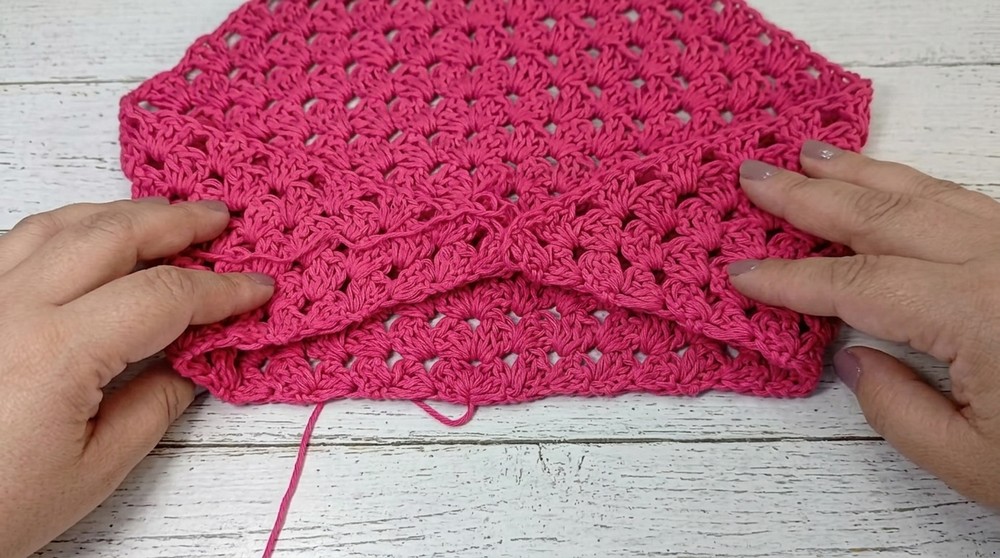
- Repeat Row 4 until you have 16 rows (or adjust for desired head circumference — the bandana should measure approximately 5 cm less than your head circumference for best fit).
2. Picot Border
Work this evenly along all edges of the triangle:
- Turn work so RS is facing.
- Attach yarn at the top corner.Across each 3-dc group:
- [hdc in first dc, hdc with picot (see Special Notes) in the center dc, hdc in third dc]
- At center (ch-2) point:
- (hdc, hdc with picot, hdc) in ch-2 sp.
- Continue working evenly along next edge.
Continue until the full triangle has a border. Fasten off.
3. Securing the Magic Ring
- Thread ring tail on tapestry needle.
- Weave in and knot securely behind dc stitches at start to keep ring from undoing.
- Weave in tail and trim excess.
4. Adding Ties
First Tie:
- Attach auxiliary yarn at one top corner of the triangle.
- Ch 25–26 (or as desired for tie length).
- Cut yarn, pull through and knot securely.
Second Tie:
- At the other top corner (with leftover working yarn),
- Ch 25 (or to match first tie).
- Sl st into same st to secure.
Optional: For thicker ties, turn and work a row of sc or hdc in the “back bumps” of each chain, then finish and fasten off.
5. Finishing
- Use tapestry needle to weave in all tails.
- Weave horizontally and vertically for security, especially near ties for durability.
- Steam lightly or block for best results if desired.
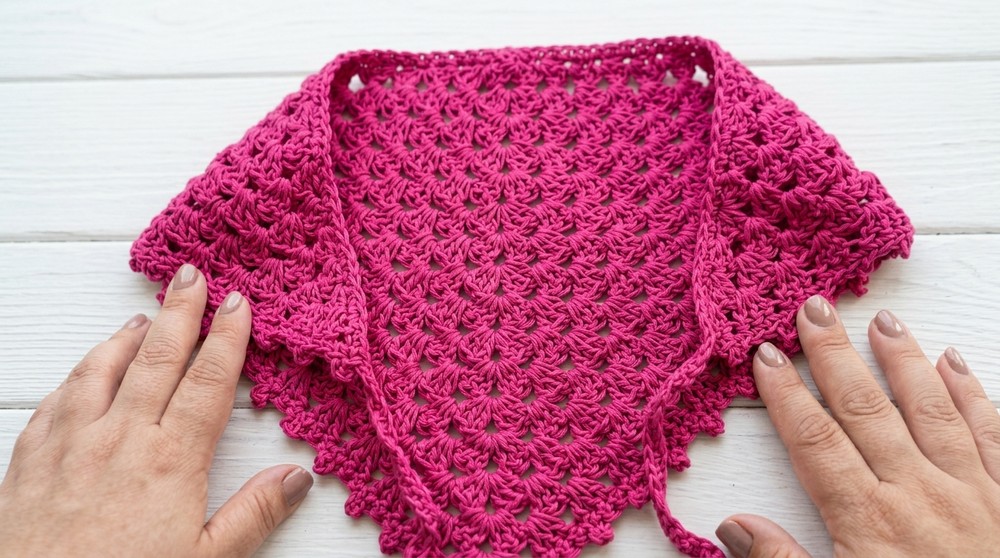
Conclusion
This bandana is fast, fun, and efficient—perfect for using up small amounts of yarn or making last-minute gifts. Its solid texture, simple shape, and elegant picot edge make it look polished, while stretchy cotton gives comfort and ease for regular wear.
Pattern Correction & Tips
- Make sure to always work 3 dc in the first and last stitches of each row, and 3 dc, ch 2, 3 dc at the vertex for clean increases.
- Gauge is flexible due to the tie closure but keep the triangle a few centimeters smaller than the intended head circumference for a snug fit.
- Picot placement: always on the center of each 3-dc group for an even scalloped edge.
- For ties: use a strong, smooth auxiliary yarn if your main yarn is very soft or splits easily.
- You may add additional hdc rows to ties for width or comfort, as needed.
- To adjust size: add or subtract rows in the triangle portion.