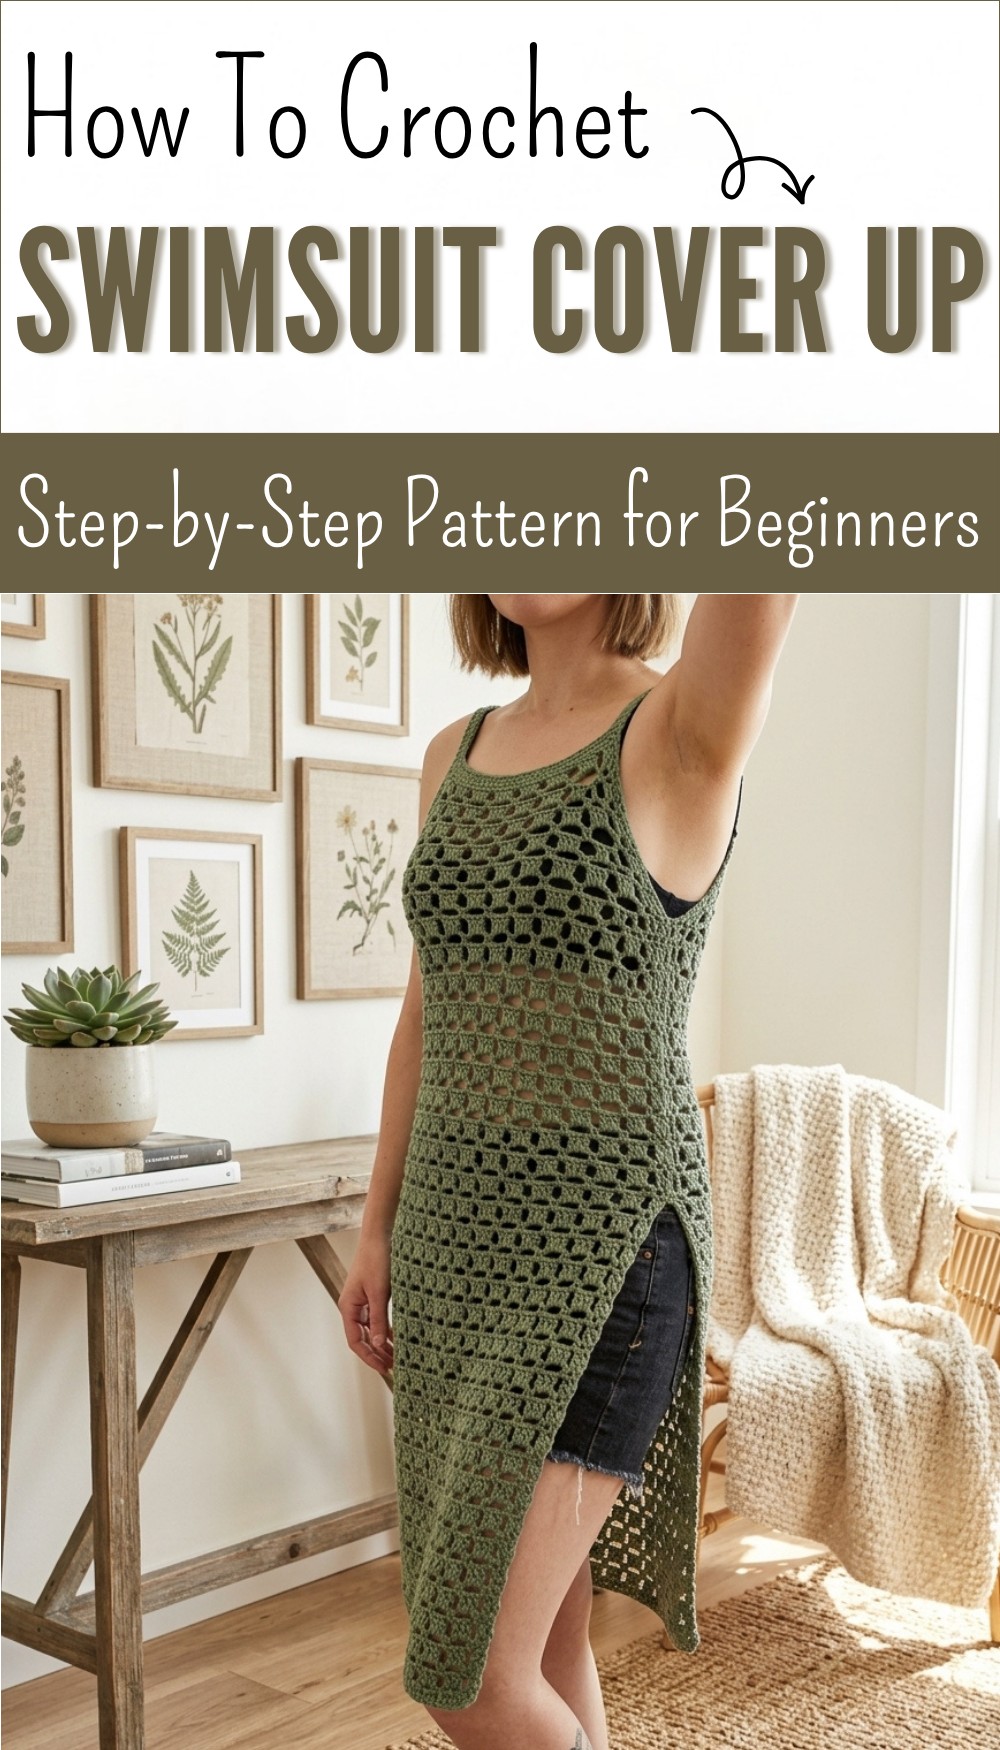
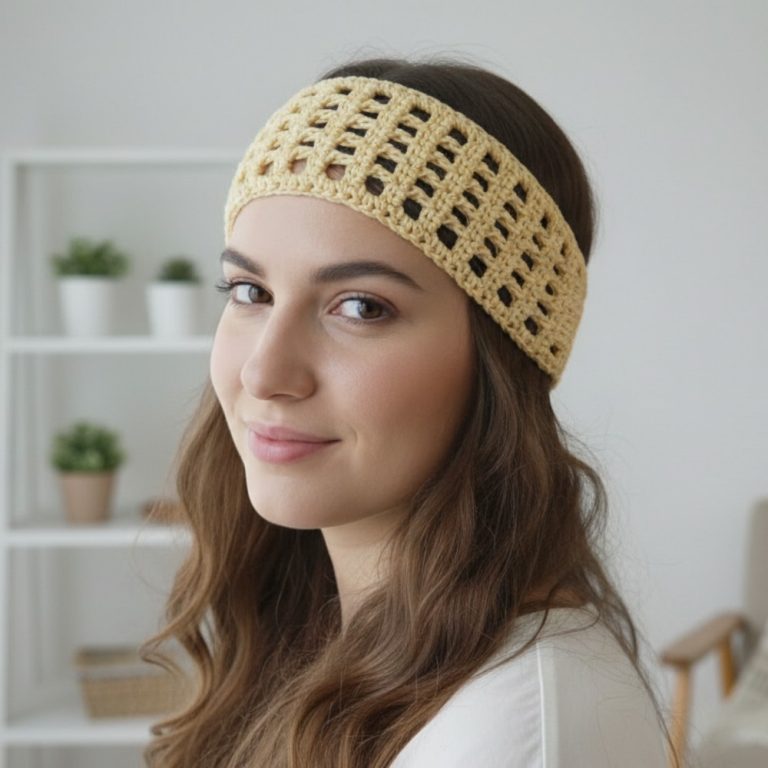
Free Crochet Swimsuit Cover Up Pattern You’ll Adore
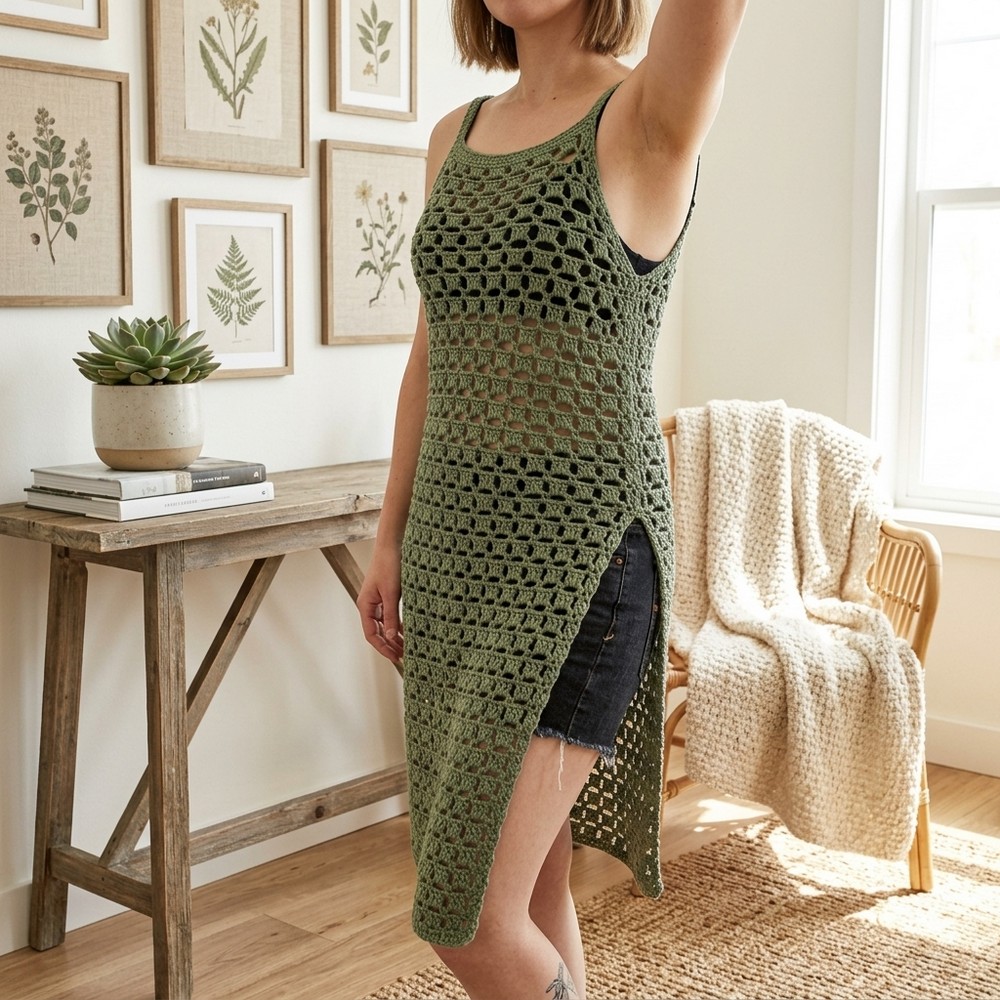
Stay stylish at the beach with this Free Crochet Swimsuit Cover Up Pattern, that adds light comfort and lovely charm to your swimwear look.
Simple Crochet Swimsuit Cover Up Pattern – Free & Fun
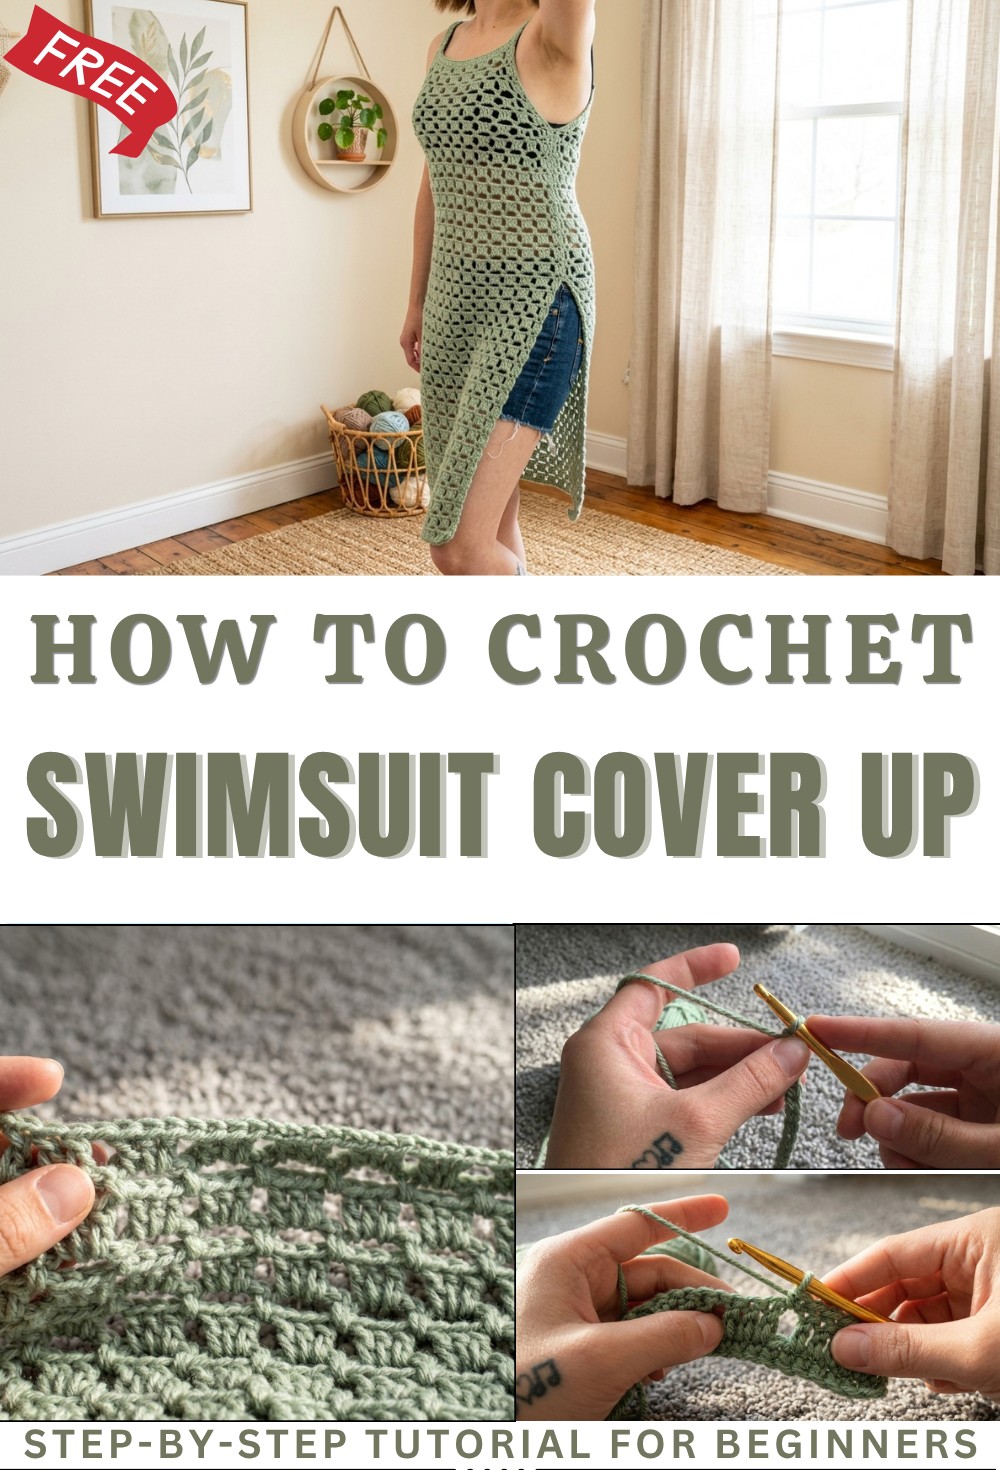
It dries fast stays cool and shows your outfit in a lovely way. Making one also brings joy as your hands create something special and unique just for you. This simple project is perfect for beginners and adds charm to every summer look. It is a beautiful mix of style comfort and creativity that makes you feel confident and happy wherever you go every day feels brighter.
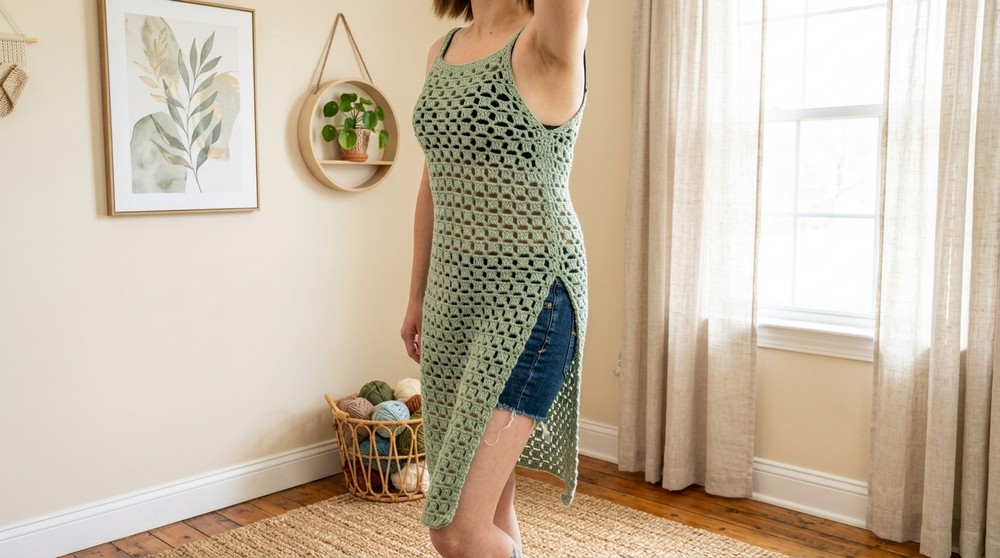
Free Crochet Swimsuit Cover-Up Pattern
Materials
- Yarn: #3 Light Weight or #4 Medium Weight Yarn (e.g., Lion Brand Pound of Love)
- Hook: 6.0 mm (J-10) or size recommended for your yarn
- Yarn Needle: For sewing panels & weaving in ends
- Scissors
- Stitch Markers: (Optional, for marking slit/armholes)
- Measuring Tape (For accurate custom fit)
Key Abbreviations
- ch = chain
- sc = single crochet
- dc = double crochet
- st(s) = stitch(es)
- sl st = slip stitch
Special Notes
- Pattern is customizable to your waist size.
- Panels are worked flat and then sewn together.
- Chains and panels must be multiples of 4 + 2.
- Instructions are written for front and back panels; straps and border are added after assembly.
- Try on and measure as you go for best fit.
Instructions
1. Panels (Make Two)
Foundation Row (First Row)
- Measure your waist size, divide by 2 for width of each panel (e.g., 30″ waist → 15″ panels).
- With chosen yarn and hook, ch a multiple of 4 + 2 to reach your panel width (example: ch 66 for 15″).
- Sample: ch 64 (multiple of 4) + 2 = ch 66.
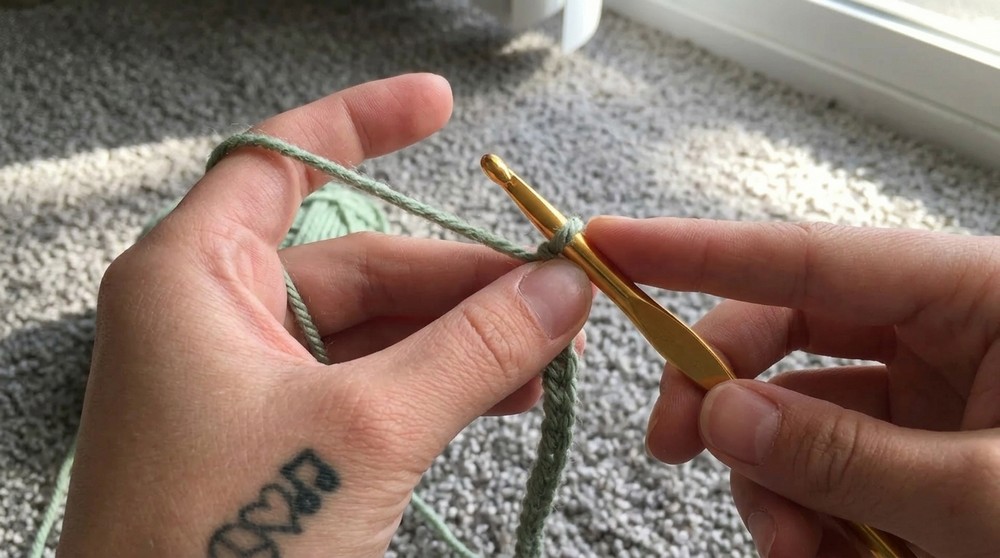
Row 2: Single Crochet Row
- Sc in 2nd ch from hook and every ch across.
- [You should have one less stitch than your starting chain.]
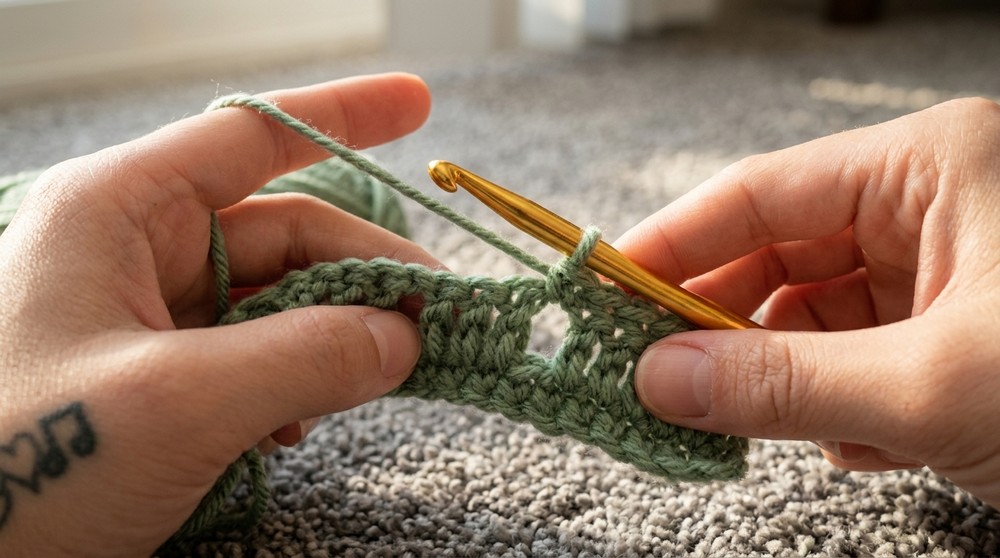
Row 3: Double Crochet Blocked Mesh Row
- Turn, ch 2 (does not count as st).
- Dc in same first st, dc in next st.
- Ch 1, skip 1 st, dc in next 3 sts.
- Repeat: ch 1, skip 1 st, dc in next 3 sts.
- At end of row, you should have 2 sts left. Dc in each.
- You should have sets of 3 dc separated by ch 1/sk 1, and 2 dc at each end.
Row 4: Single Crochet Mesh
- Turn, ch 1 (does not count as st).
- Sc in same first st.
- Ch 1, skip 1 st. Sc in next ch-1 space.
- Ch 4, sc in next ch-1 space.
- Repeat ch 4, sc in next ch-1 space until last ch-1 space worked.
- Ch 1, skip a st, sc in last dc.
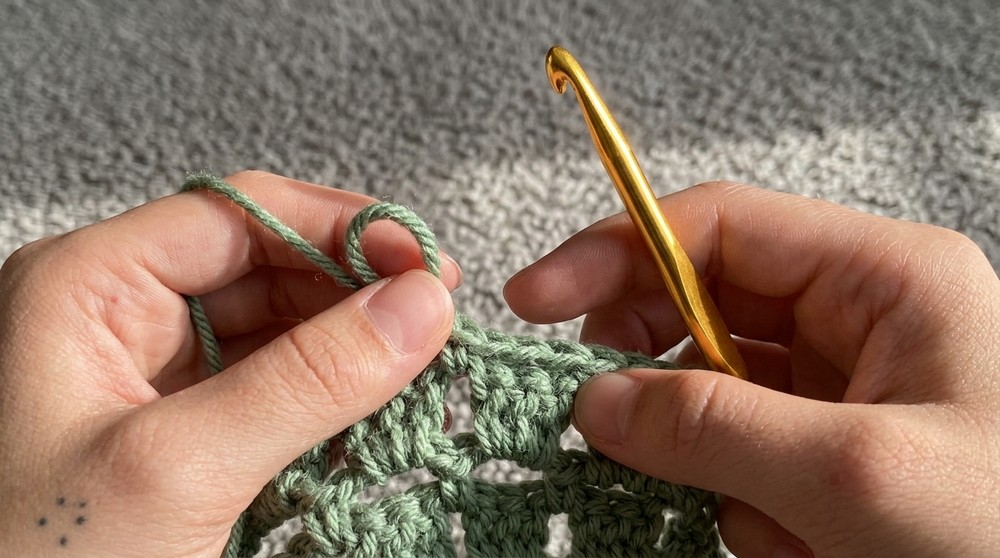
Row 5: Double Crochet Blocked Mesh (Repeat of Row 3)
- Turn, ch 2 (does not count as st).
- Dc in same first st. Dc around next ch-1 space.
- Ch 1, skip sc, 3 dc around next ch-4 space.
- Repeat ch 1, skip sc, 3 dc around next ch-4 space across row.
- At end: ch 1, skip sc, dc around last ch-1 space, dc in last st.
Repeat Rows 4 & 5
- Continue to alternate Row 4 and Row 5 until your panel reaches desired length from armpit to slit hem.
- Sample: 53 rows before armhole decrease.
2. Decreasing for Top/Armholes
- Begin decrease rows when panel reaches required underarm length.
- You must end on a double crochet row before starting decrease.
Decrease Row 4 (Single Crochet Mesh with Shaped Sides)
- Turn, ch 1, sc in same first st.
- Ch 1, sc in first ch-1 space. Ch 1, sc in next ch-1 space. Ch 3, sc in next ch-1 space.
- Normal pattern: ch 4, sc in next ch-1 space across row until last 2 ch-1 spaces.
- At end: ch 3, sc in next ch-1 space, ch 1, sc in final ch-1 space, ch 1, sc in last st.
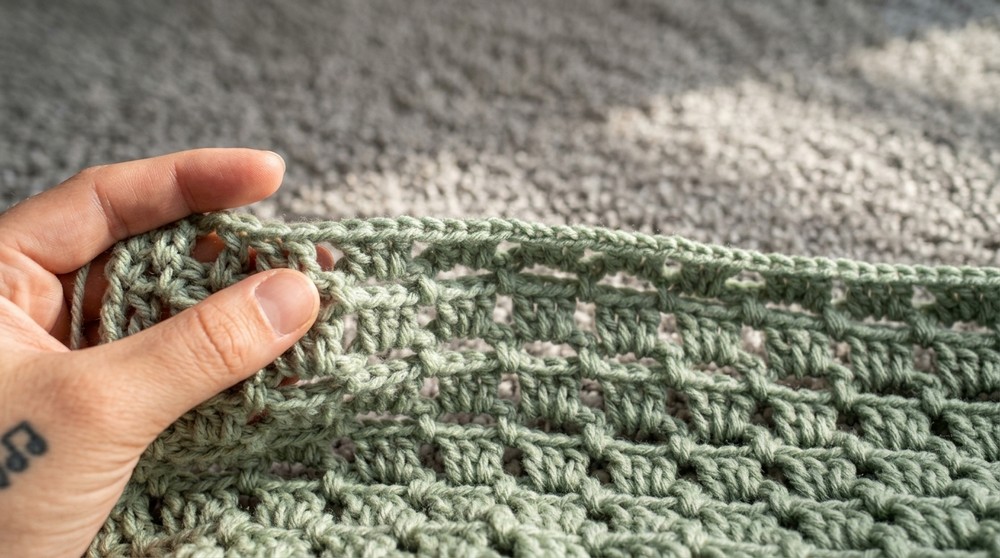
Decrease Row 5 (Double Crochet Mesh with Shaped Sides)
- Turn, ch 2, dc in same first st. Dc around next ch-1 space.
- Ch 1, skip sc, dc around next ch-1 space (no ch 4 here).
- NO chain at this point; 2 dc around next ch-3 space (acts as first 3-dc block).
- Then resume pattern: ch 1, 3 dc around next ch-4 space.
- At end: 2 dc around last ch-3 space, dc around next ch-1 space (last 3-dc block), ch 1, skip sc, dc around last ch-1 space, dc in last st.
- Continue decreasing rows as needed to get desired strap width and armhole shape. You can alternate between regular and decrease rows to fine-tune fit.
- Sample: Decreased 4 times over 69 rows total, ending with a dc row, top measures ~8″ wide.
3. Panel Assembly
- Make two identical panels following instructions above.
- Lay panels side by side, matching up rows.
- Mark where you want your side slit to end (sample: ~10.5″ from hem) and where your armhole begins (first non-decreasing row).
- Sew panels together up sides from slit marker to armhole marker.
- Repeat for other side, leaving bottom slit and armholes open.
4. Straps
- Starting at top of back panel, attach yarn to corner with sl st.
- Ch 1, sc in same st and every st across top of back panel.
- Chain desired strap length:
- Measure from top of shoulder to desired neckline, multiply by 2 (sample: 26 ch for 7″).
- Join chain to corresponding corner on front panel, sc in each st across top of front panel.
- Repeat chain for second strap, join to back panel.
- Finish round by joining to starting sc.
- Work a second round of sc around entire neckline and straps for a clean edge.
5. Armhole Edging (Optional but Recommended)
- Attach yarn at bottom corner of armhole, sl st to secure.
- Ch 1, sc into each row end around entire armhole, including up strap and back down.
- Join with sl st to starting sc, fasten off.
- Repeat for other armhole.
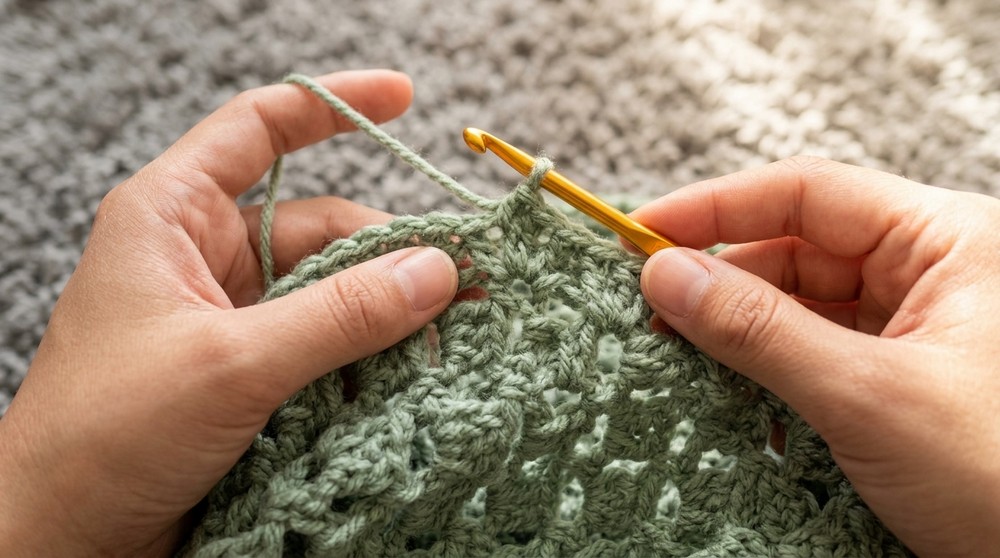
6. Finishing
- Weave in all ends neatly.
- Block your cover-up if desired for final shape and drape.
Conclusion
This swimsuit cover-up is airy, breezy, and stylish, with stretches of mesh and a side slit for comfort and movement. Easily customizable, it is beginner-friendly and works up quickly. The armhole and neckline shaping ensure a versatile fit for layered summer looks.
Pattern Correction & Tips
- Correction: If the cover-up feels too loose/tight, adjust panel width by changing your starting chain (always multiple of 4+2).
- Tip: Try on panel regularly before sewing and adding straps.
- Tip: Side slit is customizable in length; mark before sewing.
- Tip: For wider or thicker straps, add extra rows of sc to strap chains.