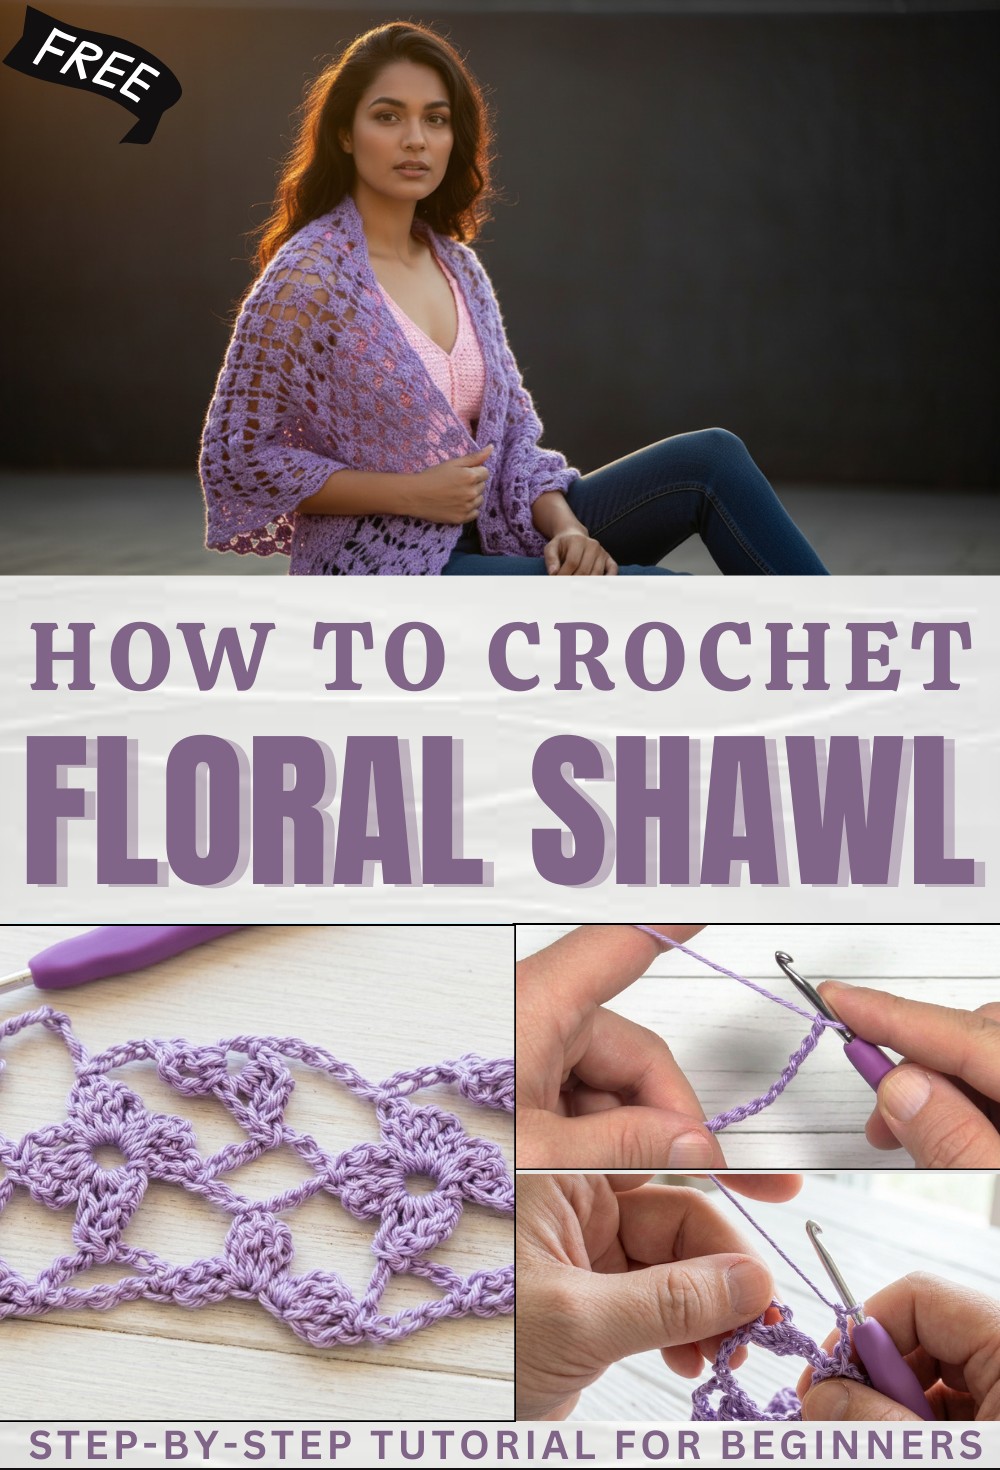
Lightweight Free Crochet Floral Shawl Pattern for Easy Styling
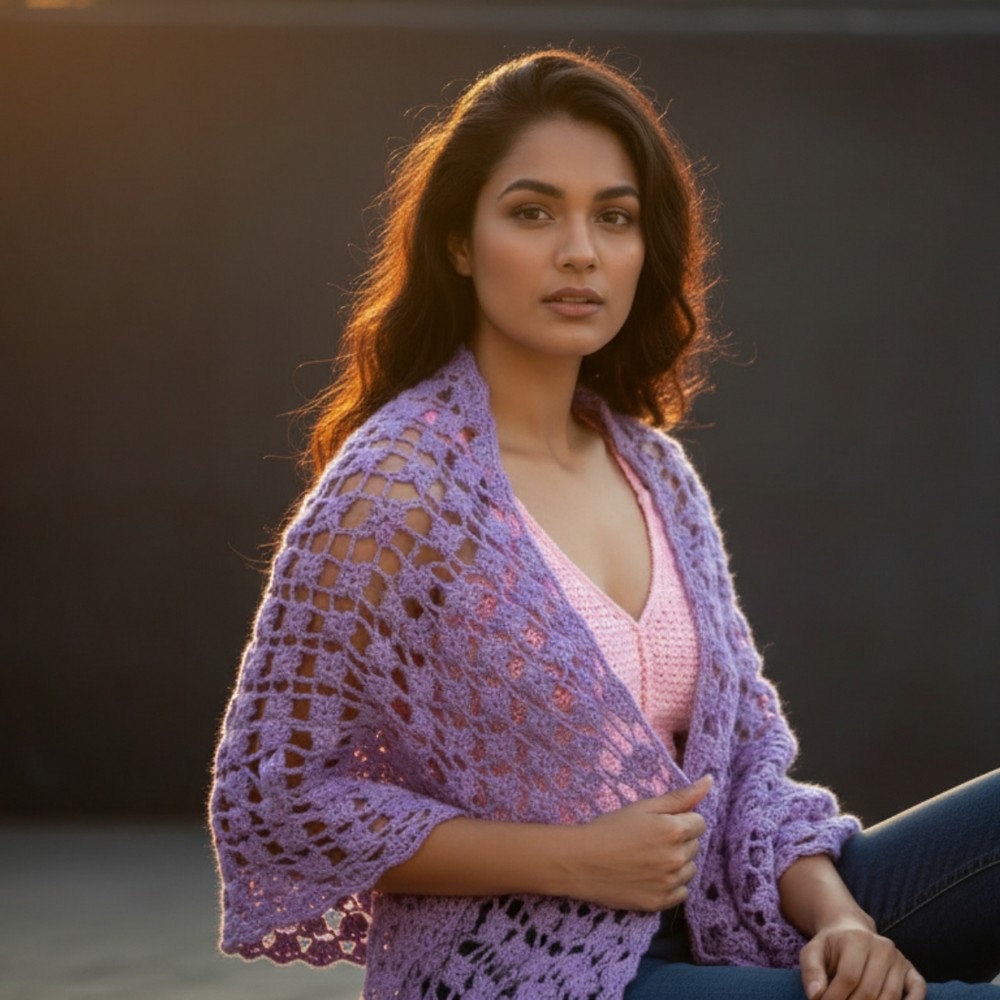
Wrap yourself in elegance with this Free Crochet Floral Shawl Pattern that adds soft warmth delicate style and charming beauty to any outfit.
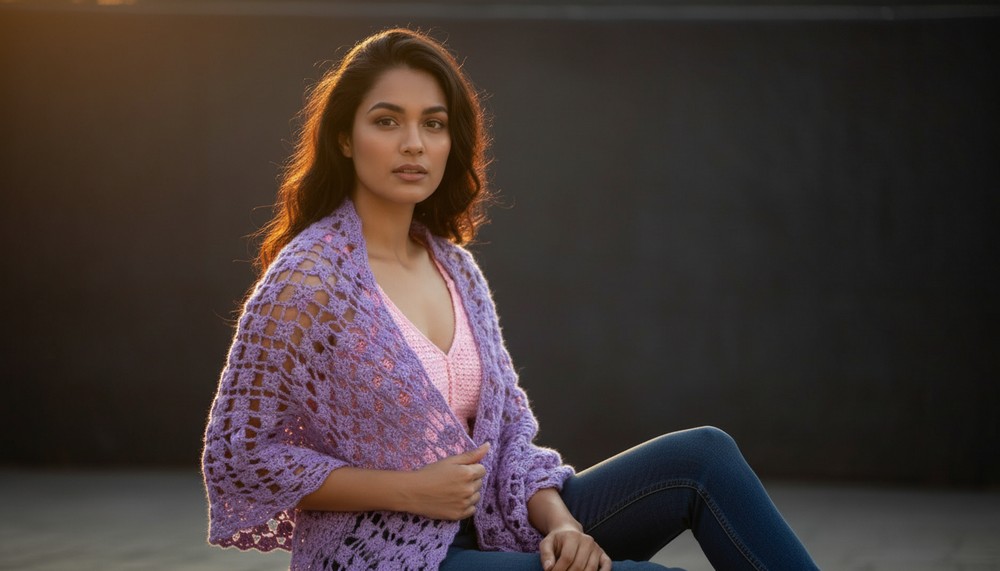
A gentle and colorful shawl can make anyone look stylish and feel cozy at the same time. A Crochet Floral Shawl pattern creates a soft piece decorated with pretty flower designs that are simple yet eye-catching. The lightweight texture makes it easy to wear over shoulders without feeling heavy, while keeping you warm during cool mornings or evenings. This shawl can be paired with casual clothes or special outfits to add a graceful and handmade touch.
Chic Free Crochet Floral Shawl Pattern Perfect for Layering
Many people enjoy making a Crochet Floral Shawl pattern because it is relaxing and allows them to use different colors and patterns, making each piece unique. It is also perfect as a thoughtful gift for friends and family. With its soft feel, flowing design, and charming floral look, this shawl is both practical and beautiful. It adds elegance, comfort, and a personal handmade style to everyday life.
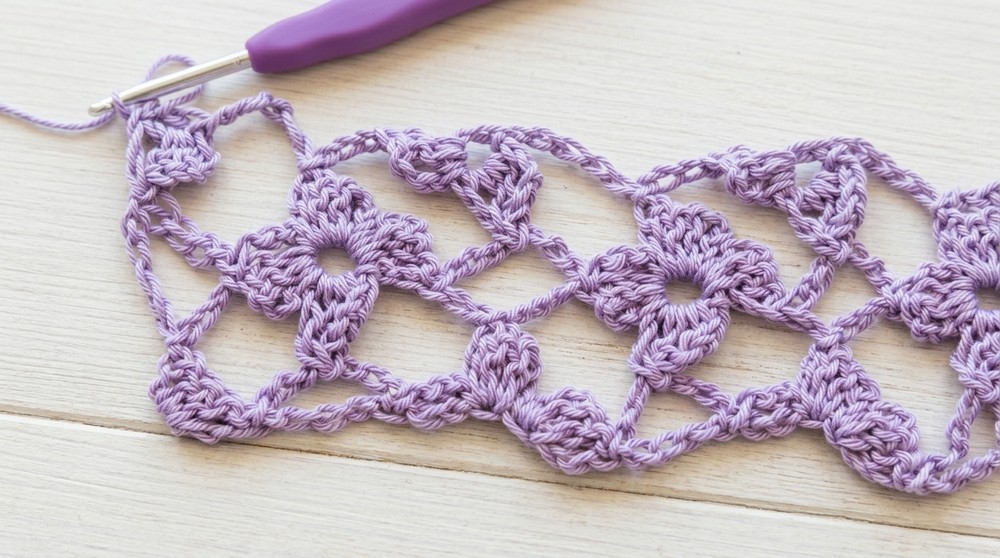
Floral Shawl Crochet Pattern
Materials
- Yarn: Patons Grace (DK weight, 100% mercerized cotton) or similar lightweight yarn.
- Main Hook: Size G/6 (4.5 mm).
- Border Hook: Size F/5 (3.5 mm).
- Notions: Scissors, tapestry needle for weaving in ends, optional stitch markers, measuring tape for length.
- Gauge: Not critical, but recommended to measure for preferred drape and width.
Key Abbreviations (US Terms)
| Abbreviation | Meaning |
|---|---|
| ch | chain |
| sc | single crochet |
| dc | double crochet |
| sl st | slip stitch |
| st(s) | stitch(es) |
| dtr | double treble crochet |
| rep | repeat |
| sp | space |
| * * | repeat sequence |
Special Notes
- Pattern Repeats: Foundation chain is multiples of 11, plus 3.
- Pattern is worked in rows, with a four-row repeat (Rows 2–5).
- Chains of 3, 7, and 10 are foundational for creating rosette motifs and their separation.
- Pattern may feel “upside down” or twisted while in progress – this is normal and part of the design; flipping of motifs will be required as you work.
Pattern
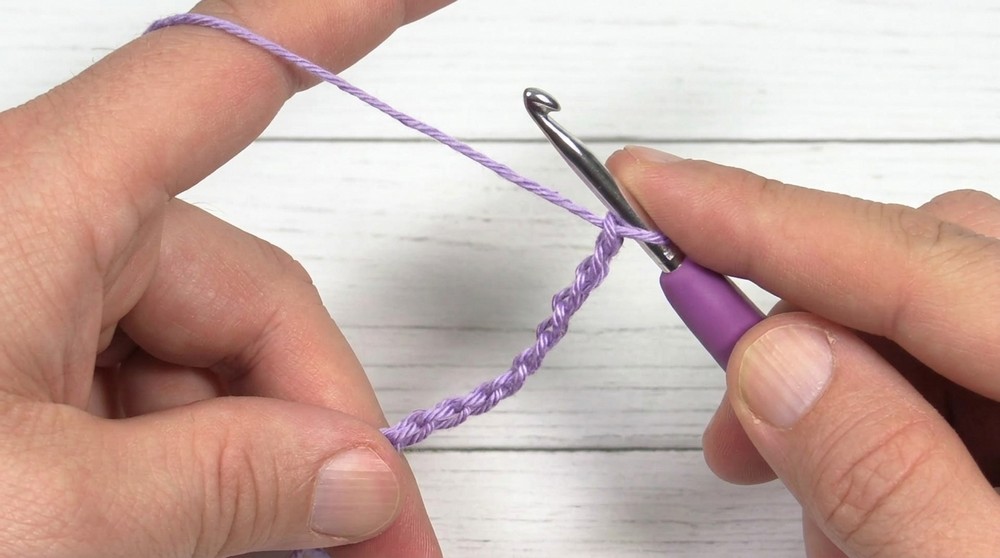
Foundation Chain
- For a shawl approximately 70″ in length: ch 135.
- Or for custom sizing: ch in multiples of 11, then add 3 at the end.
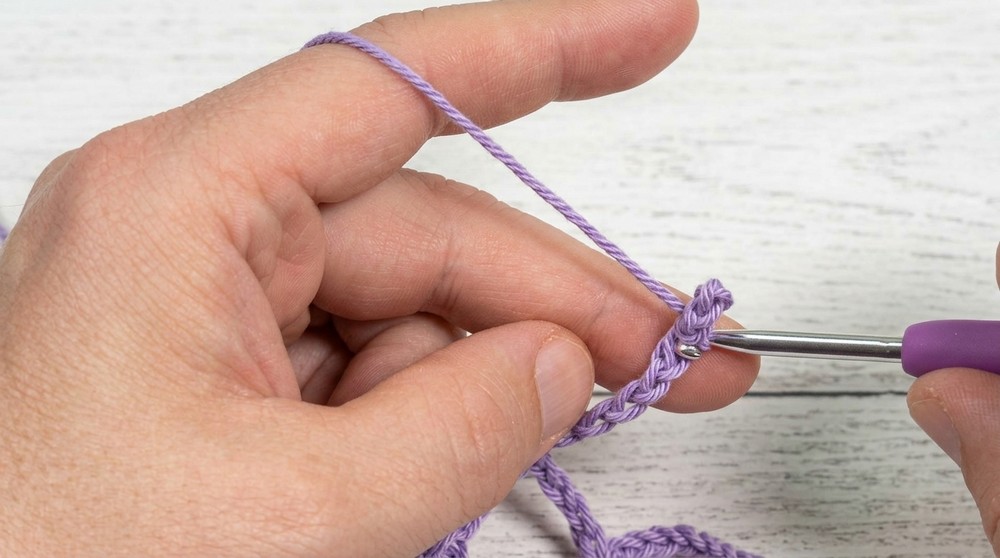
Row 1 (Set-up)
- In the 4th chain from the hook, work 2 dc.
- Skip next 2 chs, sl st in next ch.
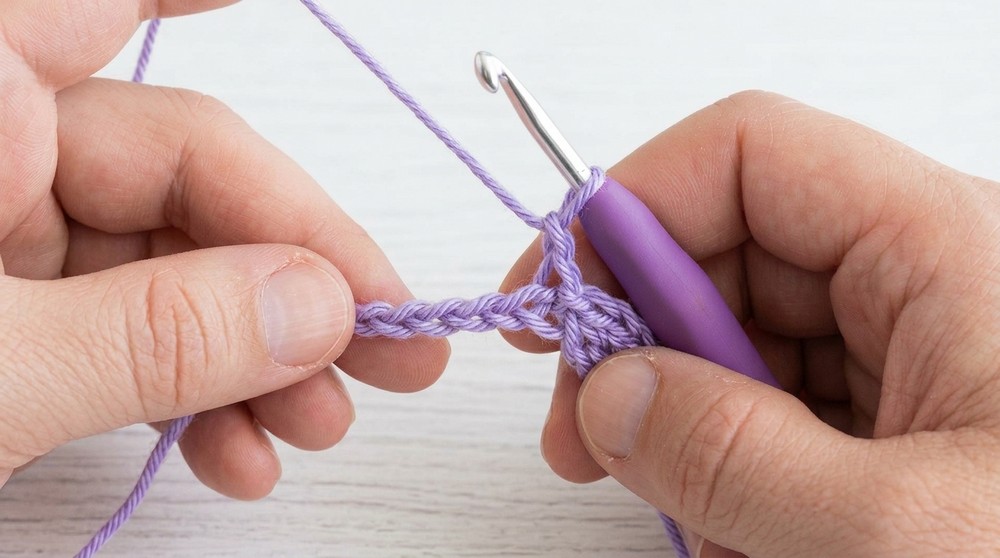
- Ch 7, skip next 3 chs, sl st in next ch.
- Ch 3, skip 2 chs, sl st in next ch (Top start of rosette).
- Ch 3, in same ch: 2 dc.
- Ch 3, sl st in next ch, these rosette petals are worked over 2 chs.
- Ch 3, in same ch: 2 dc.
- Skip next 2 chs, sl st in next ch.
- Ch 7, skip 3 chs, sl st in next ch.
- Repeat steps 4-9 until you reach the end of the row.
- At end: ch 3, sl st in last st; ch 3, in last st work 2 dc (quarter rosette).
Tip: If your stitch count is off at the end, you may “fake” an adjustment as needed.
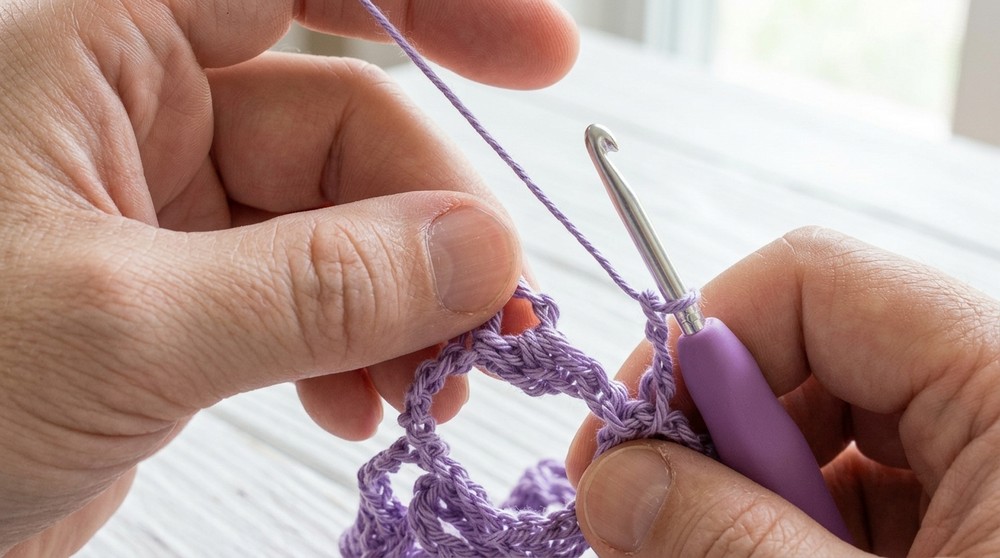
Row 2 (Advanced!)
Note: Be prepared to flip motifs as you work to get correct orientation.
- Turn, ch 6, pinch 6th ch, ch 4 more (ch 10 total).
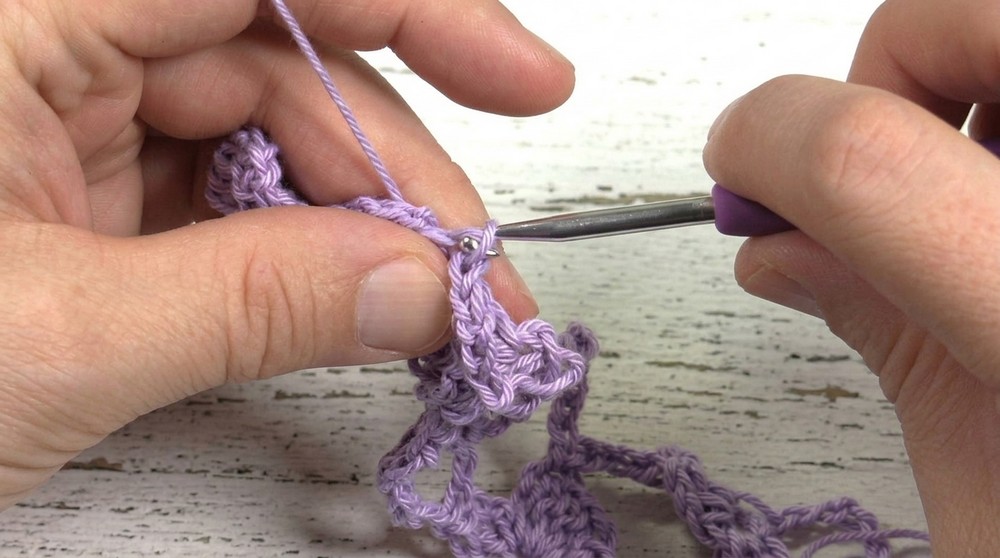
- Sl st in 6th ch from the hook (forms a small ring).
- Flip loop so you can work into it, ch 3, work 2 dc into ring (petal of new rosette).
- Sl st to the top of ch-7 sp from Row 1.
- Ch 3, flip loop again to access unused space, sl st, ch 3, 2 dc into same space.
- Flip motif, ch 3, sl st to next available “top” ch-st (usually the 4th chain above the motif).
- Ch 10 (as before: ch 6, pinch, ch 4, sl st into 6th ch for ring).
- Rep from step 3 to continue creating more rosette centers across row.
- At end: chain 3, sl st to top, turn.
Row 3 (Top-side Rosettes)
- Turn, ch 10.
- Sl st to the side of the first dc of the existing rosette.
- Ch 3, sl st into ring center, ch 3, 2 dc into ring (petals).
- Ch 3, sl st into ring, ch 3, 2 dc into ring (repeat petals, 4 total per rosette).
- Sl st to next ch (about 2 sts away).
- Ch 7, sl st to next rosette, rep steps 3-5 across.
- End with a dtr if needed to reach the edge.
Row 4 (Rosettes Between Existing)
- Turn, ch 6, pinch 6th ch, ch 4 more (ch 10 total).
- Sl st in 6th ch from the hook (forms new ring off the side of shawl for partial rosette).
- Flip, then ch 3, work 2 dc in ring.
- No connection, simply ch 3 and let motif fall.
- Find top of next “open” rosette, sl st, continue as before (steps from Row 2).
- Continue all the way across, ending with a partial rosette at the side.
Row 5 (Top sides, as Row 3)
- Ch 3, 2 dc in partial rosette.
- Sl st to next motif, ch 7, sl st to main rosette, and work four petals for each rosette as before.
- Continue to end of row.
Repeats
- Repeat Rows 2–5 until your shawl reaches desired length (approximately 70″). End after a Row 4 for a straight edge.
Edging
Switch to F/5 (3.5 mm) hook.
Round 1:
- Ch 1, sc evenly along each side of the shawl.
- 3 sc in each corner.
- Join with sl st to first sc.
Round 2 (Picot edge):
- Ch 3 (counts as picot), sl st into same stitch.
- Sc in next 3 sc, ch 3, sl st into same stitch (picot). Repeat * to * around the shawl.
- Ignore corners for special treatment; pattern continues uninterrupted.
- Join, fasten off, weave in ends.
Conclusion & Tips
Summary:
This shawl may appear complex due to the unusual construction and motif flipping, but once you understand the row sequence and repetition of chains (3, 7, 10), it becomes rhythmic and very satisfying. Blocking is highly recommended to open up the beautiful rosette lace.
Pattern Corrections & Tips:
- If your count is off at the end of any row, you can “fudge” it–the lace is forgiving!
- It is helpful to use stitch markers to identify the ch-7 spaces for easy joining in future rows.
- Always flip your motif as needed after forming rings, to keep the rosettes in proper alignment.
- Edging with a smaller hook helps maintain a neat border.