Simple Crochet Throw Pattern With 3D Texture
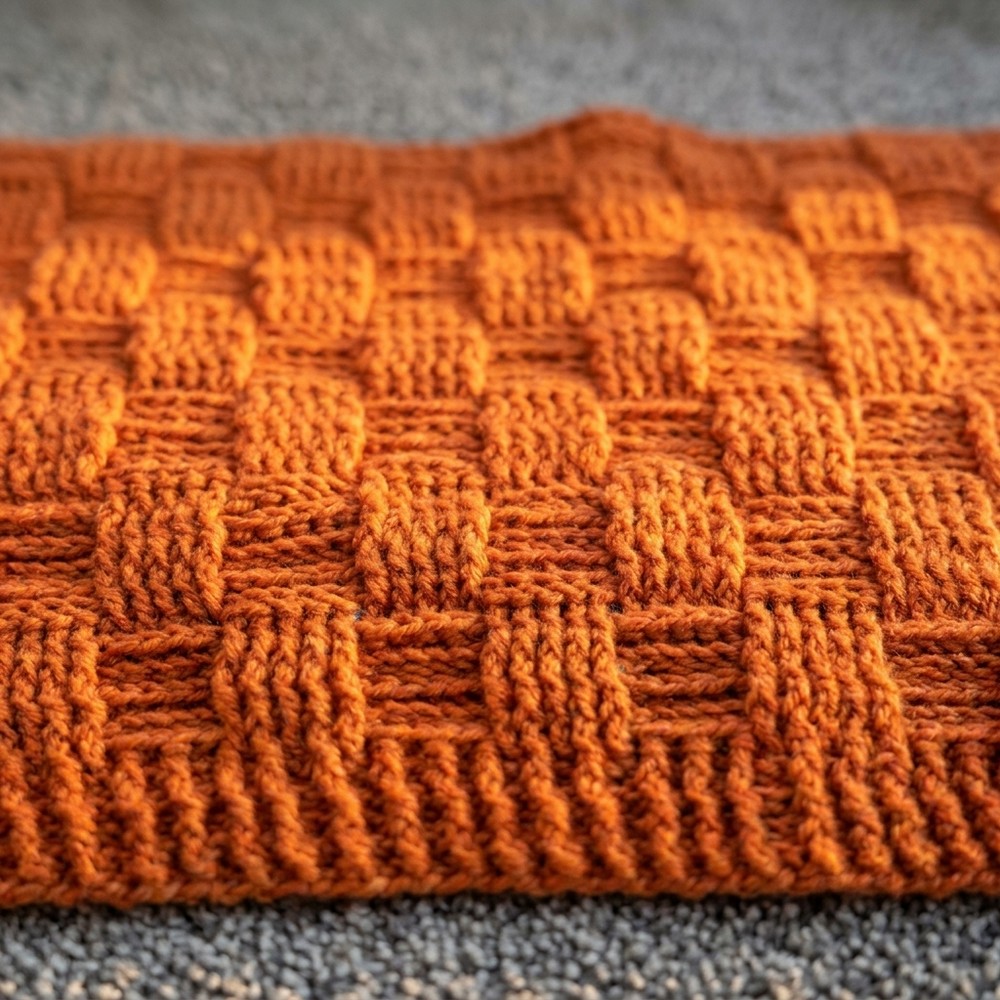
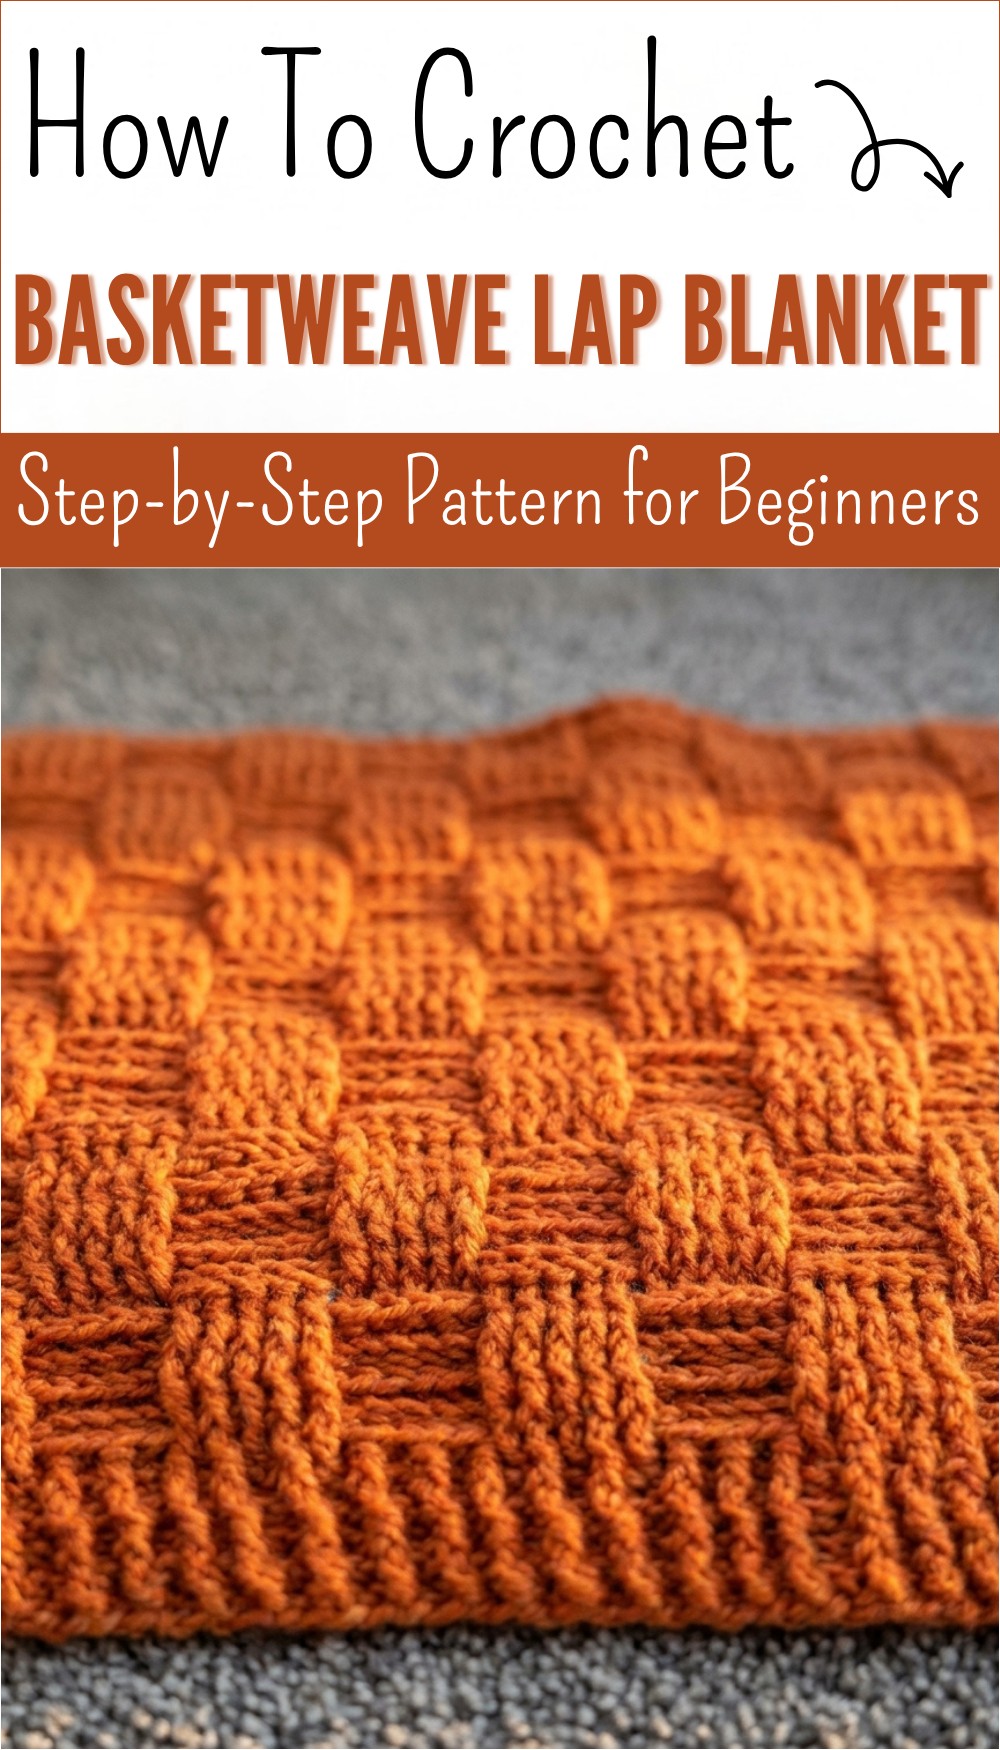
Settle into cozy comfort with free crochet basket weave lap blanket pattern that’s simple and attractive perfect for brightening your space.
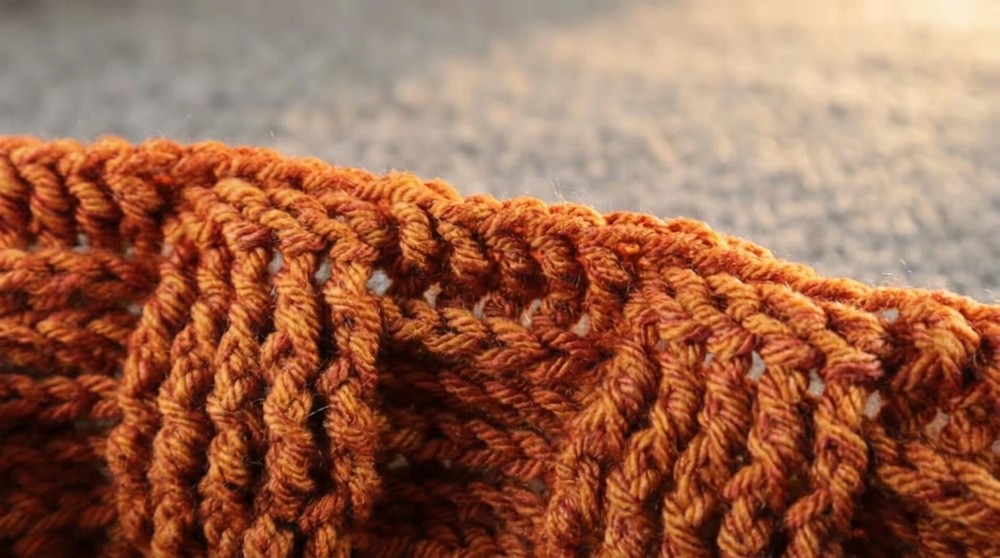
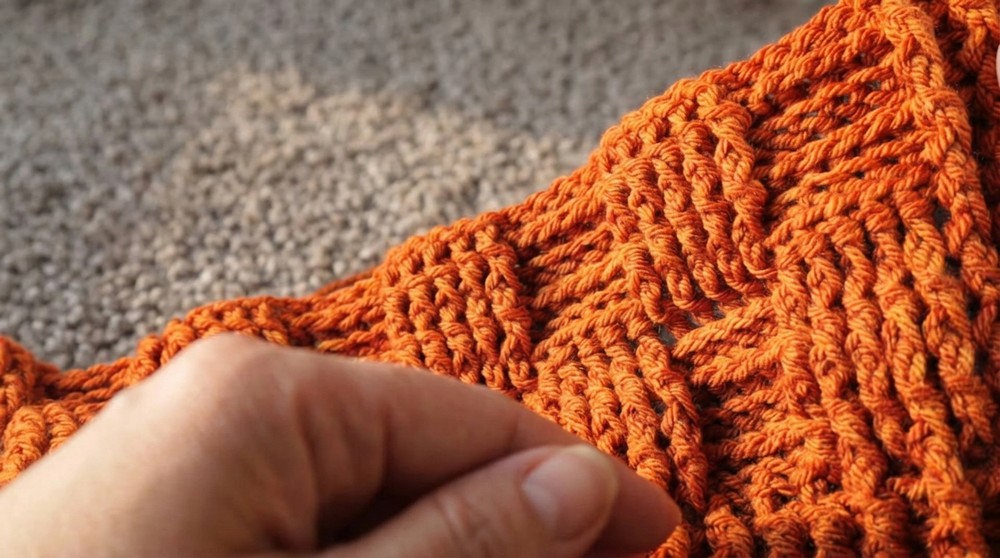
Thick textured lines form a beautiful woven look that catches your eye right away. This design makes any space feel warmer and more inviting, with cozy patterns that add both style and comfort to your home. The crochet basket weave lap blanket pattern is a wonderful way to add a practical blanket to your living room or bedroom while showing off classic taste.
Stitch-By-Stitch Basket Weave Blanket Made Easy
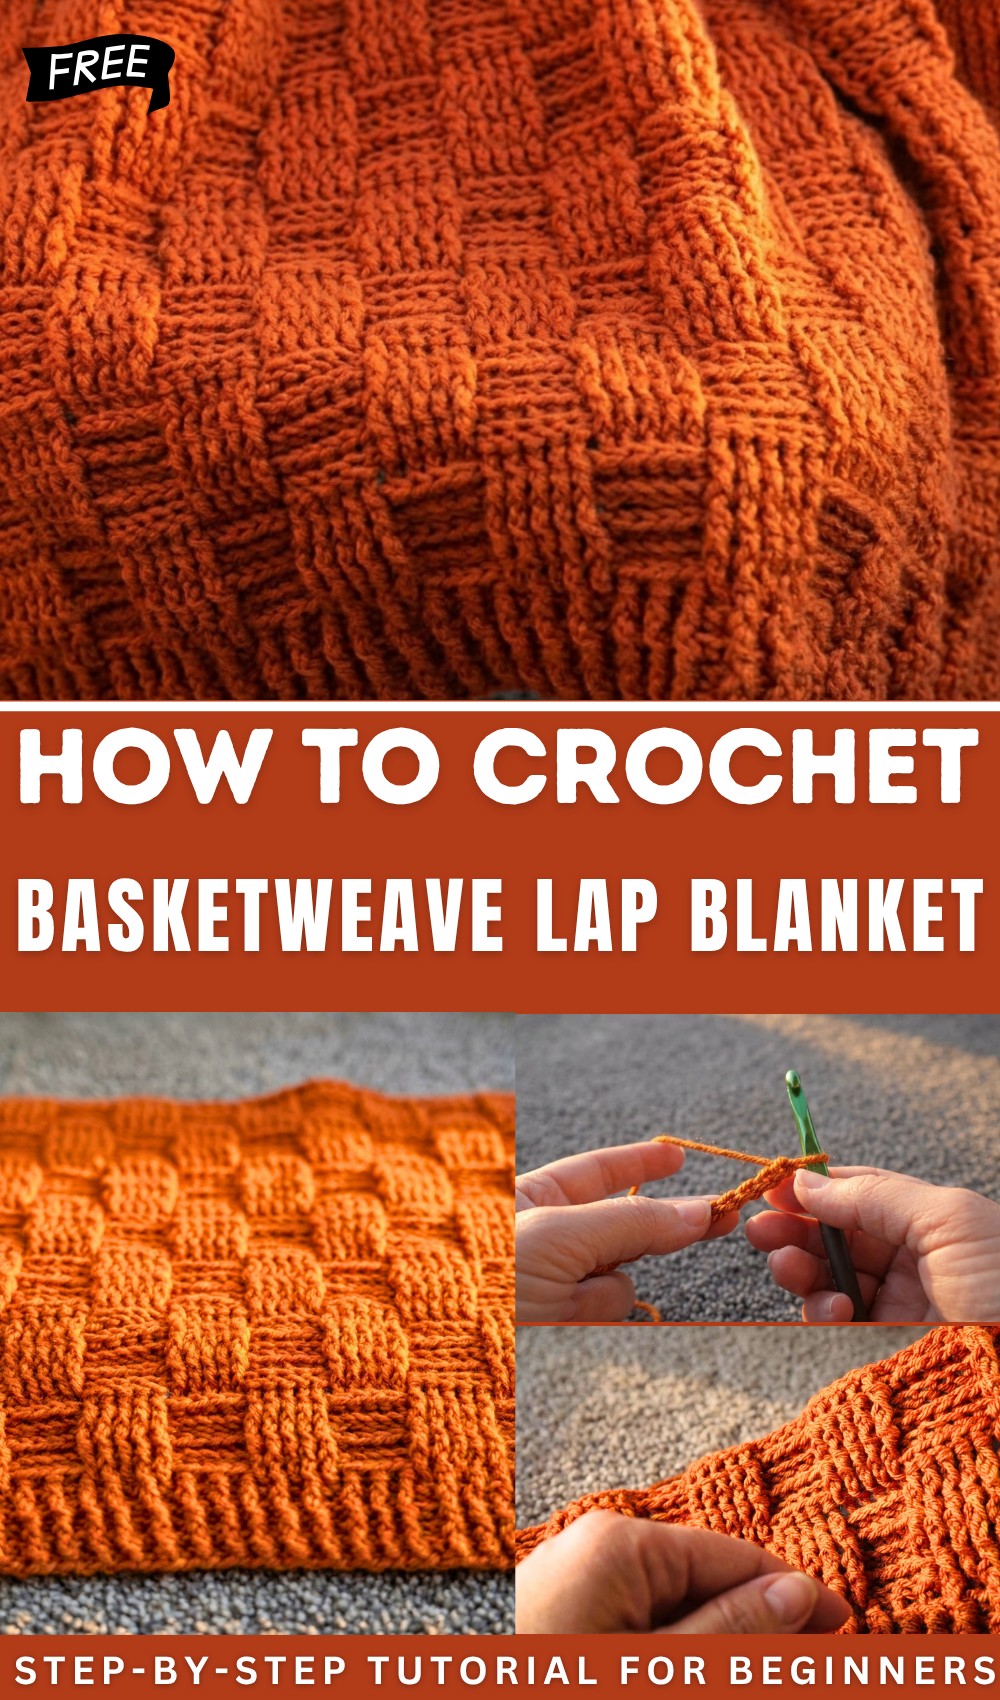
Its strong, chunky feel offers just the right amount of warmth on cool days, making it the perfect lap cover for relaxing or as a thoughtful handmade gift. With its easy-to-follow instructions, anyone can bring this timeless design to life, no matter their skill level. The finished blanket doesn’t just look good; it also works well for daily use, protecting your knees, adding layers to your bed, or serving as a trusted companion through every season.
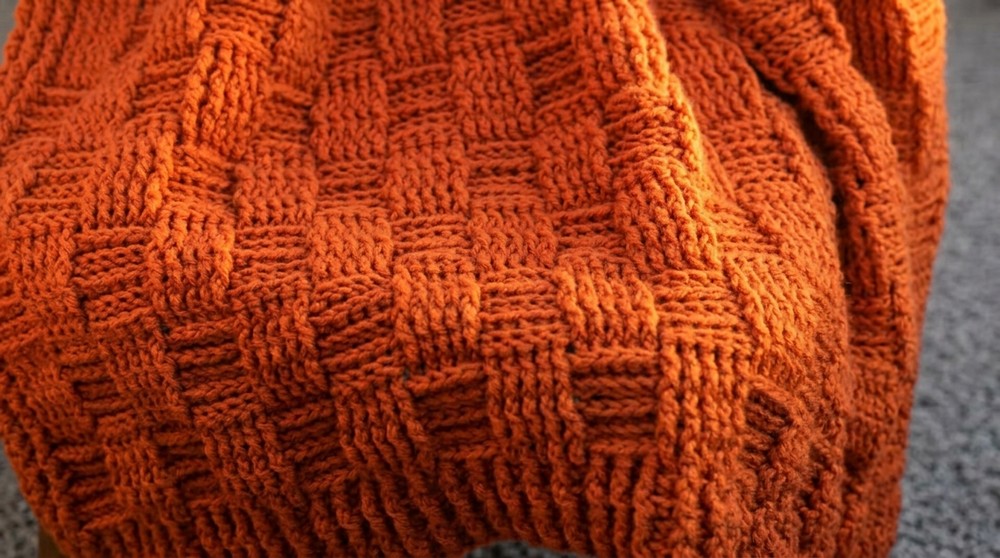
Easy Basketweave Lap Blanket
Materials
- Yarn: Paintbox Yarns Simply Chunky (100% acrylic, #5 bulky)
- 14 skeins (2086 yards) for blanket size as shown
- Hook: Size K/10.5 (6.50 mm) crochet hook
- Notions:
- Sharp scissors
- Yarn needle (for weaving in ends)
Key Abbreviations (US Terminology)
| Abbreviation | Stitch Name |
|---|---|
| ch | chain |
| dc | double crochet |
| hdc | half double crochet |
| fpdc | front post double crochet |
| bpdc | back post double crochet |
| st(s) | stitch(es) |
| rep | repeat |
Special Notes
- Blanket is worked in multiples of 10; add or subtract 10 chains for desired width.
- Finished lap size: chain 114 for starting width. Yields approx. 111 stitches.
- Blanket length is altered by repeating the pattern motif rows.
- Turning chains and edges are maintained with half double crochets for a neat border.
- The project is fully reversible.
Pattern Instructions
Foundation Row
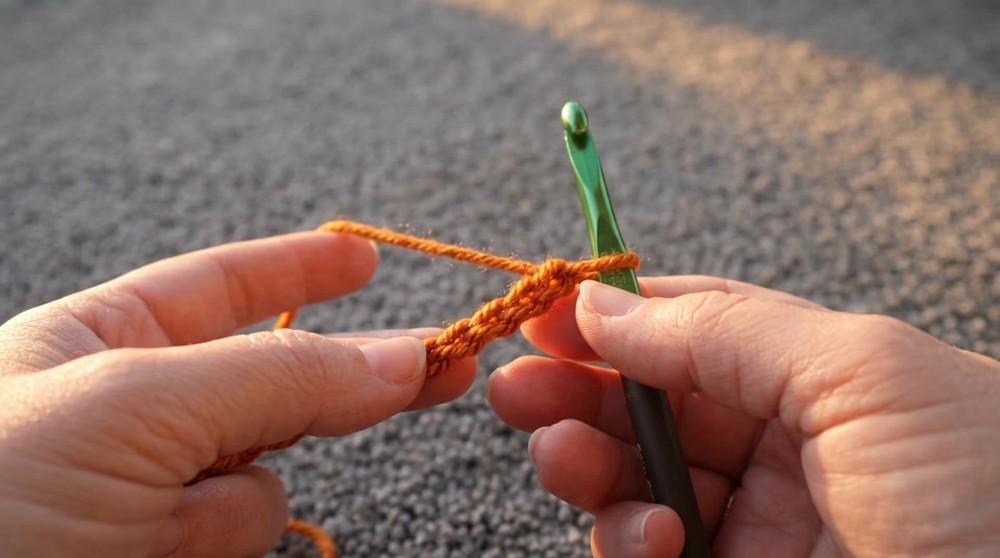
- Ch 114.
- Starting in 4th ch from the hook, dc in each ch across.
- Row Stitch Count: 111 dc.
- Turn.
Ribbing Rows (Rows 2–5)
Row 2:
- Ch 2 (counts as turning chain, not as a st).
- Skip first st.
- Alternate across the row:
- fpdc in next st,
- bpdc in next st.
- Repeat fpdc, bpdc across.
- At the end of the row, hdc in top of turning ch.
- You should have 110 post sts + 1 hdc (111 total).
- Turn.
Rows 3–5:
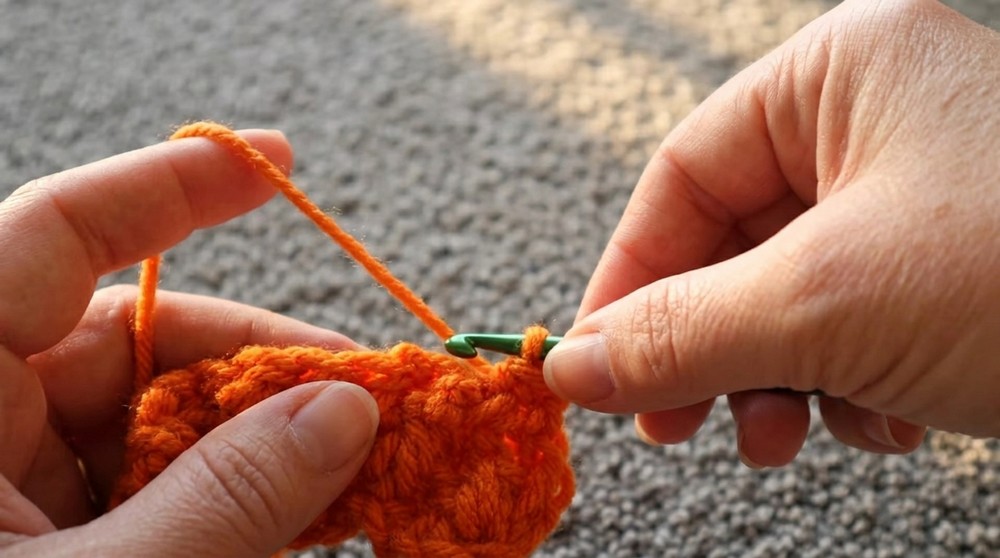
- Ch 2, turn; skip first st.
- Alternate fpdc, bpdc across row.
- hdc in top of turning ch at end of each row.
- Repeat for a total of 4 ribbing rows.
Begin Basketweave Motif (Rows 6–15)
Each motif repeat is 10 rows.
Row 6:
- Ch 2, turn; skip first st.
- Rib border: Alternate fpdc, bpdc for first 5 sts.
- Basketweave pattern:
- Across blanket:
- Work 5 fpdc in next 5 sts,
- Then 5 bpdc in next 5 sts,
- Repeat these blocks until last 5 stitches.
- Across blanket:
- Rib border:
- For last 5 sts, alternate bpdc, fpdc as established for ribbing.
- hdc in turning ch at row end.
- Turn.
Rows 7–10:
- Repeat Row 6 exactly:
- Work rib border in first and last 5 sts.
- For middle, work basketweave established (5 fpdc, 5 bpdc blocks).
- Always end with hdc in turning ch.
- By Row 10, you should have 5 rows of each basketweave block.
Switch Basketweave Direction (Rows 11–15)
Row 11:
- Ch 2, turn; skip first st.
- Rib border: Alternate fpdc, bpdc for first 5 sts.
- Basketweave pattern:
- Across blanket:
- 5 bpdc in next 5 sts,
- 5 fpdc in next 5 sts,
- Repeat blocks until last 5 sts.
- Across blanket:
- Rib border: Alternate bpdc, fpdc in last 5 sts.
- hdc in turning ch at end.
- Turn.
Rows 12–15:
- Repeat Row 11 exactly:
- Always match post stitches: bpdc in bpdc, fpdc in fpdc (do not switch again for these four rows).
- End with rib border and hdc in turning ch.
Repeat Basketweave Motif
- Alternate 10-row motifs (Rows 6–15), switching the basketweave direction every five rows.
- For lap blanket: repeat these sets 8 more times (total 95 rows), or until desired length.
Finish With Ribbing Rows (Rows 96–100)
Row 96:
- Ch 2, turn; skip first st.
- Alternate fpdc, bpdc across the row.
- hdc in turning ch at end.
Rows 97–100:
- Ch 2, turn; skip first st.
- Continue ribbing: fpdc in fpdc and bpdc in bpdc.
- hdc in turning ch at end of each row.
Finishing
- Fasten off: Cut yarn leaving a long tail.
- Use yarn needle to weave ends securely through stitches.
- Weave in tails carefully to avoid them showing on blanket edges.
- Pull back on the weaving occasionally to ensure ends don’t pop out after clipping.
Conclusion
The Easy Basketweave Lap Blanket makes a cozy, reversible, and attractive textile perfect for wheelchair users and as a lap throw. The post-stitch motif creates a rich texture, while the ribbing adds a neat border. The size can be easily adjusted by changing starting chain or motif repeats.
Pattern Correction
- The ribbing sections are always worked over the first and last 5 stitches of every row (not only at start and end of the blanket).
- Each basketweave motif block is 5 stitches wide and 5 rows high (not 10 stitches), alternating fpdc and bpdc.
Tips
- Visual check: It’s easy to see errors; regularly check your work for pattern symmetry.
- Customize: Add/subtract in multiples of 10 at the foundation chain for size changes.
- Yarn weight: You can use #4 worsted for a lighter blanket; measurements and yardage will differ.
- Ends: Use longer tails for weaving in ends to minimize poking out after repeated use or wash.