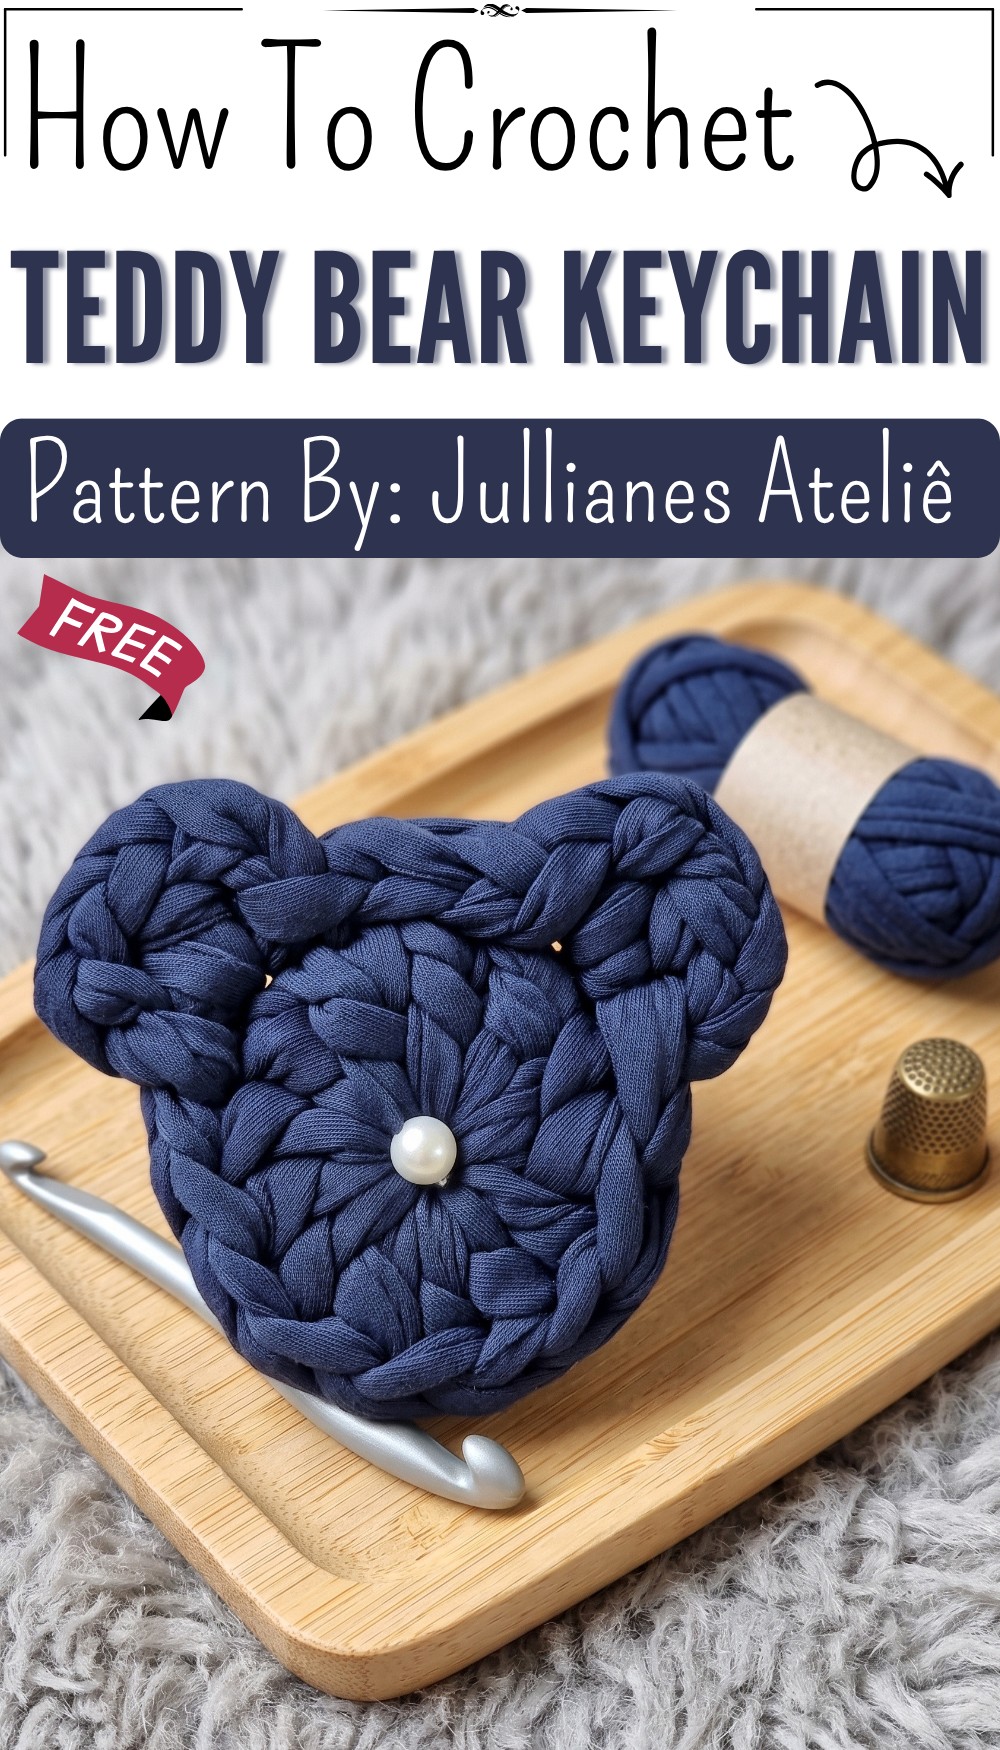
How to Crochet Teddy Bear Keychain Free Pattern in Minutes
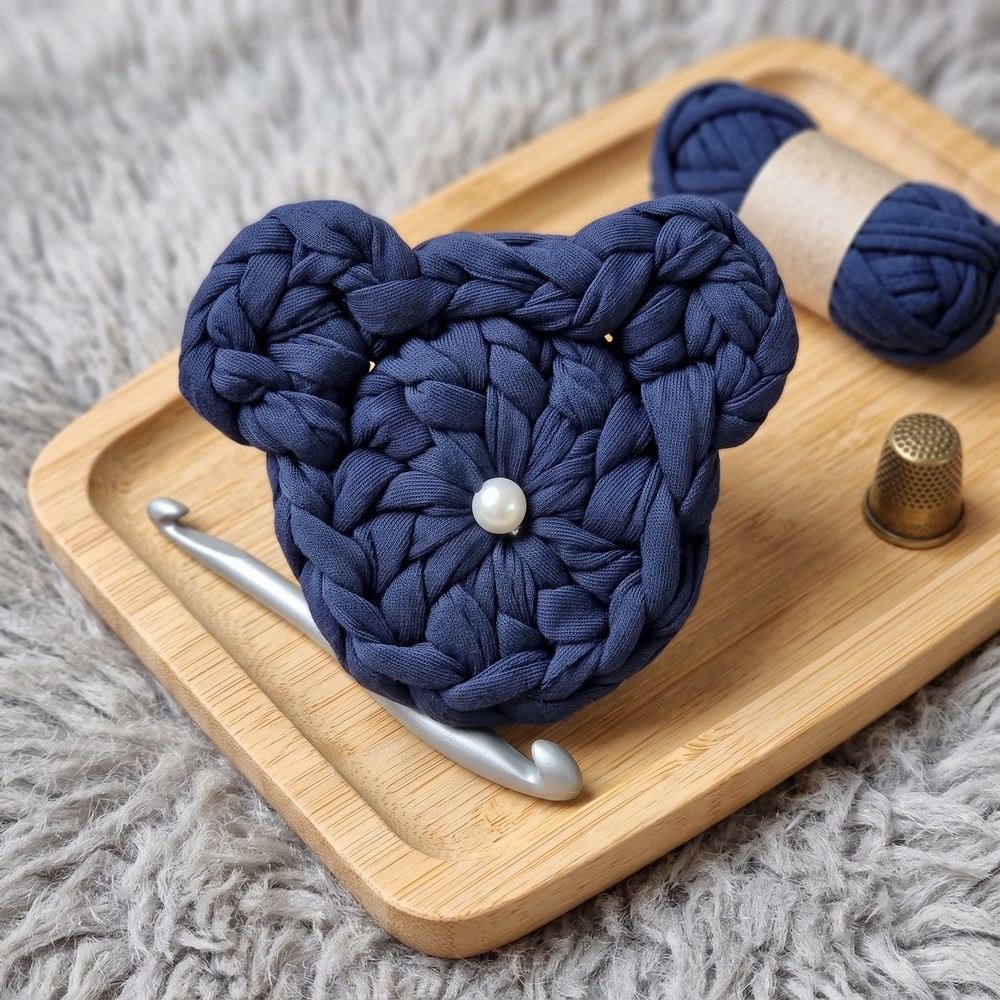
Spark joy in small moments through this Free Crochet Teddy Bear Keychain Pattern delivering an irresistible teddy bear accessory perfect for everyday carrying.
A tiny teddy bear that fits in the palm of your hand can bring a lot of joy. The free crochet Teddy bear keychain pattern is a lovely project that lets you make this cute and useful item. Jullianes Atelier offers a clear and easy-to-follow video guide to help you create this adorable keychain with your own hands.
This little teddy bear has a soft and smooth texture thanks to the yarn used. Its round head and body give it a classic teddy bear shape that is very charming. Small details, like a tiny nose and eyes, add personality and make it stand out. The size is perfect for attaching to keys, bags, or backpacks, making it both decorative and practical.

Simple Free Crochet Teddy Bear Keychain Pattern for Beginners
People will love carrying this sweet teddy bear wherever they go. It makes a thoughtful gift that shows you care because it is handmade with love. Besides being a keychain, it can also be used as a cute decoration for backpacks or pencil cases. Its simple style with soft colors appeals to all ages and adds a bit of fun to everyday items.
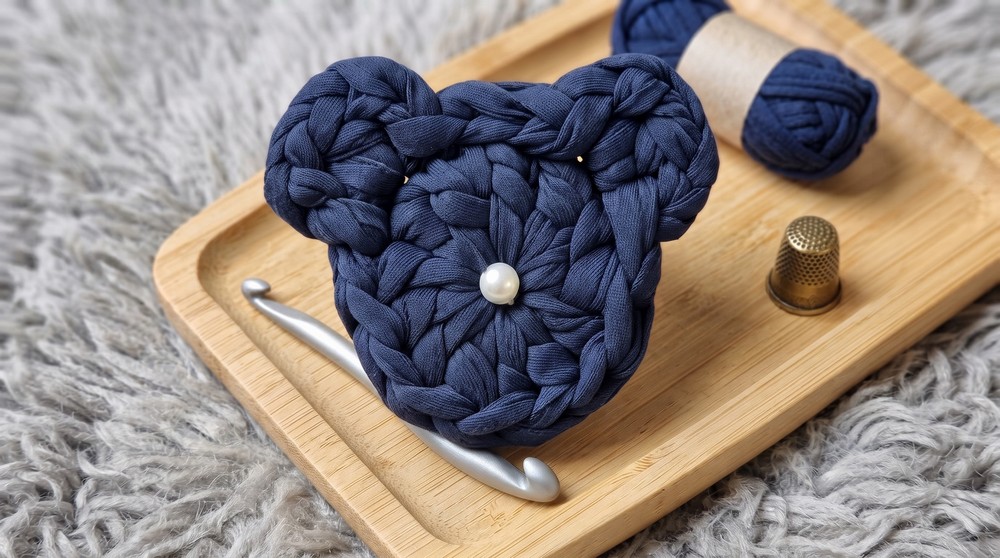
This keychain brings together beauty and function in a small, charming package. Thanks to the helpful instructions found on Jullianes Atelier channel, anyone can enjoy making this delightful teddy bear. It’s a perfect handmade project with lasting use and a wonderful way to spread smiles wherever it’s seen.
Crochet Bear Keychain Pattern Using Fio de Malha (T-shirt Yarn)
This tutorial guides you step-by-step to create a charming bear keychain using fio de malha, also known as t-shirt yarn, which contains some elastane for a bit of stretch and durability. This quick project uses a thick yarn and a large hook to produce a sturdy and trendy accessory, perfect for gifting or personal use. The design is simple yet adorable, combining basic crochet stitches to form the circular base and cute bear ears. Follow along for a complete detailed pattern to master this delightful project.
Quick Overview Of The Pattern
- Work a magic circle foundation to start the base.
- Crochet chains followed by rounds of double crochet and half-double crochet (hdc) stitches increasing outward.
- Close the round with a slip stitch for a neat finish.
- Create two small ears directly on the base circle using chains, double crochets, and slip stitches.
- Finish by securing yarn tails and optionally adding a bead or keychain ring.
Notes
- The pattern is worked in one piece, no sewing required, ideal for beginners comfortable with basic crochet stitches.
- Use of fio de malha yarn (t-shirt yarn with elastane) produces a chunky, resilient fabric.
- The project uses a large 6 mm hook, adapting well to the bulkiness of t-shirt yarn.
- Be mindful when pulling tails tight in the magic circle to ensure a firm and even base circle.
- Finishing is smooth and clean by hiding yarn ends with a smaller hook, improving durability and appearance.
- Adding a bead or keychain ring personalizes your keychain and makes it functional.
Skill Level
This pattern is suitable for beginner to intermediate crocheters who:
- Are familiar with magic rings/circles.
- Can work double crochet (dc), half-double crochet (hdc), chains, and slip stitches efficiently.
- Can follow pattern instructions for shaping small features such as ears.
- Have experience tidying up ends and performing basic finishing touches.
Materials
- Fio de malha (t-shirt yarn) containing some elastane, preferably in your desired color for the bear.
- Crochet hook size 6 mm (Brand Círculo used in the tutorial, but similar hooks will work).
- Scissors to cut yarn neatly.
- Optional: bead for embellishment.
- Optional: keychain ring for attaching your bear keychain to keys or bags.
- A smaller crochet hook or yarn needle for weaving in ends.
Measurements / Sizing
- The finished bear keychain base will measure approximately 6–8 cm (2.5–3 inches) in diameter, depending on yarn tension and hook size.
- Ears add a small yet noticeable feature approximately 1–2 cm high each.
- Overall size is compact, making it perfect for use as a keychain or bag charm.
Gauge and Stitch Pattern
- Gauge is not critical due to the nature of the keychain but maintaining reasonably firm stitches is recommended for durability.
- The base is constructed in rounds starting from the magic circle.
- Stitches used by round: double crochet and half-double crochet mostly.
- Ears formed with short sequences of chains, double crochets, and slip stitches.
Stitch Abbreviations
| Abbreviation | Meaning |
|---|---|
| ch | Chain |
| dc | Double crochet |
| hdc | Half-double crochet |
| sl st | Slip stitch |
| st | Stitch |
Special Stitches
Magic Circle (Magic Ring)
Create an adjustable loop to begin the project in the round. Work the first round of stitches into the loop, then pull the yarn tail to close tightly, forming a neat center.
The Crochet Pattern
Step 1: Magic Circle & Base
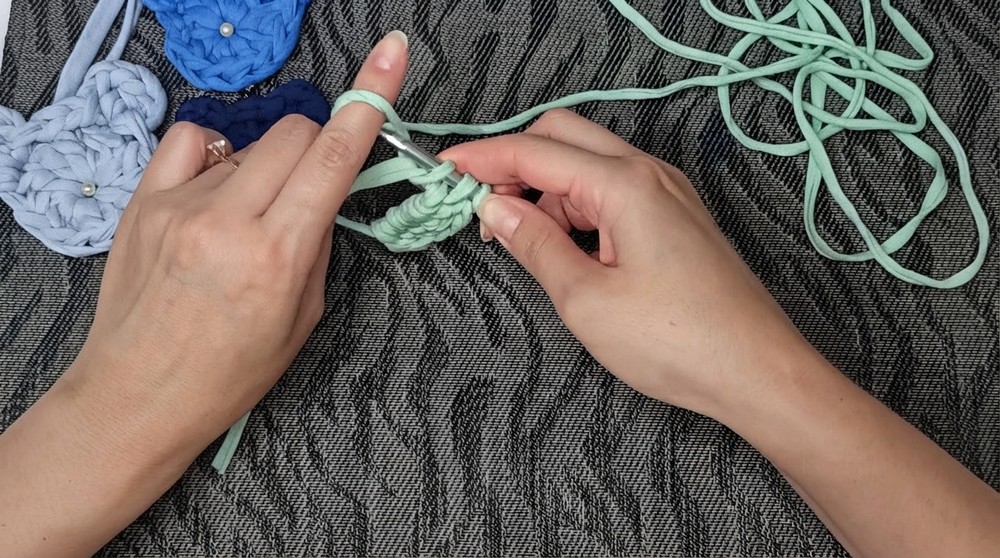
- Create a magic circle to start.
- Chain 2 (this does not count as a stitch but creates height for the first round).
- Work 4 double crochet (dc) stitches into the magic circle.
- Next, work 8 half-double crochet (hdc) stitches inside the same magic circle.
- Pull the yarn tail firmly to close the circle tightly, ensuring the base is compact and smooth.
Step 2: Closing the Round
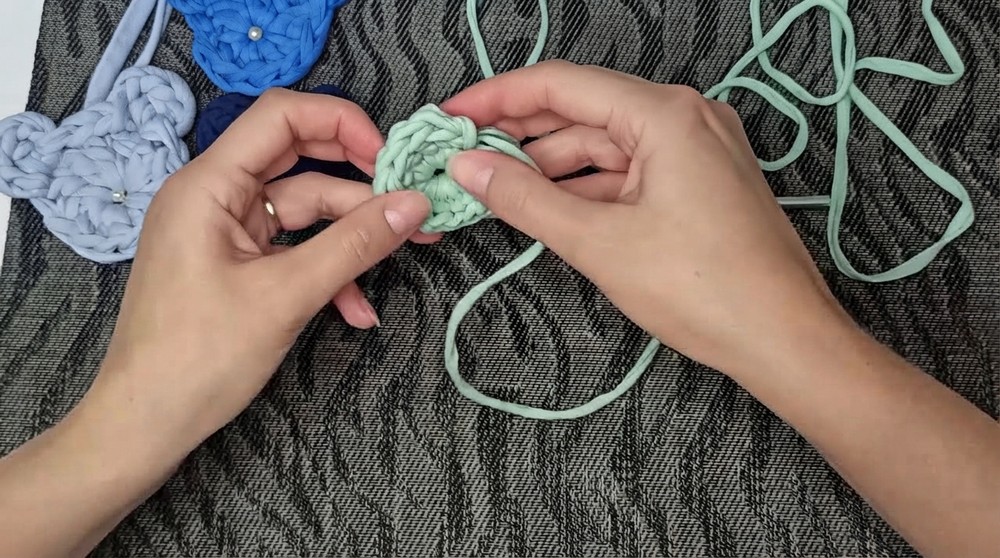
- Insert the hook into the first stitch after the initial chain 2.
- Complete the round by making a slip stitch (sl st) to join, creating a neat circular base of the keychain.
Step 3: Creating Ears
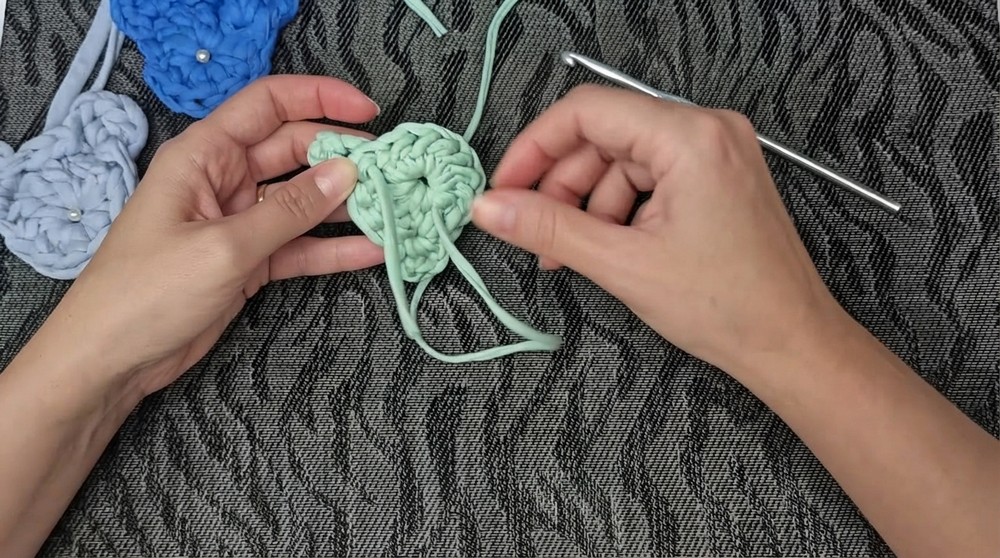
- At the same space where the previous slip stitch was made, chain 2.
- Work 1 double crochet (dc) into the same stitch to start forming the first ear.
- Chain 2 again.
- Make a slip stitch (sl st) into the same stitch, completing the ear shape.
- Move the hook forward by slip stitching into the next interval.
- Make 2 slip stitches (sl st) in succession to position yourself for the second ear space.
- Chain 2.
- Make a slip stitch (sl st) in the same stitch to form the second ear.
Step 4: Finishing
- Cut the yarn leaving a tail long enough for securing and weaving in.
- Pull the yarn tail through the backside (reverse side) of the piece.
- Using a smaller crochet hook, insert it between stitches of the fabric and hide the yarn ends tidily inside for a clean finish.
- Optionally, add a bead onto your yarn tail before final knotting or attach a keychain ring to make the piece functional as a key holder.
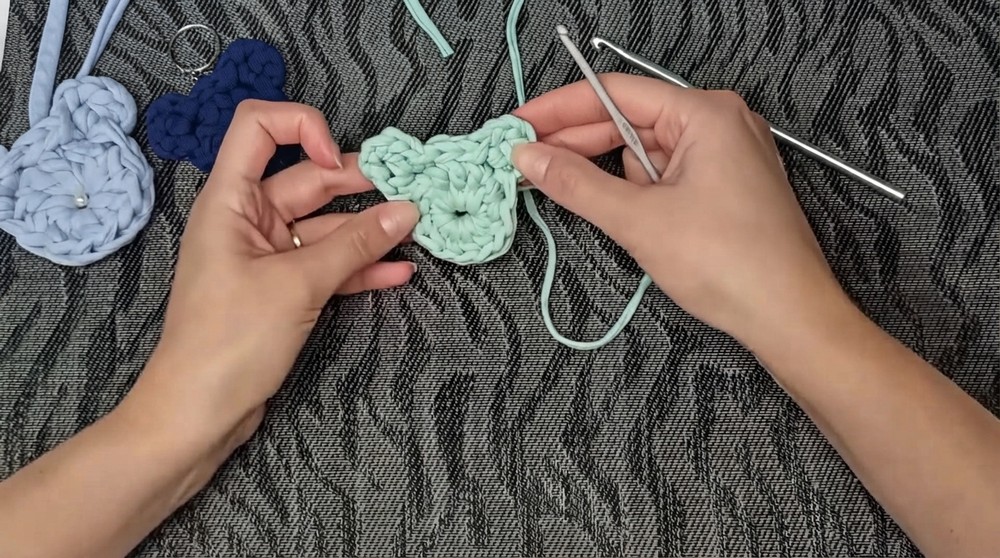
Assembly & Finished Size
- After finishing the crochet work and hiding yarn ends, your bear keychain base will be firm with two small ears projecting clearly.
- Add beads or safety eyes if desired using glue or stitches to personalize your bear’s expression.
- Attach the keychain ring securely, ensuring it holds with no risk of detachment.
- The completed keychain measures approximately 6 to 8 cm across, making it portable and lightweight enough for everyday use.
Conclusion
This beginner-friendly crochet bear keychain project using fio de malha is a charming and practical craft that invites creativity and customization. By mastering stitches such as the magic circle, double and half-double crochet, slip stitch, and shaping small ears, you gain valuable crochet skills while producing a delightful accessory. The bulky nature of t-shirt yarn combined with a larger hook yields instant satisfaction with sturdy results. Whether for gifting or personal use, this bear keychain will brighten up bags, keys, or holiday gifts with handmade love.