Free Rabbit Keychain Crochet Pattern for Handmade Gifts
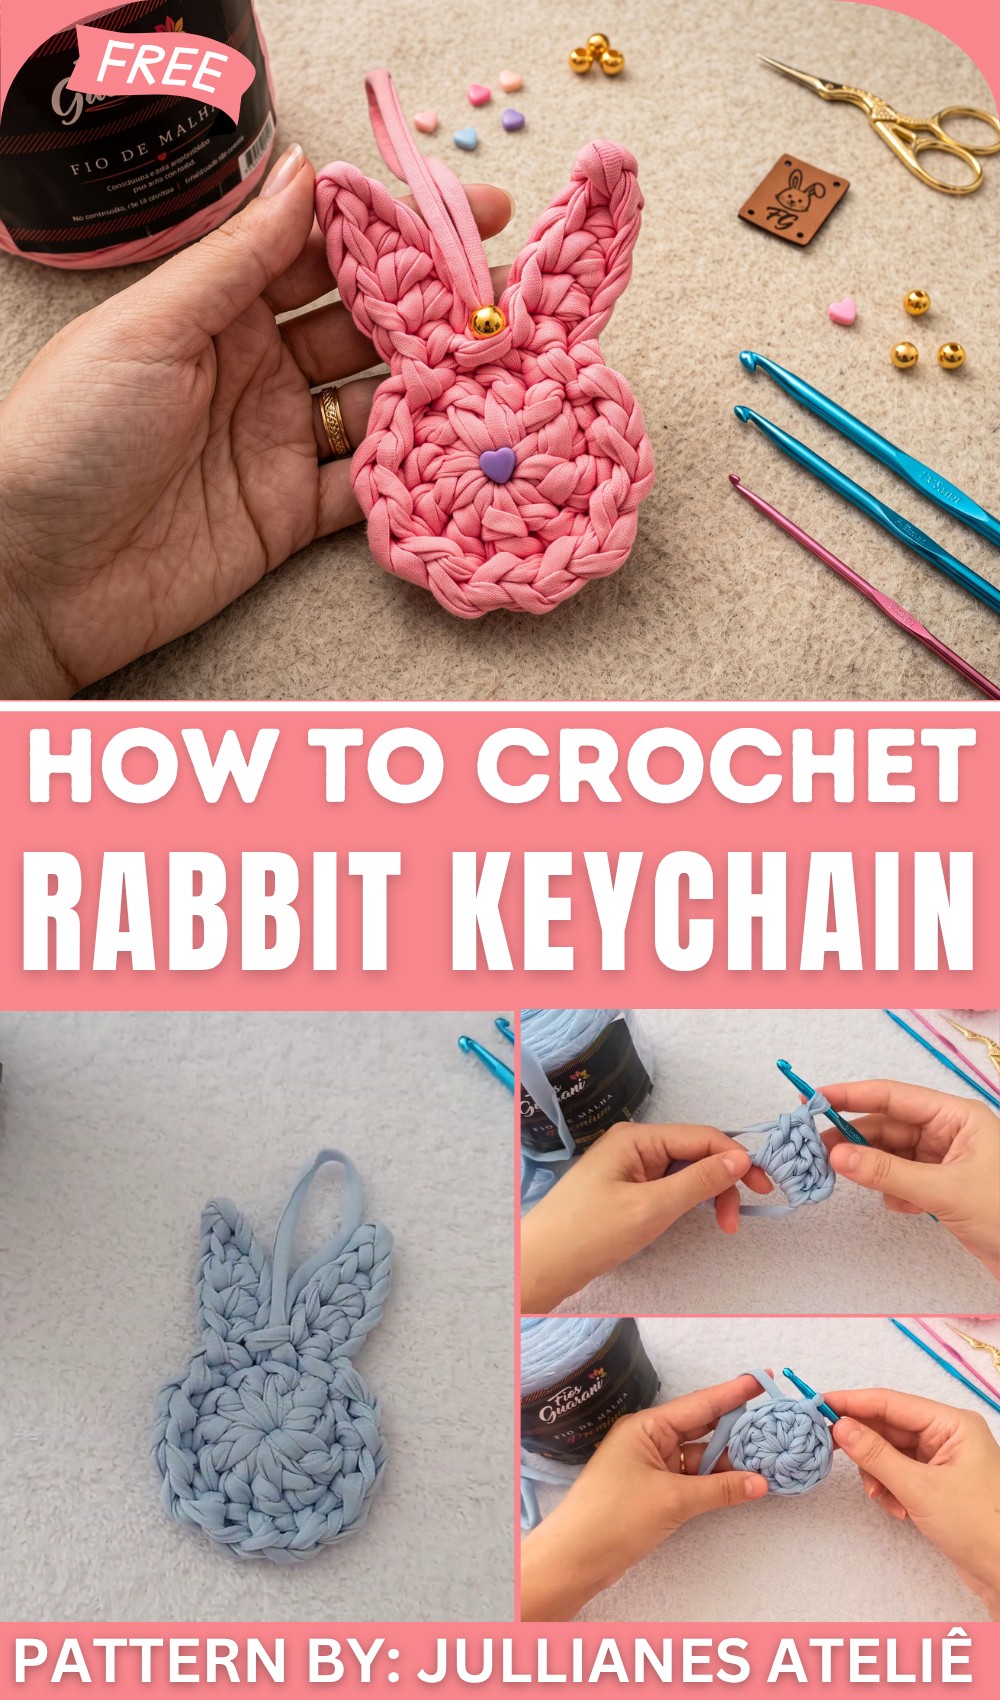
Rabbit Keychain Crochet Pattern for Fun Project
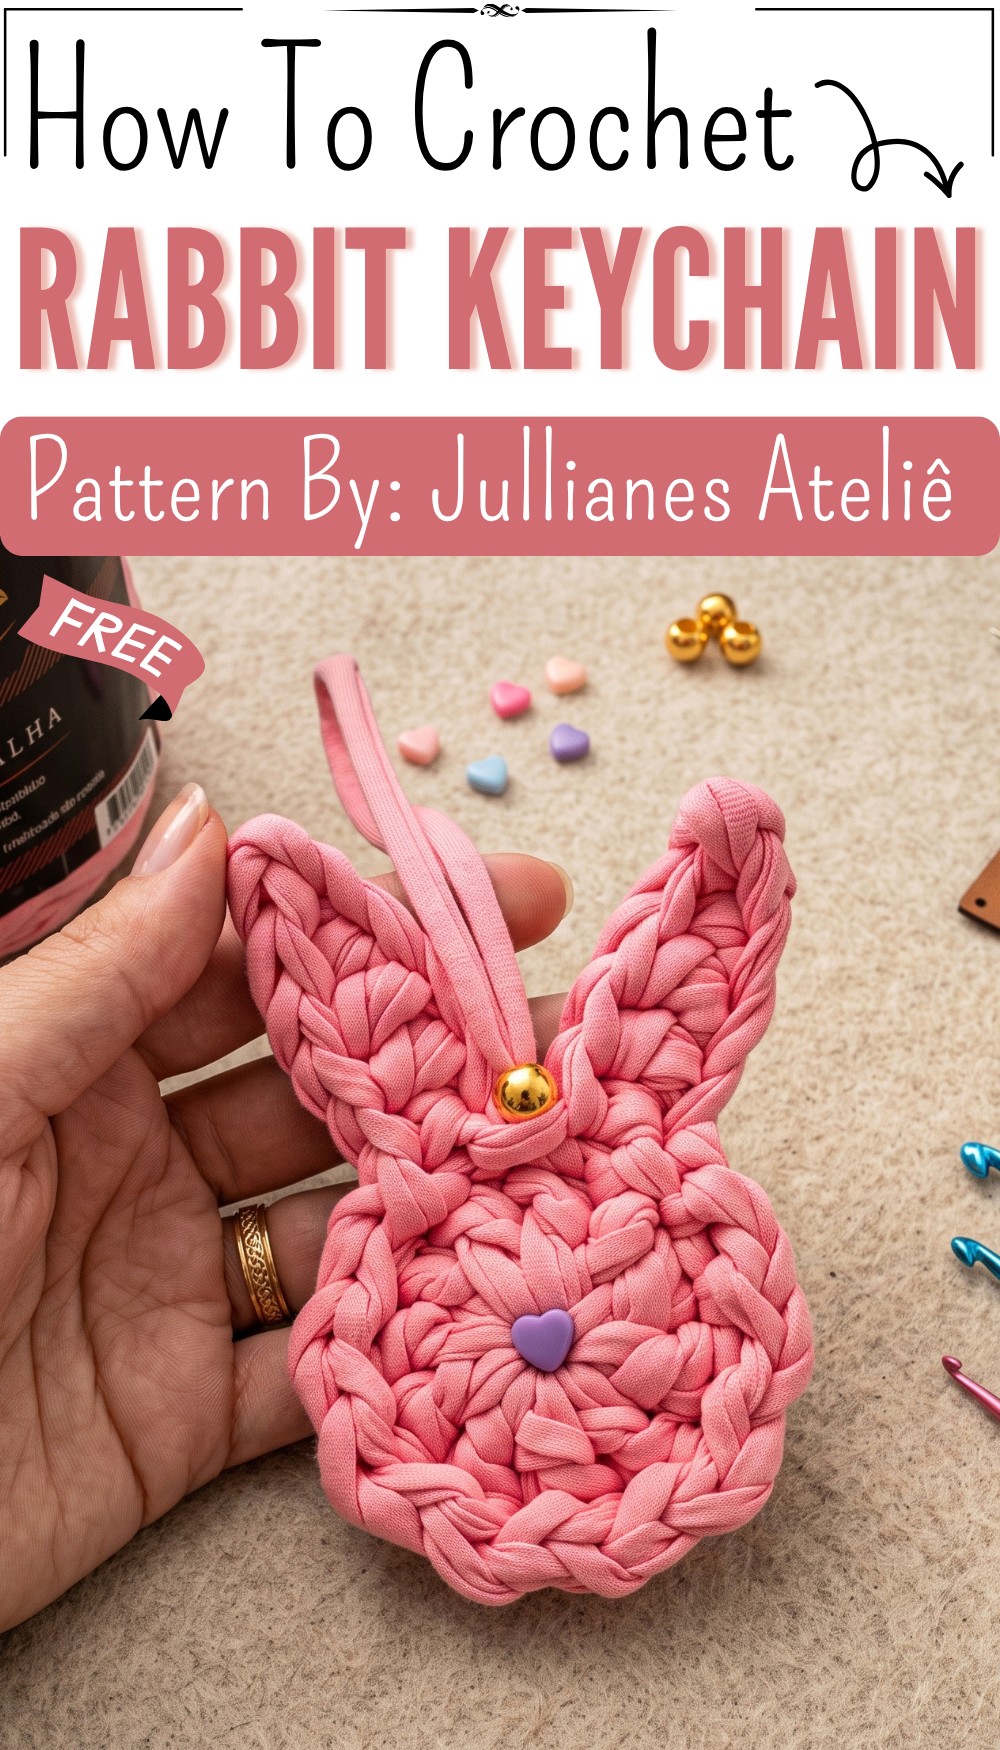
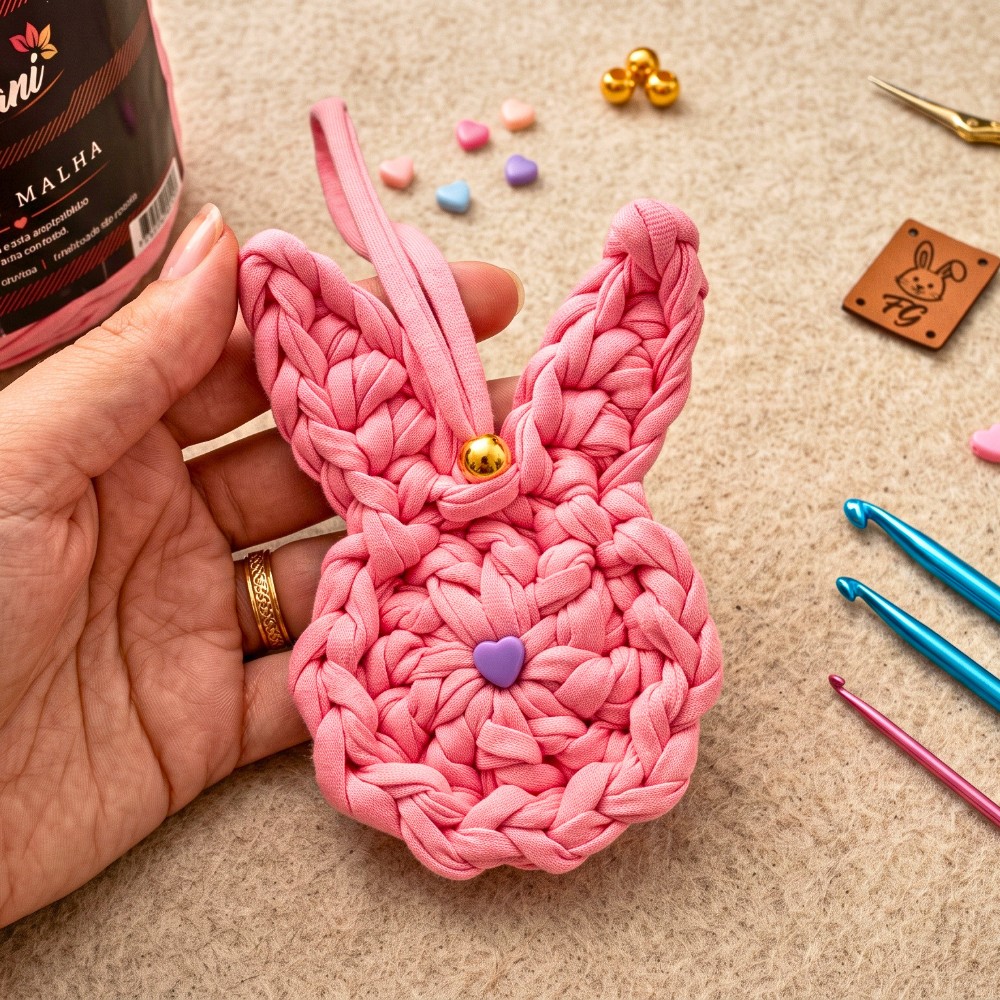
The finished rabbit has a sweet and friendly look. Its small body, soft crochet texture, and cute shape make it easy to love. The little ears give it a clear rabbit look, while the compact size keeps it light and easy to carry. Simple colors can give it a soft style, while brighter shades can make it more playful.
This rabbit keychain can go almost anywhere with you. Attach it to your keys, handbag, backpack, purse, or pencil case. It can also hang from a zipper or sit on a shelf as a tiny crochet decoration. The small size makes it a useful choice for people who like carrying cute accessories without adding much weight.
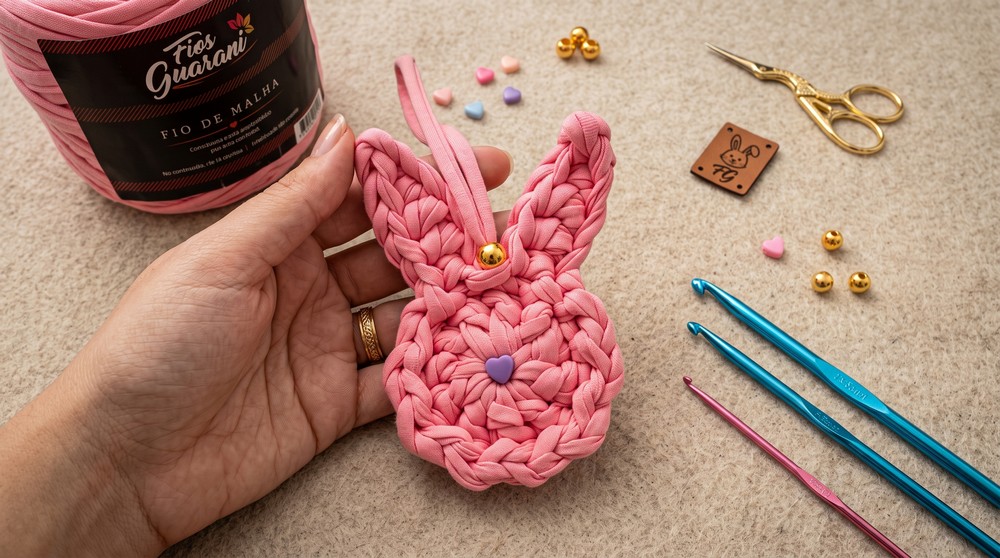
A crochet rabbit keychain can also make a lovely little gift. Give one to a friend, sister, child, classmate, or anyone who loves rabbits and cute things. You can choose colors based on the person’s favorite shades, making the present feel more personal. Several rabbits in different colors can also become a fun collection. Whether it hangs from a bag, keeps keys easy to spot, or adds charm to a zipper, this tiny crochet rabbit is a simple way to bring a little happiness into everyday life.
Crochet Keychain Pattern by Juliana Perkoski
This pattern presents a charming quick-to-make crochet keychain crafted by Juliana Perkoski. Designed using soft baby blue yarn and a medium-sized hook, this keychain features a cute head shape with delicate ears and a distinctive zigzag border. The accessory is finished with a heart-shaped button and a golden bead to create an appealing embellishment, perfect for your keys or to adorn packaging. This detailed step-by-step guide mirrors the tutorial transcription to help you craft this delightful keychain easily.
Pattern Highlights
- Compact and Quick: Easily creates a small and adorable keychain suitable for beginners to intermediates.
- Textural Variety: Combines magic ring, double crochet, slip stitch, single crochet, and half-double crochet stitches for texture contrast.
- Decorative Edging: Finishes with a delicate zigzag border to enhance the keychain’s aesthetic appeal.
- Beautiful Final Details: Embellished with a heart-shaped button nose and golden bead charm.
Notes
- Use the recommended thickness of medium-weight yarn to achieve the correct size and tension.
- A smaller hook is recommended for the finishing border to produce a firm, neat edging.
- Carefully secure yarn ends with glue to prevent unraveling, adding durability to the piece.
- Hand-sewing of buttons and beads should be done tightly to ensure longevity.
Skill Level
Beginner to Intermediate
- Requires knowledge of magic ring, double crochet (dc), chain (ch), slip stitch (sl st), single crochet (sc), and half-double crochet (hdc) stitches.
- Ability to work in rounds and join rounds neatly.
- Basic finishing techniques including sewing and gluing appliqués.
Materials
- Premium Fios Guarani acrylic yarn, Baby Blue color, approx. 2.8 mm thickness.
- Crochet Hook size 5.5 mm.
- Techbond 793 glue for secure ends.
- Metal charm or bead approximately 10 mm size for eye or additional detail.
- Small heart-shaped button for the nose.
Measurements / Sizing
- Finished keychain head diameter approximately 5 to 6 cm (2 to 2.4 inches).
- Ears extend approximately 2 to 2.5 cm from the base.
- Overall piece length (including ears) around 7 to 8 cm (2.75 to 3.15 inches).
- Compact size ideal for keychains or decorative tags.
Gauge and Stitch Pattern
- Gauge is flexible given the small size but maintaining consistent tension creates uniform stitches and smooth shaping.
- Stitch pattern: circular base formed by 1 round of double crochet stitches in a magic ring, ears worked in chains and varied stitches, and a finishing zigzag border using slip stitches and chains for texture.
Stitch Abbreviations
| Abbreviation | Meaning |
|---|---|
| ch | Chain |
| dc | Double Crochet |
| sl st | Slip Stitch |
| sc | Single Crochet |
| hdc | Half-Double Crochet |
| MR | Magic Ring |
Special Stitches
Magic Ring (MR)
Begin your magic ring by wrapping yarn into an adjustable loop, allowing you to crochet stitches inside and then pull the ring tight to close the hole neatly.
Crochet Pattern
Step 1: Base (The Head)
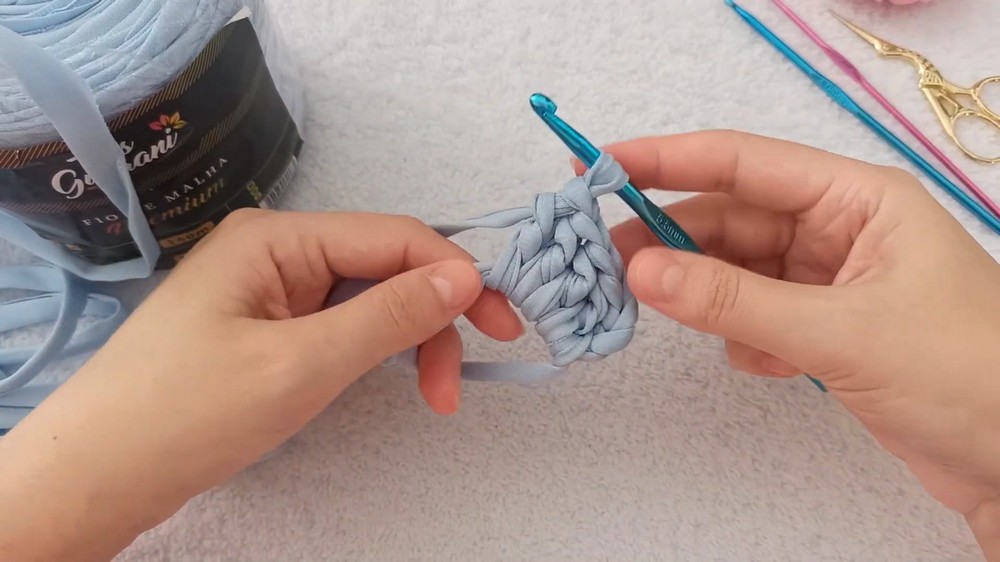
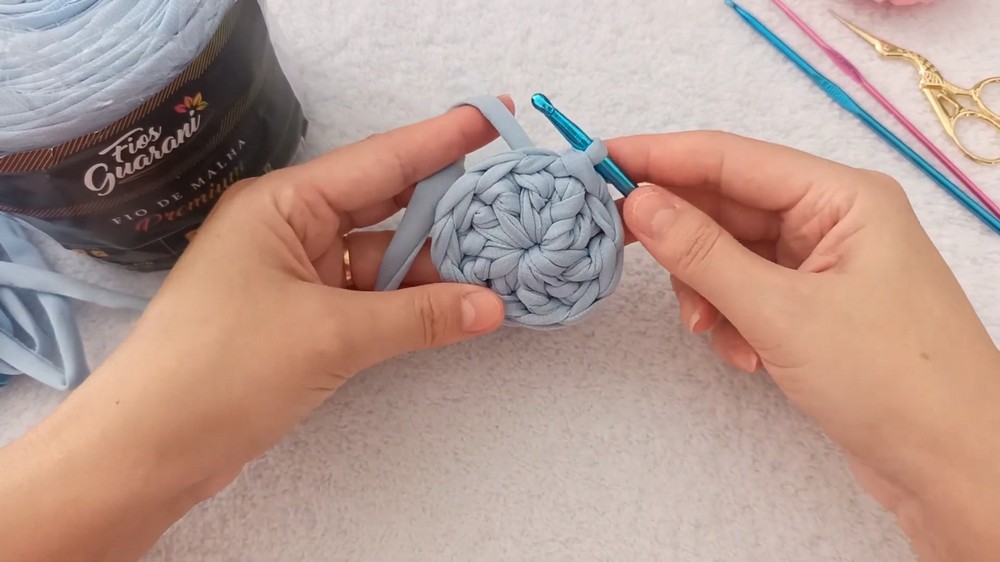
- Create a magic ring (MR).
- Chain 3 to count as the first double crochet stitch.
- Work 10 double crochet (dc) stitches into the magic ring for a total of 11 dc stitches including the initial chain-3.
- Pull the ring tightly closed to form a solid circular base.
- Join the round by making a slip stitch (sl st) into the top of the initial chain-3 to close the circle neatly.
Step 2: The Ears
First Ear
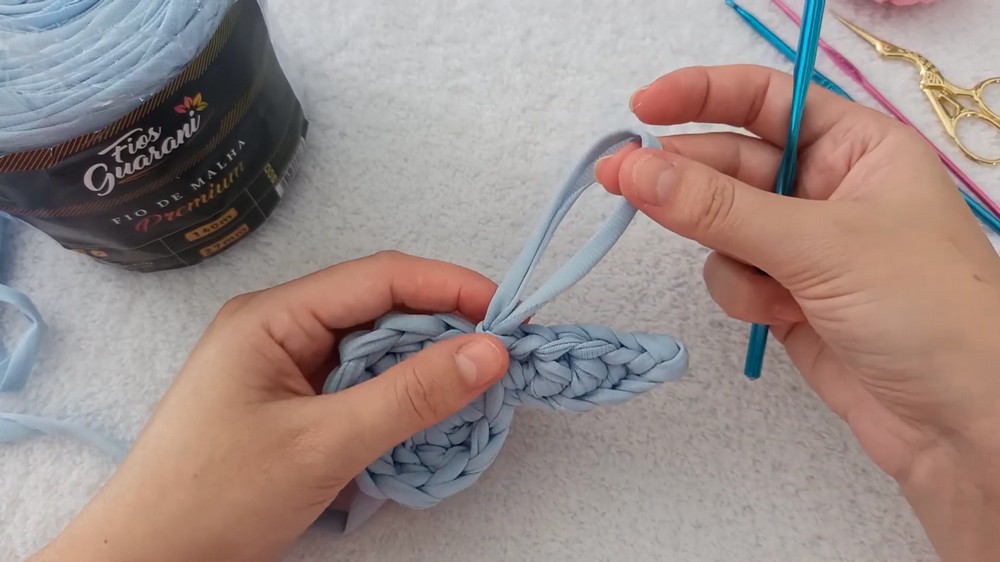
- Chain 6 stitches.
- Skip the first chain from the hook.
- In the second chain, make 1 slip stitch (sl st).
- In the next chain, make 1 single crochet (sc).
- Next, work 2 half-double crochet (hdc) stitches into the following 2 chains.
- In the final chain, work 1 single crochet (sc).
- Attach the base of the ear by making a slip stitch (sl st) into the magic ring base, securing the ear in place.
Second Ear
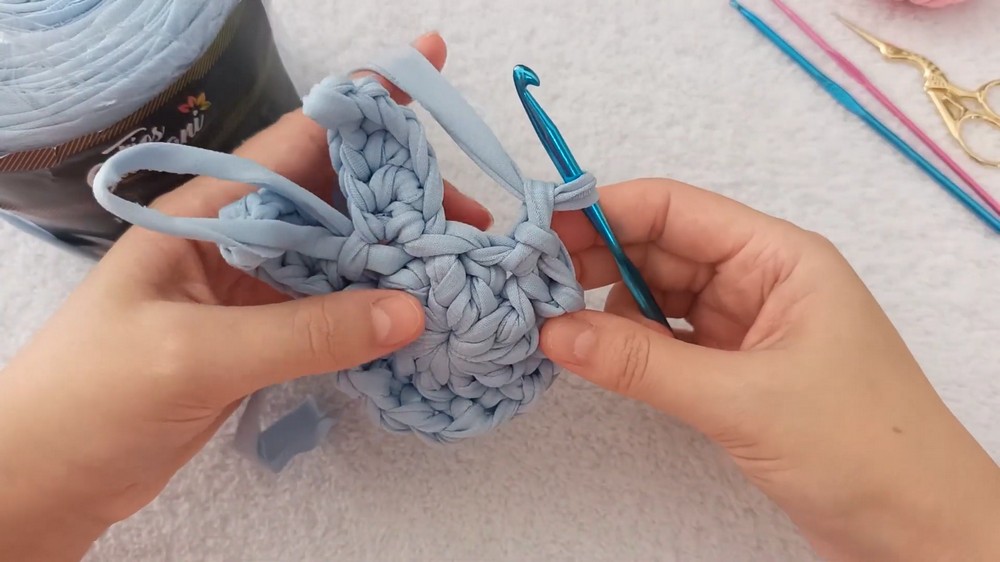
- Repeat the exact process described for the first ear: chain 6, skip 1, work slip stitch, single crochet, 2 half-double crochets, single crochet, and slip stitch to base ring.
Step 3: Finishing Edge
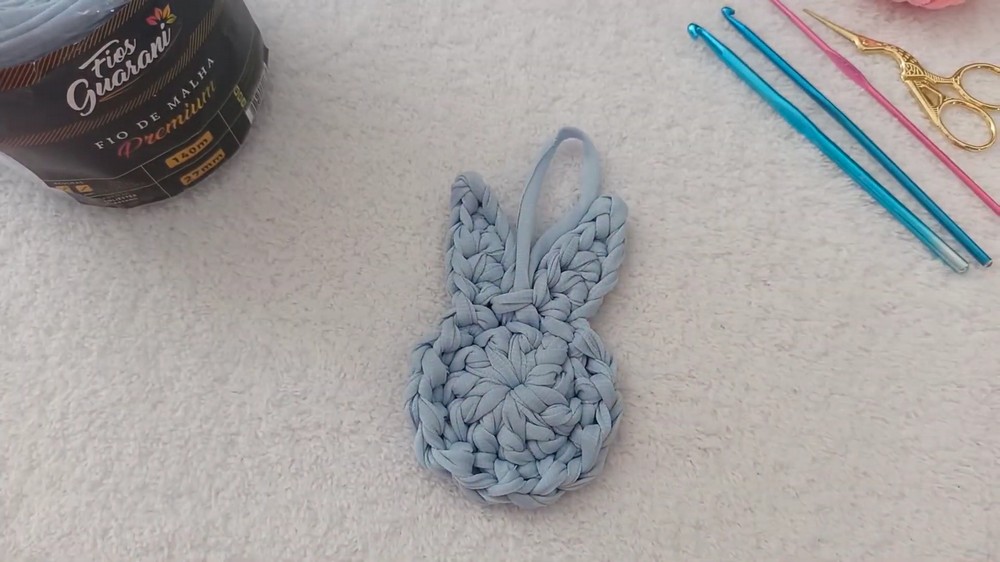
- Using a smaller crochet hook, create a “zigzag” border around the remaining spaces of the keychain base.
- The border consists of repeating the sequence: 1 slip stitch (sl st) followed by 1 chain (ch) into every available space around the piece.
- Continue this pattern evenly until you reach the starting point, creating a neat, decorative edge.
- Secure the final stitch carefully to avoid unraveling.
Step 4: Final Assembly & Details
- Hide and trim all loose yarn ends securely to maintain a clean appearance.
- Apply Techbond 793 glue on yarn ends and any joins that require reinforcement. Allow ample drying time for strength.
- Sew or glue a small heart-shaped button at the center front of the keychain piece to serve as the nose.
- Attach a golden metal bead or charm nearby for added decoration and charm enhancement.
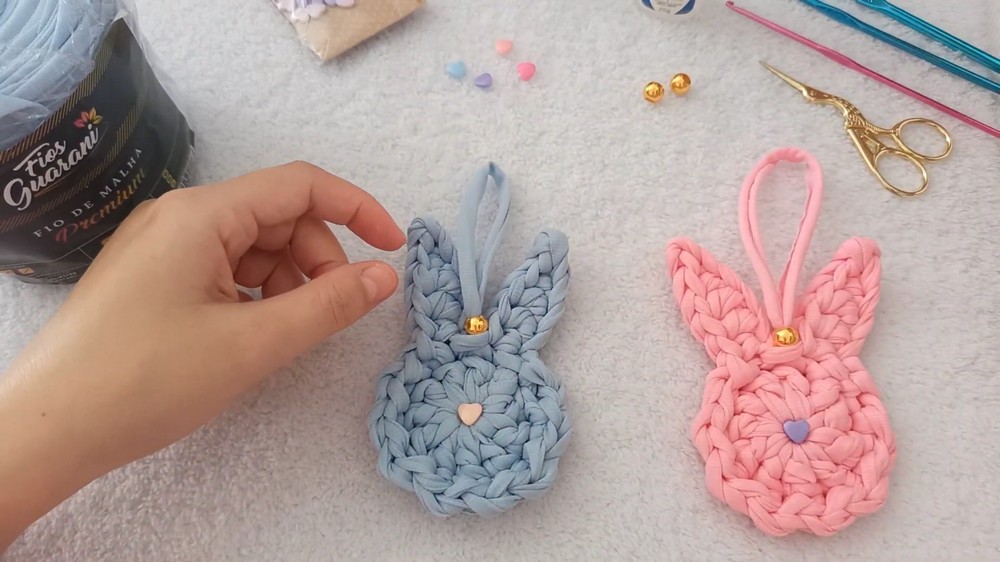
Assembly & Finished Size
Upon completion, the keychain measures about 5-6 cm in diameter with ears extending the total length to approximately 7-8 cm. The zigzag border adds texture and firmness. The combination of the baby blue yarn with metallic and heart-shaped embellishments creates a visually appealing keychain accessory, perfect for daily use or as a thoughtful gift.
Conclusion
This crochet keychain project designed by Juliana Perkoski combines simple stitches into a fun and attractive small accessory. The magic ring foundation, double crochet stitches, and charming ear details make a delightful shape, while the intricate zigzag border adds a professional finish. Adding the heart button and bead creates a personalized, elegant touch. This project is approachable even for those developing their skills with working in rounds and stitch variations. With patience and attention to detail, you will create a lovely, durable keychain full of character and charm to brighten your keys or gift wrapping.