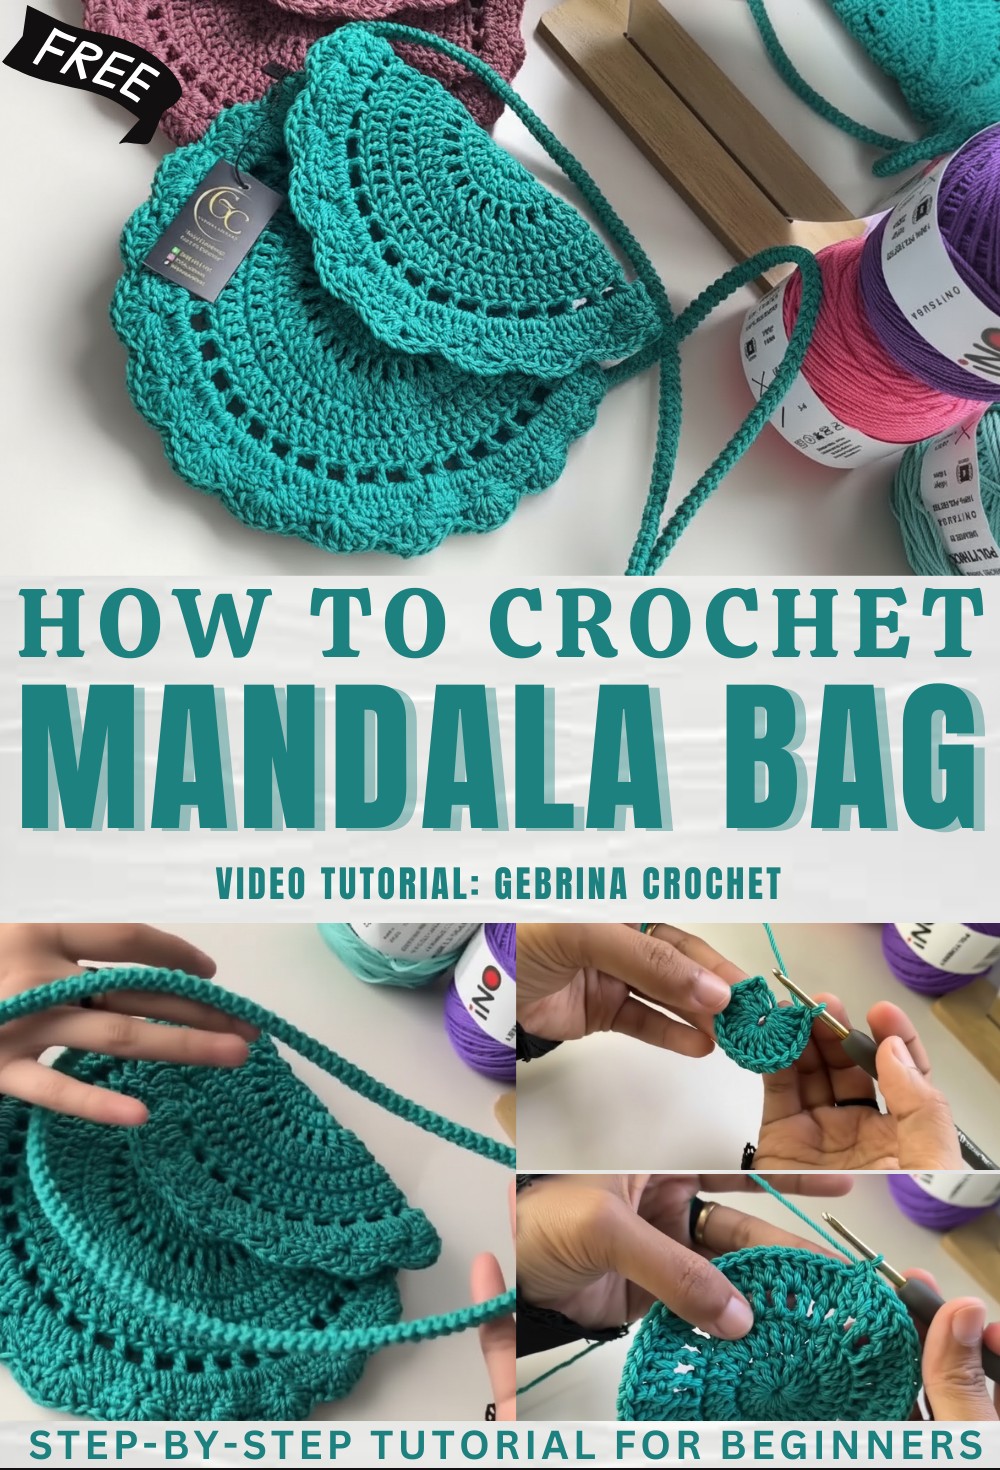
FREE Crochet Mandala Bag Pattern That’ll Blow Your Mind
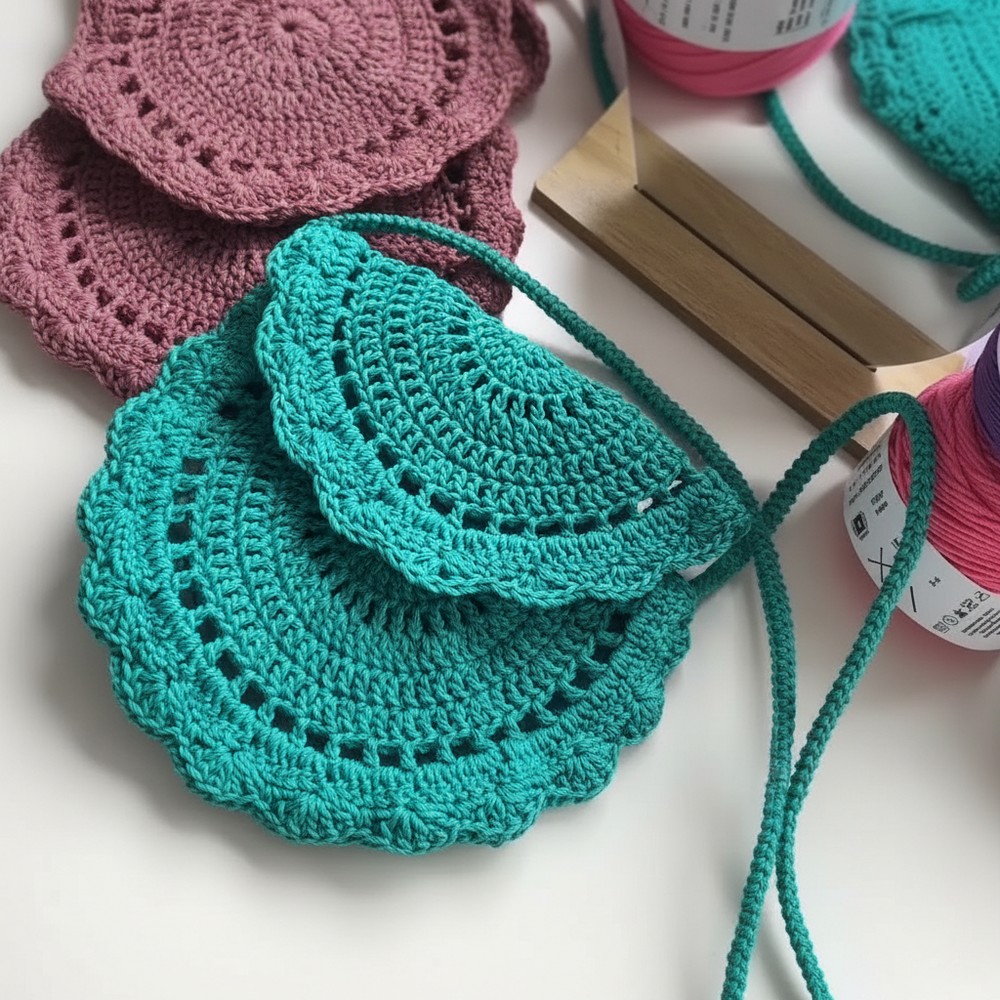
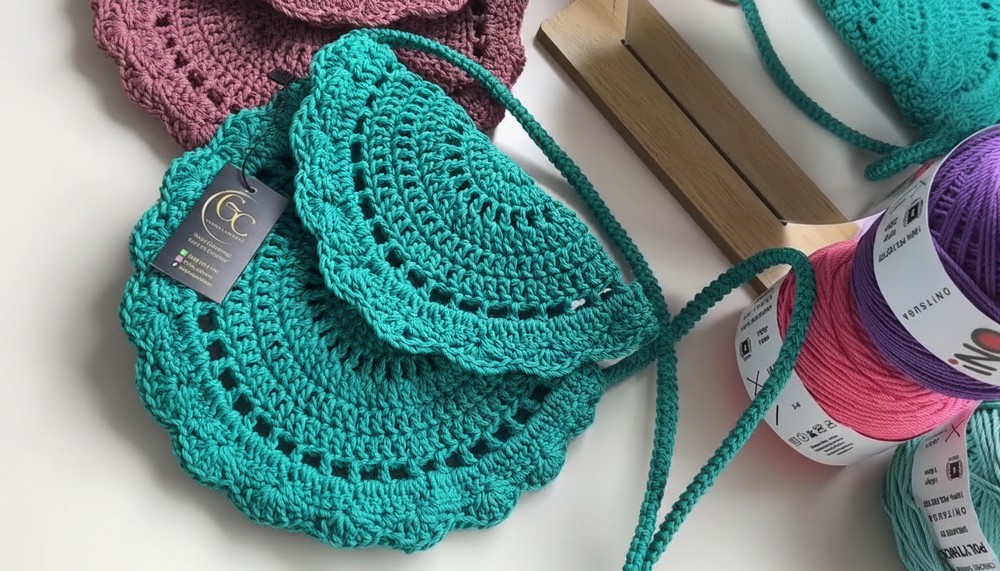
Brighten up your accessory collection with a stunning, versatile bag that combines the intricate charm of mandala art with the functionality of crochet. This bag is not just visually appealing but incredibly practical too. With its circular mandala-inspired design, it’s perfect for carrying everyday essentials, a trip to the market, or even as a beach bag.
Fall in Love with Crochet Mandala Bag with a Modern Twist
What sets a crochet mandala bag apart is its mesmerizing geometric design and vibrant color combinations, sure to make a bold statement wherever you go. The pattern provides an eco-friendly alternative to store-bought bags, allowing you to crochet something unique and reusable.
Advantages include durability, customizability, and the chance to repurpose leftover yarn for a sustainable touch. Whether you pair it with a boho look or casual jeans, it adds a playful yet artistic vibe to your outfit. It’s both functional and fashionable, ideal for anyone on the go.
Materials Needed
- Yarn: Polyester thread or medium-weight yarn (choose your preferred color).
- Hook Size: 3mm (US D/3) for tight and sturdy stitches.
- Optional Items:
- Stitch markers (for marking the start of rounds).
- Tapestry needle (for weaving in ends and sewing parts together).
- Scissors.
- Magnetic button (for the bag closure).
- Lighter (to carefully seal yarn ends when necessary).
Skill Level
Intermediate to Advanced
Key Abbreviations (US Terminology)
- MR: Magic Ring
- ch: Chain
- sc: Single Crochet
- dc: Double Crochet
- sl st: Slip Stitch
- sp: Space
- st(s): Stitch(es)
Special Notes
- This bag is worked in the round unless mentioned otherwise.
- Use stitch markers to track the beginning of each round if needed.
- Be consistent with your tension, especially when working in the round for a flat, even shape.
- Each round builds upon the previous one, so ensure accuracy in stitch counts at the end of every round.
Pattern Steps
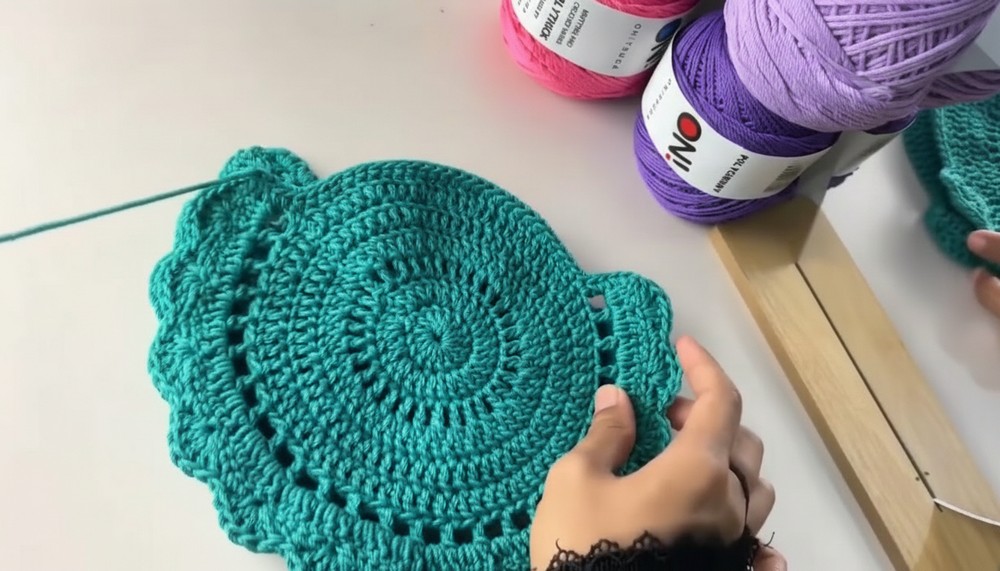
Bag Body – First Sheet
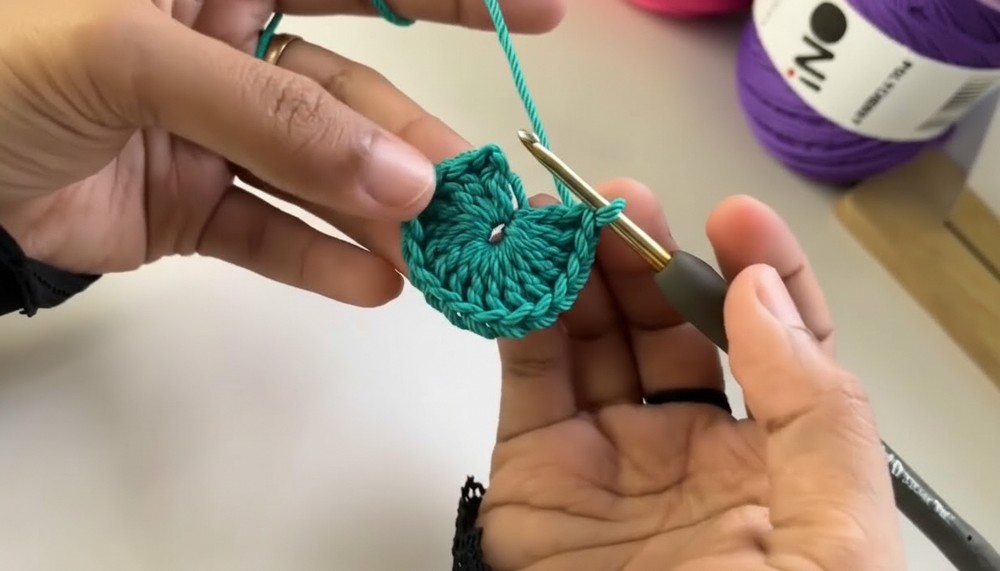
Round 1:
- Start with a Magic Ring (MR).
- Ch 2 (counts as the first dc).
- Make 15 dc into the MR.
- Pull the ring closed tightly. (Total: 16 dc)
Round 2:
- Skip the slip stitch. Instead, make 1 sc into the 2nd ch of the starting ch-2.
- Ch 2 (counts as the first dc).
- Make 1 dc into the same st where the sc was made.
- Work 2 dc in each st around (increase in every stitch).
- (Total: 32 dc)
Round 3:
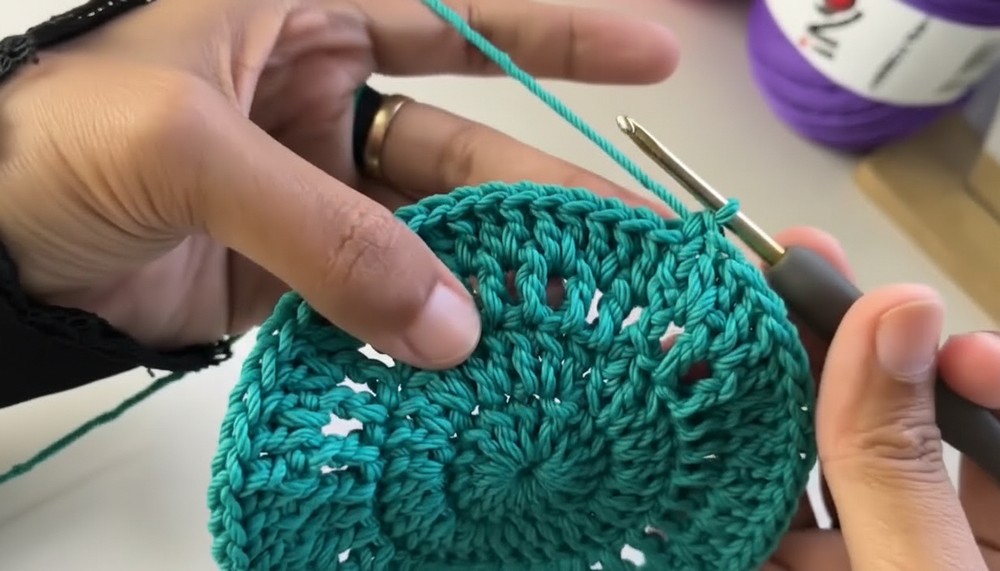
- Ch 3 (counts as the first dc), then ch 1.
- Skip 1 st, then dc into the next st.
- Ch 1, dc in the next stitch (skipping the next st).
- Repeat dc, ch 1, skip 1 st around.
- Sl st into the 2nd ch of the starting ch-3.
- (Total: 32 dc + 32 ch spaces)
Round 4:
- Make 1 sc into the first ch sp, followed by ch 2 (counts as the first dc).
- In the same ch sp, make 1 more dc.
- Continue: 2 dc in each ch sp around.
- (Total: 64 dc)
Round 5:
- Ch 2, then make 1 dc into each st around. (No increases in this round.)
- (Total: 64 dc)
Round 6:
- Ch 2, make 1 dc in each of the next 2 sts.
- In the 4th st, work 2 dc into the same st (increase).
- Continue: 1 dc in the next 3 sts, 2 dc in the next st around.
- Sl st to the 2nd ch of the starting ch-2.
- (Total: 80 dc)
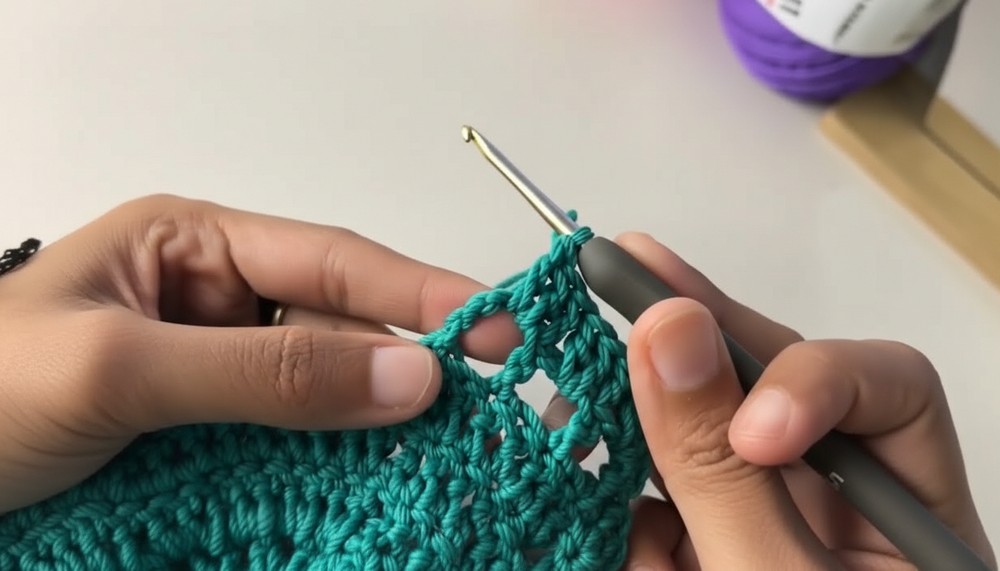
Round 7:
- Ch 4 (counts as 1 dc + ch 2).
- Skip the next st, then dc into the next st followed by ch 2.
- Repeat: Skip 1 st, dc in the next st, ch 2 around.
- (Total: 40 dc + 40 ch-2 spaces)
Rounds 8–9:
- Repeat the same pattern as Round 7.
- Ensure the stitch count remains consistent throughout.
Second Sheet
- Create a second sheet identical to the first (Rounds 1–9).
- Do not cut the yarn on the second sheet, as it will be used to connect the two sheets.
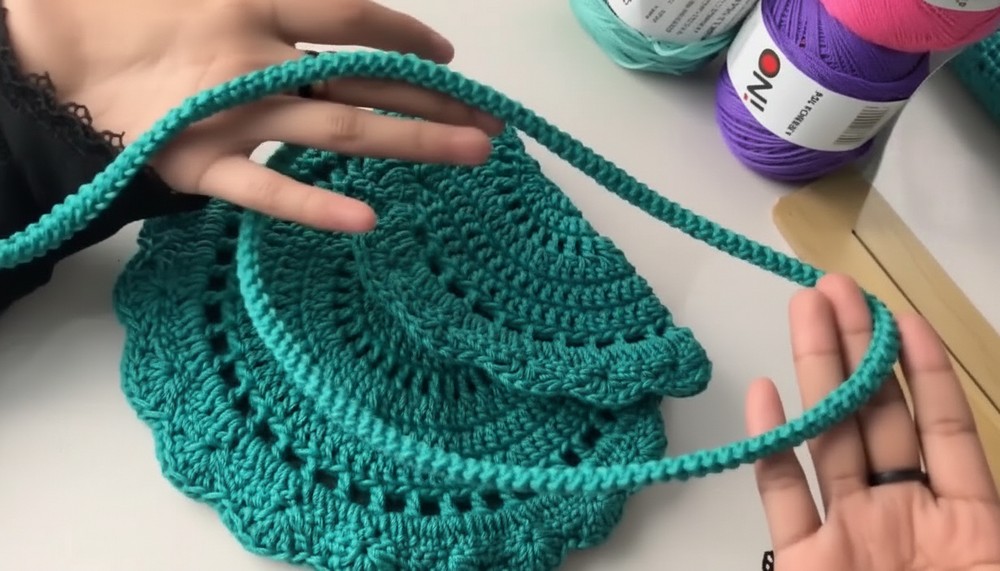
Connecting the Two Sheets
- Align the two sheets with the right sides facing out.
- Sew or crochet the two pieces together using the back loop of the first sheet and the front loop of the second sheet.
- Use a tapestry needle or crochet hook as desired to make a secure join around the edges.
- Once you have reached the end, secure your stitches and fasten off.
Bag Flap
Round 1:
- Start with a Magic Ring.
- Ch 2, make 13 dc into the MR.
- Pull the ring closed tightly. (Total: 14 dc).
Round 2:
- Make 1 sc into the first st, followed by ch 2.
- Make 2 dc in each st around.
- (Total: 28 dc).
Rounds 3–6:
- Follow the exact pattern from the bag sheets, scaling down as needed to maintain a smaller diameter for the flap.
Round 7:
- Reduce the number of ch spaces to 24 spaces, maintaining consistency in pattern placement to align with the bag design.
Assembling and Finishing
Magnetic Button:
- Attach a magnetic button to the center of the flap.
- Use a small circular crochet base (16 hdc into a Magic Ring) to add a decorative and secure backing for the button.
Handle (Optional):
- Create a strap or handle using your preference: braided, crocheted, or fabric straps.
- Attach the strap to the bag using a sewing method for a strong and sturdy connection.
Weaving in Ends:
Secure all loose ends by weaving them in with a tapestry needle. Trim excess yarn and burn ends lightly if required.
Conclusion
This medium circular bag is an ideal crochet project combining texture, utility, and creativity. The sturdy design and neat finishes make it a perfect accessory for everyday use. The optional magnetic button and strap allow for customization to your needs.

Pattern Correction and Tips
- Corrections:
- For rounds with skipped stitches, carefully count your stitches to avoid misalignment.
- Ensure your stitch tension is consistent to prevent rippling or curling in the rounds.
- Tips:
- Blocking the sheets before assembly will help maintain their shape.
- Use a stitch marker to track your round beginnings and count accurately after each round.