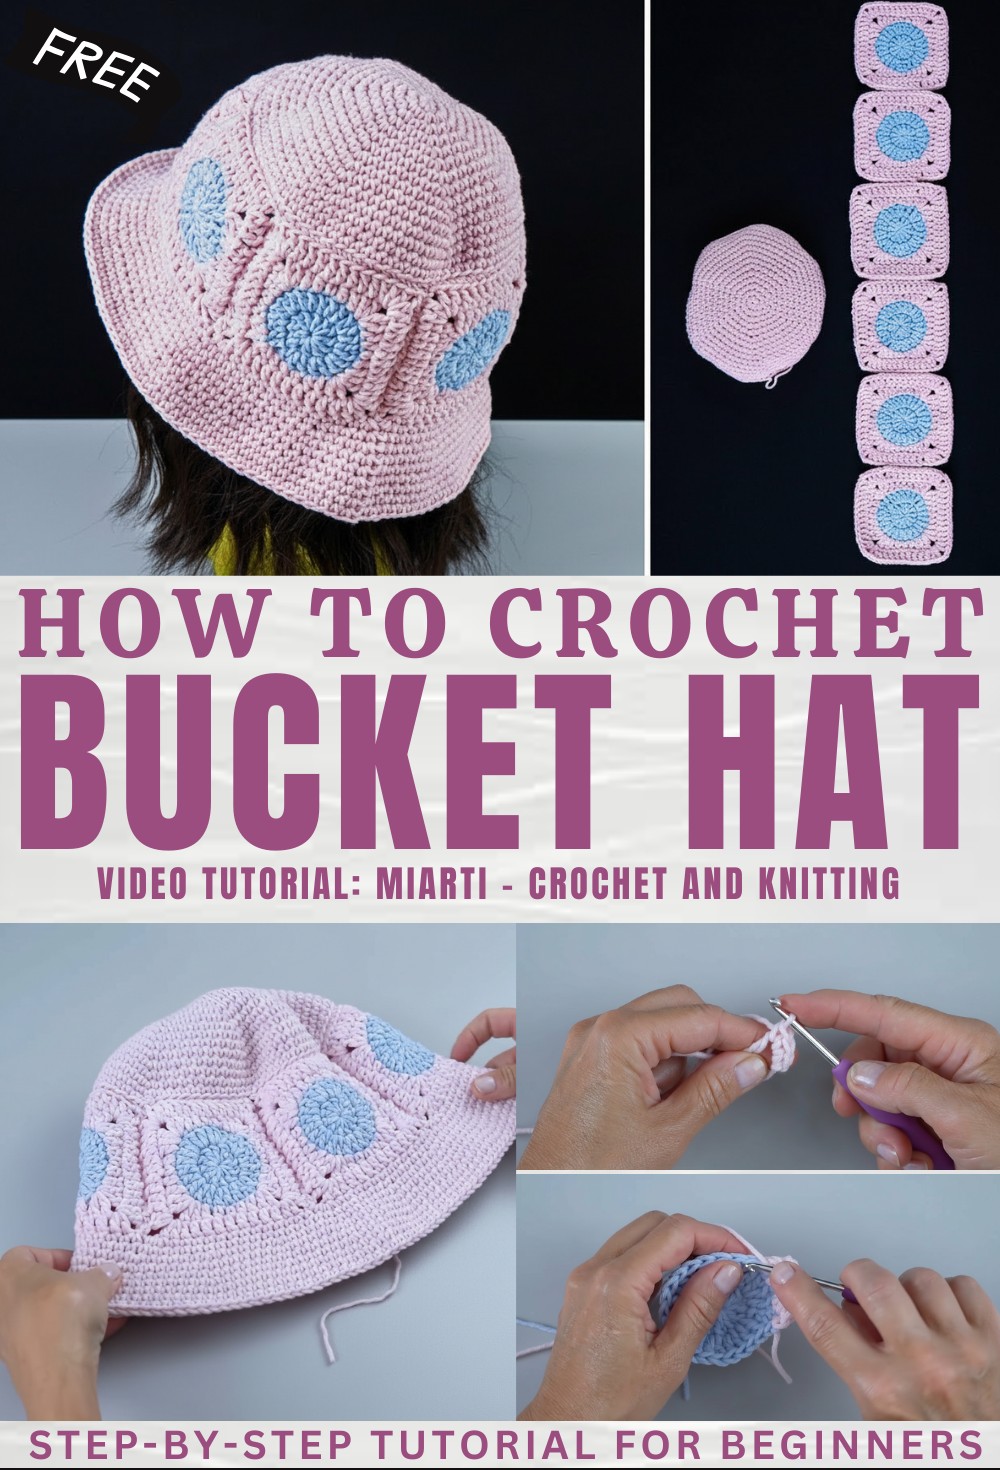
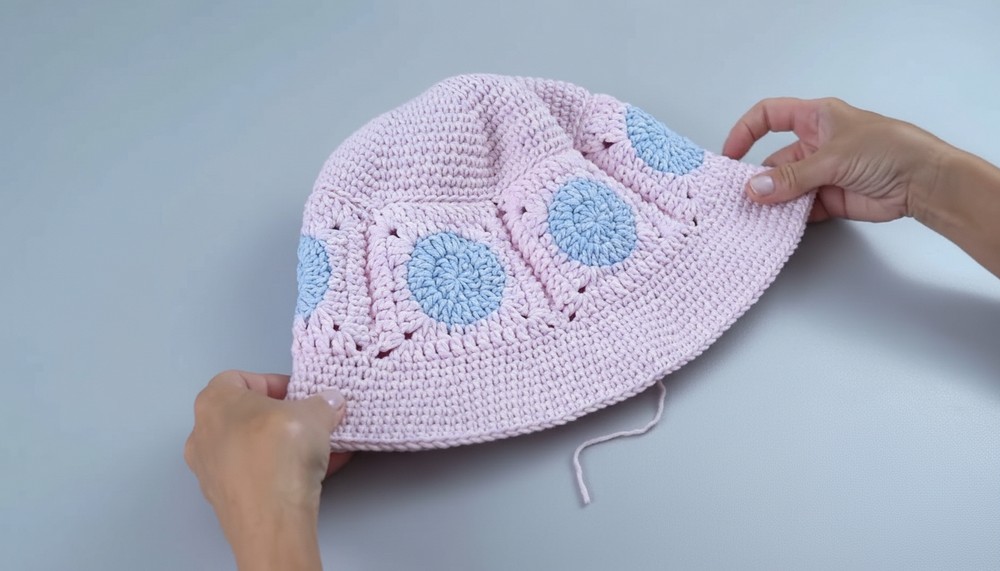
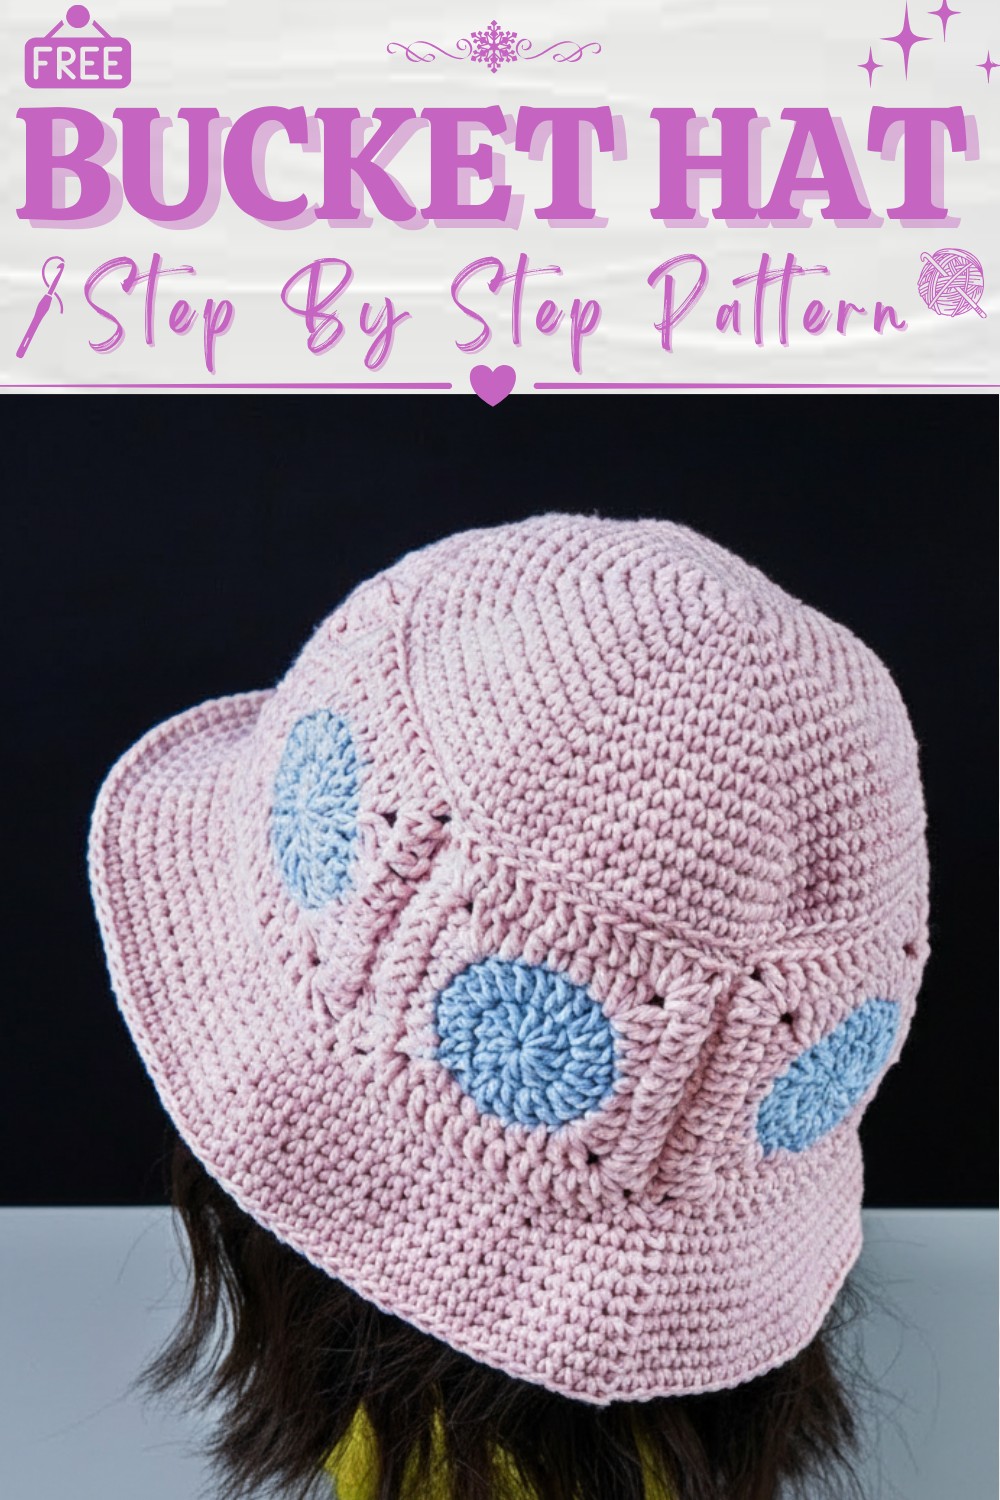
Custom Crochet Bucket Hat Pattern to Match Your Unique Style
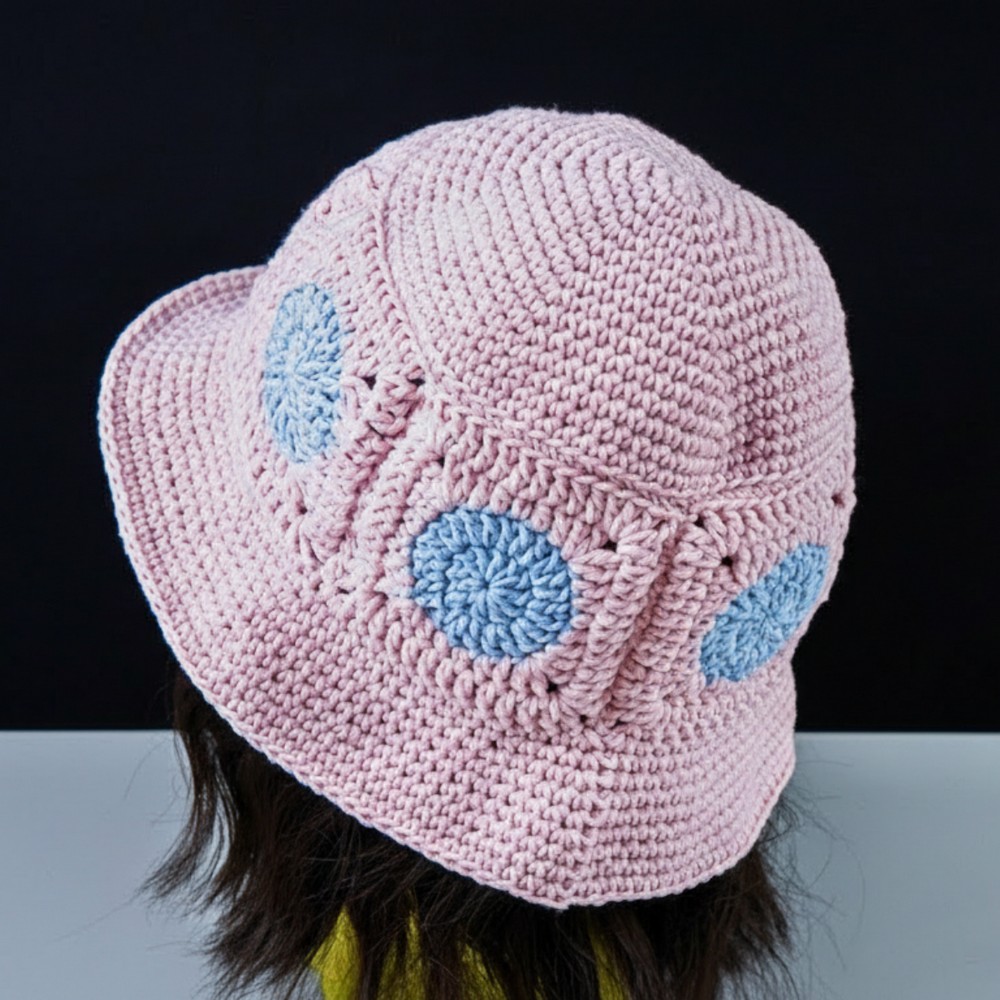
Step into the world of vibrant textures and timeless design with a crochet bucket hat featuring playful granny squares! This hat is a unique blend of style, practicality, and handmade charm, offering lightweight breathability while shielding your head from the sun. The inclusion of granny squares adds an eye-catching retro vibe, combining nostalgic flair with modern trends.
Eco-Friendly Crochet Bucket Hat That Anyone Can Enjoy
Whether you go for bold, colorful combinations or more subdued tones, the beauty of this hat lies in its endless customization options. Crocheting your bucket hat with granny squares also allows for a sustainable and creative approach, letting you repurpose leftover yarn or experiment with eco-friendly materials.
Perfect for a beach trip, a music festival, or a chic, casual outing, it’s an excellent conversation starter and a standout addition to any outfit. Combining functional sun protection with a touch of handmade artistry, this project is both fun and rewarding for crocheters of all levels.
Materials
- Yarn:
- Color A: Main color (use medium-weight yarn).
- Color B: Contrasting or accent color for decorative sections.
- Hook Size: 4mm (US size G/6) or size suitable for your yarn.
- Optional Items:
- Stitch markers (to mark the start of rounds, especially in continuous rounds).
- Yarn needle for weaving in ends.
- Scissors.
Skill Level
Intermediate to Advanced
Key Abbreviations (US Terminology)
- ch: Chain
- sc: Single Crochet
- hdc: Half Double Crochet
- dc: Double Crochet
- sl st: Slip Stitch
- st(s): Stitch(es)
- sp: Space
Special Notes
- The pattern alternates between Color A for the body and Color B for decorative sections. Carry your unused yarn neatly or fasten off to avoid tangling.
- Adjust your hook size to achieve the correct tension if the circumference or fit varies.
- Use stitch markers to track the beginning of the rounds, especially when working increases.
Step-by-Step Pattern
Base and Main Body (Color A)
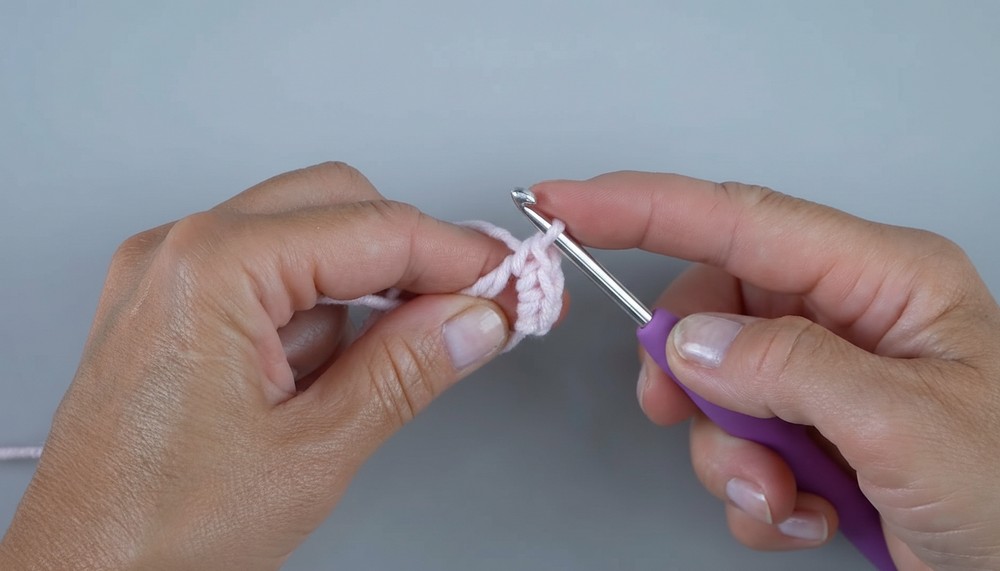
Round 1:
- Start with Color A. Create a magic ring.
- Ch 1, work 6 sc into the magic ring.
- Sl st to the first sc to close the round.
- Total stitches: 6 sc.
Round 2:
- Ch 1, work 2 sc in each st around.
- Repeat the increase pattern: 2 sc in each st (6 times).
- Sl st to the first sc.
- Total stitches: 12 sc.
Round 3:
- Ch 1, work 1 sc in the next st, then 2 sc in the next st (increase).
- Repeat the pattern: 1 sc, 2 sc in the next st (6 times).
- Sl st to the first sc.
- Total stitches: 18 sc.
Round 4:
- Ch 1, work 2 sc in the next st (starting the pattern), then work 1 sc in each of the next 2 sts.
- Repeat the pattern: 2 sc, 1 sc, 1 sc (6 times).
- Sl st to the first sc.
- Total stitches: 24 sc.
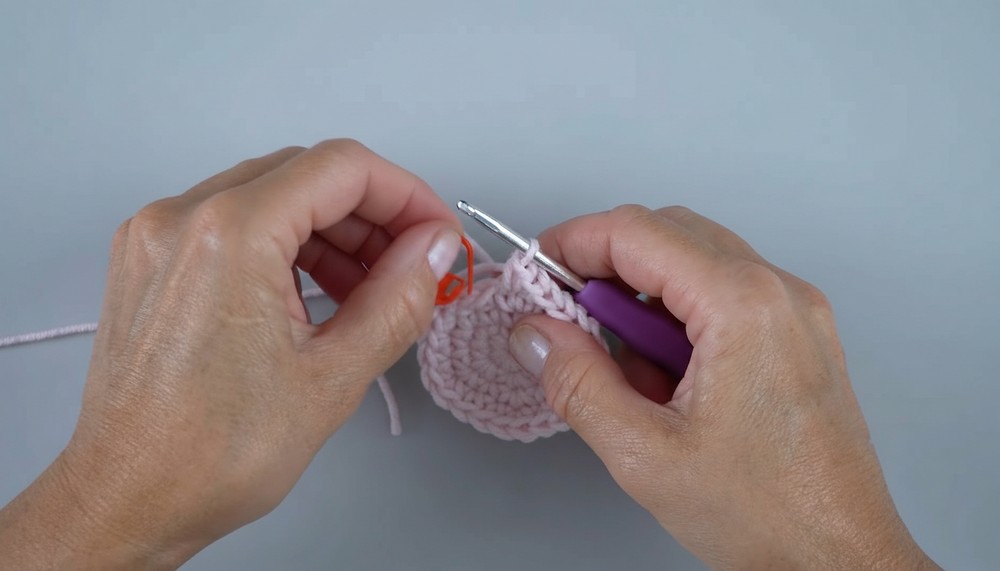
Rounds 5–12:
- Continue the increase pattern established in previous rounds:
- For each round, increase in every 6th stitch of the row, spacing out single crochets evenly between increases.
- Check your stitch marker or counts to maintain consistency.
- When completed: Sl st to close.
Rounds 13–15:
- Ch 1, work 1 sc in each st around (no increases).
- Total stitches per round: 75 sc.
- Sl st to close.
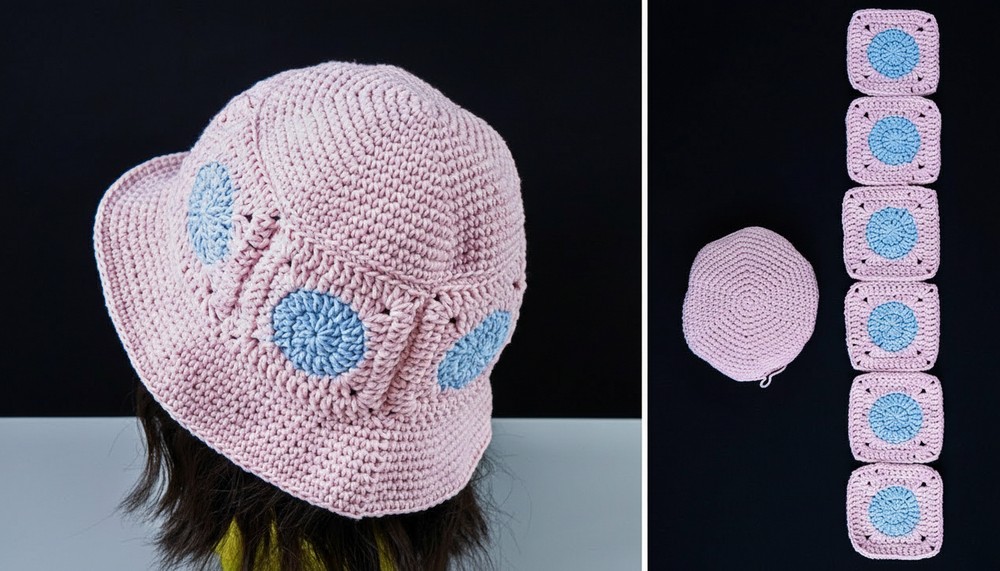
Decorative Centerpiece (Color B)
Round 1 (Color B):
- Start with Color B. Use a magic ring.
- Ch 3 (counts as first dc), then work 11 dc into the ring.
- Sl st to the top of the initial ch 3**.
- Total stitches: 12 dc.
Round 2:
- Ch 3, then work 1 dc in the next st.
- Begin the pattern: 2 dc in each st around (increase).
- Repeat around. Sl st to the top of the start ch 3.
- Total stitches: 24 dc.
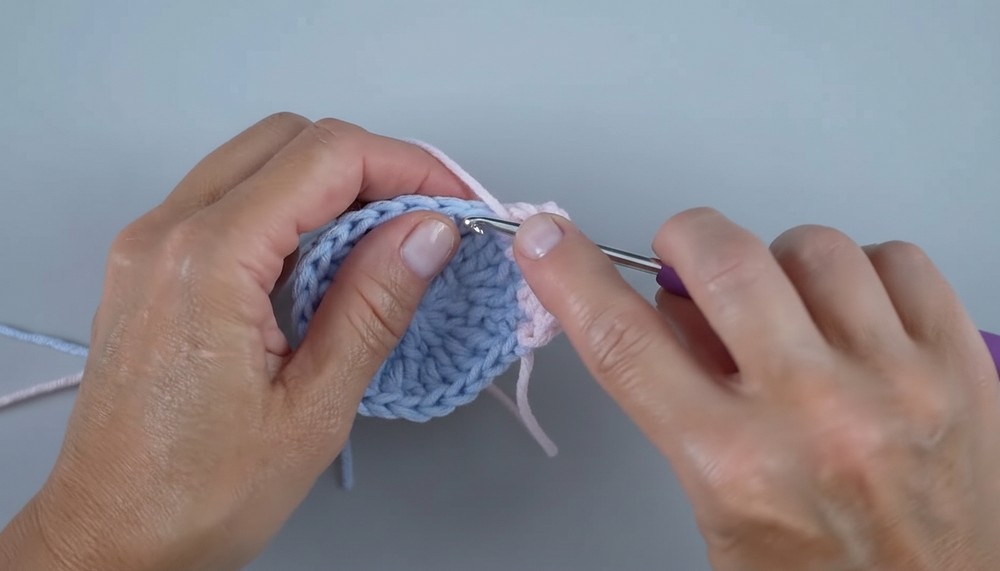
Round 3 (Return to Color A):
- Use Color A. Ch 1 and begin the pattern:
- 1 dc, 1 hdc, 1 sc, 1 hdc, 1 dc in consecutive stitches.
- 2 dc in the next st, Ch 2, 2 dc in the next st.
- Repeat this pattern 3 times in total to form the round.
- Sl st to close the round.
Round 4 (Lace Segment):
- Ch 1, work:
- 1 dc, 2 dc in the next st, Ch 2, and then 2 dc in the next st (lace design).
- Repeat pattern 3 times.
- Sl st to the top of the start ch.
Finishing Rounds for Shape
Round 1 (Color A):
- Ch 1, 14 sc around, increasing: 2 sc in one stitch where needed. Repeat the increase 6 times.
- Sl st to close.
Round 2:
- Ch 1, work 95 sc evenly in the round.
- Sl st to close.

Round 3:
- Ch 1, work 5 sc, then 2 sc in one st.
- Repeat pattern around (6 times). End with sl st.
Rounds 4–6:
- Sc in each stitch without increases. Sl st to close each round.
Round 7:
- Ch 1, work 6 sc, then 2 sc in the next st (increase).
- Repeat pattern around. Sl st to close.
Rounds 8–10:
- Work 1 sc in each st (no increases).
- Sl st to finish.
Conclusion
This project results in a beautifully shaped accessory, complete with texture from increased rounds and a decorative lace accent in Color B. It’s versatile as a cap, coaster, or centerpiece.
Pattern Corrections and Tips
- Pattern Adjustments:
- If the fabric ripples too much, reduce increases. If the piece curls, introduce a few additional increases.
- Tips:
- Block the item gently after finishing to enhance the shape and appearance.
- Use consistent tension for neat results, especially when transitioning colors.