Easy Free Bunny Keychain Pattern for Crochet Lovers
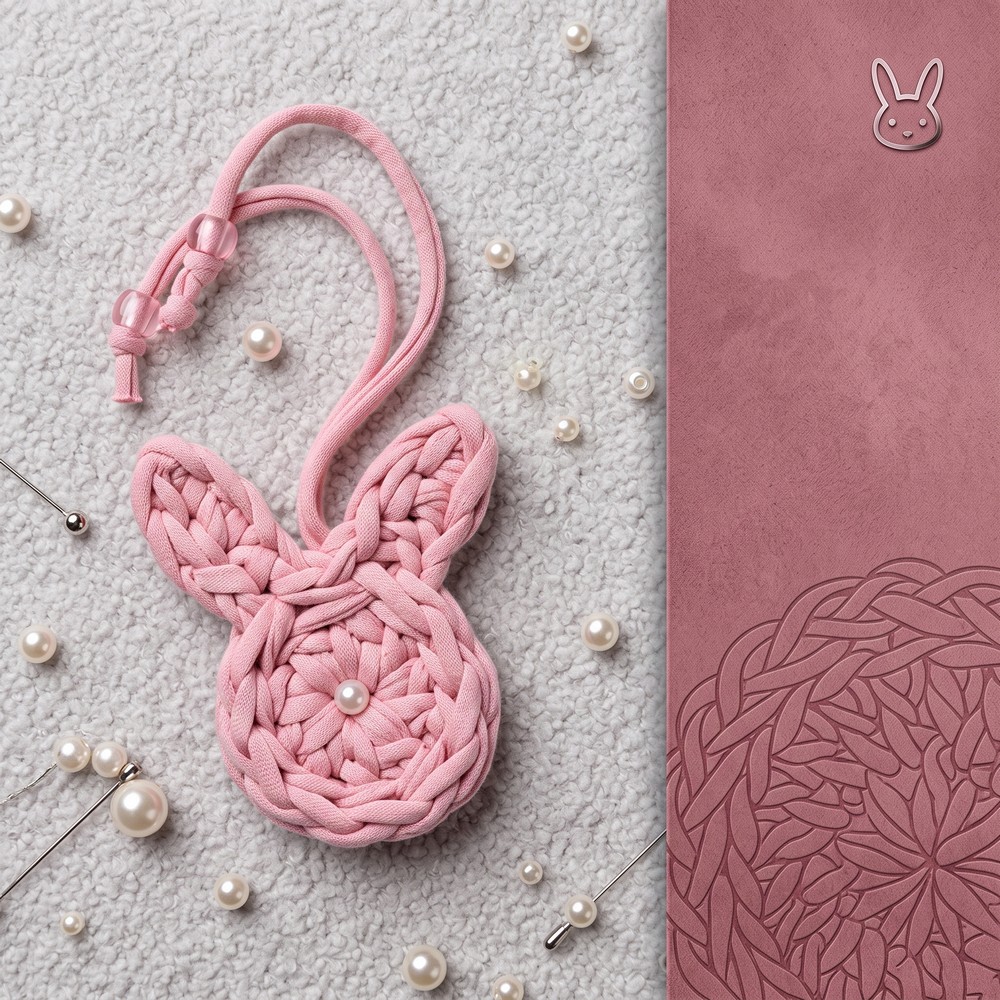
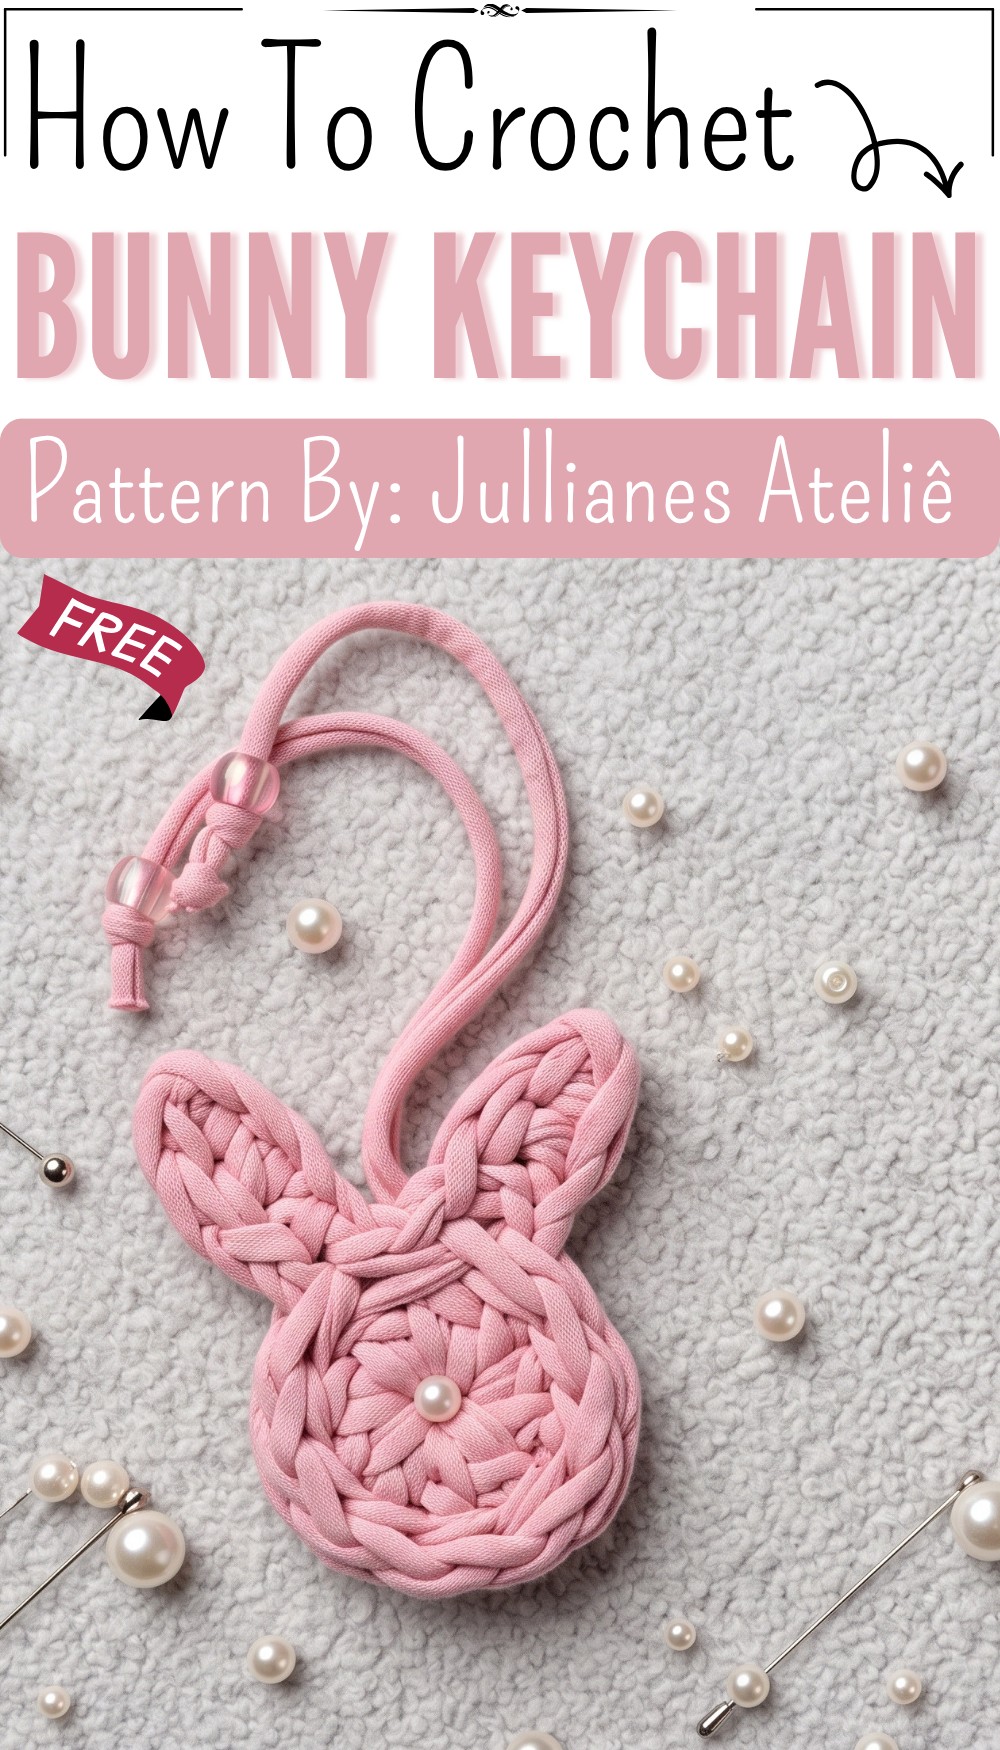
Brighten your keyring effortlessly with this Free Crochet Bunny Keychain Pattern that’s offering a delightful bunny figure perfect for adding cute charm wherever you go.
About The Channel: Jullianes Atelier brings this charming project to her YouTube channel, giving crochet lovers another fun idea for a small and useful accessory.
Cute little accessories can make everyday things feel more fun, and a tiny bunny is perfect for that. The finished Free Crochet Bunny Keychain Pattern has a sweet shape, soft look, and playful style that can add charm to keys, bags, and other small items.
The bunny has a small body with long ears that give it a clear and lovable look. Its rounded shape makes it feel soft and cuddly, even though it is made as a small accessory. Simple facial details can give the bunny a friendly character, while different colors can change its whole mood. White or cream can create a gentle look, while pink, blue, brown, or bright shades can make it more playful.
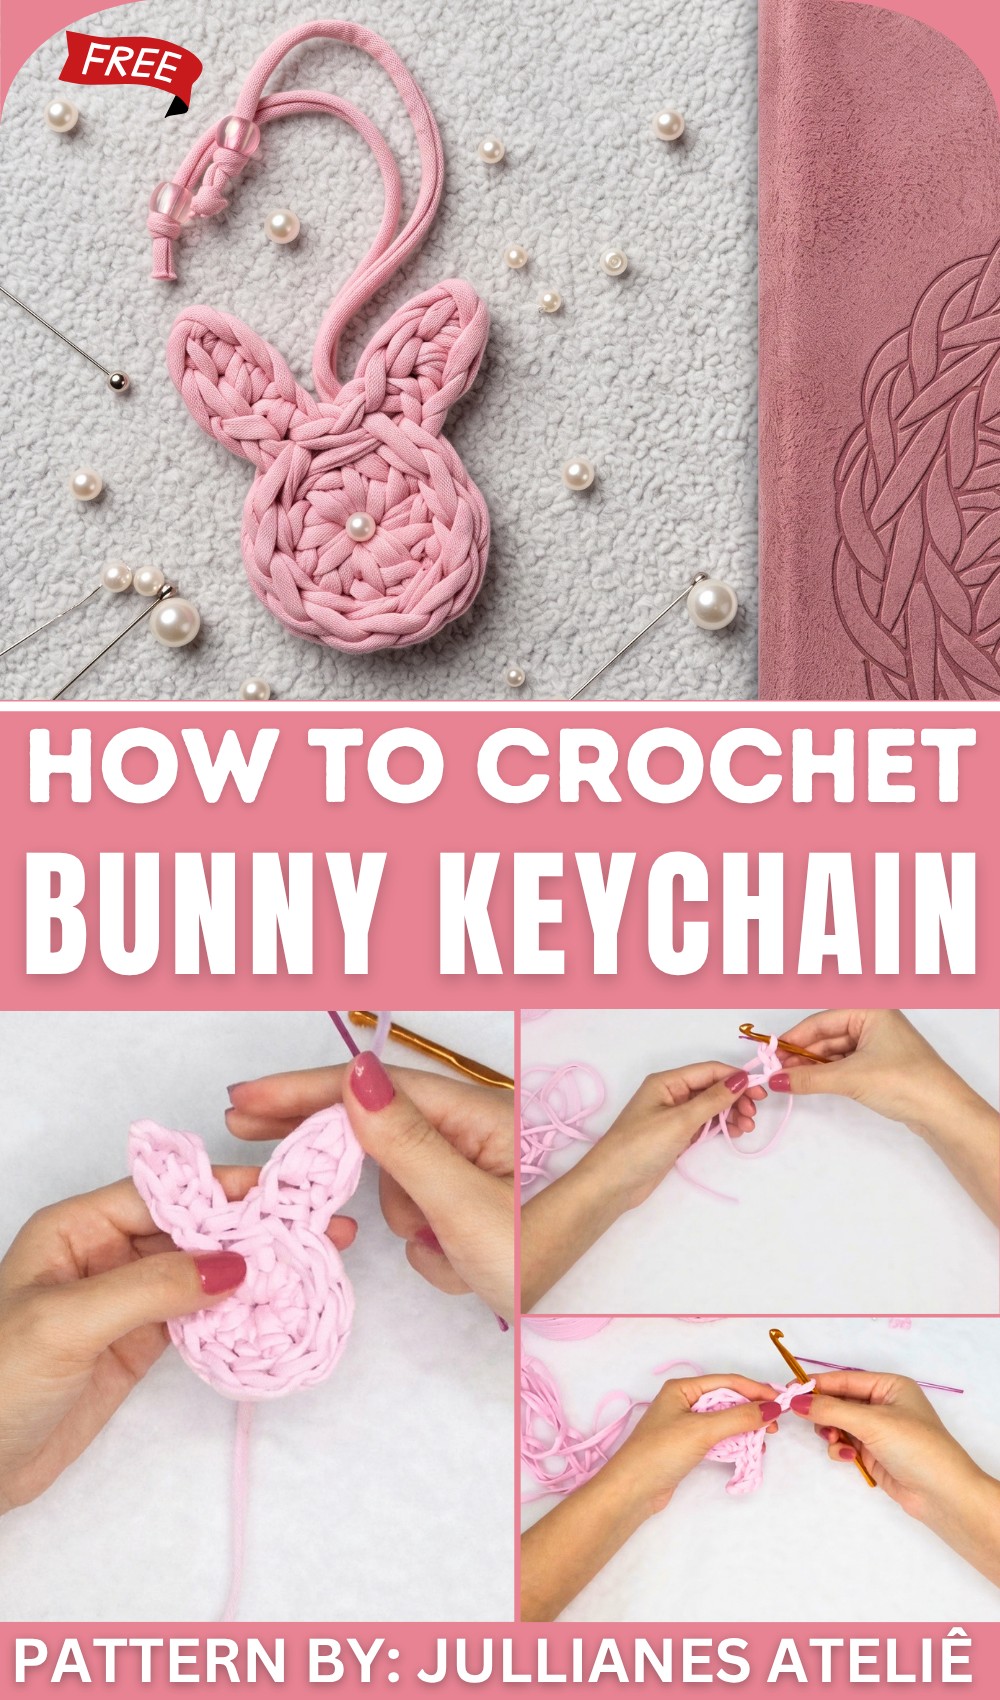
Free Crochet Bunny Keychain Pattern for Bags and Backpacks
This little bunny can go almost anywhere with you. Attach it to a set of keys, handbag, backpack, purse, pencil case, or zipper. It can also add a cute touch to a school bag or travel pouch. Because it is small and light, it is easy to carry around without taking much space. The sweet animal shape makes it especially nice for people who love cute crochet items and tiny decorations.
Color choices are a simple way to make each bunny feel personal. You can keep one soft color for a clean look or mix shades for a more cheerful finish. Making several bunnies in different colors can also create a lovely little collection.
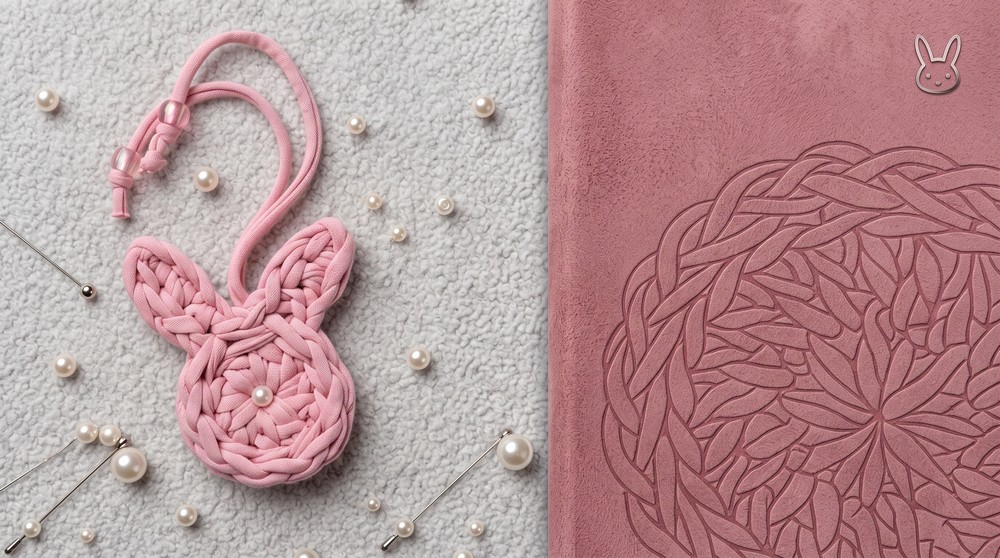
This keychain can be a thoughtful gift for a child, friend, sister, or bunny lover. It works well for birthdays, holidays, party favors, or small surprises. Its useful size and adorable look make it easy to enjoy every day.
With its long ears, rounded body, and friendly character, this crochet bunny brings a playful touch wherever it goes. It is a small piece with plenty of charm and can become a favorite part of any crochet accessory collection.
Crochet Bunny Keychain Charm Pattern
This detailed crochet pattern will guide you through making an adorable bunny keychain charm. Using fine yarn and a 7mm metal crochet hook, you will crochet a small, delicate bunny motif starting with a magic ring and ending with a neat finishing edge. The design features two petite ears created with chains, single crochet, and double crochet stitches for a charming detail. Optional decorating with beads or pearls, and adding a metal keyring makes this piece both cute and functional. This comprehensive step-by-step tutorial is designed to be accessible and rewarding.
Quick Overview Of Pattern
- Begin with a magic ring foundation and a small round of double crochet stitches to form the bunny’s head/body.
- Join the round with a slip stitch for a clean circle.
- Crochet two distinctive bunny ears individually with chains, single crochet (sc), double crochet (dc), and slip stitches (sl st).
- Work slip stitches around the edge to finish the border smoothly and evenly.
- Fasten off and weave in ends discreetly with a smaller needle.
- Optionally create a loop from yarn tail or add decorative beads and a keyring.
Notes
- Maintain consistent tension to ensure the bunny charm holds its shape and presents a neat finish.
- Using fine yarn keeps the charm delicate and lightweight, ideal for keychains or bag decorations.
- The magic ring ensures a tight starting circle without gaps.
- When creating ears, mindful stitch counting and placement are crucial to getting the proper shape and balance.
- Working slip stitches around the edge prevents curling and adds durability.
- When pulling ends to create a loop, take care not to distort the shape or loosen stitches.
- Adding beads or pearls enhances the charm for gifting or personalization.
Skill Level
Suitable for intermediate beginners who:
- Know how to make magic rings and work in the round.
- Are comfortable with single crochet (sc), double crochet (dc), slip stitch (sl st), and chaining.
- Can follow stitch counts and shaping instructions for forming small features (ears).
- Have experience with neat finishing, including weaving in yarn ends and optionally attaching embellishments.
Materials
- Fine yarn — lightweight, smooth fiber for delicate texture (generally fingering or sport weight recommended).
- 7 mm metal crochet hook, durable and providing smooth stitch flow.
- Small scissors for cutting yarn ends.
- Yarn needle or smaller hook for weaving in ends cleanly.
- Optional: decorative beads or pearls for embellishment.
- Optional: metal keyring attachment for practical use.
Measurements / Sizing
- Finished bunny keychain measures approximately 6–8 cm (2.5–3 inches) tall, ideal for keys or bag charms.
- Ears measure roughly 1.5–2 cm in length.
Gauge and Stitch Pattern
- Due to the delicate yarn and open chain stitches, gauge is flexible but should be consistent.
- Gauge example: about 20 single crochet stitches and 15 double crochet stitches per 5 cm (2 inches) in similar yarn weight.
- The body is primarily worked using double crochet stitches joined into a circle.
- Ears incorporate single crochet, double crochet, and chains strategically.
Stitch Abbreviations
| Abbreviation | Meaning |
|---|---|
| ch | Chain stitch |
| sc | Single crochet |
| dc | Double crochet |
| sl st | Slip stitch |
| st | Stitch |
Special Stitches
Magic Ring
Start with an adjustable loop that closes tightly, eliminating gaps at the center of rounds. Provides a sturdy foundation for working stitches in the round.
The Crochet Pattern
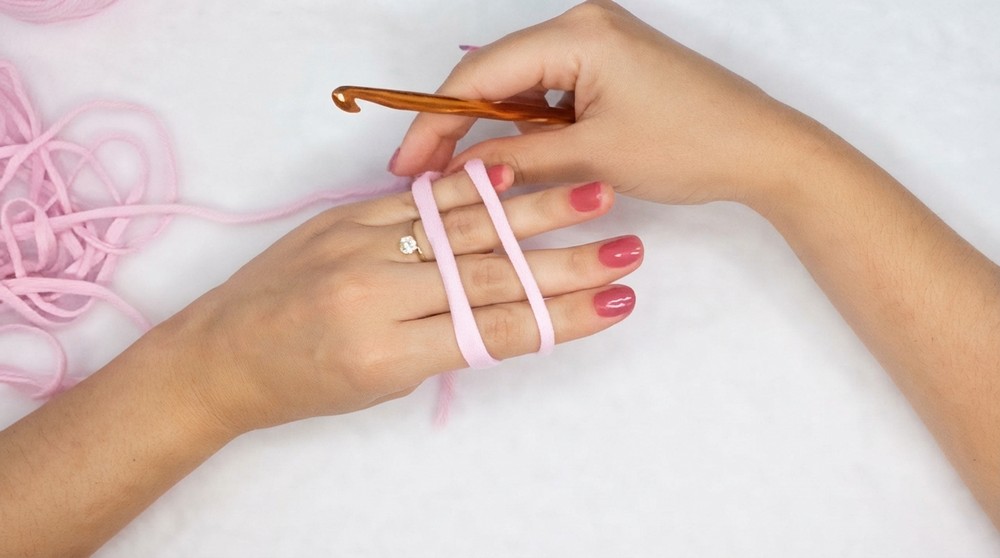
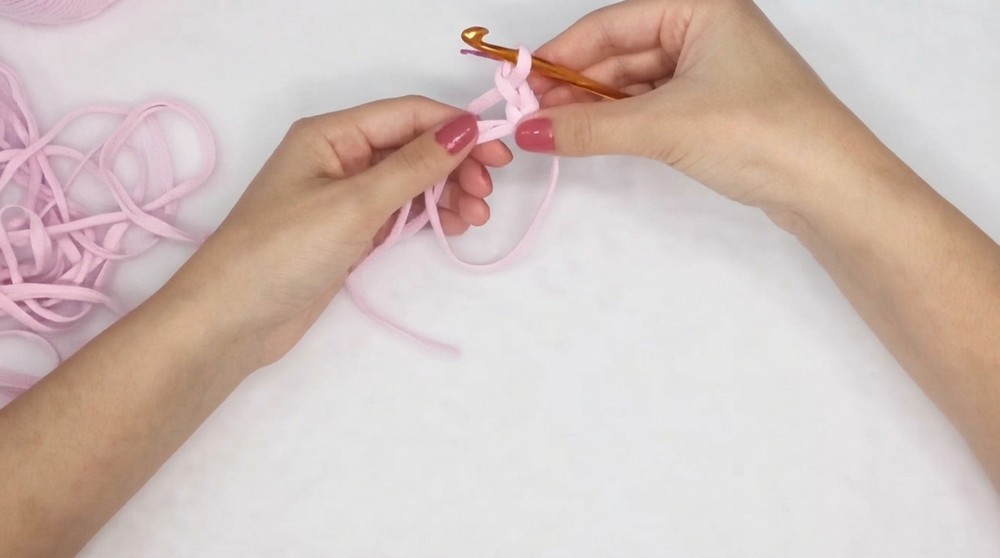
Step 1: Magic Ring & Initial Stitches (Head/Body)
- Begin by making a magic ring.
- Chain 2 (counts as the first double crochet height).
- Work 9 double crochet (dc) stitches into the magic ring.
- Including the chain 2, you will have a total of 10 stitches.
- Pull the yarn tail firmly to close the ring tightly without gaps.
Step 2: Closing the Circle
- Join the round with a slip stitch (sl st) into the top of the initial chain 2 to complete the circular head or base of the bunny.
Step 3: First Bunny Ear
- Chain 4.
- Skip the first chain from the hook.
- Work 1 single crochet (sc) in the second chain.
- Work 1 double crochet (dc) in the third chain.
- Work 1 single crochet (sc) in the last (fourth) chain.
- Slip stitch (sl st) into the same base stitch where you began the ear to secure the shape.
Step 4: Separation for Second Ear
- Slip stitch (sl st) into the next stitch in the body round, creating a small separation space before starting the second ear.
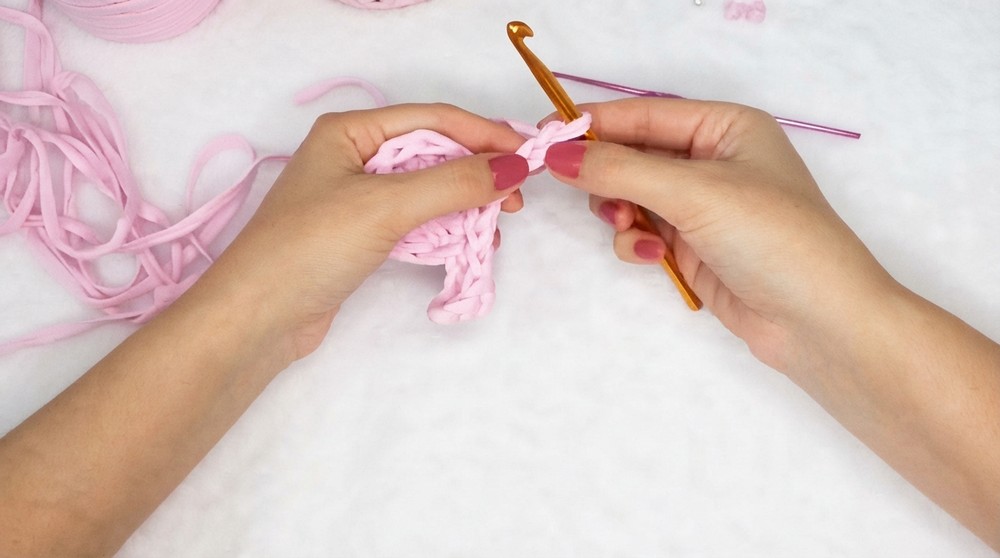
Step 5: Second Bunny Ear
- Repeat the first ear’s steps:
- Chain 4.
- Skip the first chain.
- 1 single crochet (sc) in the second chain.
- 1 double crochet (dc) in the third chain.
- 1 single crochet (sc) in the last chain.
- Slip stitch (sl st) into the same base stitch to finish forming the second ear.
Step 6: Finishing the Border
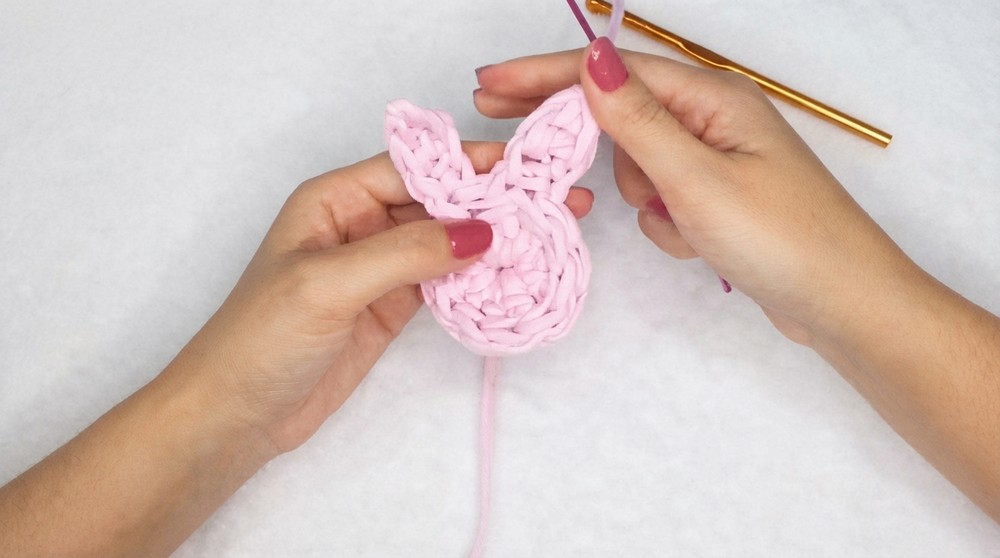
- Work slip stitches (sl st) evenly around the entire edge of the bunny body and ears.
- This rounds off sharp edges, prevents curling, and adds a polished, finished look.
Step 7: Fastening Off & Final Finishing
- Cut the yarn, leaving a tail of sufficient length to weave in securely.
- Using a smaller yarn needle or crochet hook, weave the ends inside the stitches discreetly to avoid loose tails or unraveling.
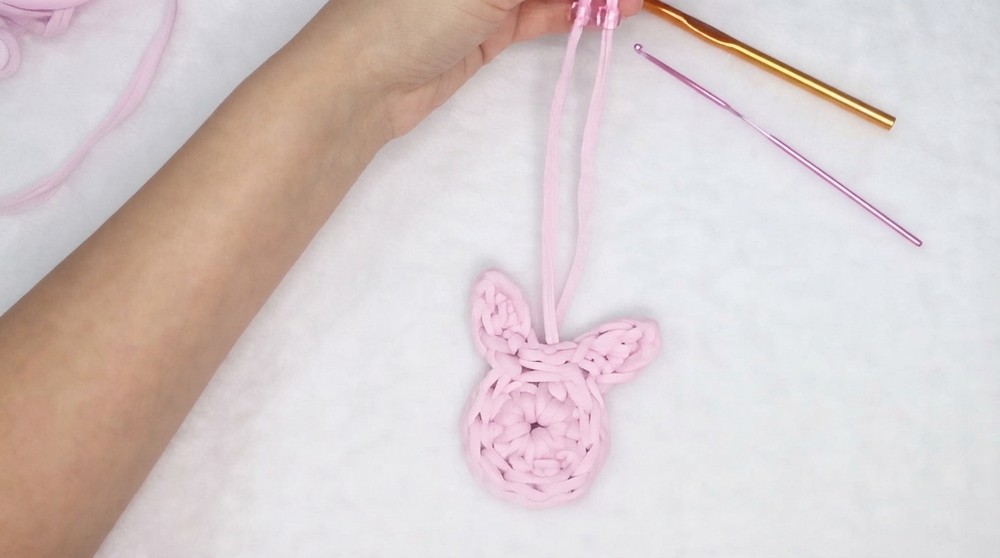
- If desired, pull the yarn ends through the top of the bunny to create a hanging loop suitable for attaching a keyring or bag accessory.
- Optionally, decorate the neck or top area by adding beads or pearls using a needle and thread or glue to enhance the charm.
Assembly & Finished Size
Upon completing the border and securely weaving in all yarn ends, the bunny charm is ready for use or gifting. The loop made from yarn tails allows easy attachment to keyrings or bag hooks. The finished charm measures approximately 6–8 cm tall, lightweight and delicate, perfect for adornment. Optional adornments such as beads or pearls add sophistication or holiday flair.
Conclusion
This beautifully simple crochet bunny keychain pattern elegantly combines fundamental stitches to create a small, delicate, and delightful accessory. The project leverages the magic ring’s powerful effect to create a near-perfect circle for the bunny’s head, adding character with two well-shaped ears formed from carefully worked single and double crochet stitches. The finishing round of slip stitches guarantees a clean, professional look while weaving in ends ensures durability. Adding optional beads, pearls, or a keyring personalizes and elevates this charming design. Whether making a gift, a festive ornament, or an everyday accessory, this pattern offers a rewarding experience for intermediate beginners eager to advance their amigurumi skills.