Free Crochet Pattern Kenny McCormick for South Park Lovers
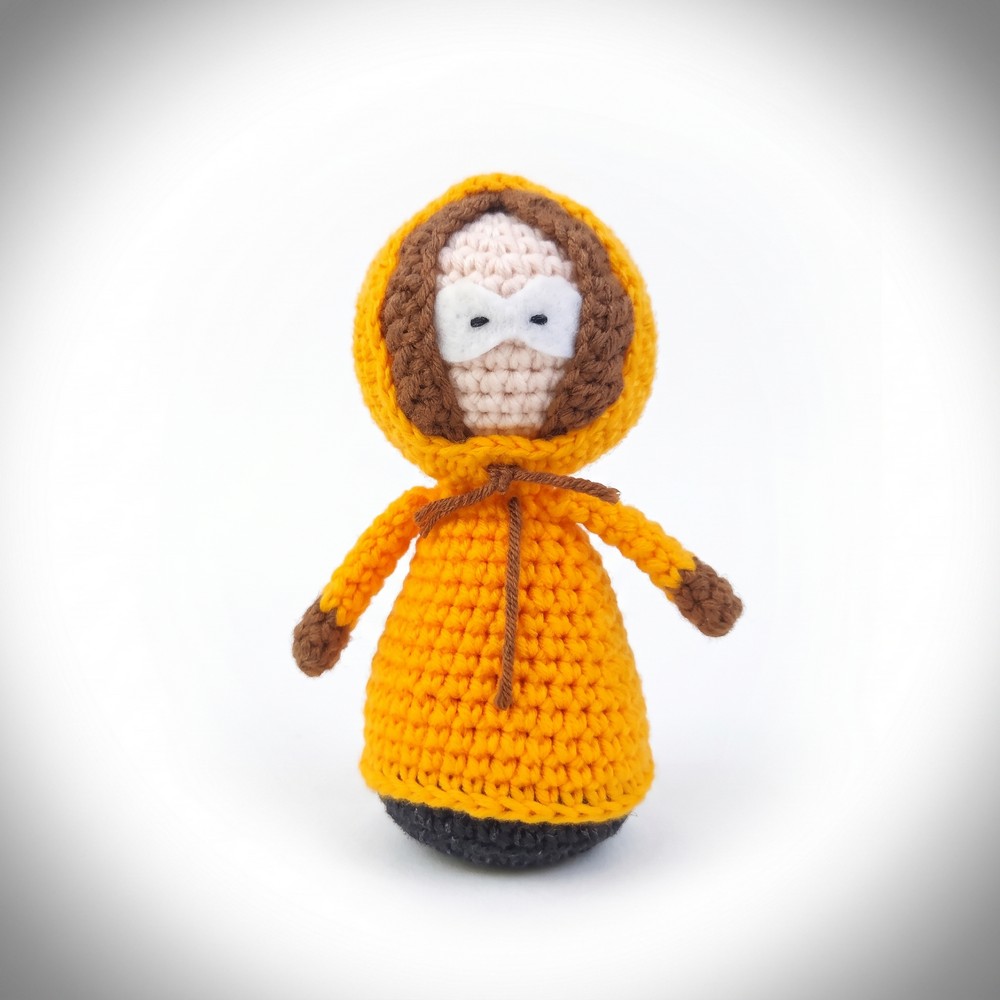
Capture character charm effortlessly through this Free Crochet Kenny McCormick Pattern that’s known for its playful design and perfect appeal to pop culture enthusiasts.
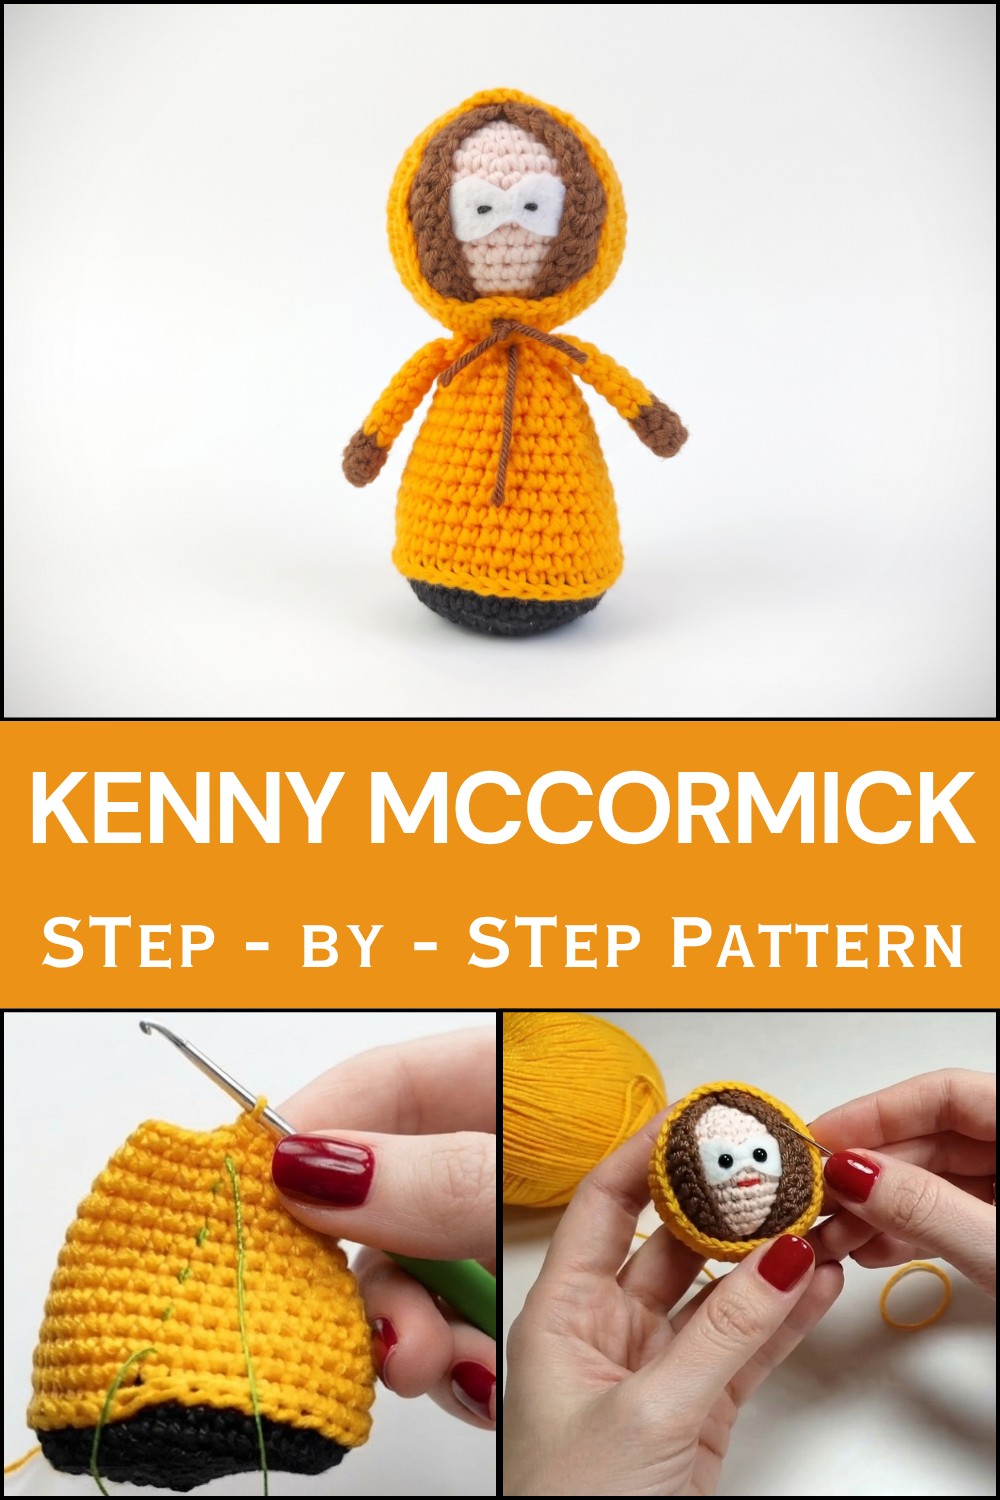
How to Crochet Kenny McCormick Free Pattern for Beginners
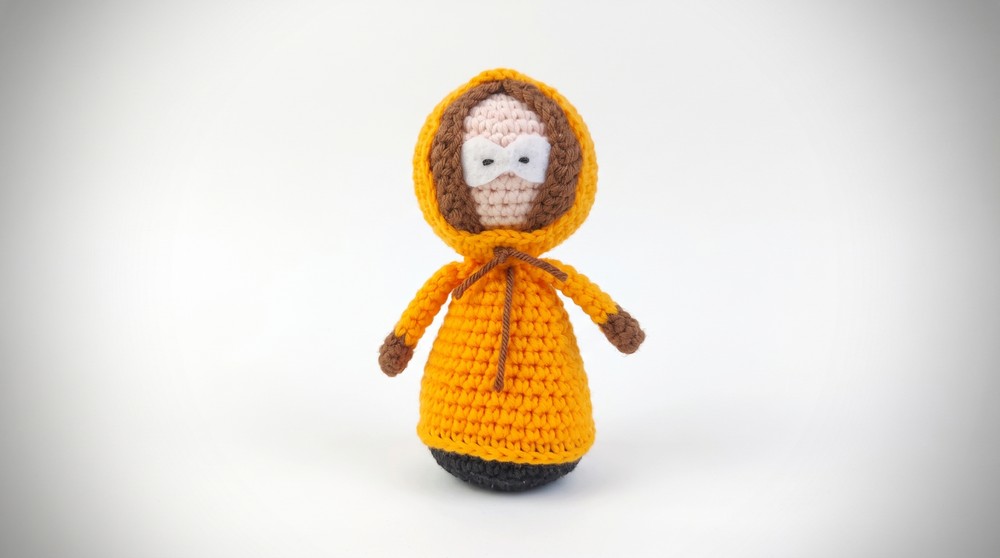
Relying on a Free crochet Kenny Mccormick pattern lets you create memorable gifts using simple yarn colors. It turns a fun hobby session into a cozy toy that brightens up any space.
Crochet Pattern for Kenny from South Park
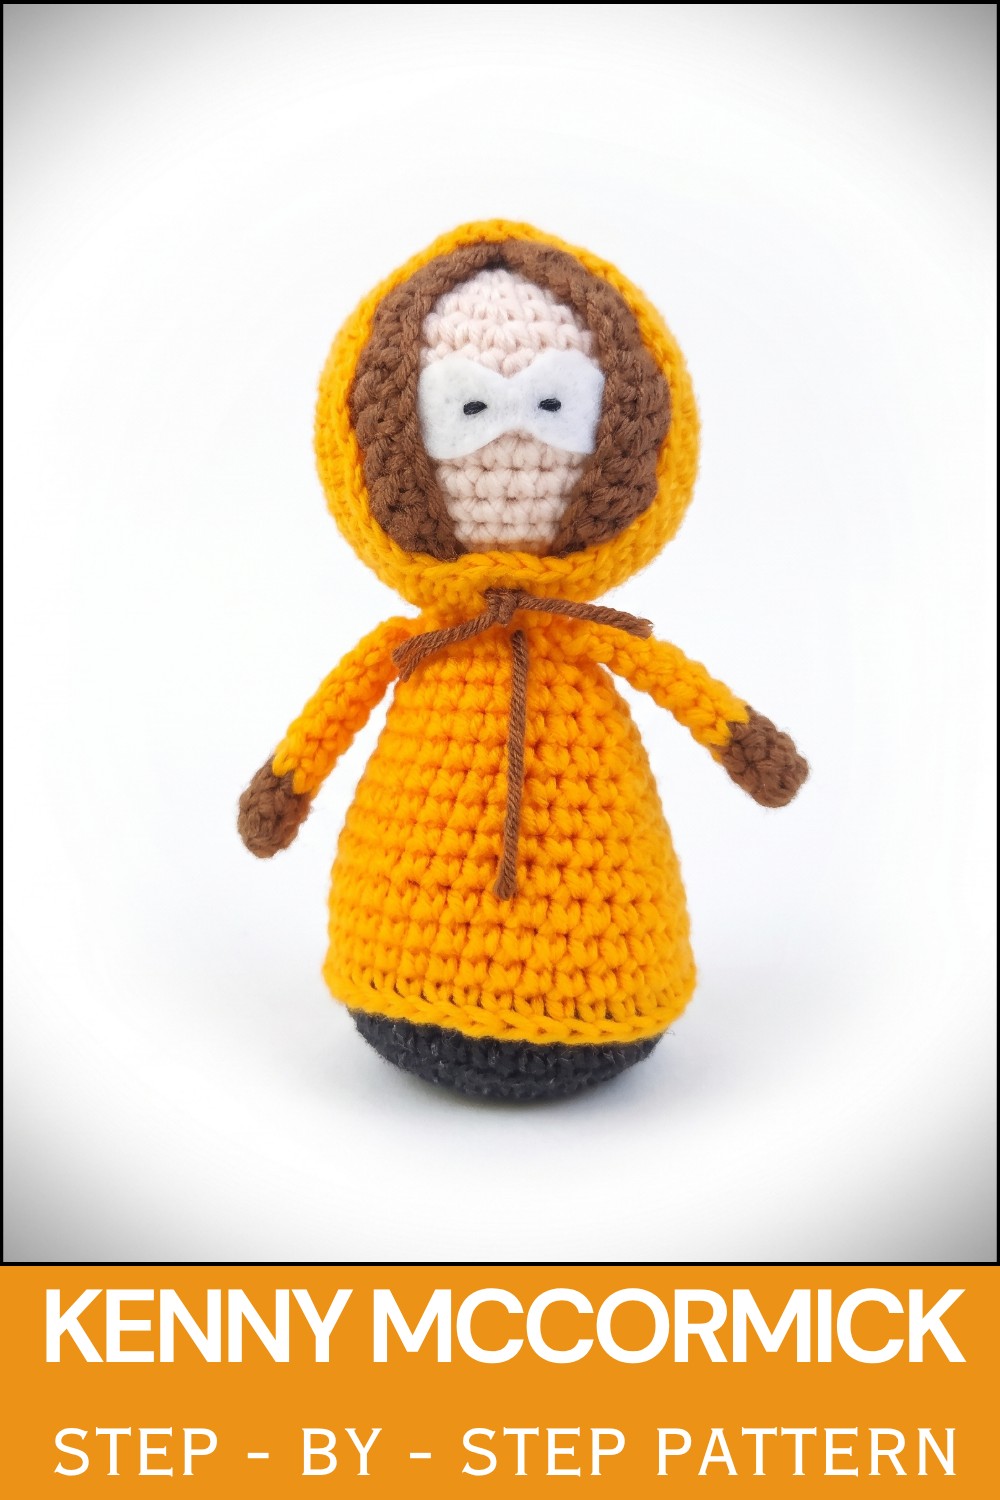
This detailed pattern guides you step by step through crocheting Kenny — one of the iconic characters from South Park. The pattern uses a 2 mm crochet hook along with specific yarn choices, and involves creating the arms, body, head, hood, and details before assembling the complete amigurumi figure.
Quick Overview of the Pattern
The pattern features progressive rounds to crochet Kenny’s arms, body, and head utilizing magic rings, single crochet, back loop only techniques, increases, and decreases. The hood is made separately and sewn on. Various color changes replicate Kenny’s signature outfit. Final assembly includes attaching the arms, sewing on eyes crafted from felt, and finishing details.
Notes
- This pattern requires changing colors between brown, orange, and black to capture Kenny’s typical attire.
- Working in back loop only rounds creates a defined texture used in the body.
- Secure stuffing is important to maintain shape and stability.
- Surface slip stitches add visual seam details on the jacket.
- A plastic disc base is inserted inside the body for added stability.
Skill Level
Intermediate: Familiarity with amigurumi style, color changes, magic ring, working in rounds, increases, decreases, back loop only techniques, slip stitches, sewing pieces together, and basic sewing with felt.
Materials
- Yarn: YarnArt Jeans or Alize Cotton Gold in Orange, Brown, and Black colors
- Crochet hook size: 2 mm
- Stuffing fiberfill
- White felt for eyes
- Plastic disc for base stabilization
- Scissors
- Sewing needle
- Stuffing tool (to fill small parts neatly)
Measurements / Sizing
- Finished figure stands approximately 15 cm tall depending on gauge and stuffing.
- Arms circumference around 6 SC rounds; body circumference grows to 36 SC then tapers.
- Head made with max of 36 SC circumference, tapering to 12 SC at the top.
Gauge and Stitch Pattern
- Tension is adjusted to create tight stitches for firm structure.
- The primary stitch is single crochet (SC) in continuous rounds or rows.
- Back loop only (BLO) rounds create defined ridges, used for jacket texture.
- Surface slip stitches embellish jacket seam visually.
Stitch Abbreviations
- ch – chain
- sc – single crochet
- inc – increase (2 sc in 1 stitch)
- dec – decrease (single crochet 2 stitches together)
- sl st – slip stitch
- BLO – back loop only
- mr – magic ring
Special Stitches
- Magic Ring (mr): Start most rounded parts with tight closed centers.
- Back Loop Only (BLO): Insert hook only through the back loop to create ridges.
- Surface Slip Stitch: Worked on fabric surface for decorative seams.
The Crochet Pattern!
1. Arms (Make 2)
Round 1:
- Using brown yarn, begin with a magic ring (mr) and work 6 SC into it.
Rounds 2-3:
- Continue working 6 SC rounds without increases, maintaining the tube shape.
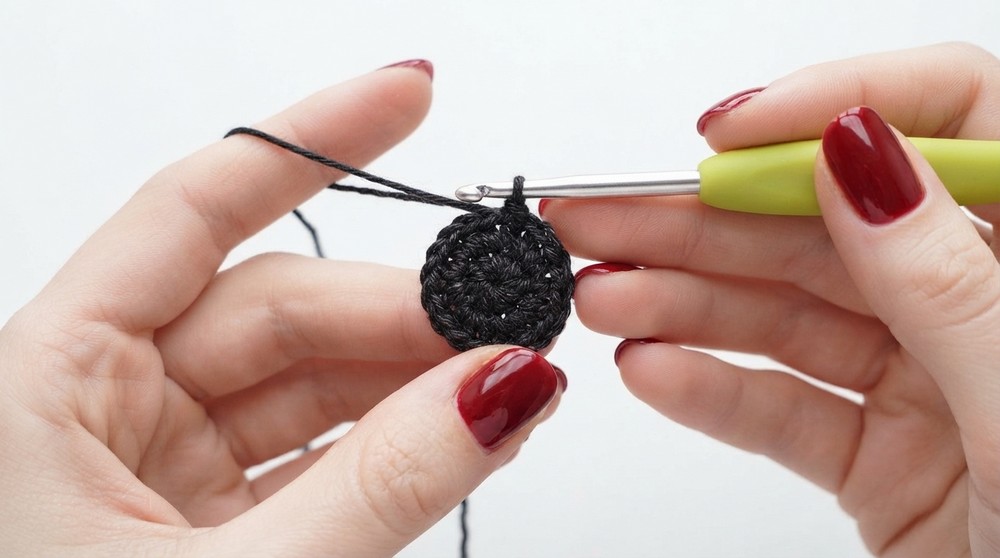
Round 4:
- Change to orange yarn and work 6 SC to start the color transition.
Rounds 5-9:
- Continue with orange yarn, working 6 SC each round to elongate the arm tubes.
Finishing:
- Flatten the arm piece, aligning the base edges.
- Crochet 2 SC through both sides to close the tube neatly. Fasten off and weave ends.
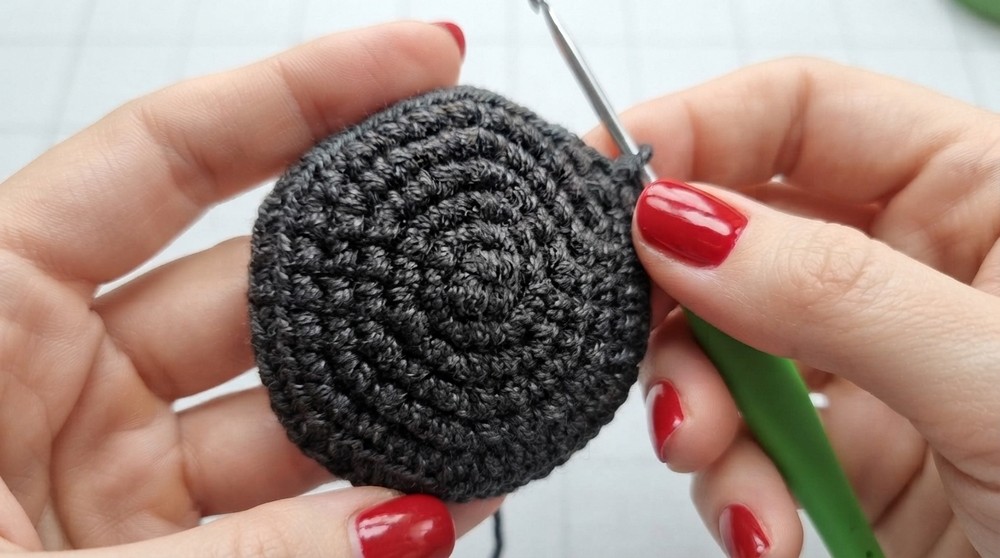
2. Body
Round 1:
- Using black yarn, create a magic ring (mr) and work 6 SC into it.
Rounds 2-6:
- Increase each round by 6 SC evenly:
- Round 2: 12 SC
- Round 3: 18 SC
- Round 4: 24 SC
- Round 5: 30 SC
- Round 6: 36 SC (maximum body circumference).
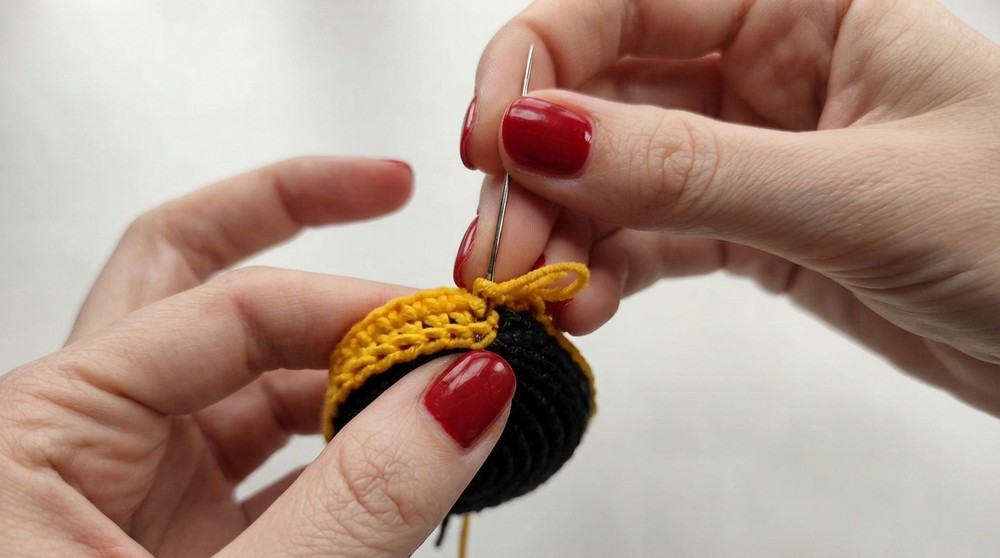
Round 7:
- Work 36 SC in back loop only (BLO) to add ridge texture resembling the jacket.
Round 8:
- Work 36 SC rounds, changing yarn to orange to simulate jacket body color.
Rounds 9-10:
- Continue with 36 SC, and work surface slip stitches along the body to create a visible jacket seam horizontally.
Rounds 11-20:
- Begin decreasing gradually to shape the tapering body towards the base.
- Follow decreases as depicted in screen instructions:
- Example: decrease evenly across rounds to reduce stitch count smoothly.
- Before reducing too far, insert the plastic disc at the base to provide structure and weight.
Round 21:
- Attach the arms to the body by crocheting them into the stitches of this round, securing them firmly on both sides.
- Work 14 SC following arm insertion to close body.
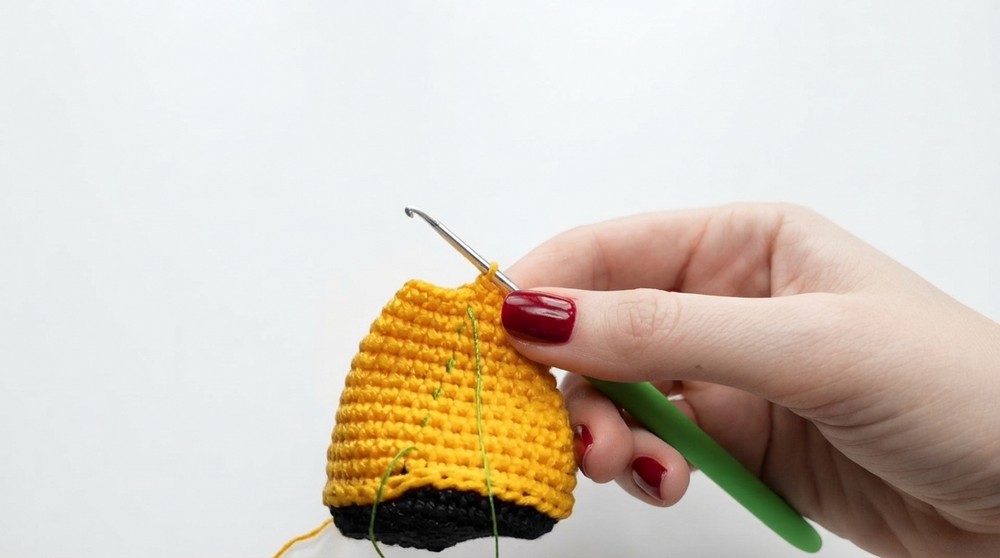
3. Head
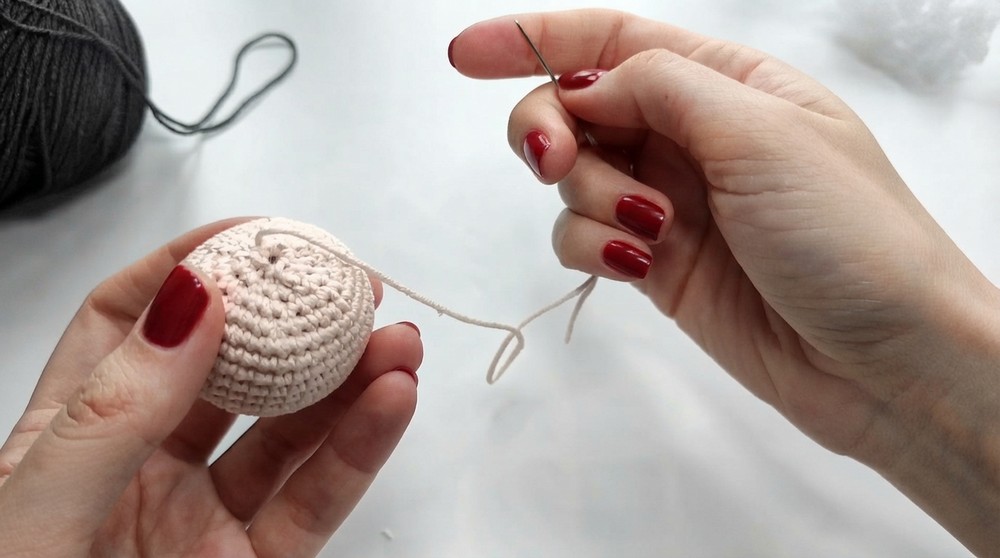
Rounds 1-6:
- Create a magic ring and increase evenly each round up to 36 SC to form the head base.
Rounds 7-13:
- Work 7 rounds with 36 SC, maintaining head circumference consistent.
Rounds 14-17:
- Start decreasing rounds to shape the head top:
- Round 14: 4 SC, 1 dec – repeat
- Round 15: 3 SC, 1 dec – repeat
- Round 16: 2 SC, 1 dec – repeat
- Round 17: 1 SC, 1 dec – repeat to end with 12 SC total.
4. Details & Assembly
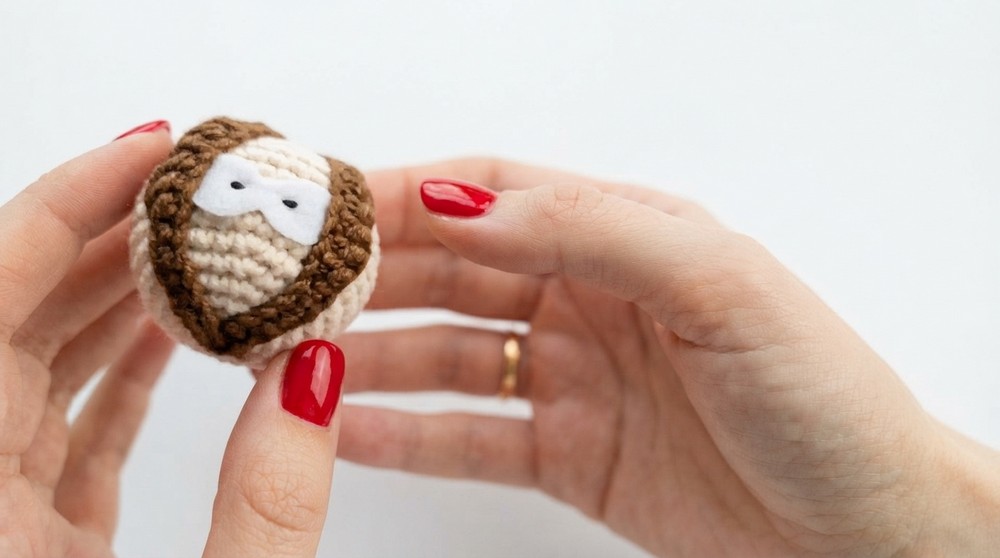
Hood Detail:
- Work a chain of 40 + 1 ch stitches.
- Create edge pattern by working sequences:
- 3 slip stitches, 4 SC, 6 double crochets, 4 SC, 6 slip stitches, then repeat along chain length.
- Sew the finished piece inside the hood edge to provide contrast and textural detail.
Hood Body:
- Repeat the body increasing pattern up to 36 SC circumference, then add one round with 38 SC for a snug fit.
- Work 7 rounds with 38 SC to complete hood height.
Final Assembly:
- Sew the head onto the body securely.
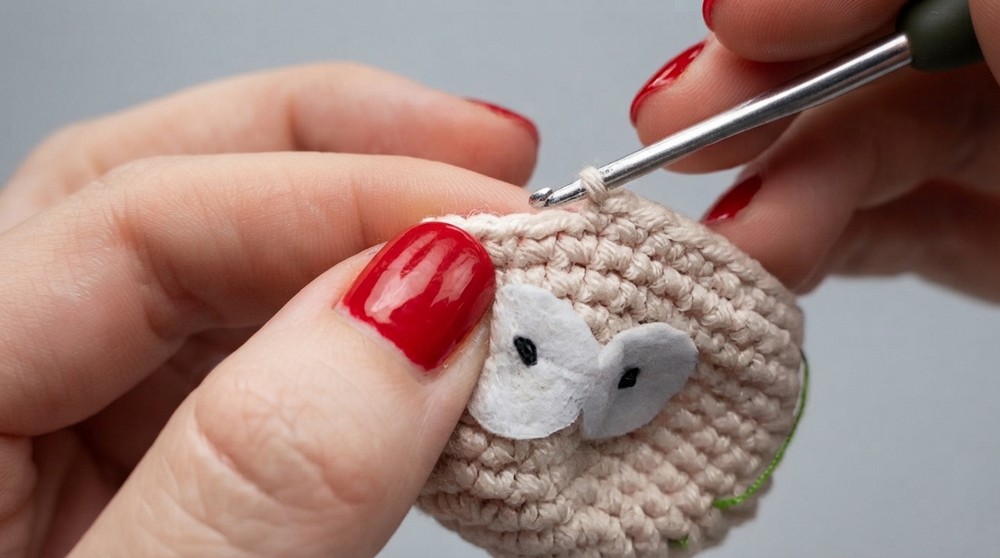
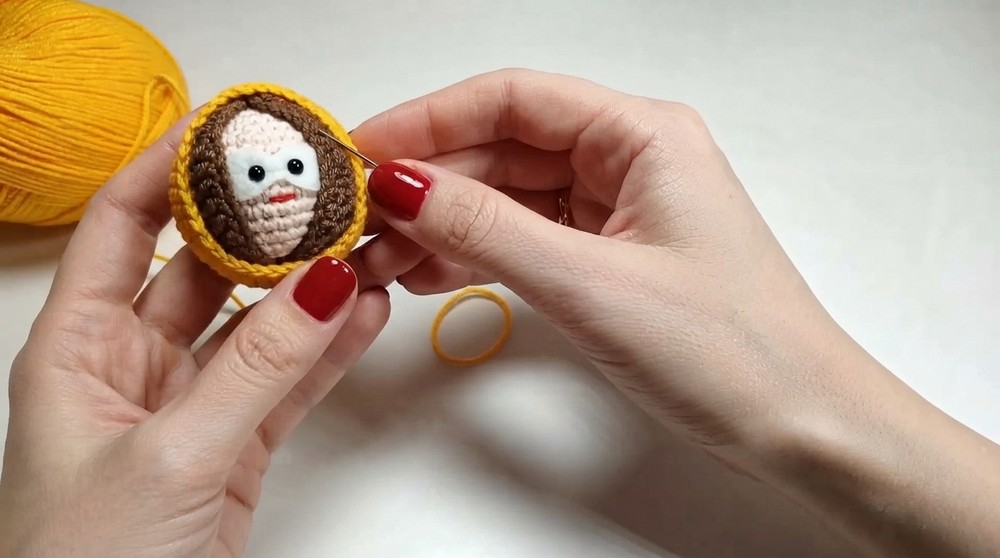
- Cut eye shapes from white felt and sew them onto the head to represent Kenny’s eyes.
- Use brown yarn to add jacket seam lines and hood details by surface stitching along the body and hood edges.
Assembly & Finished Size
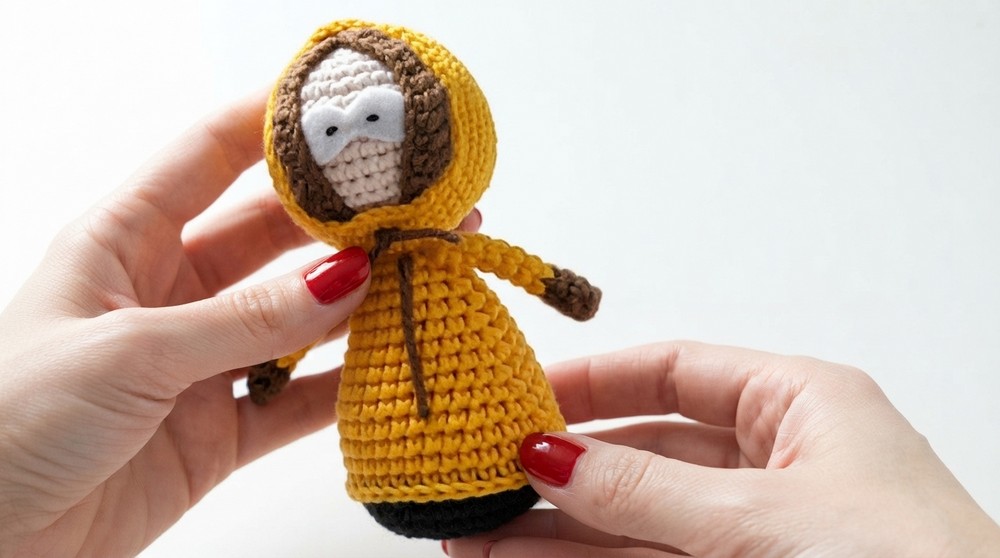
The assembled Kenny figure stands approximately 15 cm tall depending on yarn thickness and tension. Thoughtful stuffing and inserted plastic base provide shape and stability allowing the figure to stand upright. The layers of color represent Kenny’s stereotypical orange jacket and hood, completed with characteristic brown arms and black collar.
Conclusion
This amigurumi pattern of Kenny combines meticulous stitch work with color changes and texture details, suited for confident beginners to intermediate crocheters. The use of back loop stitch creates an appealing ridge effect, while surface slip stitches add thoughtful finishing touches. Carefully inserting the plastic disc base ensures the figure stays stable and upright, while the felt eyes soften the look and add personality. By following the stepwise instructions with patience and precision, you can create a charming and instantly recognizable crochet character to proudly display or gift to fans of South Park.