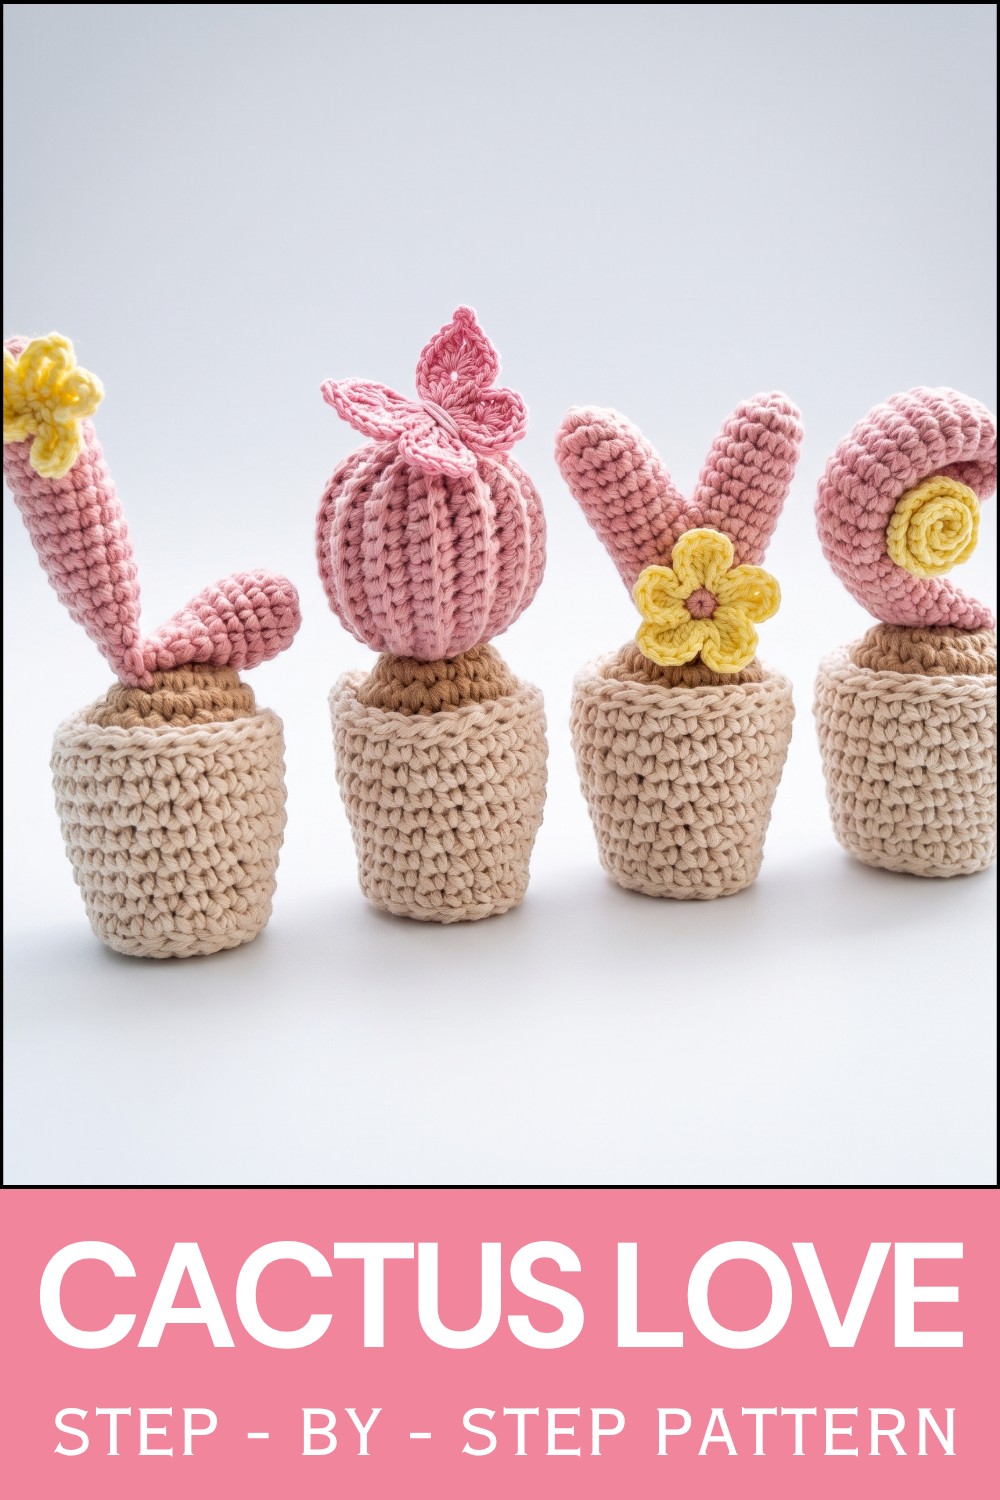
Easy Free Crochet Cactus Love Pattern for Cute Decor
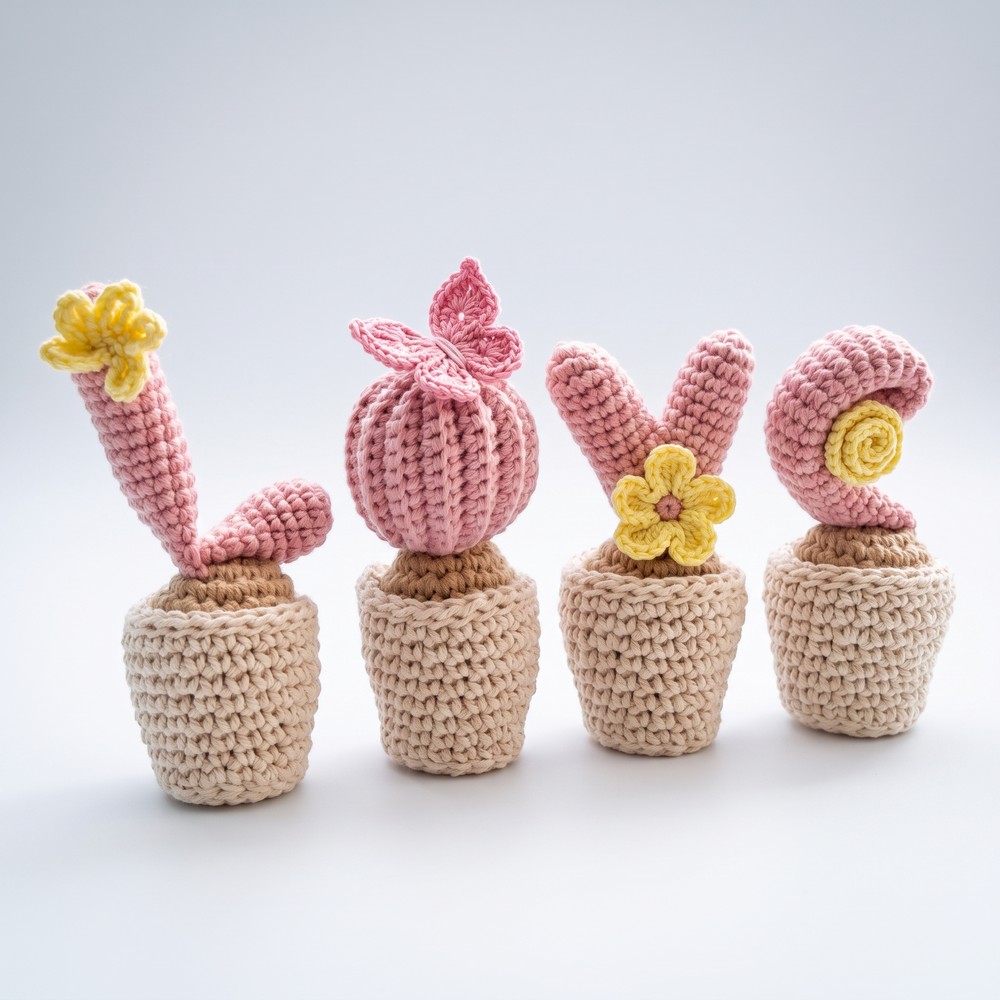
Enliven spaces creatively through this Free Crochet Cactus Love Pattern that blends quirky style with easy care for lasting decorative impact.
Bringing a touch of botanical elegance to your living space is effortless with a thoughtfully hnadmade crochet project. The Free crochet Cactus Love Pattern offers an endearing cactus-shaped decorative piece that complements any interior setting. This handmade item is ideal for gifting, providing recipients with a charming and cozy accent that enhances their home decor.
The expert guidance for this project is provided by Наташа Болди /вязание крючком, whose instructional approach is clear, precise, and accessible, supporting crocheters of all skill levels to achieve impressive results.
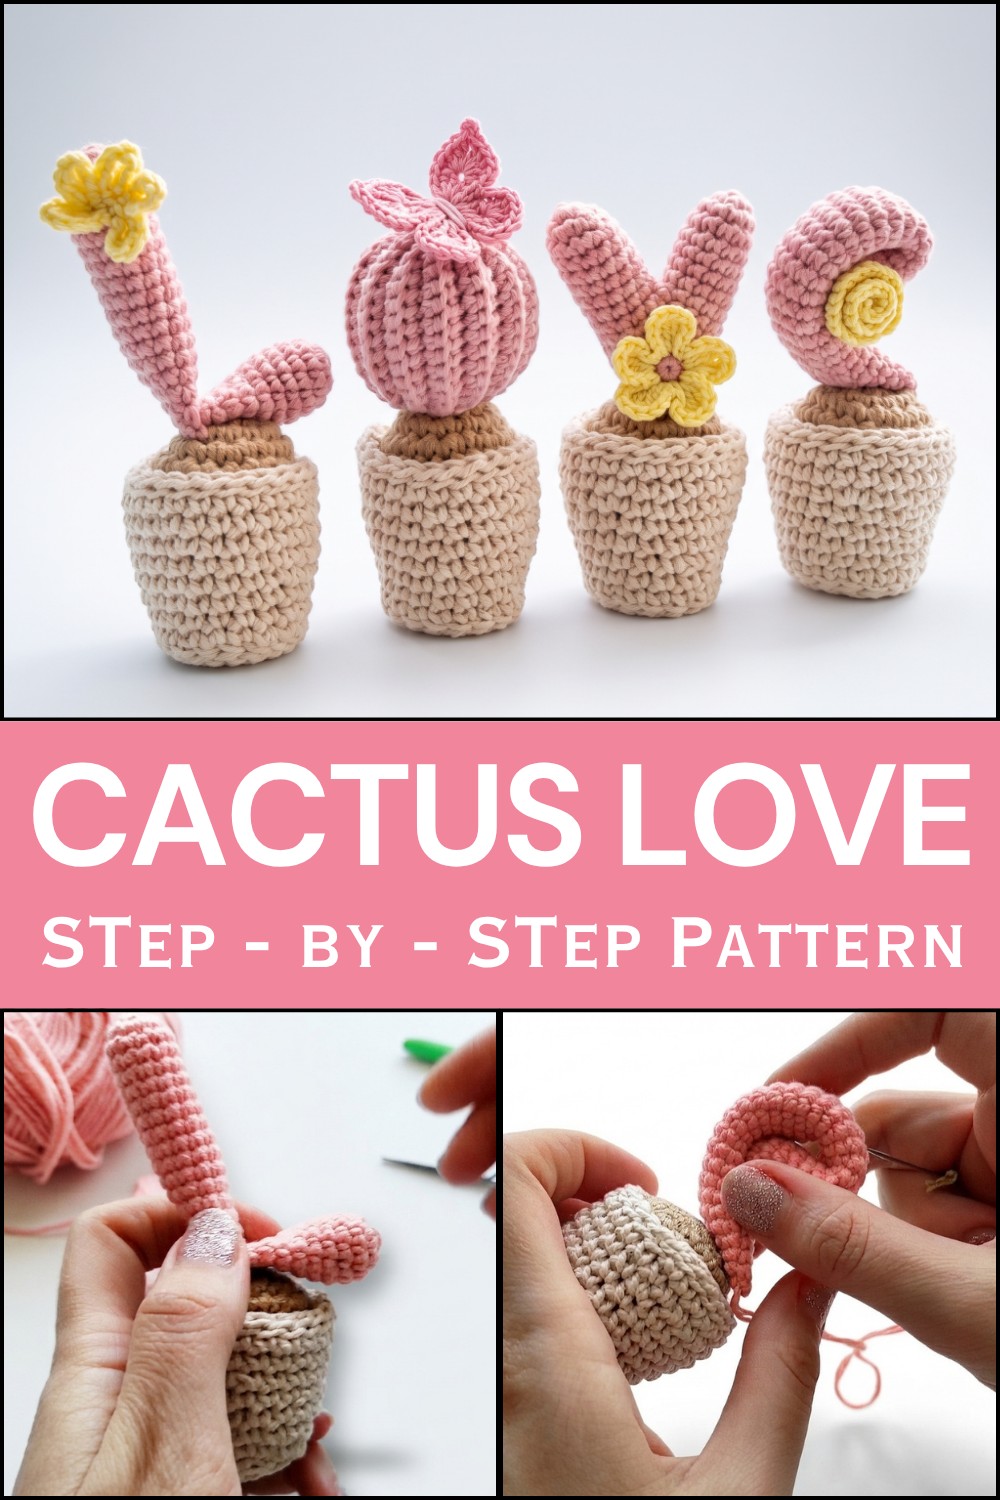
Cactus Love Crochet Free Pattern Perfect Gift Idea
The design features a distinctive form characterized by softly rounded contours and delicate, textured “spines” that lend authenticity and visual interest. Crocheted from soft yarn, the piece offers a pleasant tactile experience while introducing a refreshing splash of green. Its compact dimensions ensure versatility, making it suitable for display on shelves, desks, or windowsills in various rooms.
Beyond its decorative appeal, this pattern is well-suited for crocheters seeking a rewarding yet manageable project. The cactus motif balances simplicity with distinctive charm, making it an exceptional creation for enthusiasts of handmade artistry and nature-inspired designs alike. Its cheerful aesthetic serves as a timeless reminder of natural beauty and warmth.
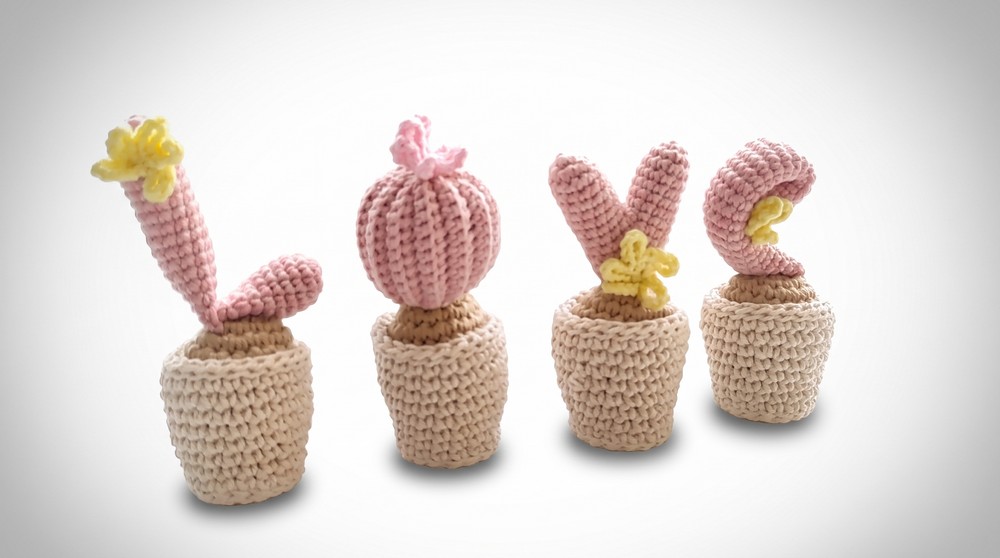
Overall, the Free crochet Cactus Love Pattern represents a refined approach to incorporating personality and handmade elegance into any environment. Its unique structure and soft texture ensure it will remain a beloved decorative accent or thoughtful gift for years to come.
Decorative Crochet Cactus in a Pot Pattern
This detailed tutorial guides you through creating a charming amigurumi-style decorative cactus planted in a crochet pot. Using basic crochet techniques such as the magic ring, single crochet, slip stitch, and working in back loops, you will build a structured pot, textured soil, and various cactus shapes, then complete your project with a delicate flower and assembled base.
Quick Overview of the Pattern
- Pot base is crocheted with magic ring and rounds involving increases and slip stitches to create a firm, ridged structure.
- Soil is shaped with increases and decreases to fit snugly inside the pot.
- Three cactus shapes are created: “L” shaped, “O” shaped (with ribbing texture), and a flexible tube for an “E” shape.
- Final touches include a crochet flower and stable assembly using a plastic disc base.
Notes
- The pot’s walls are worked into the back loops only to form sturdy ridges that provide structure and a realistic look.
- Stuffing is crucial for shaping the cactus parts without distorting stitches.
- Plastic disc base provides weight and stability.
- Adjust increases/decreases as needed for your choice of yarn thickness and tension.
- Stitch counts and pattern rounds must be carefully followed for dimensional accuracy.
Skill Level
Intermediate: Requires knowledge of amigurumi basics, crochet in rounds, working into back loops, increases, decreases, joining pieces by crochet, and shaping through stuffing. Familiarity with magic ring and slip stitch is essential.
Materials
- Yarn in cactus green (and flower color of choice)
- Crochet hooks sizes 2.0 mm and 3.0 mm (or equivalent for your yarn)
- Fiberfill stuffing
- Tapestry needle for assembly and sewing ends
- Thin plastic disc approx. pot base size (to support weight and keep pot upright)
- Optional: Craft glue for additional securing
Measurements / Sizing
- Pot diameter at base: approximately as per increases to 24 SC circumference
- Soil sized to fit pot bottom snugly (~22 SC in round 4)
- Cactus tubes vary: tubes of 12 SC circumference, lengths from approx. 12 to 28 rows
- Finished pot and cactus height: roughly 15-20 cm depending on yarn
Gauge and Stitch Pattern
- Gauge varies based on yarn and hook; example gauge approximately 25 stitches and 30 rows for 10 cm square in single crochet.
- Pot’s ridges created by working in the back loops only (BLO) during wall rounds.
- Soil and cactus mostly worked in continuous rounds of single crochet (SC).
- “O” cactus uses back loop only to create ribbing texture.
Stitch Abbreviations
- SC – single crochet
- Inc – increase (2 SC in one stitch)
- Dec – decrease (single crochet two stitches together)
- Sl st – slip stitch
- BLO – back loop only
- MR – magic ring
- Ch – chain
Special Stitches
- Magic Ring (MR): Create a tight closed center ring for amigurumi bases.
- Working in the back loops (BLO): Crochet into only the back loop of stitches to form ridges or texture.
- Slip stitch rounds: Used to finish edges and create neatness.
The Crochet Pattern!
1. The Pot
Foundation:
- Using smaller hook (2.0 mm), begin with a magic ring (MR).
- Round 1: Work 6 SC into the MR (total 6 stitches).
Increase Rounds:
- Round 2: 2 SC in every stitch around – total 12 SC.
- Round 3: Alternate 1 SC, 1 Inc around – total 18 SC.
Base Edge:
- Round 4: Work 18 slip stitches (sl st) evenly around base to create a firm bottom edge.
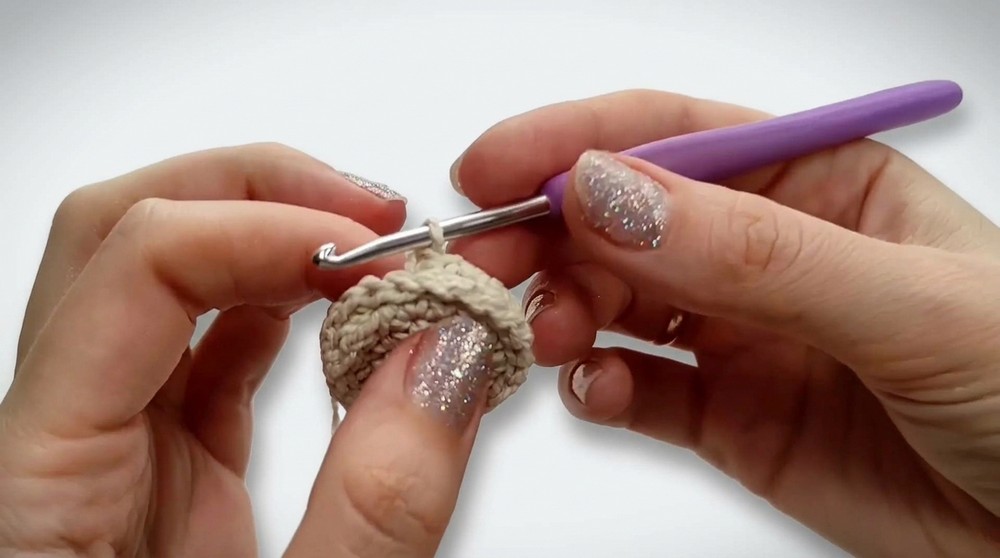
Walls (Create firm ridges):
- Work single crochet stitches into the back loops only (BLO) of the stitches below for raised ridge effect.
Increasing Walls:
- Round 2 (of wall rounds): Increase in first stitch, 8 SC, repeat for 20 SC total.
- Round 4: 5 SC, increase, 8 SC, increase, 5 SC for 22 SC total.
- Round 6: 10 SC, increase, 10 SC for 24 SC total.
Finishing:
- Rounds 7-8: Work 24 SC in each round.
- Final Round: Work a neat row of slip stitches (sl st) to finish pot edge.
2. The Soil
- Use same or slightly heavier yarn for soil to add contrast and structure.
- Follow increases to build base:
- Round 1 to 3: Increase rounds as before, reaching 18 SC by Round 3.
- Round 4: Increase to 22 SC to fit pot base snugly.
- Shape the soil by working decreases at strategic rounds:
- Round 6: Begin decreases to create dome shape.
- Subsequent rounds 8 and 12: Continue decreases to round off the soil surface.
- Stuff soil firmly with fiberfill.
- Leave a small hole to finish closing once fully stuffed.
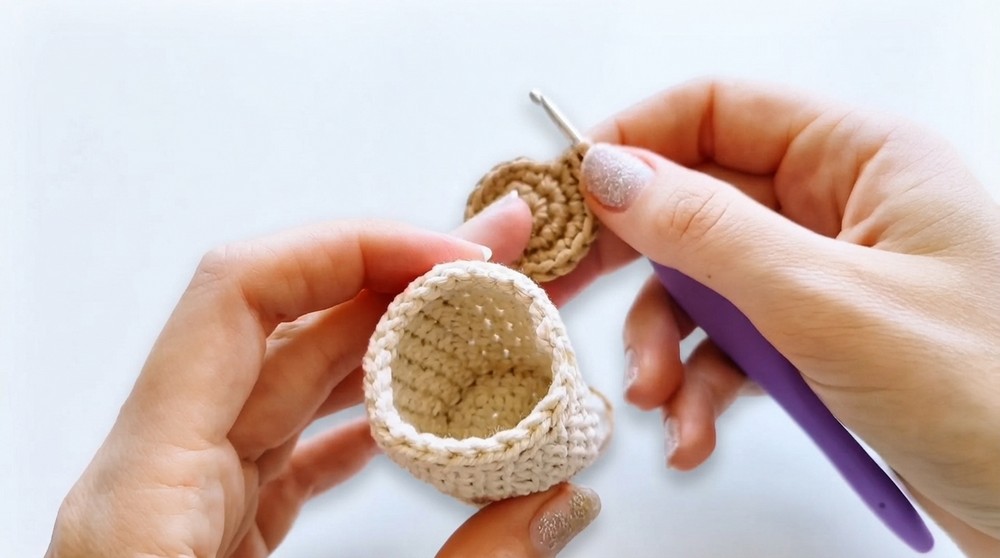
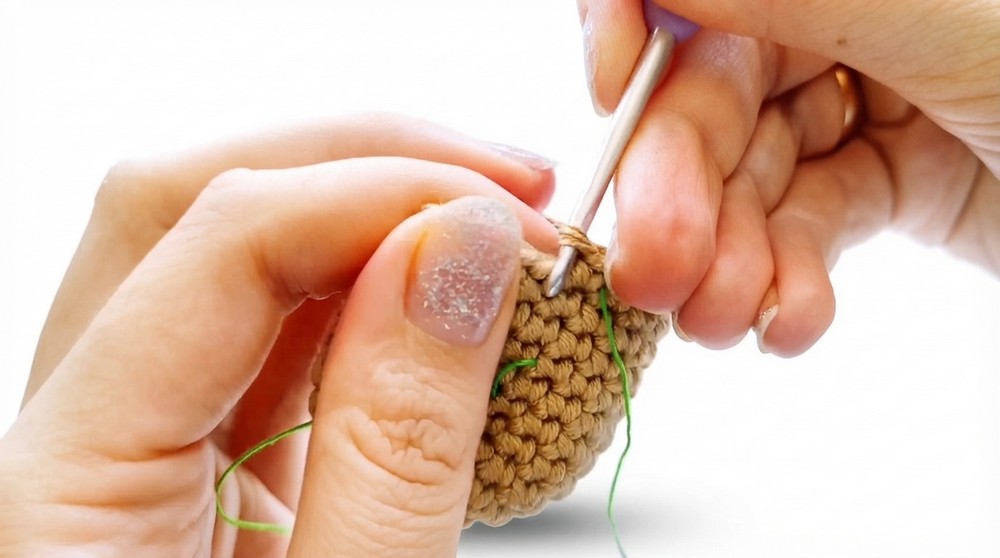
3. Cactus Shapes
Letter “L” Cactus
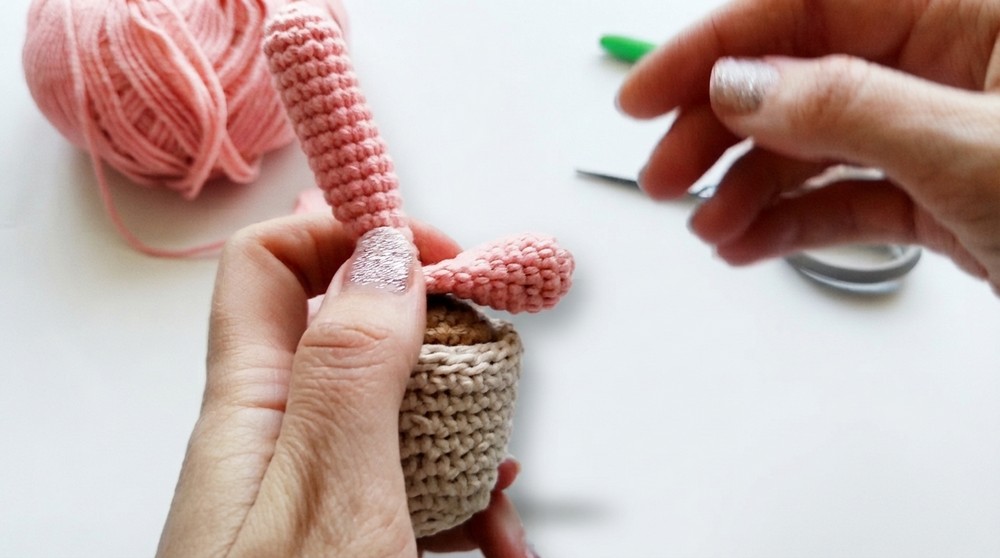
- Make two tubes: Each worked in spiral rounds with 12 SC circumference.
- Join the tubes by crocheting through both pieces’ stitches side by side.
- Stuff tubes firmly before closing after joining.
Letter “O” Cactus
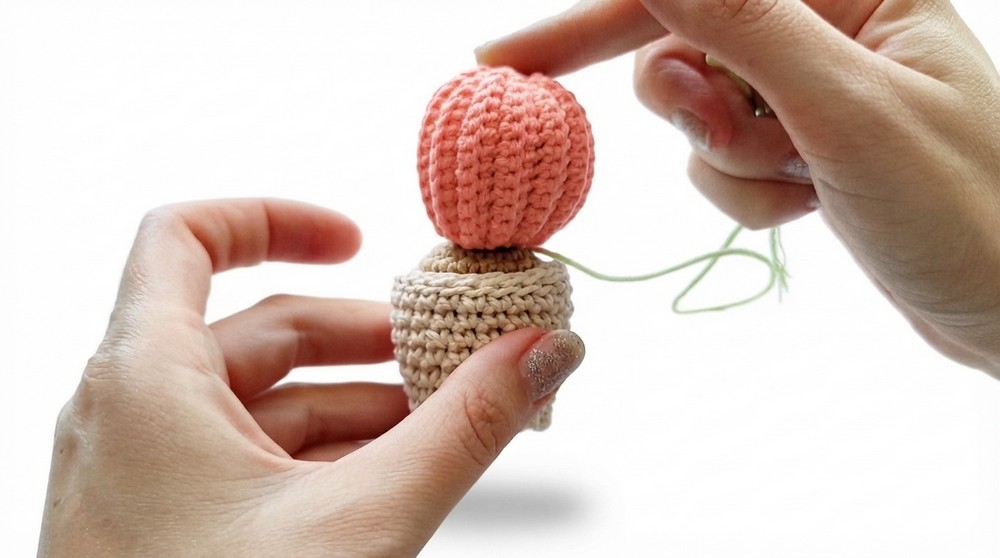
- Crochet a rectangular panel working solely in back loops only (BLO) to form ribbing texture.
- Join sides of the rectangle by sewing or crocheting to form a tube.
- Gather the top and bottom edges of the tube tightly to create a rounded, spherical form.
- Stuff well with fiberfill to preserve shape.
Letter “v” Cactus
Foundation Round:
- Begin with a Magic Ring (MR).
- Work 6 single crochet (SC) stitches into the MR.
Second Round:
- Increase evenly around by working 12 SC (2 SC in each stitch).
Rounds 3 to 8 (Length of Letter):
- Crochet 12 SC stitches in each round without increasing or decreasing.
- Continue for 8 rounds total to establish the length of the panel.
Crochet the Second Rectangular Panel
- Repeat Step 1 to create a second identical rectangular panel.
- On finishing the second panel, do not cut the yarn; leave it attached to join the two panels next.
Joining the Two Panels
- Place the two panels side by side, aligning the edges precisely.
- Using your hook and the working yarn from the second panel, insert the hook through corresponding stitches on both panels.
- Crochet single crochet (SC) stitches through both layers to join them together, working around the edges.
- Continue joining until nearly the entire edges are joined, leaving a small hole for stuffing.
Closing the Hole
- Use the yarn tail from the first panel to help crochet around the hole.
- Insert the hook through the open space and grab the working yarn to crochet single crochet (SC) stitches, closing the gap.
Crocheting Along the Joined Edge
- Crochet approximately 11 SC stitches through both panels’ corresponding stitches to form a smooth joint.
- While crocheting, you will skip one stitch on the first panel before continuing into the next stitch to align the joining evenly.
Shaping the Letter “V” by Decreasing
- After joining, you should have approximately 22 stitches around (11 from each panel).
- Begin working decreases (Dec) in the middle where the two panels join to taper the shape.
How to Decrease:
- Crochet two stitches together (Dec) at the join, effectively reducing stitch count by 2 each decrease round.
Decrease Sequence:
- Round 1 (No decrease): 22 stitches
- Round 2: 20 stitches (make decreases at joining seam)
- Round 3: 18 stitches
- Continue decreasing every round until the stitch count reaches 12 stitches.
Continue Decreasing & Closing Gaps
- Continue decreasing stitches only along the middle join to create the taper at the center of the “V.”
- Due to stitch skipping, some holes may appear along the seam.
- Use the yarn tail and a needle to sew up any holes seamlessly.
Complete the Crochet and Stuff
- Once the stitch count reaches 12 SC and the shape is formed, stop crocheting.
- Firmly stuff the cactus with fiberfill.
- Ensure stuffing is evenly distributed to maintain the shape without stretch.
Letter “E” Cactus
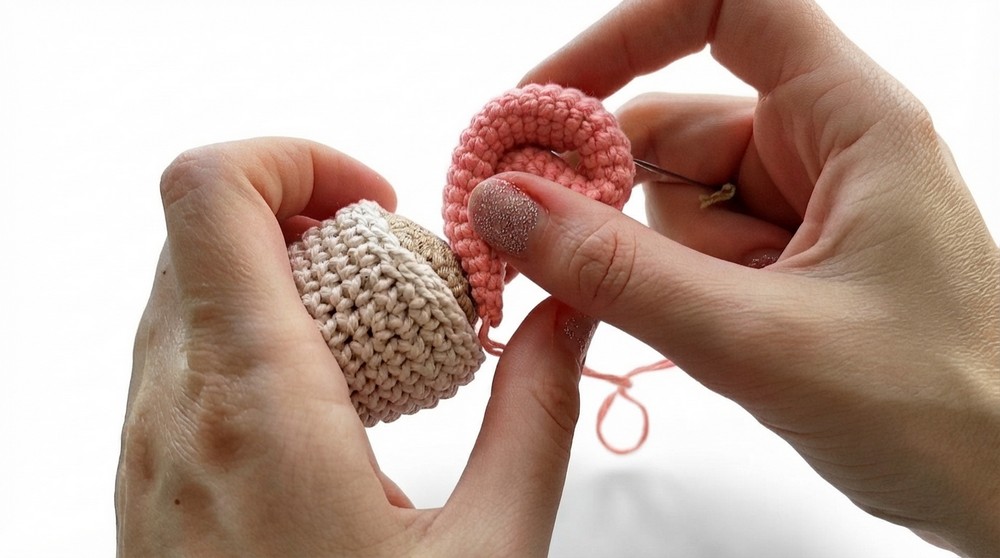
- Work a long flexible tube: approximately 12 SC circumference, about 28 rows length.
- Stuff loosely so the result is flexible and can be bent into shape for added realism.
4. Finishing Touches
Flower:
- Using contrasting yarn, make flower petals by crocheting 5 loops of 7 chains each around a magic ring base, creating a delicate bloom.
Assembly:
- Place a thin plastic disc at the base of the pot for added support and stability.
- Sew or glue the soil piece securely inside the pot, ensuring it rests evenly on the plastic base.
- Attach cactus shapes into the soil by sewing through the base stitches to keep them upright.
- Sew the flower onto the desired cactus top with thread or yarn.
Assembly & Finished Size
The finished decorative cactus in a pot measures approximately 15–20 cm tall depending on yarn and hook sizes used. The sturdy pot supports the soil and cactus pieces, while the flower adds a whimsical touch. The plastic disc improves stability, allowing your crochet cactus to stand upright as a charming home decoration.
Conclusion
This crochet cactus project thoughtfully combines structured craftsmanship with creative shaping techniques. Working into back loops to form ridges, strategic increases and decreases for shaping soil and pot dimensions, and cleverly joining smaller cactus tubes enable you to sculpt a visually interesting, tactile planter set.
Creating multiple cactus shapes offers versatility and fun, while assembling the pieces using a supportive base ensures durability. Whether gifting or decorating your own space, this amigurumi cactus set blends artistry with beginner-friendly crochet skills into an enjoyable and satisfying project.