How to Crochet Summer Bag Free Pattern for Beach Days
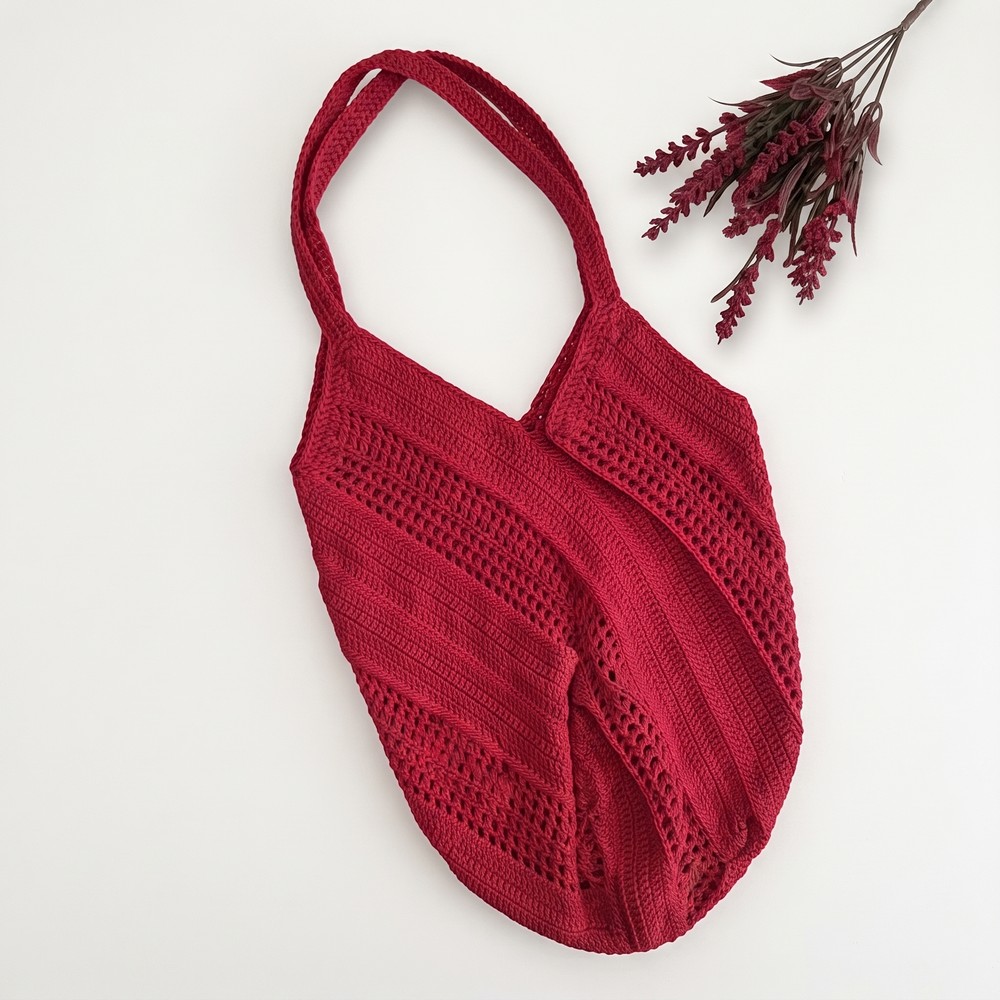
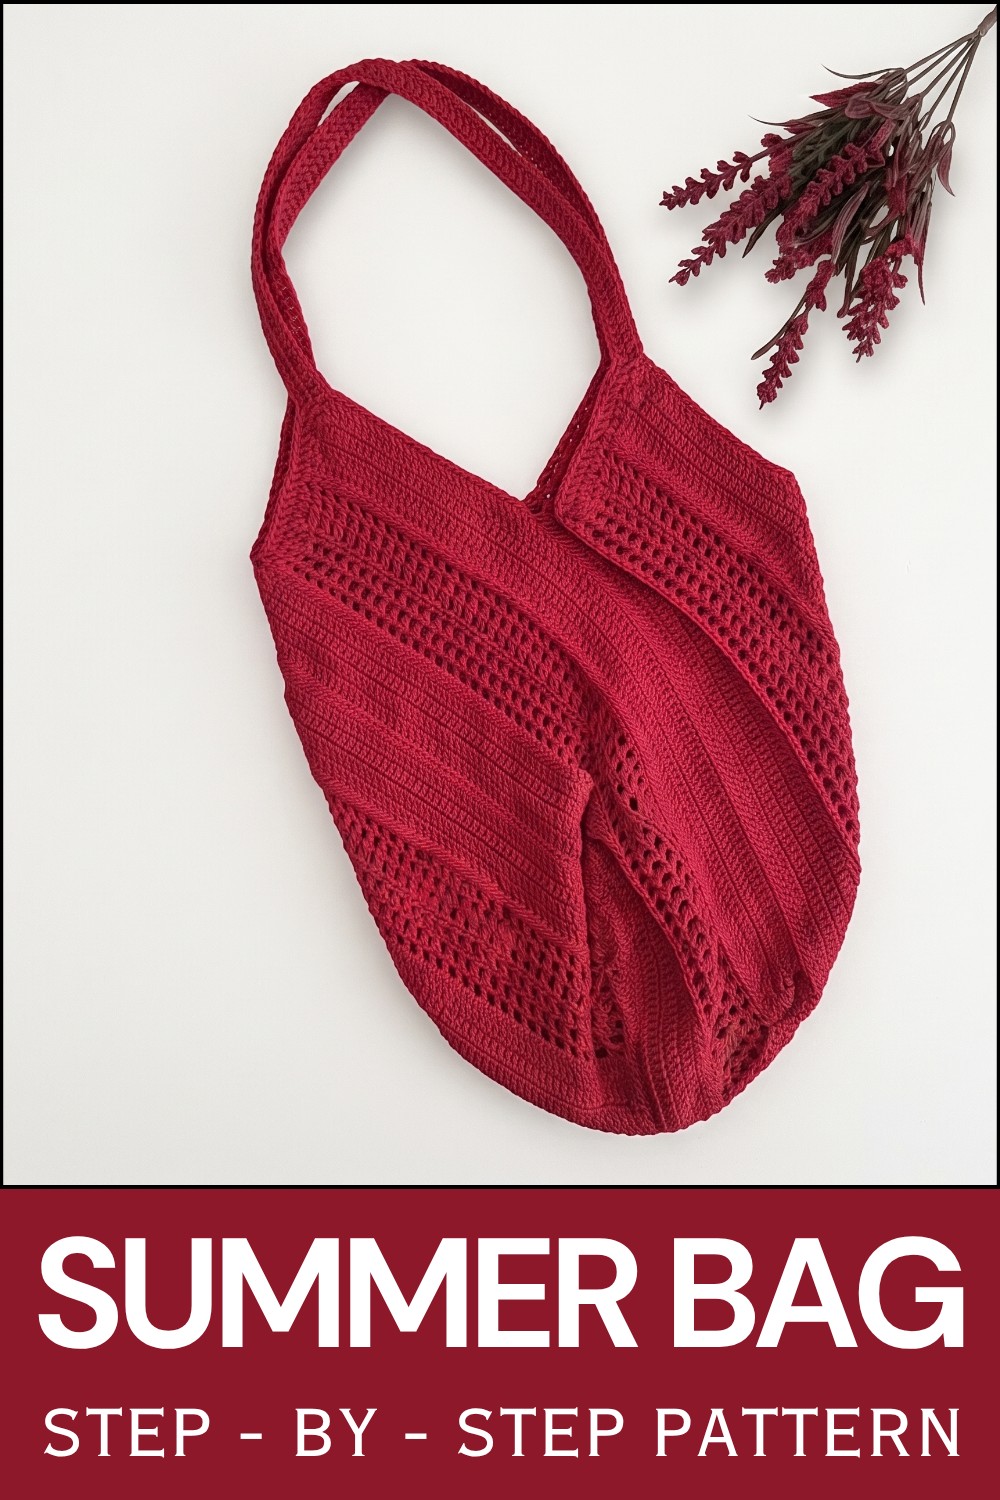
Carry your belongings effortlessly through this Free Crochet Summer Bag Pattern that’s designed for easy handling and fashionable sunny day vibes.
If you’re looking for a charming handmade accessory to brighten up your warm-weather outfits, a crochet summer bag is a wonderful project to try. Наташа Болди /вязание крючком offers a delightful tutorial that’s perfect for anyone wanting to create something both practical and stylish. The free crochet Summer Bag pattern she shares is easy to follow and results in a bag that’s as versatile as it is attractive.
This summer bag is designed with a fresh, airy feel, making it a perfect companion for trips to the beach, farmers’ markets, or casual outings. Its open, mesh-like style allows for breathability, while the sturdy construction maintains shape and functionality. The natural cotton yarn gives the bag a soft texture and a lovely, understated look that complements nearly any summer wardrobe.
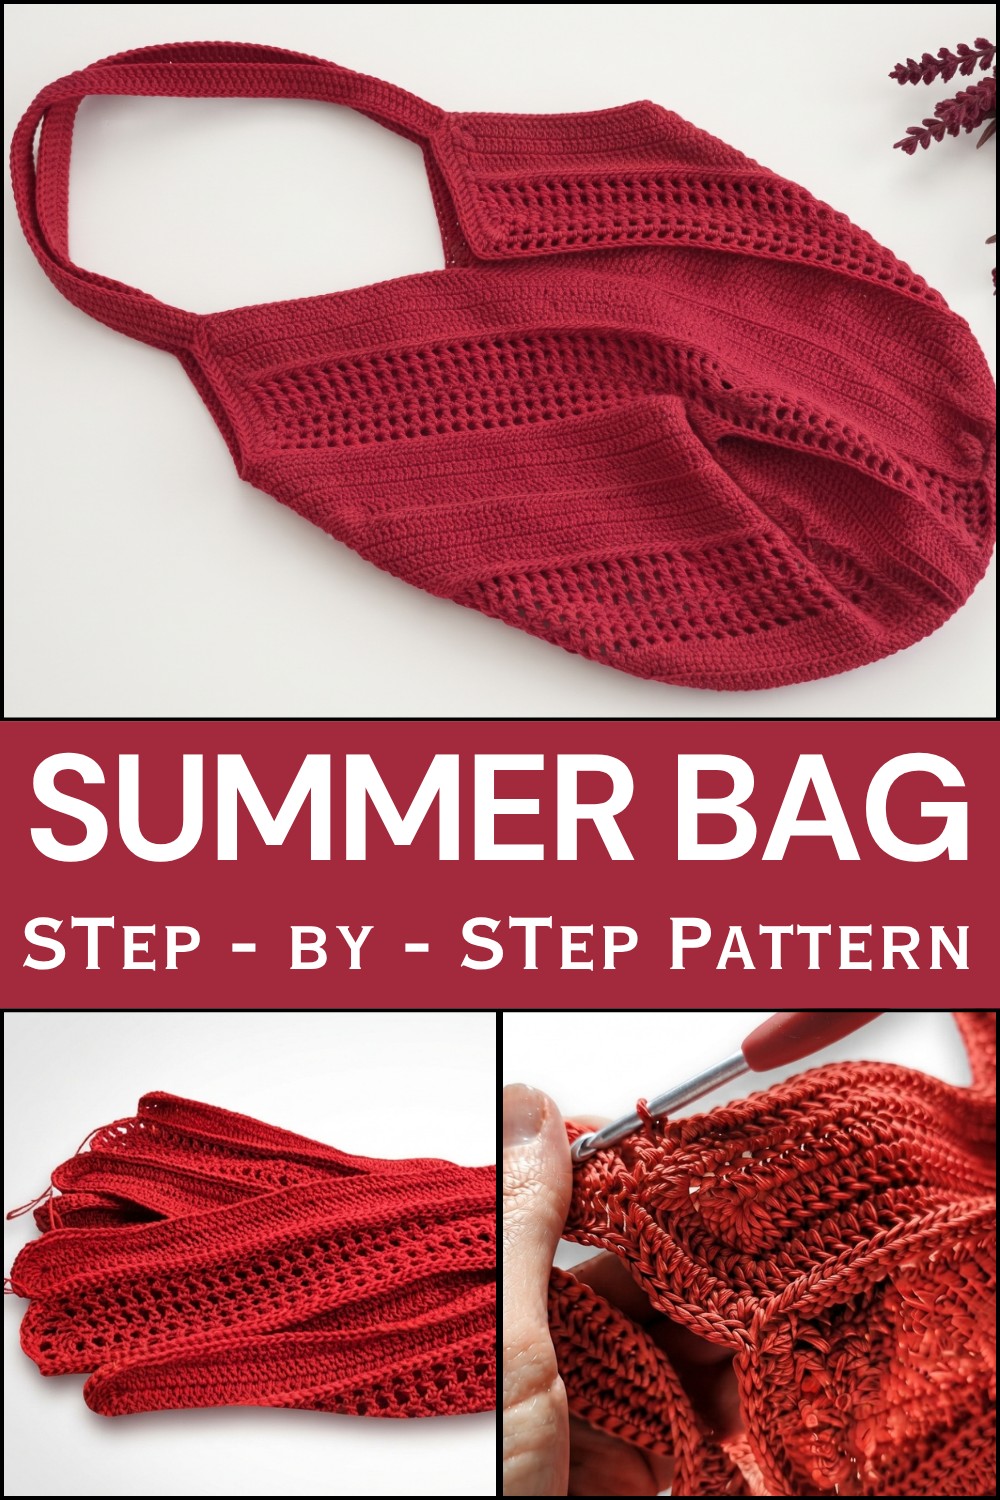
Crochet Summer Bag with This Free Pattern
Not only is this project a fantastic way to hone your crochet skills, but it also makes a thoughtful handmade gift. Imagine giving this beautiful bag as a present—it’s practical, eco-friendly, and filled with the warmth of handmade care. Its neutral yet charming design fits a wide range of personal styles, making it a versatile choice that anyone would cherish.
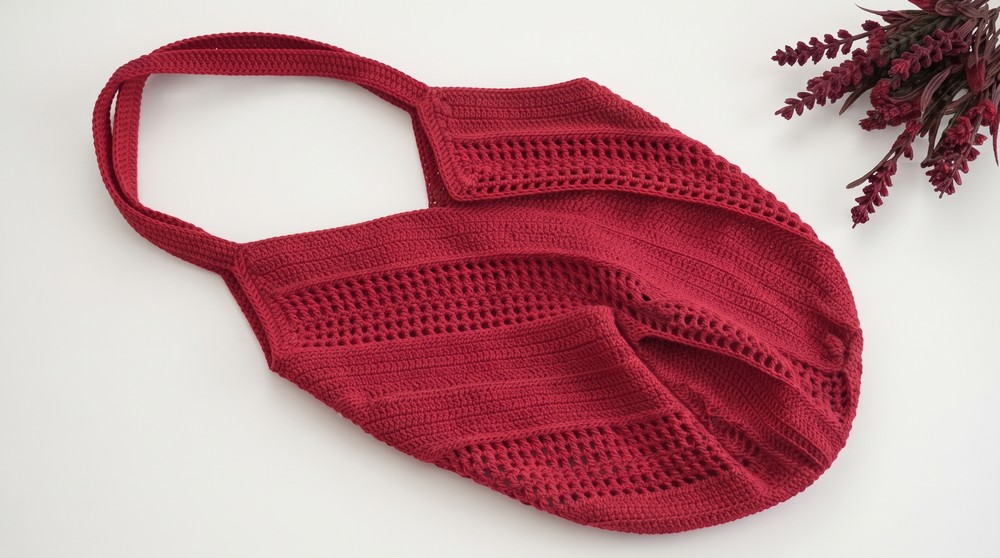
Beyond its aesthetic appeal, the handmade summer bag offers great utility. It’s spacious enough to carry daily essentials while remaining lightweight and comfortable to hold, thanks to well-crocheted handles. Whether you’re treating yourself or making gifts for loved ones, this crochet summer bag is a lovely blend of beauty and function, all thanks to the (generosity of Наташа Болди /вязание крючком’s) free crochet pattern.
Summer String Bag Crochet Pattern by Natalia
This beautiful summer string bag is crocheted from individual strips that are later joined together to form a vibrant checkered handbag. The pattern uses double crochet (dc) stitches and chain stitches to create a sturdy yet airy bag. Handles are crocheted separately and securely attached for easy carrying.
Pattern Highlights
- Made from 8 solid strips and 4 mesh strips joined together
- Uses double crochet (dc) and chain (ch) stitches
- Includes corner increases to shape the bag
- Joins strips loop-to-loop for a flat, clean seam
- Two sturdy crocheted handles approximately 35 cm long
- Cotton yarn recommended for breathability and durability
Notes
- Maintain consistent tension throughout to ensure uniform size
- Carefully count stitches to avoid missing or adding extra loops
- Yarn tails are woven in or used to close holes invisibly
- Chain stitches create open mesh areas, double crochet stitches add strength
Skill Level
Intermediate Beginner: You should know how to do:
- Chain (ch)
- Double crochet (dc)
- Slip stitch (sl st)
- Increasing by working multiple stitches into one loop
- Joining crochet pieces using connecting posts
Materials
- Cotton yarn (~150 grams)
- Crochet hook size 3 (3 mm)
- Scissors
- Tapestry needle
Measurements / Sizing
- Each strip starts with 100 chain stitches
- Each handle approx. 100 chains (about 35 cm)
- Bag size depends on gauge but is medium-sized
Stitch Abbreviations
- ch = chain
- dc = double crochet
- sl st = slip stitch
- st = stitch
- inc = increase (multiple stitches in the same st)
Pattern Instructions
Part 1: Make 8 Solid Crochet Strips
Foundation Chain:
- Make a chain of 100 ch (air loops).
Row 1:
- In the 3rd ch from the hook, work 1 dc.
- Work 97 dc stitches evenly across the chain, one dc in each chain.
- At the last chain, work 8 dc stitches in the same loop to create corner shaping.
- Secure the end with a slip stitch to prevent stretching.
Row 2 (Opposite Side):
- Turn to the opposite side of the foundation chain.
- Work 96 dc stitches evenly in each chain base along this side.
- Work 6 dc stitches in the first loop of the row to mirror the corner shaping on this side (creating 8 dc at each end).
- Close row with a sl st.
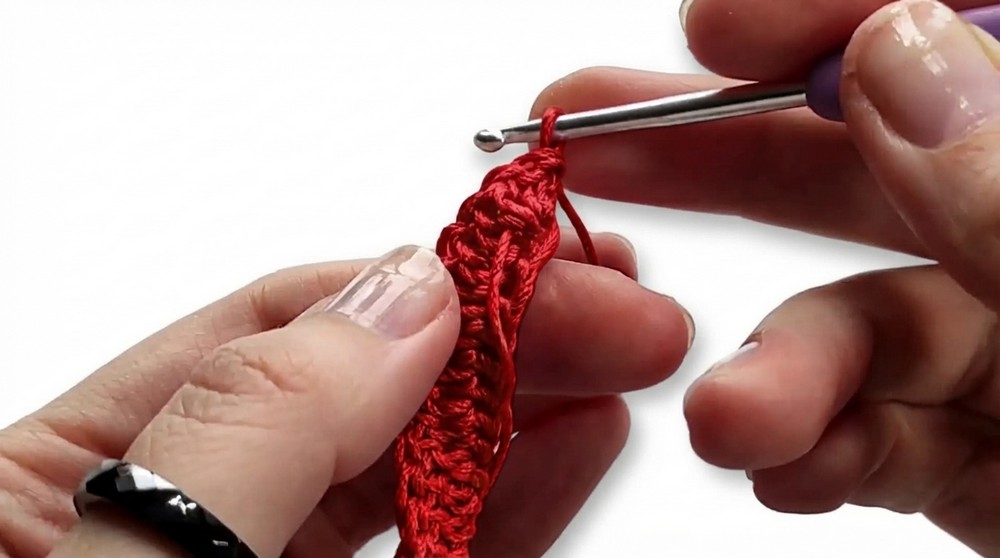
Row 3 (Increasing Round):
- Chain 2 (counts as first dc).
- Knit 1 sc in first of 8 dc to stabilize.
- Increase: work 3 dc into next stitch.
- Work 4 sc stitches next.
- Repeat increase (3 dc in 1 st) at corners.
- Close with sl st, fasten off.
Make 8 identical solid strips following these steps.
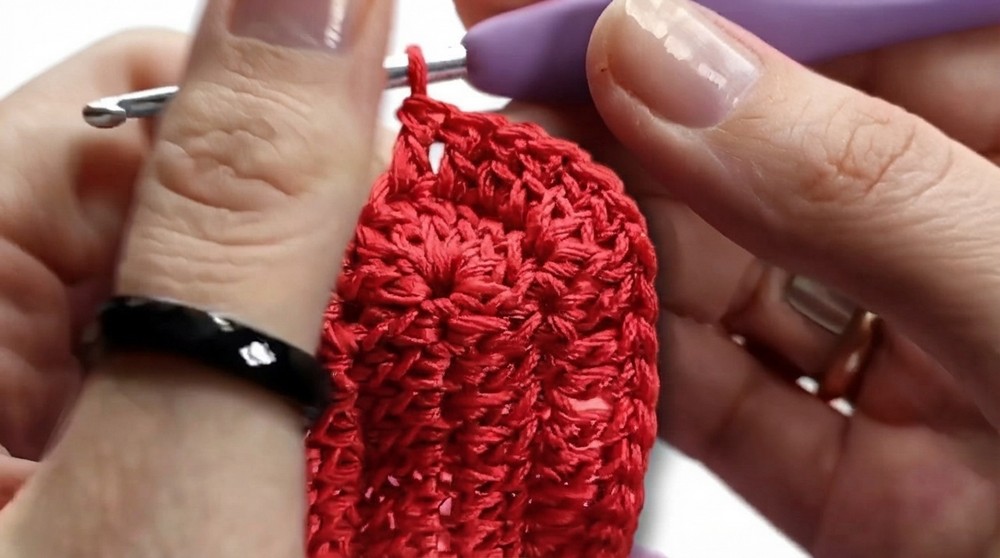
Part 2: Make 4 Mesh Crochet Strips
Foundation Chain:
- Chain 100 ch.
Row 1:
- Yarn over and insert hook into the 3rd ch from hook, work 1 dc.
- Work a mesh pattern: alternate 1 dc stitch + 1 ch and skip a chain between stitches.
- Work 49 dc stitches with chain spaces in total.
- At end, increase by working 4 dc stitches alternating with ch to form the corner.
Row 2 (Opposite Side):
- Repeat mesh pattern back along opposite side with 48 dc stitches and chains.
- Close row with sl st.
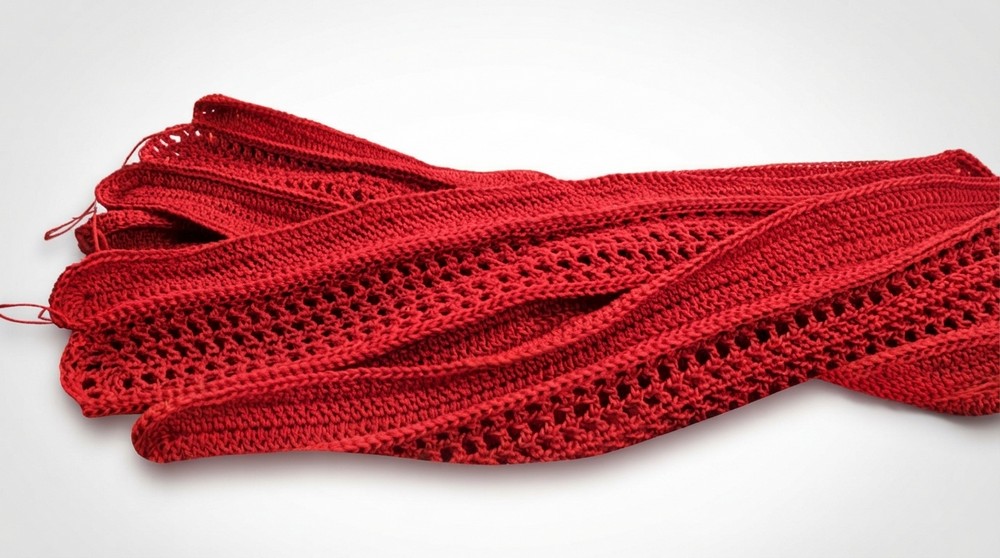
Row 3 (Increasing Round):
- Chain 3 (counts as dc).
- Continue mesh pattern with increases on corners (work 2-3 dc stitches in one loop).
- Fasten off after finishing row.
Make 4 mesh strips total.
Part 3: Joining the Strips
Layout:
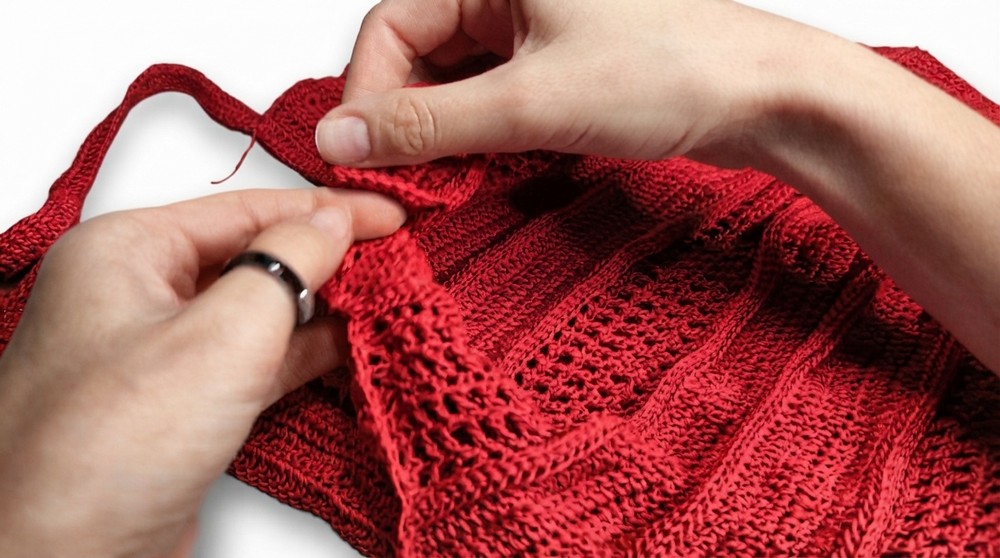
- Arrange 8 solid and 4 mesh strips in a checkered pattern alternating solid and mesh.
Joining:
- Join strips using connecting posts with dc stitches worked loop-to-loop.
- Insert hook into back half loop of one strip and front half loop of the adjacent strip to join without bulk.
- Work across edges carefully matching loops, avoiding skipped or doubled stitches.
- Join first along short sides, then along long sides.
- Secure all yarn ends after joining.
Part 4: Closing the Base
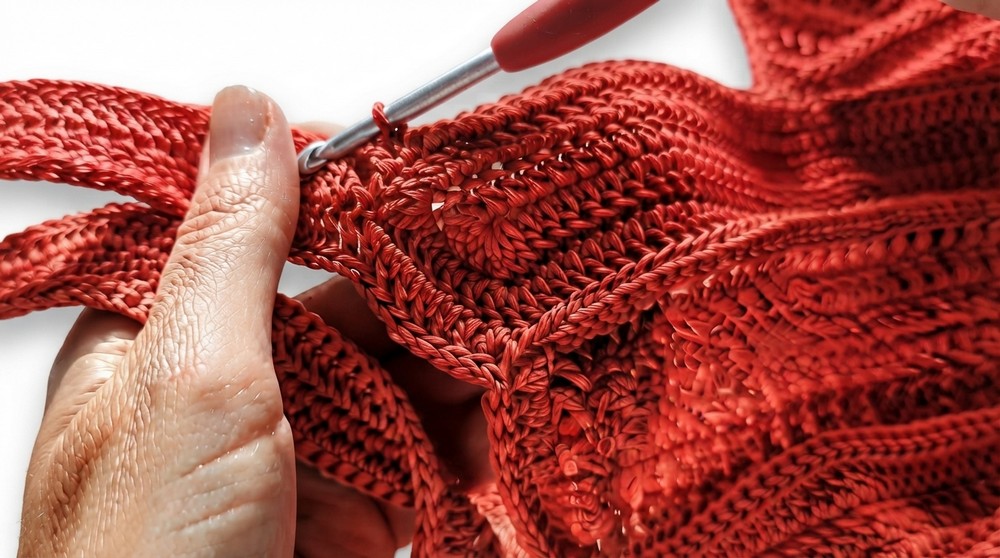
- Close the central hole at the bag’s base by tightening stitches with yarn tails, hiding knots invisibly with a tapestry needle.
Part 5: Making and Attaching Handles (Make 2 handles)
Handle Chain:
- Attach yarn near corner increase stitches on the bag edge.
- Chain 100 ch for desired handle length (~35 cm).
- Attach chain to opposite edge matching placement.
Edging Handle:
- Work dc stitches all along the chain to reinforce the handle.
- Work on inside side of handle chain for extra strength.
Attaching Handle:
- Join handle edges to bag by crocheting sc stitches loop to loop through matching loops on bag edges.
- Use combined stitches (partially completed dc stitches on each side crocheted together) for a solid connection.
- Finish edges with a slip stitch row.
- Repeat for second handle.
Part 6: Final Finishing
- Weave in all yarn ends neatly using a tapestry needle.
- Check seams and handles for tightness and uniform tension.
- Your summer string bag is complete and ready to use!
Assembly & Finished Size
- Bag size depends on yarn and tension but fits small to medium items comfortably.
- Handles approximately 35 cm long provide comfortable carry options.
- The joined strips create a checkered, airy design with reinforced edges and sturdy handles.
Conclusion
This summer string bag project combines simple crochet techniques with elegant construction to create a light, airy accessory perfect for warm weather. The ability to crochet individual strips and join them offers flexibility and a satisfying modular crochet experience. With practice, even beginners comfortable with double crochet and joins can create this stylish bag.