Stylish & Free Crochet Flower Bag Pattern Great Tutorial for Beginners

Carry charm everywhere with this free crochet flower bag pattern designed to create a cute and functional accessory for any occasion.
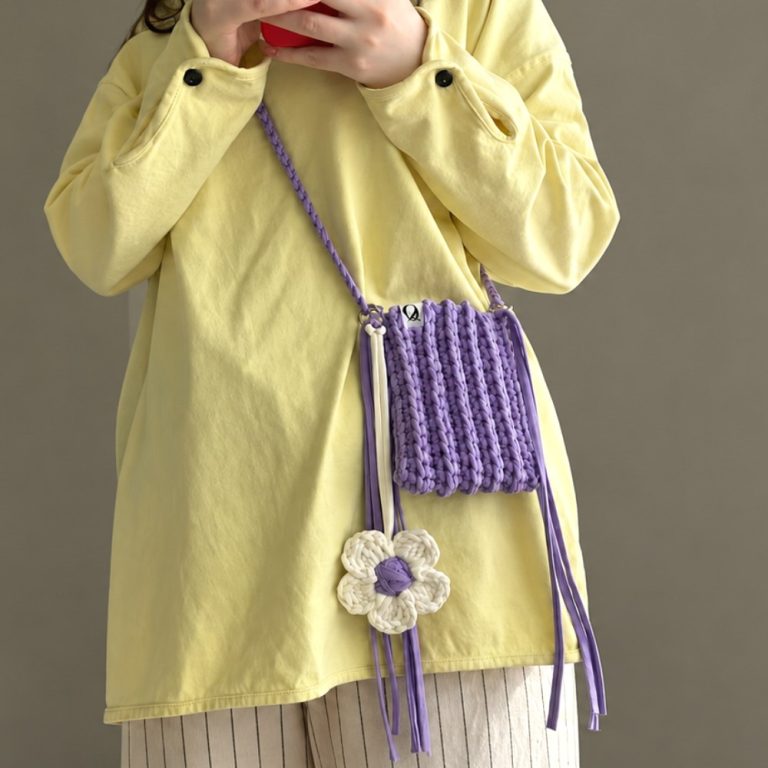
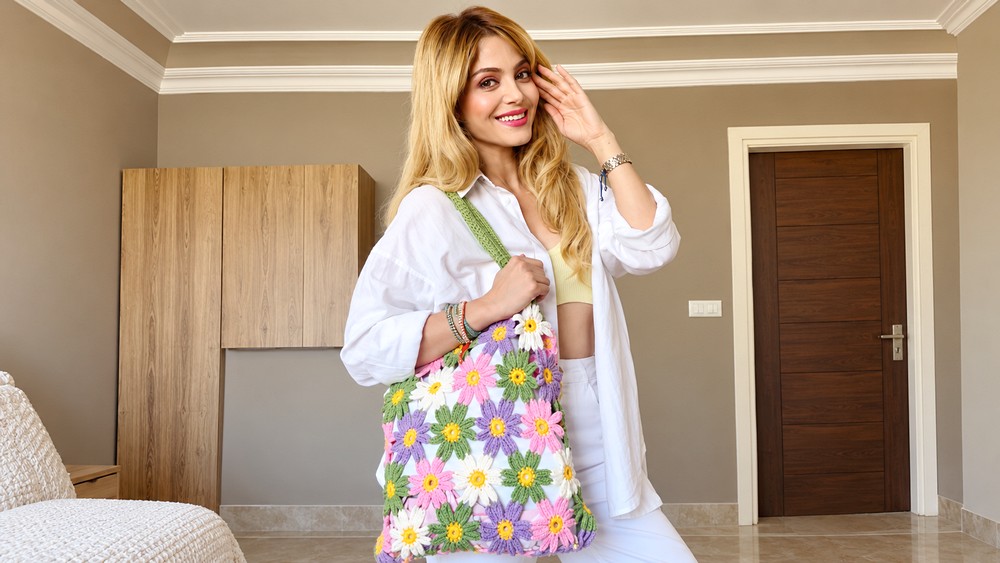
Brighten up your accessory collection with a charming bag filled with floral beauty. The free crochet flower bag pattern, thoughtfully shared by magic knots, offers a delightful way to create a unique and stylish piece. This floral-inspired bag is not only practical for carrying everyday items but also serves as a wonderful gift that carries a personal and creative touch.
Make Your Own Free Crochet Flower Bag Pattern Today
This bag features soft, delicate flowers made by layering yarn strands to achieve larger and more vivid petals. The main color is a soothing green, accented by a few complementary tones to keep the look fresh yet balanced. Its shape is roomy enough for pillows or small essentials, and the addition of a soft lining enhances durability and polish.

A standout aspect of this project is the intricate arrangement of flowers and leaves, carefully joined to form a structured yet airy base. Each flower has twelve petals, and the design cleverly combines multiple flowers in rows with special corner joins to maintain the bag’s shape. The textured surface created by this pattern gives the bag an inviting, tactile quality that complements its visual charm.
This pattern is accessible and enjoyable to create. The flower bag radiates a fresh, natural vibe with its soft colors and thoughtful construction, making it a perfect accessory for spring and summer outings or a heartfelt gift to brighten someone’s day.

Crochet Flower Bag Pattern
Skill Level: Intermediate
This crochet flower bag combines beauty and practicality by using joined floral motifs to create a stylish carryall. The finished bag has a sturdy structure, vibrant design, and can be customized by adding a lining for durability or using different yarn colors to match your personal taste. By combining rows of individual flowers with unique corner pieces and decorative handles, the bag transitions from a creative crochet project to a functional accessory.
Materials Needed
- Yarn: Alize Cotton Gold (use two strands held together to achieve the desired thickness).
- Crochet Hook: 3.5 mm.
- Other Accessories:
- Stitch Markers to help plan the motif layout and mark handle placements.
- Sewing Needle for weaving in ends and joining motifs securely.
Stitch Abbreviations
The following stitch abbreviations are used in this pattern:
- ch: Chain
- sl st: Slip stitch
- sc: Single crochet
Useful Tips
- Gauge Consistency: Using two strands of yarn ensures uniform thickness and a sturdier structure. Keep your tension consistent while working on the motifs.
- Planning the Layout: Use stitch markers to pre-arrange the flowers for easier assembly. This is particularly important for handling the corner pieces.
- Steam Blocking: After completing the bag, steam block to smooth out uneven sections and enhance its shape.
- Optional Lining: For maximum durability and added support, sew a fabric lining before attaching the handles.
Pattern Instructions
Step 1: Flower Center
Round 1:
- Create a magic ring and work:
- Ch 6 and join with a sl st to form a loop.
- Work 12 sc into the ring.
- Join the round using a sl st into the first sc.

Step 2: Petals
Round 2:
- Ch 11 to create the first petal.
- Sl st into the next base stitch to anchor the petal.
- Repeat ch 11 and sl st into the next base stitch until there are 12 petals in total.
- After completing the petals, join the round with a sl st.

Step 3: Base Layout
To form the foundation for the bag:
- Arrange the motifs as follows:
- Row 1: Create a row with 5 flowers.
- Row 2: Add 4 flowers above the first row.
- Row 3: Add 4 flowers below the first row.
- Use stitch markers to secure the layout before joining the flowers.
Step 4: Assembly and Joining
Join the flower motifs together by connecting petals on adjacent motifs:
- Use 5 or 6 chains between each pair of joined petals.
- Work across the layout row by row, ensuring you securely attach each flower while maintaining a flat and even bag structure.

Step 5: Corner Shaping
For the corners of the bag:
- Replace one regular flower with 14-petal flower motifs.
- The additional petals create a curvature that adds dimension and structure, shaping the bag edges effectively.

Step 6: Edge and Border
Work the edges of the bag using the main color (green):
- Base Row:
- Work around the top edge of the bag using ch stitches:
- Use 3 chains between stitches of different-colored motifs.
- Use 2 chains between stitches of the same-colored motifs.
- Work around the top edge of the bag using ch stitches:
- Rows of sc:
- Follow the chain border with several rows of sc, working evenly along the edge to form a clean and polished border.

Step 7: Adding Handles
Handle Placement:
- Use stitch markers to mark the positions for attaching the handles.
- Ensure that two flowers on each side of the handle area are left unworked for added structure.
Handle Construction:
- Work sc stitches up to the marked handle points.
- Ch 70 to form the handle, ensuring it is long enough to sit comfortably over your shoulder.
- Connect the end of the chain to the opposite marked point with a sl st.
Reinforcement:
- Work sc stitches along the base of the chain handle to increase durability.
- Add one or two finishing rows along the handle base for additional sturdiness.

Step 8: Final Polish
- Steam Blocking: Use a steam iron to smooth and shape the bag edges and brim.
- Optional Lining: If desired, sew a fabric lining into the bag for structure and to prevent stretching.
Conclusion
This crochet flower bag combines classic motifs into a beautiful yet functional accessory. Its sturdy build and vibrant floral design make it an ideal handmade piece for everyday use or as a special handcrafted gift. With added customization options, such as lining or handle adjustments, this project is an opportunity to enhance both crochet skills and practical creativity.