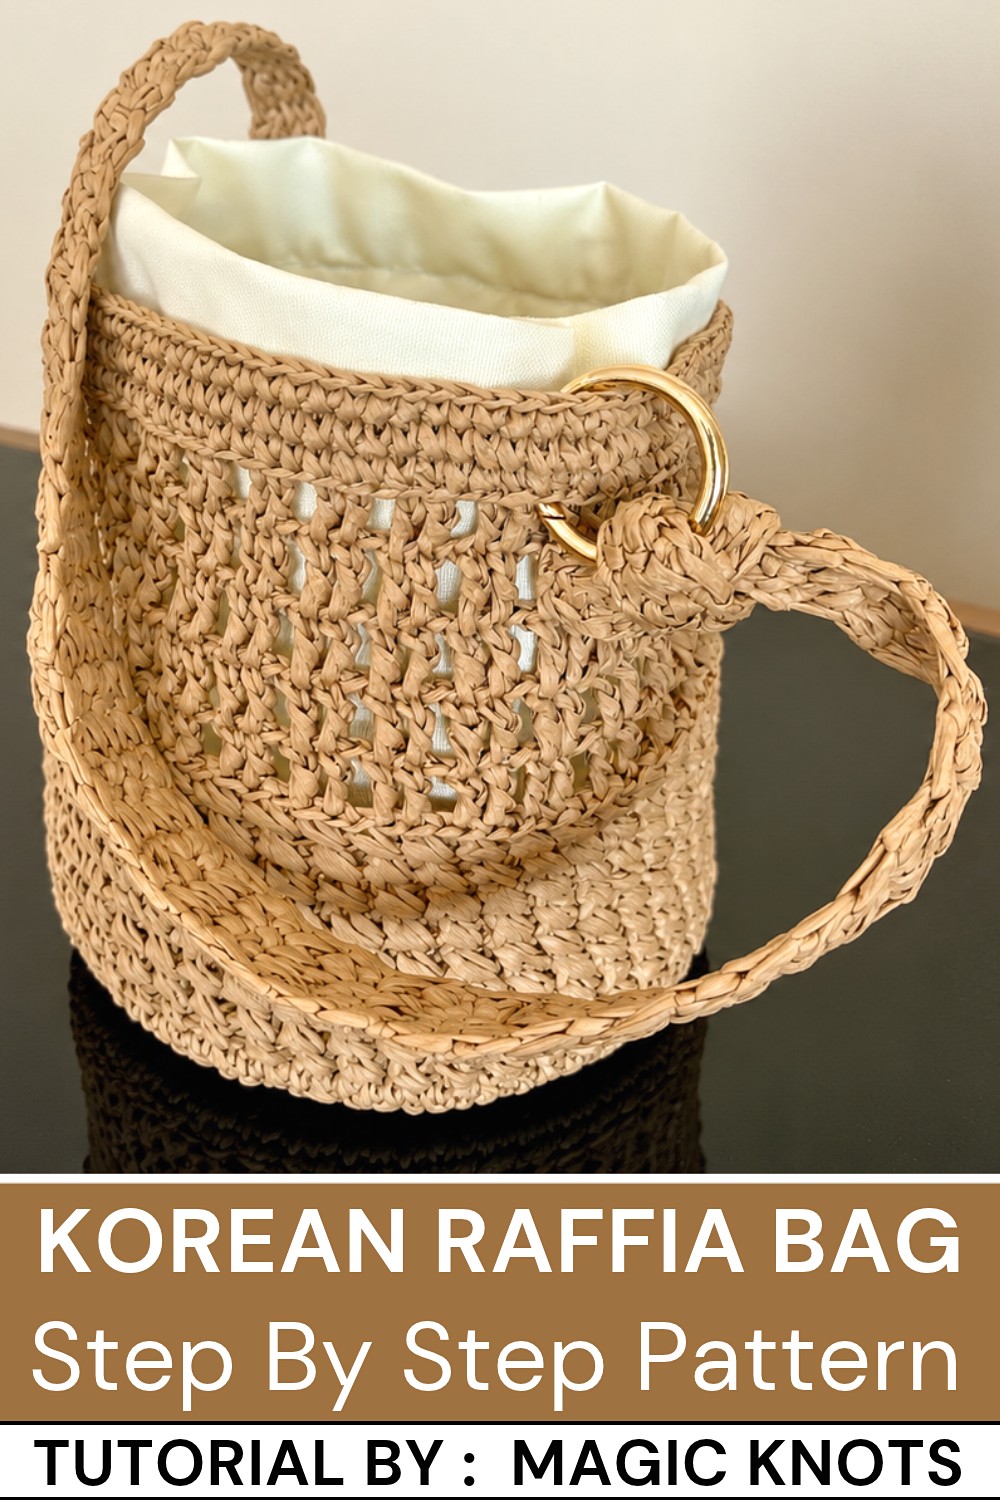
Stylish Free Crochet Raffia Bag Pattern | Korean-Style Beach Bag
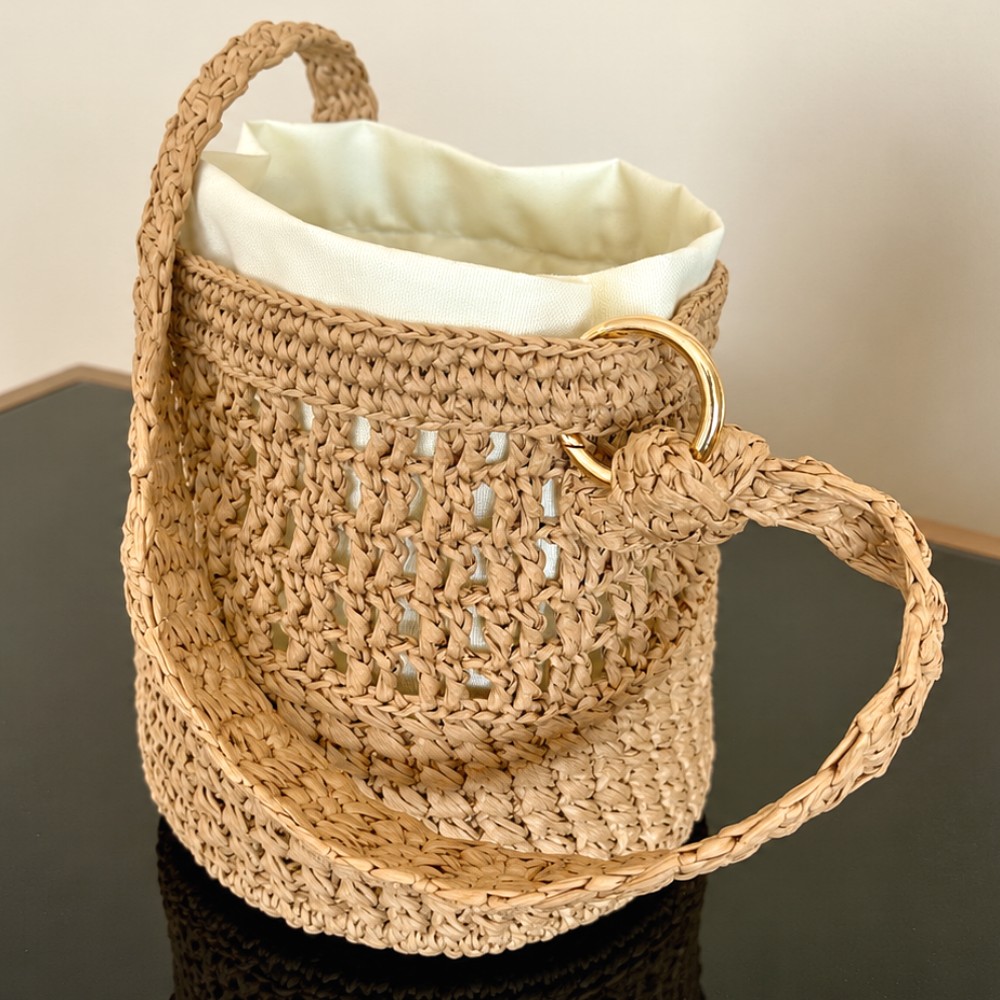
Make a statement with a handmade Korean-style raffia bag using our free crochet pattern that combines stylish texture with practical, beach-ready elegance.
A stylish handmade bag can instantly elevate any outfit, blending practicality with a touch of artisan charm. On the magic knots channel, you’ll find an inspiring project that brings this idea to life with a modern twist. This accessory draws inspiration from Korean craft techniques, resulting in a design that’s both fresh and timeless.
Beginner-Friendly Free Crochet Korean-Style Raffia Bag Pattern

The Free crochet Korean-style raffia bag pattern highlights a beautifully textured silhouette made with raffia yarn, giving it a natural, rustic feel mixed with sleek, woven details. Its medium size makes it versatile for daily use, while the thoughtfully added lining and snap closure enhance its durability and style. The handle’s unique construction adds an extra flair, making this bag not just a practical companion but also a standout piece that complements casual and chic looks alike.
This bag offers excellent gifting potential, perfect for friends or loved ones who appreciate handcrafted treasures. The combination of lightweight raffia and sturdy lining ensures it’s as functional as it is decorative, ideal for carrying essentials on a sunny day out or for a weekend getaway. Its Korean-inspired design adds elegance and originality, making it a wonderful conversation starter and a keepsake to cherish.
Crochet Cross-Stitch Raffia Bag Pattern
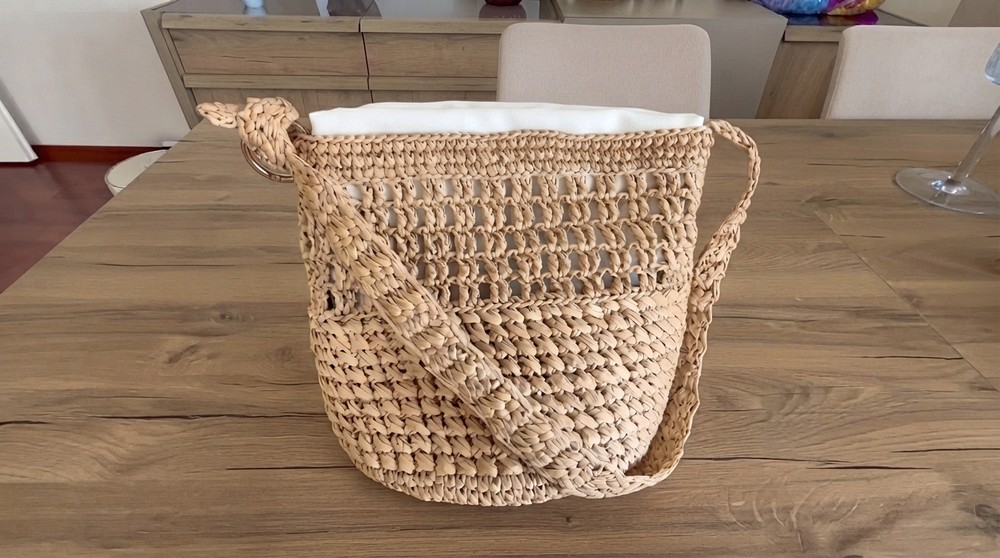
This raffia crochet bag is an elegant yet sturdy accessory that combines a flat circular base, textured body, and structured strap to create a functional everyday bag. Crafted using raffia yarn, this pattern incorporates simple yet decorative stitches like the cross-stitch and double-crochet mesh pattern, making it perfect for those looking to expand their crochet skills while working on a sophisticated project.
Skill Level
Intermediate
This project is ideal for crocheters who are comfortable working in the round, making stitch increases, and following stitch patterns like the cross-stitch. Basic sewing skills are required to attach the lining and snap closure.
Materials Needed
- Yarn:
- Raffia yarn: Approximately 2 small skeins or 1 larger skein (200g). Raffia provides structure and durability to the bag.
- Hook Sizes:
- 3.5mm crochet hook: For the base and textured body section.
- 3mm crochet hook: For the mesh section of the bag.
- Additional Materials:
- Bag hardware: A connector or ring to attach the strap securely to the bag.
- Lining fabric: Light-weight or medium-weight fabric to line the inside of the bag for a polished appearance.
- Snap button: For a simple and secure closure.
- Needle and thread (for sewing the lining and snap button).
- Scissors for yarn cutting.
Special Stitches Used
- Single Crochet (Sc):
- Insert the hook into the stitch, yarn over, and pull through the loop (2 loops on the hook). Yarn over again and pull through both loops.
- Double Crochet (Dc):
- Yarn over, insert the hook into the stitch, yarn over again and pull through the stitch (3 loops on the hook). Yarn over, pull through the first 2 loops on the hook, yarn over again, and pull through the remaining 2 loops.
- Treble Crochet (Tr):
- Yarn over twice, insert the hook into the stitch, yarn over again and pull through the stitch (4 loops on the hook). Yarn over, pull through the first 2 loops, yarn over again, pull through the next 2 loops, and yarn over a final time to pull through the remaining 2 loops.
- Cross-Stitch:
- Skip a stitch, place a Dc in the next stitch, and then work a Dc back into the skipped stitch. This crisscross design creates depth and texture.
- Magic Ring:
- Create a loop by wrapping the yarn around your fingers. Insert the hook into the loop, yarn over, pull through, and secure. Work all stitches into the loop, then pull the tail tightly to close the center of the ring.
Stitch Abbreviations
- Ch: Chain
- Sc: Single Crochet
- Dc: Double Crochet
- Tr: Treble Crochet
- Sl St: Slip Stitch
Useful Tips
- Keep Tension Consistent: Raffia yarn can be stiff, so maintain consistent tension to ensure smooth shaping and even stitches.
- Flat Base: When increasing in the round, consistently stagger your increases to keep the base flat. If the base starts to curl or ripple, adjust your tension or spacing of increases.
- Smooth Texture Transitions: Pay close attention when switching between stitch patterns to maintain a uniform look.
- Measure Strap Length: Custom-fit the strap length to your body if 90cm feels too long or short.
- Prepare the Lining: Pre-cut and sew the lining before attaching it to the completed crochet bag to make the process easier.
Pattern Instructions
Phase 1: Base
The base is constructed as a flat circle using single crochet stitches worked in a spiral.
Round 1:
- Begin with a magic ring. Work 6 Sc into the ring, and pull the tail to tighten the circle. (6 stitches)

Round 2:
- Work 2 Sc into each stitch around. (12 stitches)
Round 3:
- Sc in the next stitch, 2 Sc in the following stitch; repeat this pattern around. (18 stitches)
Round 4:
- Sc in the next 2 stitches, 2 Sc in the next stitch; repeat around. (24 stitches)

Continue Increasing:
- Follow this incremental increase pattern until reaching 98 stitches:
- Round 5: Sc in the next 3 stitches, 2 Sc in the next stitch (30 stitches).
- Round 6: Sc in the next 4 stitches, 2 Sc in the next stitch (36 stitches).
- Continue until the desired diameter is reached, ensuring the base lies completely flat.
Phase 2: Body – Texture Section
- Switch to the 3.5mm hook for the textured body segment.
Round 1:
- Work a row of Sc stitches into each stitch around to prepare for the texture section.
Rounds 2–10 (Cross-Stitch Pattern):
- Begin with Ch 3 (counts as the first Dc).
- Work the cross-stitch pattern:
- Skip one stitch, Dc in the next stitch. Then Dc back into the skipped stitch.
- Repeat this pattern for 9 full rounds, creating a decorative crisscross texture.

Phase 3: Body – Double Crochet Mesh Section
- Switch to the 3mm hook to create an airy mesh pattern.
Rounds 11–15 (Mesh Pattern):
- Ch 2 (counts as the first Dc), and then:
- Dc, Ch 1, skip one stitch, Dc in the next stitch.
- Repeat this pattern for 5 total rounds, creating evenly spaced openings.

Phase 4: Upper Edge and Strap
Top Edge Finishing (Rounds 16–18):
- Work 3 rows of Sc stitches around the top edge of the bag using the 3mm hook.
Strap Construction:
- Attach yarn to the side of the bag where you want the strap to begin. Work 3 Sc stitches in a row, turning after every row, to form a flat strap.
- Continue the strap for a length of approximately 90cm or adjust to your liking.
- Secure the strap to the opposite side of the bag with Sc or slide it into a bag connector/ring for a professional finish.

Phase 5: Finishing Touches
- Lining:
- Pre-cut a piece of fabric to fit the bag’s dimensions. Sew the edges neatly and attach it to the inside of the bag using a needle and thread.
- Snap Button Closure:
- Sew a snap button at the center of the top edge for secure closure.
- Final Check:
- Weave in all ends, secure any loose stitches, and block the bag if needed to smooth the texture.
Final Measurements
- Bag Base Diameter: Approx. 20–23 cm, depending on hook size and tension.
- Bag Height: Approx. 25–28 cm after completing all sections.
- Strap Length: Approx. 90cm, but customizable.
Conclusion
This crocheted raffia bag is a functional yet stylish accessory that combines structure, texture, and craftsmanship. Constructing the flat circular base, textured body, and adjustable strap makes this an enjoyable challenge for crocheters who love creating sophisticated handmade items. Paired with the inner fabric lining and snap closure, this project results in a durable and polished bag suitable for everyday use.