Stylish Free Crochet Colorful Blouse Pattern | Step-by-Step Guide
Refresh your style with a free crochet colorful blouse pattern offering step-by-step instructions to create eye-catching, cozy, and unique handmade pieces.
Brighten your wardrobe with a cheerfully crocheted blouse that captures the essence of summer’s vibrant hues. The magic knots channel presents a delightful project that guides you through making a garment bursting with colorful charm and bohemian flair. This blouse stands out as a perfect blend of art and comfort, ideal for those who appreciate unique handmade fashion.
Free Crochet Pattern for Colorful Blouse | Trendy and Comfortable
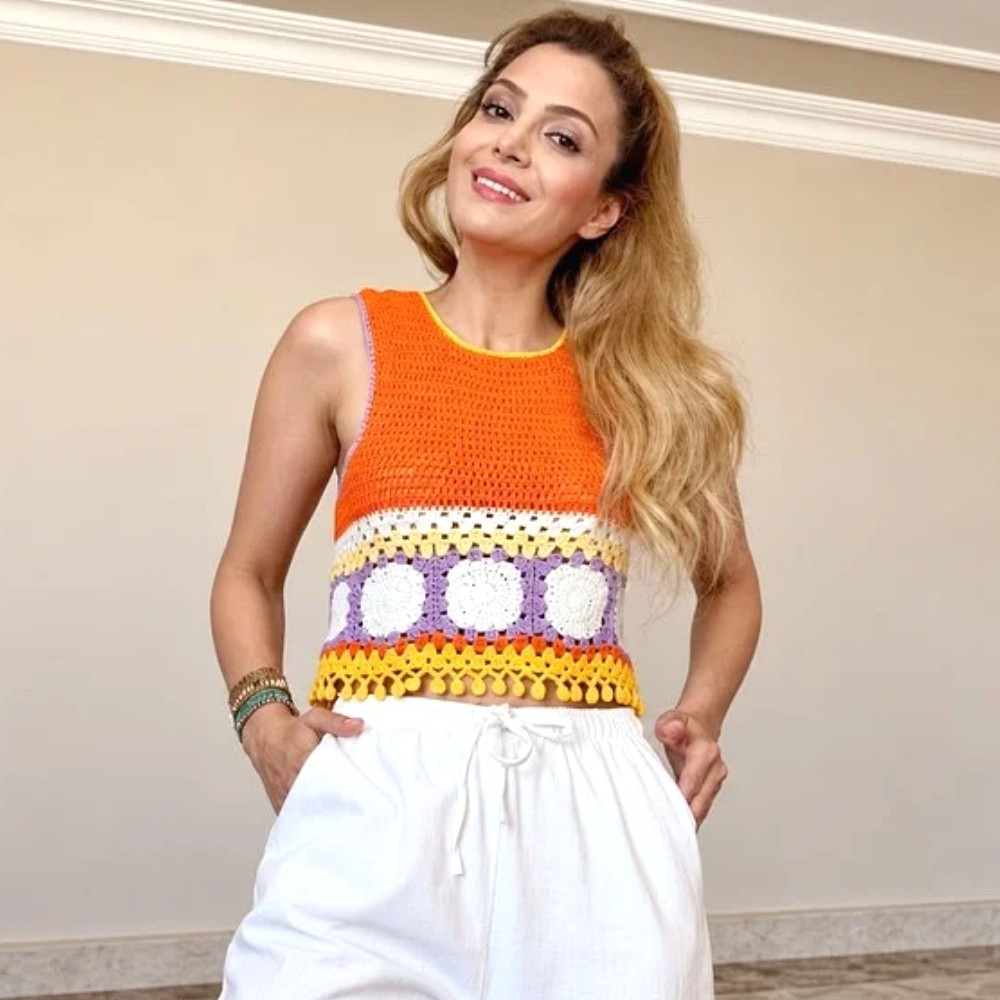
The Free crochet Colorful Blouse pattern features an assembly of beautifully joined motifs, creating a lively patchwork that’s both playful and elegant. Its design showcases a flattering silhouette with carefully shaped front and back sections, accented by smooth transitions and thoughtful cutouts around the neckline and armholes. The combination of hues makes this blouse an eye-catching addition to casual outfits or festive occasions, ensuring a joyful splash of color wherever it’s worn.

Beyond its visual appeal, this blouse offers excellent gifting potential. Handmade with attention and care, it turns into a meaningful present that friends or loved ones will treasure. The garment’s airy and comfortable fit makes it ideal for warm weather, while the creative pattern highlights the skill and personality of the maker. Each colorful detail not only decorates the fabric but also adds to the blouse’s inviting and cheerful character.
This project beautifully balances style and versatility, making the Free crochet Colorful Blouse pattern a rewarding endeavor for crafters eager to create something bright and lively. Explore the full pattern on the magic knots channel and start crafting a gorgeous, colorful blouse that brings warmth and happiness to your wardrobe.
Colorful Summer Bustier Crochet Pattern
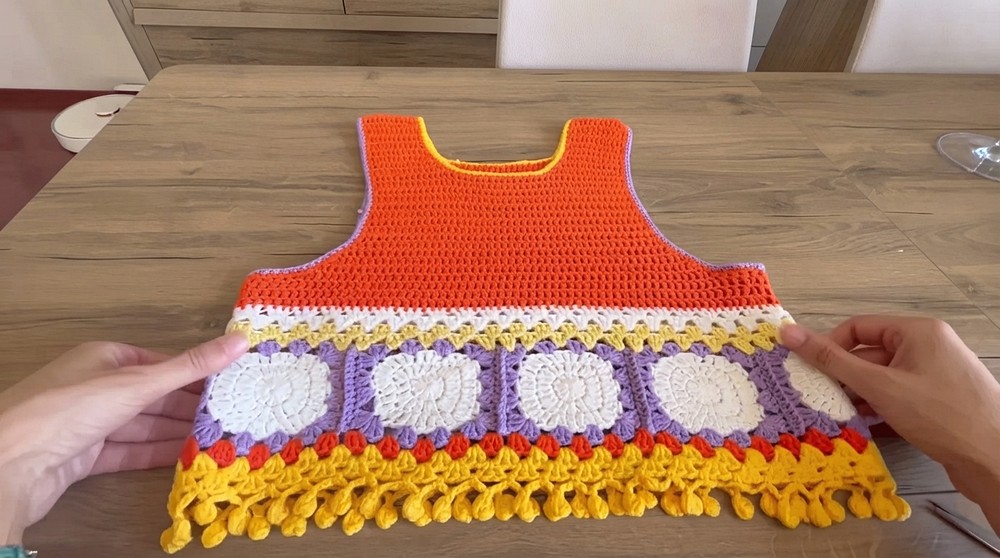
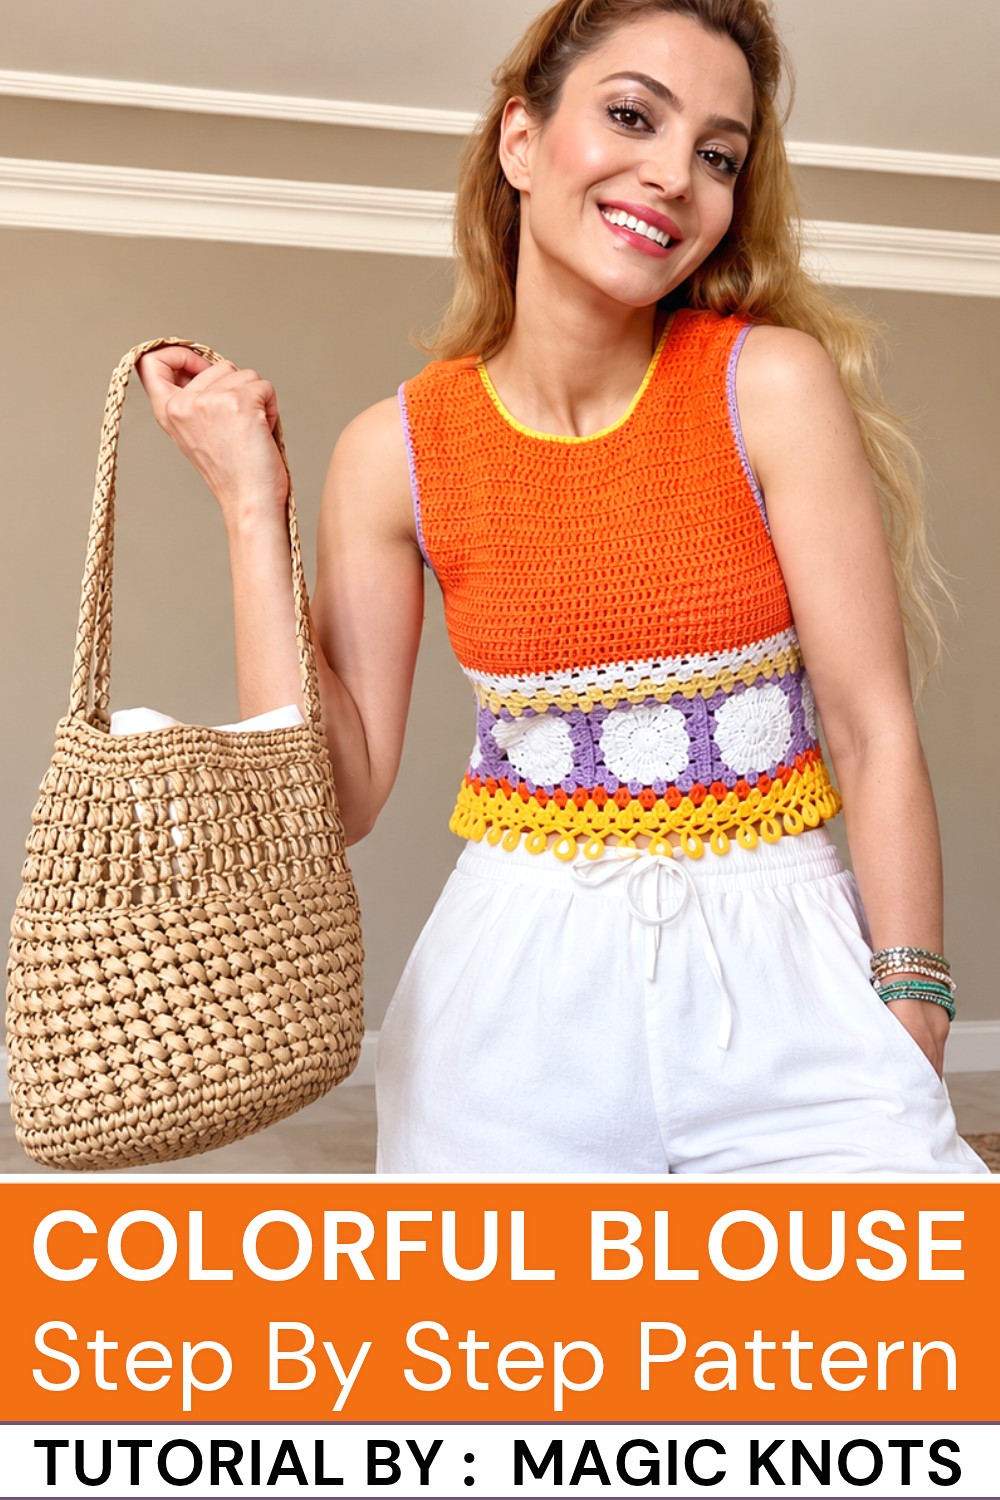
This crochet bustier pattern allows you to create a vibrant and stylish summer top using eye-catching circular motifs that are transformed into squares and connected as a base. The pattern involves detailed armhole shaping, neckline adjustments, and decorative finishing touches. This elegant and breezy garment is perfect for warm-weather outings or festive occasions.
Skill Level
Intermediate
The project is suitable for crocheters familiar with working in the round, stitch increases, joining techniques, and shaping details like armholes and necklines.
Materials Needed
- Yarn:
- Alize Cotton Gold or similar cotton yarn (sized for lightweight garments).
- Hooks:
- 3.5mm crochet hook for motifs.
- 3mm crochet hook for finer finishing details.
- Additional Tools:
- Stitch markers for marking armhole spaces and neckline areas.
- Scissors for cutting yarn.
- Measuring tape for ensuring accuracy in shaping.
Special Stitches Used
- Magic Ring:
- Loop yarn around your fingers to create a circle. Insert the hook, yarn over, and pull through. Work stitches into this adjustable loop and tighten securely.
- Double Crochet (Dc):
- Yarn over, insert hook into stitch, yarn over again and pull through (3 loops on hook). Yarn over, pull through the first 2 loops, yarn over again, and pull through the final 2 loops.
- Half-Double Crochet (Hdc):
- Yarn over, insert hook into stitch, yarn over again and pull through (3 loops on hook). Yarn over and pull through all 3 loops at once.
- Single Crochet (Sc):
- Insert hook into stitch, yarn over, pull through the loop on the hook, yarn over again, and pull through both loops.
- Cluster Stitch:
- Work 3 Dc into the same stitch or space to form one cluster; this creates a textured and decorative look.
Stitch Abbreviations
- Ch: Chain
- Dc: Double Crochet
- Hdc: Half-Double Crochet
- Sc: Single Crochet
- Sl St: Slip Stitch
Useful Tips
- Sizing Recommendations: This pattern creates a bustier sized for 36, but you can adjust the number of motifs or rows for larger or smaller sizes.
- Color Coordination: Use contrasting colors for finishing edges to achieve a polished and vibrant finish.
- Consistent Tension: Maintain uniform tension throughout to ensure motifs are consistent in size and shape.
- Try As You Go: Assemble motifs and place stitch markers during rounding, neck shaping, and armholes to test fit.
- Secure Connections: Join motifs carefully and ensure edges are neatly aligned for a seamless appearance.
Pattern Instructions
Phase 1: Creating the Motifs
Center:
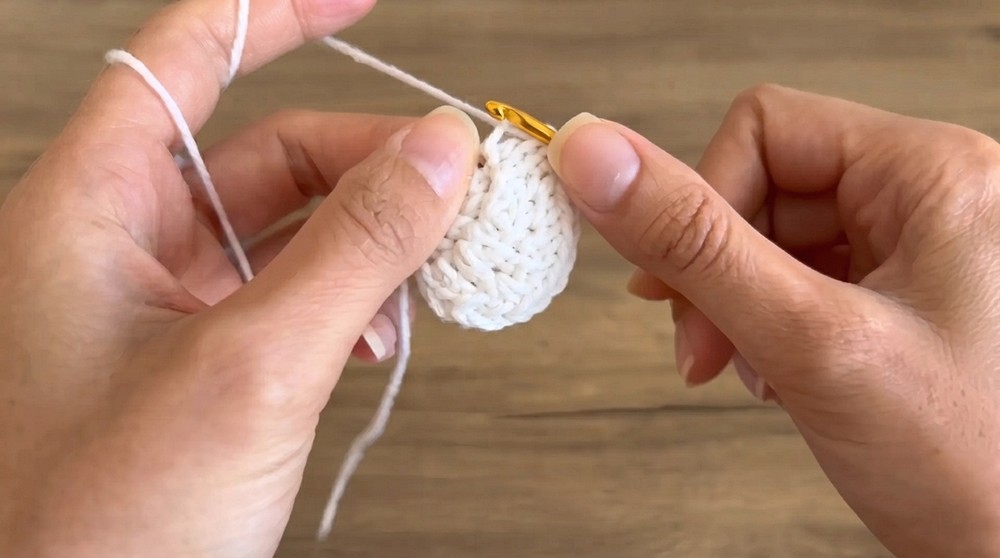
- Begin with a magic ring to form a flexible base.
Row 1:
- Ch 3 (counts as the first Dc), then work 11 Dc into the ring.
- Close the ring tightly and secure the round with a Sl St into the top of the Ch 3.
Row 2:
- Ch 3, and work 2 Dc in each stitch of the previous round, increasing to a total of 24 Dc stitches.
- Join with a Sl St at the end of the round.
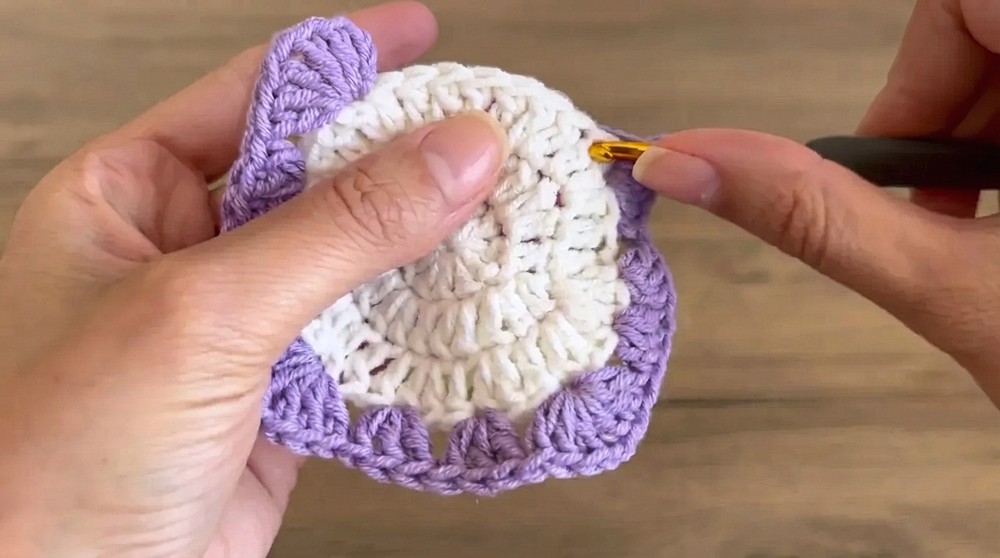
Row 3:
- Ch 3, and increase to 36 Dc stitches:
- Work 2 Dc in one stitch, 1 Dc in the next stitch repeatedly until the round is complete.
- Close the round with a Sl St.
Square Conversion:
- Use contrasting colors for this phase (referred to as the Lila section).
- Transform the circular motif into a square:
- Start by creating corner clusters: 3 Dc, Ch 1, 3 Dc into the designated corner stitches.
- For side sections: Work 3 Dc, skip a stitch, and repeat this until reaching the next corner cluster.
- Repeat this process for all sides and corners until the circular motif becomes a square.
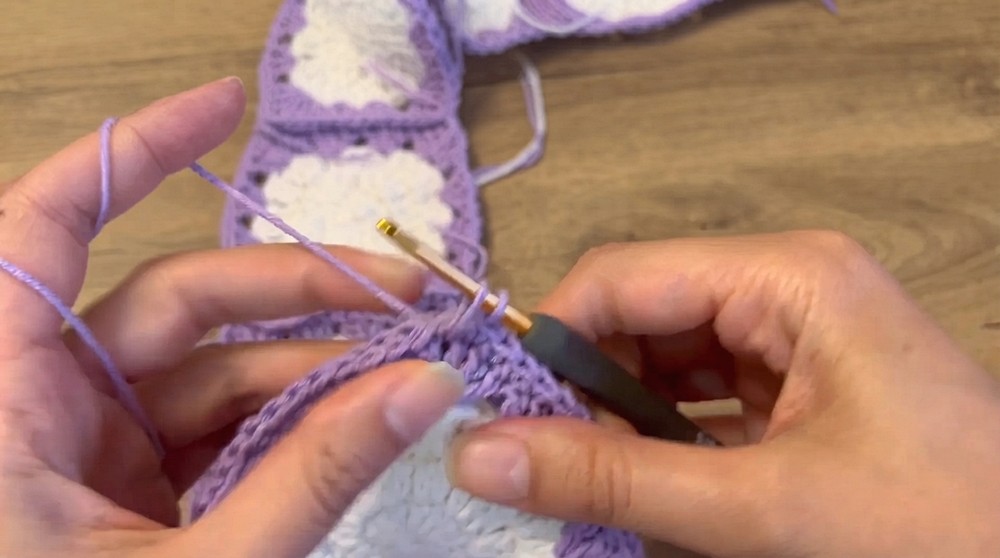
Complete 9 identical motifs for a size 36 bustier.
Phase 2: Connecting the Motifs
- Place motifs wrong-side together to ensure smoother joins.
- Use Sc stitches to join the edges of the motifs:
- Insert the hook into the edge stitch of both motifs, yarn over, pull through, yarn over again, and pull through both loops on the hook. Continue joining across all edges.
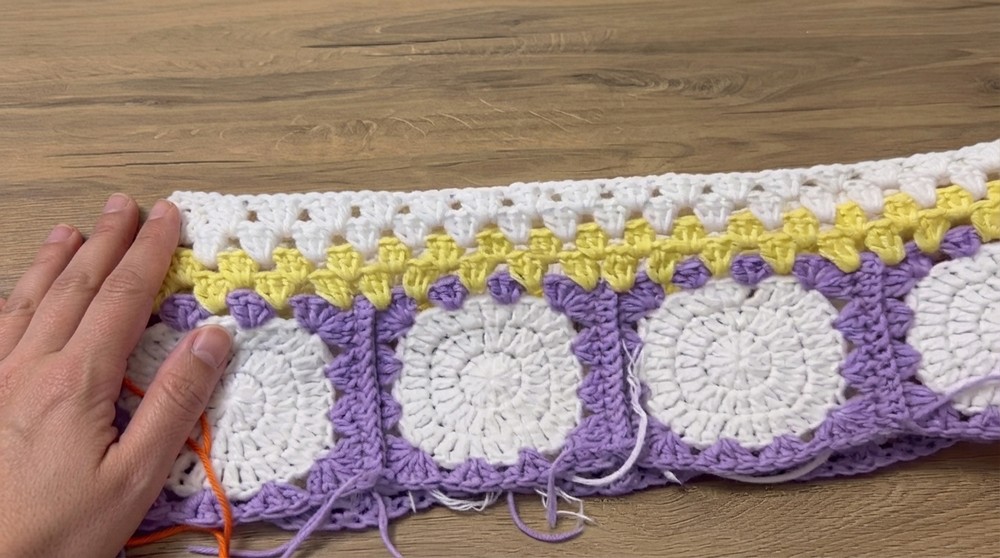
- Form a large circle by connecting all 9 motifs.
Phase 3: Body Construction
Base Rounds:
- Work in rounds around the connected motifs using yellow yarn first, then white yarn:
- Into every available space between motifs, work clusters of 3 Dc.
- Repeat clusters around all motifs for a seamless transition.
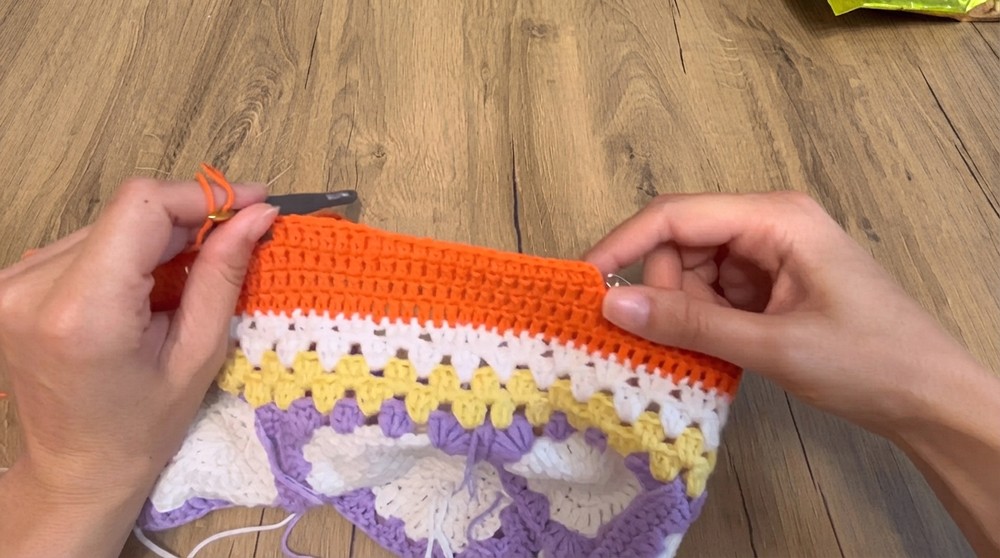
Solid Rounds:
- Once motif-pattern rounds are complete:
- Work two rows of solid Dc stitches around the piece to stabilize the structure and prepare for shaping.
Phase 4: Armhole Shaping
Division for Armholes:
- Divide the joined motifs into front and back sections, leaving 14 stitches on each side for the armholes.
Shaping Edges:
- Use Hdc stitches to create rounded transitions at armhole edges:
- Work chunky stitches to smooth the shape and define the armhole sections properly.
- Continue working Hdc stitches until the armhole shapes are firmly established.
Phase 5: Neckline and Shoulders
Neckline Construction:
- Work separately on the front and back sections, gradually decreasing stitches at the edges to shape the neckline.
- For the front neckline:
- Work 13 Dc stitches, then decrease the stitch count to 12 Dc as you progress toward the shoulder strap areas.

Strap Formation:
- For shoulder straps:
- Work 7 rows of Dc stitches in the strap sections to complete the required length.
Phase 6: Finishing Touches
Bottom Border:
- Add decorative rows to the bottom edge:
- Incorporate cluster stitches for texture, followed by puffed fringe or tassel details for flair.
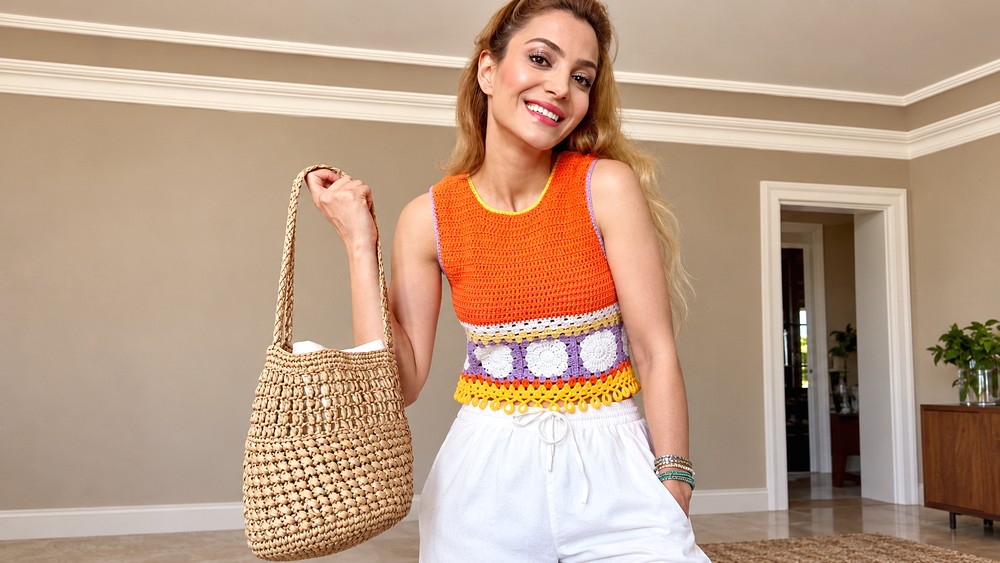
Edges:
- Finish armholes and neckline edges with a final row of Sc stitches using a contrasting color. This adds definition and ensures durability.
Final Counts and Dimensions
- Motifs: 9 circular motifs connected in a circle.
- Clustering Rows: Completed around the motifs for texture.
- Armholes: Each side leaves 14 stitches open.
- Straps: Approx. 7 rows of Dc stitches per strap.
Conclusion
This colorful summer bustier combines playful motifs with clean structural details to provide form and comfort. Its circular motif design, decorative borders, and reinforced straps make it a stylish and practical choice for warm-weather attire. By following the detailed pattern and customizing the fit as needed, you can create a unique and vibrant handmade garment.