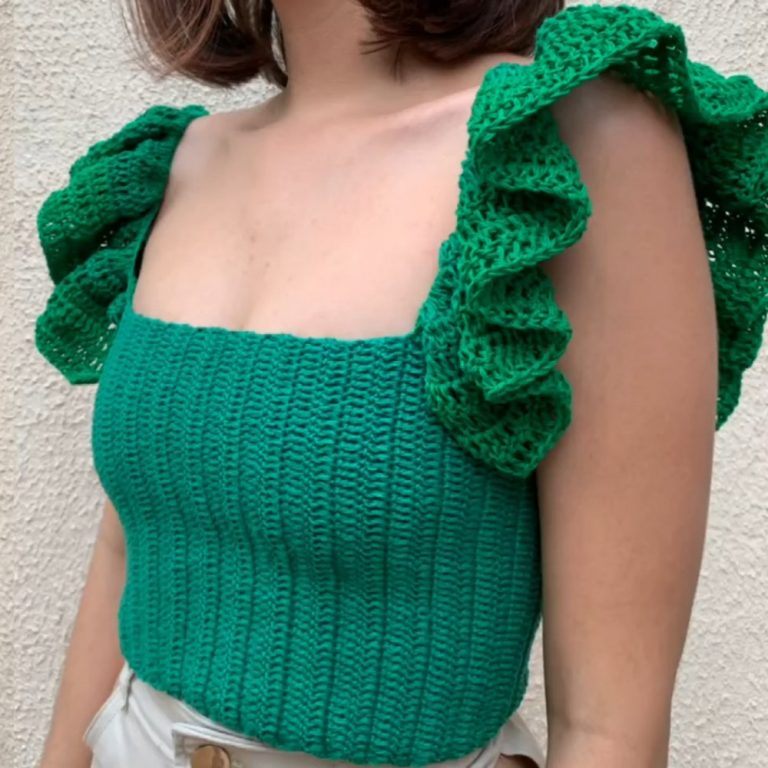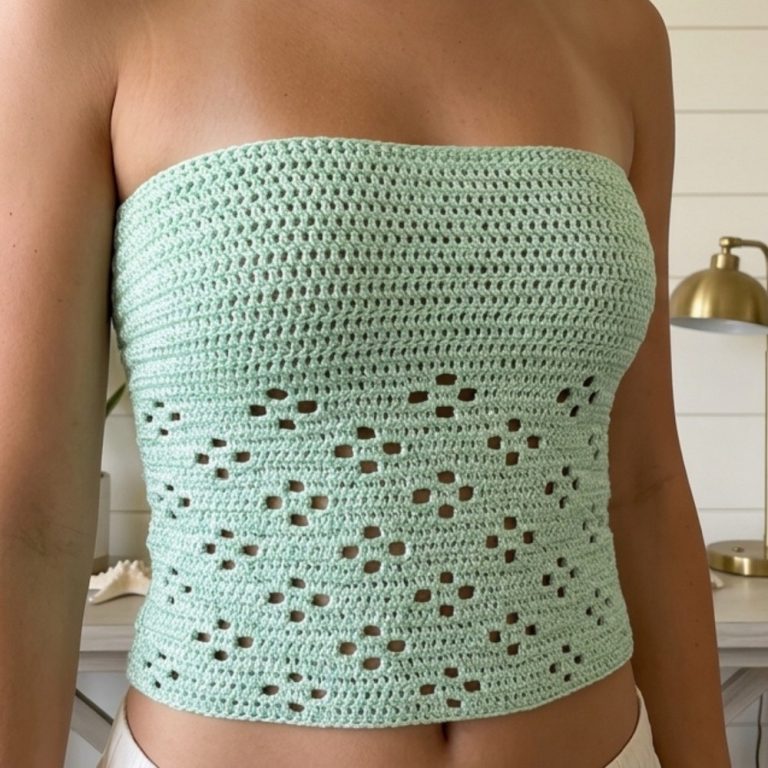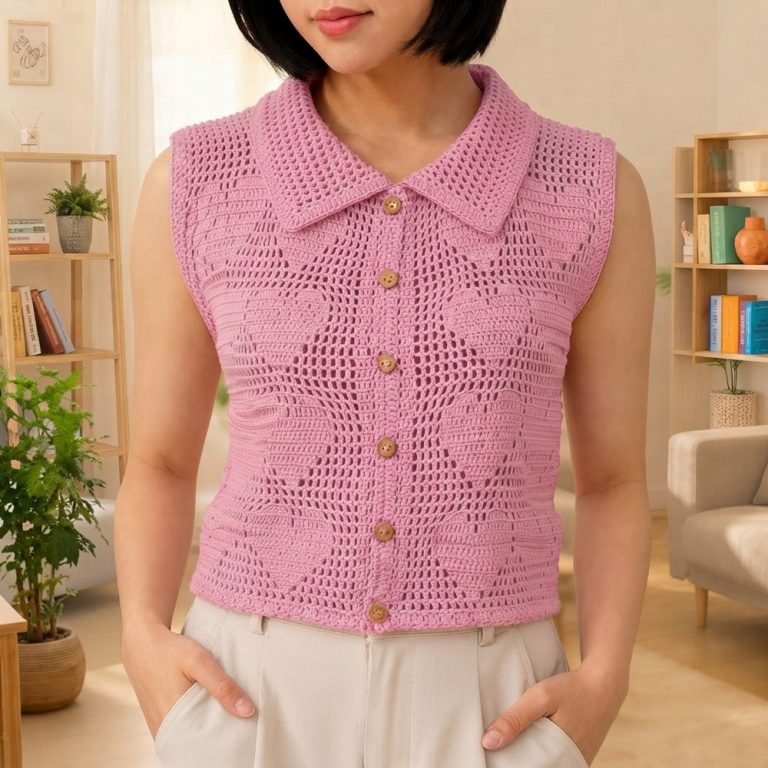
Trendy Crochet Net Blouse Free Pattern for Casual Outing
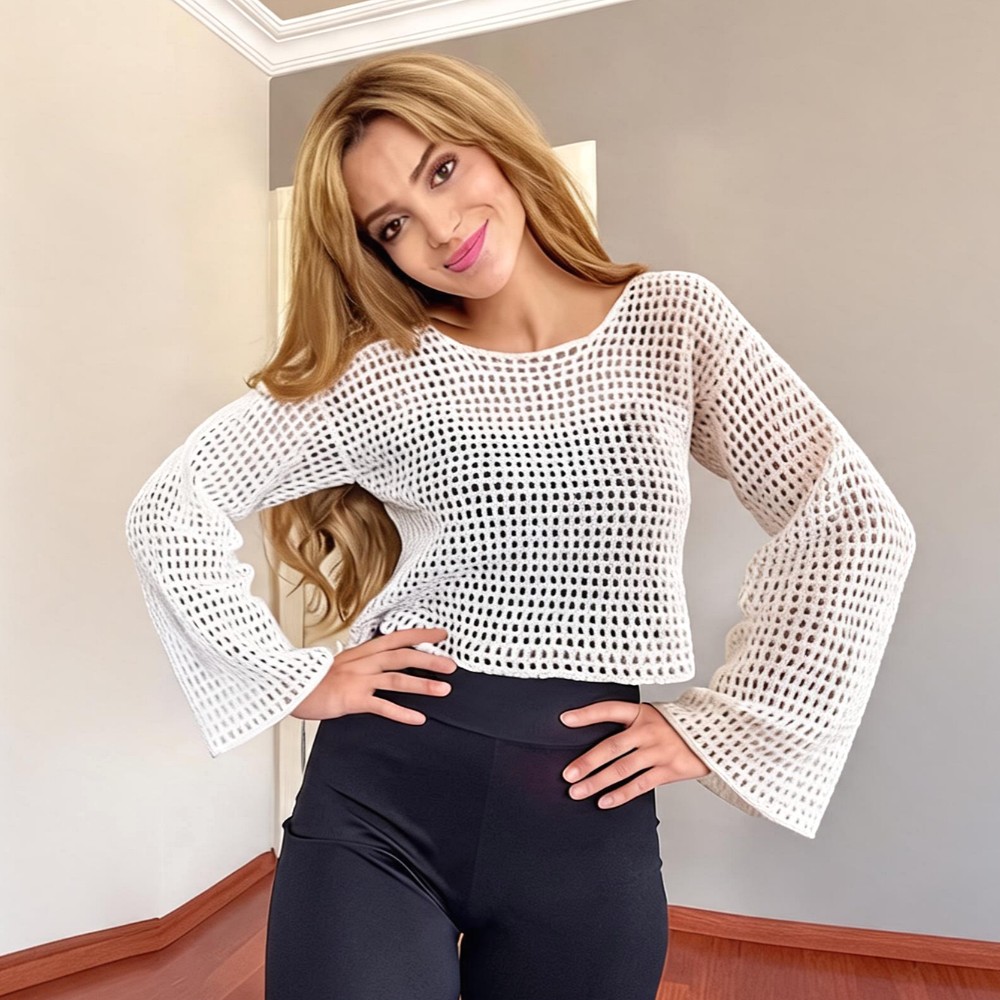
Step into breezy sophistication with this free crochet trendy net blouse pattern that features delicate detailing and a trendy silhouette you’ll adore wearing.
Updating daily wardrobes with gorgeous handmade garments adds distinct personality and charm to everyday fashion. Modern stylish tops bring wonderful visual texture to seasonal outfits, making casual days feel much more special. Following the Free crochet Trendy Net Blouse Pattern shown by magic knots provides a fantastic chance to make a stunning airy garment. This lovely top features an open net stitch design, clean edges, and a comfortable fit that drapes nicely during warm afternoons.

Trendy Net Blouse Free Crochet Pattern for Layering
Great for makers who love wearable projects, this fast tutorial guides you through simple stitches and smooth construction. Making your own custom top lets you pick your favorite yarn shades and ideal body lengths to match your unique style preferences.
Displaying this chic handmade garment around town brings delightful pride to every outing. These versatile sweaters also make wonderful, thoughtful presents for friends and family during upcoming birthdays, offering lasting beauty that loved ones will appreciate all year long.

Beginner-Friendly Crochet Blouse Pattern with Mesh/Grid Design
This crochet blouse is made using a simple mesh pattern, perfect for beginners. The blouse features a grid design created by alternating double crochets and chain spaces. This creates a light and airy fabric that’s comfortable to wear. Worked in separate front and back panels with easy shaping for the neckline and sleeves, this pattern is clear and straightforward. A neat finishing round of single crochets edges the blouse for a polished look.
Pattern Highlights
- Made with a mesh/grid stitch pattern of double crochets and chain spaces.
- Separate front and back panels with neckline shaping for a good fit.
- Sleeves created by working around the armholes and increasing stitch count.
- Finished with single crochet edging on neckline, sleeves, and hem.
- Designed for beginners learning basic garment construction.
Notes
- The blouse is crocheted flat, so you make front and back panels separately, then sew them together.
- Neckline shaping involves working fewer stitches each row and using shorter turning chains to make a sloping edge.
- Sleeves are worked in place around armholes with increases for ease.
- Keep tension even throughout for consistent and even mesh squares.
- Choosing cotton blend yarn keeps the blouse breathable yet sturdy.
Skill Level
Beginner.
You should be comfortable making chains, double crochet stitches, single crochets, slip stitches, and simple shaping.
Materials
- 5 skeins of cotton blend yarn (70% cotton, 30% polyester), 100g each.
- 3 mm crochet hook suitable for this yarn weight.
- Scissors and yarn needle for finishing and sewing.
Measurements / Sizing
- Foundation chain spans 43 grid squares (84 chains).
- Front and back panels worked to about 32 cm length before shaping neckline (front) and 43 cm for back.
- Armholes are 19 squares wide.
- Sleeves measure about 47 cm in length when finished.
- The size can be adjusted by changing foundation chain length or number of mesh rows.
Gauge and Stitch Pattern
- Mesh stitch made by alternating double crochet stitches and chain 1 spaces.
- Gauge is flexible, but consistent tension helps keep the blouse evenly sized.
- Each square is formed by one double crochet and one chain space.
Stitch Abbreviations
| Abbreviation | Term | Description |
|---|---|---|
| ch | Chain | Yarn over, pull through the loop on your hook. |
| dc | Double Crochet | Yarn over, insert hook, yarn over, pull through two loops twice. |
| sc | Single Crochet | Insert hook, yarn over, pull through both loops. |
| sl st | Slip Stitch | Insert hook, yarn over, pull through stitch and loop on hook. |
Special Techniques
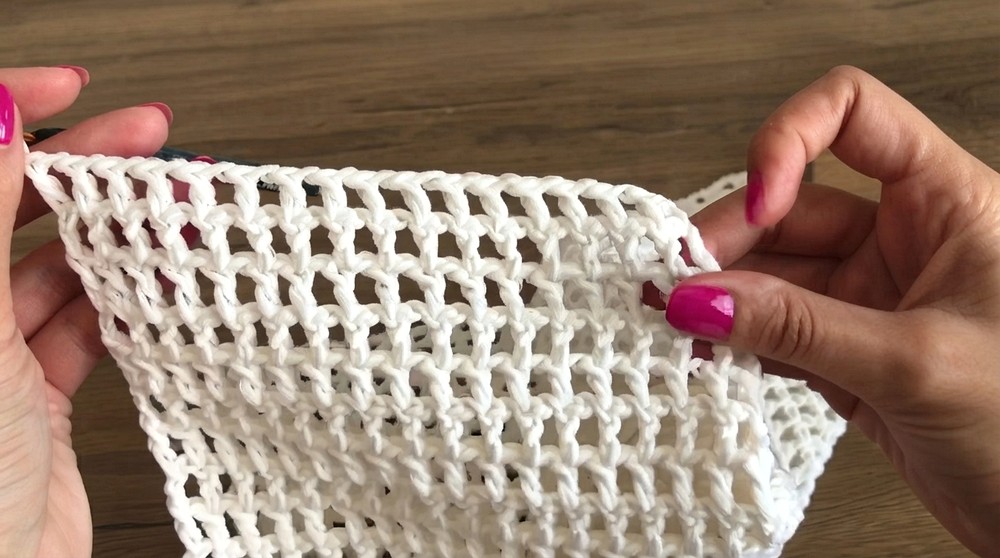
- Mesh/Grid Pattern: Created by working double crochets separated with chain 1 spaces to make small square holes.
- Neckline Shaping: Decreasing stitches and using shorter turning chains (chain 2 instead of chain 3) to shape a gentle slope.
- Sleeve Increases: Adding stitches around the armhole to widen the opening before working the sleeve rows.
Step-by-Step Crochet Pattern
Step 1: Make Foundation Chain for Front and Back Panels
- Chain 84 stitches. This will turn into 43 mesh squares across your panel width.
Step 2: Work the First Row
- Starting from the 4th chain from hook, skip one chain, double crochet (dc) in next chain, chain 1 (ch 1) repeat this across the foundation chain.
- You will have 43 double crochets and 42 chain spaces, forming 43 squares along the row.
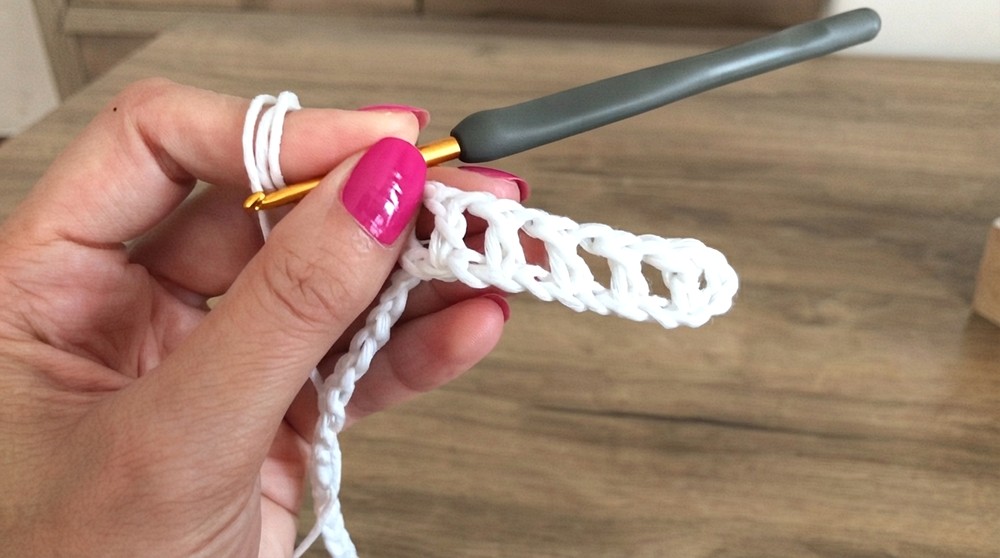
Step 3: Continue the Mesh Rows
- Chain 3 (counts as first double crochet), turn your work.
- In the next rows, work a double crochet in each double crochet from the previous row, chain 1 between each.
- Keep working this mesh pattern until the panel measures about 32 cm from the foundation row.
- Measure often to maintain even panel length.
Step 4: Shaping the Front Neckline
- Find the middle of your 43 squares.
- Work 16 squares from one side, then turn.
- For neckline shaping, start decreasing the number of squares you work in each row by stopping earlier.
- To create a smooth slope, change the turning chain from 3 to 2 when working these shaping rows.
- Continue decreasing till you get your desired neck opening width.

Step 5: Work Shoulder Straps on Front Panel
- After neckline shaping, work about 4 rows straight without decreasing to form shoulder straps.
Step 6: Shape the Back Neckline
- Work the back panel straight up until it reaches about 43 cm long.
- For shaping the back neckline:
- Work 14 squares, turn.
- Crochet a few rows decreasing stitches slightly to create a gentle curve that matches front shoulder strap length.
Step 7: Assemble Front and Back Panels
- Place the front and back panels together with right sides facing.
- Sew shoulder seams across about 13 squares wide on each shoulder.
- Sew side seams, leaving 19 squares open for armholes on each side.

Step 8: Crochet the Sleeves
- With the blouse assembled, work a round of single crochet (sc) around the 19-square armhole opening.
- Increase evenly during this round to increase stitch count from 19 to 37 stitches, making sleeve openings comfortable.
- Continue working the mesh pattern of double crochets separated by chains to make the sleeve length about 47 cm.
- Measure sleeve length regularly for consistency.
Step 9: Finishing Edges
- Edge the neckline, arm cuffs, and bottom hem using a round of single crochet stitches.
- For every mesh grid space along these edges, work two single crochets (sc) for a firm and attractive finish.
- This edging prevents stretching and gives the blouse a professional, tidy look.

Assembly and Finished Size
After sewing and adding sleeves, your blouse will be breathable and light with a delicate mesh pattern. The neatly shaped neckline and reinforced edges make it comfortable and flattering. The armholes and sleeves provide enough room for easy movement.
Approximate Finished Measurements:
- Front Panel Length (to neckline shaping): 32 cm
- Back Panel Length (including neckline shaped curve): 43 cm
- Sleeve Length: 47 cm
- Armhole Width: 19 mesh squares before sleeve increases
Conclusion
This beginner-friendly crochet blouse is a great project for learning garment construction with an airy mesh stitch pattern. The double crochet squares create a classic open grid that is easy to count and maintain. Neckline shaping and sleeve attachment teach useful techniques for shaping garments and assembling separate pieces. The single crochet edging adds strength and beauty to the final piece. With straightforward instructions and basic stitches, this blouse is perfect for new crocheters looking to create stylish, wearable garments.