Effortless Free Crochet Loose-Fitting Top Pattern for Easy Styling
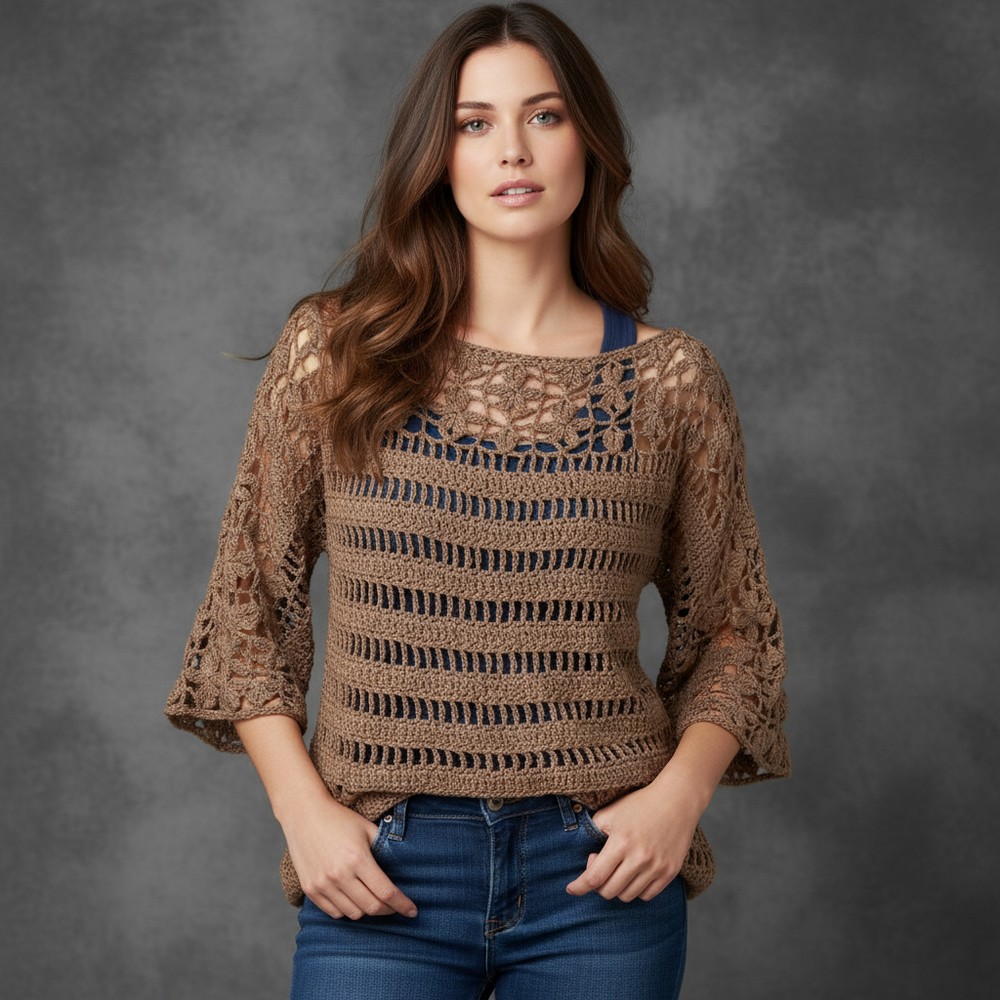
Enhance your wardrobe with Free Crochet Loose-Fitting Top Pattern that adds airy comfort, style and charming elegance to everyday outfits.
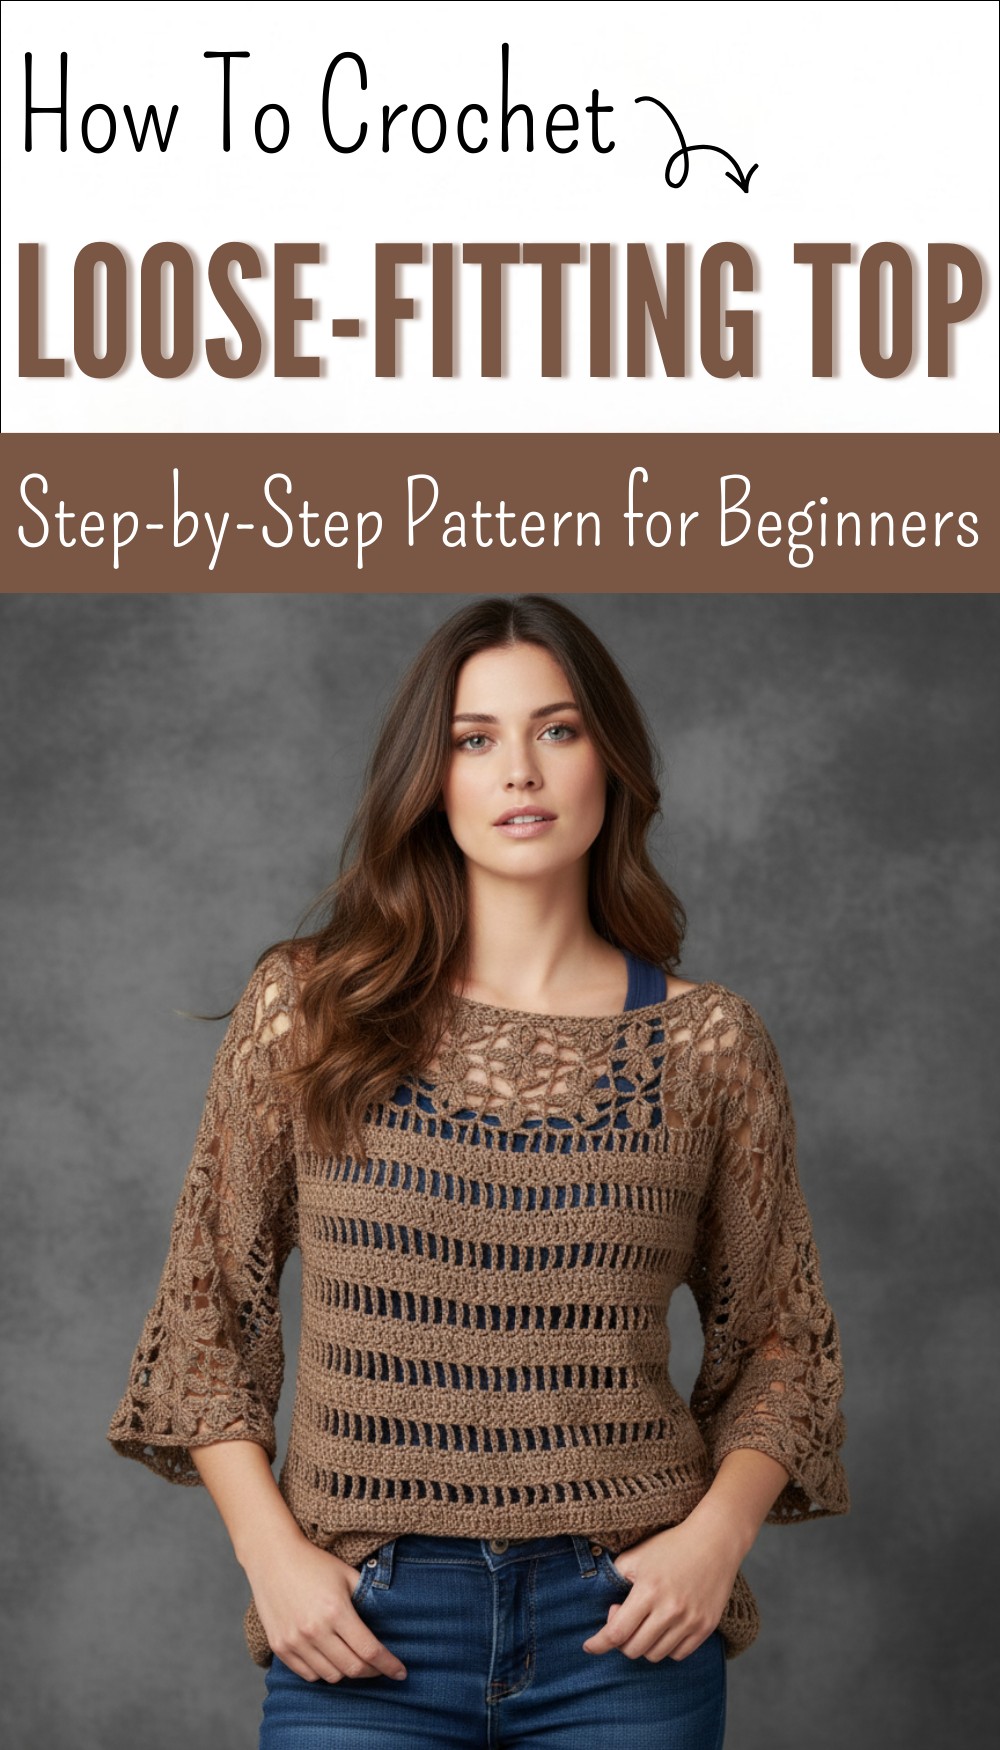
I’ve always enjoyed creating clothing that feels comfortable yet stylish, and recently I took on a project that quickly became a favorite, a loose, breezy top that’s perfect for warmer days. This free crochet loose-fitting top pattern offers an easy way to add a handmade piece to your wardrobe that combines comfort with effortless style. It’s a versatile garment that can suit many occasions, from casual outings to laid-back evenings.
Cozy Free Crochet Loose-Fitting Top Pattern You’ll Love to Wear Daily
The beauty of this crochet top lies in its relaxed shape and airy texture. It usually features an open, lacy stitch pattern that makes the fabric light and breathable, ideal for staying cool while still looking put-together. The loose fit means it drapes nicely on the body without feeling tight or restrictive. Its simple yet elegant style can be dressed up with accessories or worn casually over a tank top or swimsuit. The standout design often includes charming stitch details that create subtle patterns, adding interest without overwhelming the soft silhouette.
This project is great for beginners and intermediate crocheters alike, mostly using basic stitches like double crochet or a simple shell stitch. The pattern encourages a steady rhythm and easy counting, making it an enjoyable and relaxing project to work on. You can customize the size and length to fit your needs perfectly.
Beyond being a lovely piece to wear, this crochet top makes a wonderful handmade gift for friends or family who appreciate unique clothing. Its decorative appeal and wearable comfort also make it a special addition to anyone’s collection of cozy, stylish garments.
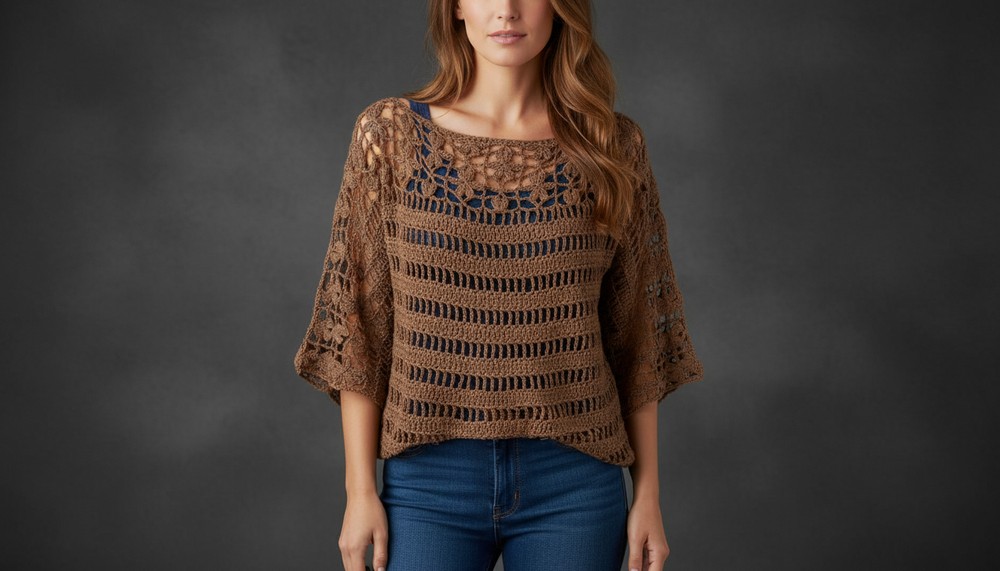
Crochet loose-fitting Top Pattern
Materials List
- Yarn:
- Light to medium weight yarn (e.g., cotton, acrylic, wool; recommended for garments)
- Crochet Hooks:
- Two sizes: 7 mm (main work), 6 mm (for hem and picking up stitches)
- Notions:
- Tapestry needle
- Stitch markers
- Scissors
- Optional:
- Blocking supplies (steam or pins for shaping)
Key Abbreviations (US Terms)
- ch: chain
- sc: single crochet
- dc: double crochet
- tr: treble crochet
- dtr: double treble crochet (yarn over three times)
- st: stitch(es)
- rep: repeat
- sk: skip
- sl st: slip stitch
Special Notes
- Double Treble Crochet (dtr): Yarn over three times, insert hook, pull up a loop, [yarn over, pull through two loops] four times.
- Jasmine Stitch Petal: Three dtr stitches, worked unfinished, then completed in one go.
Jasmine Stitch
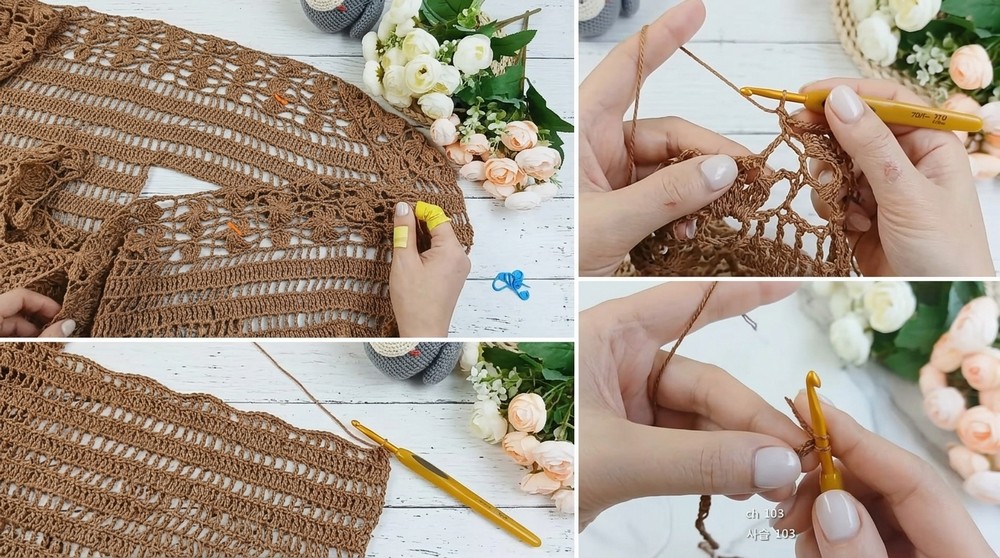
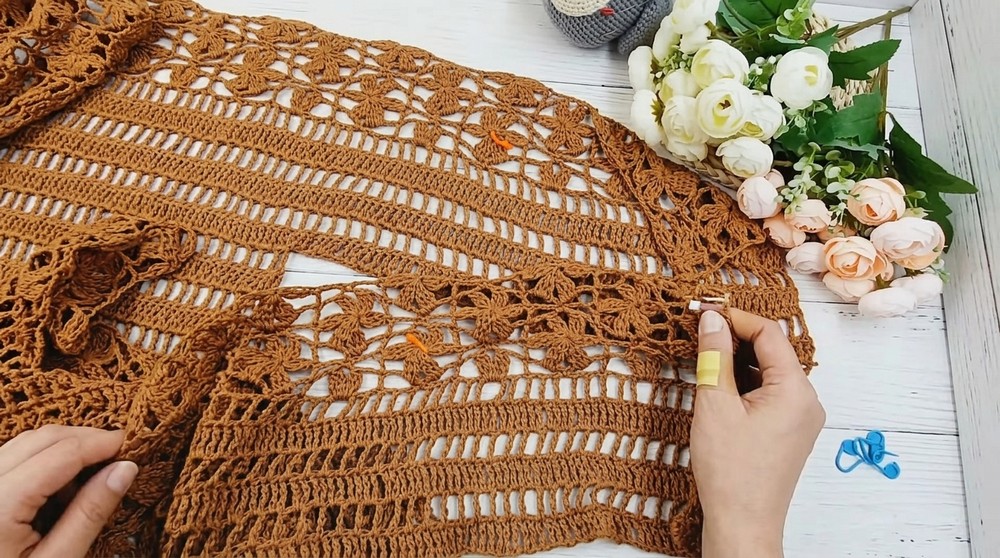
The Jasmine Stitch is a beautiful crochet pattern that creates delicate, flower-like motifs. It combines cluster and chain stitches to form a lacy, textured design. Perfect for adding elegance to scarves, tops, or home decor, this stitch offers a lovely balance of openwork and solid texture for a unique handmade touch.
- Measure actual fabric, not chain, for accuracy. Foundation chains may appear longer or shorter before first row is established.
- Pattern is modular: Work two main panels, join at shoulders, sides, and sleeves, then finish neckline and hem.
Pattern
Main Bodice – Foundation & Net Pattern
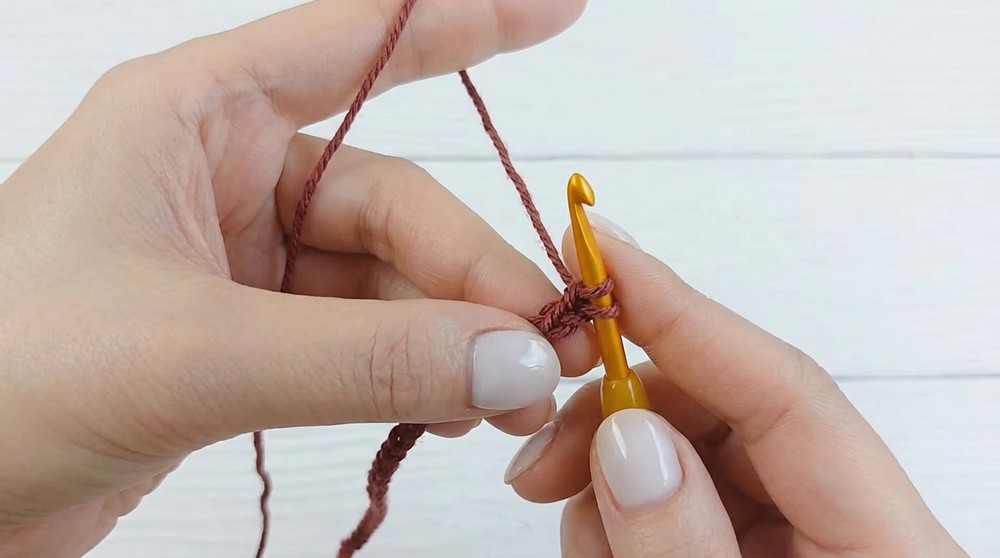
- Foundation Chain:
- Ch 103 (includes standing stitch; adjust to fit desired final width, e.g., for ~60 cm panel).
- Row 1:
- Beg in the 6th ch from hook, dtr in each ch across. Should have 99 dtr for the first panel.
- Count stitches to confirm.
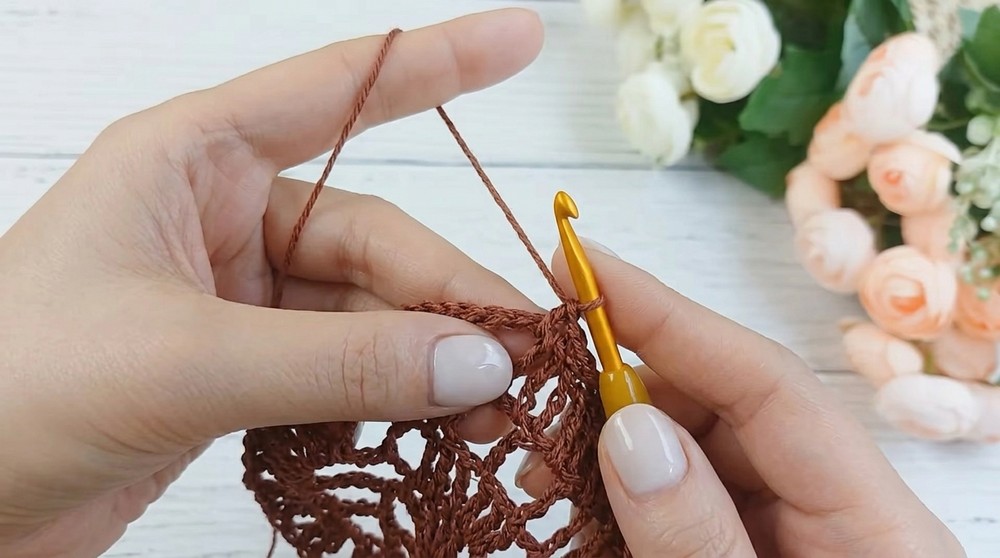
- Row 2:
- Ch 5 (counts as turning dtr and ch-2 for net pattern).
- Sk 1, dtr in next st, ch 1, sk 1, dtr in next st across.
- Rep for the length desired (18 rows or as required for ~60 cm).
- For all rows, dtr in the same locations for consistent structure.
- Repeat:
- Make two identical panels for front and back.
Sleeves – Net Pattern
- Chain & Rows:
- Ch 66 (for left sleeve; 70 for right sleeve, including the standing stitch).
- Beg in the 6th ch from hook, dtr in each ch across.
- Repeat same net pattern as for bodice for required number of rows (e.g., 18 rows for ~35 cm sleeve).
- Make two sleeve panels.
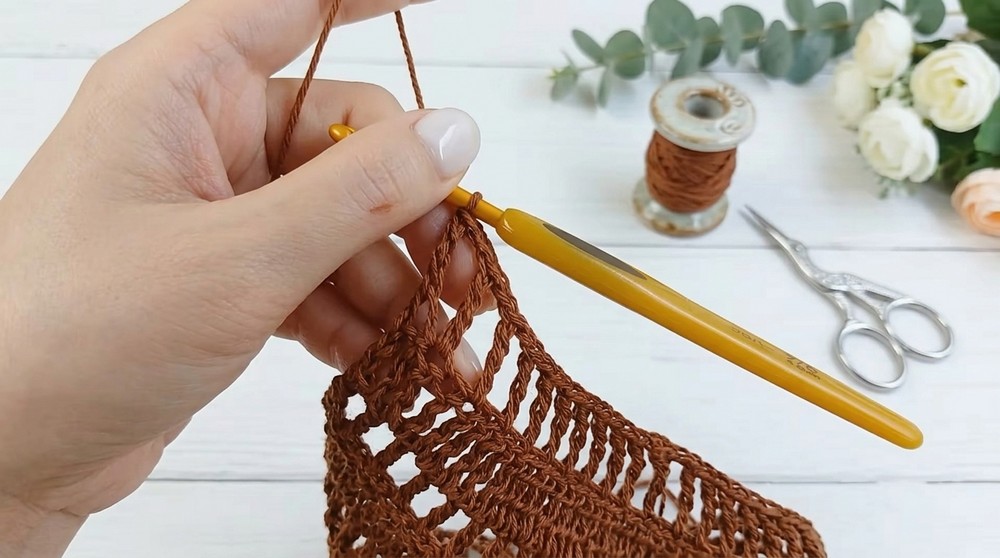
Jasmine Stitch / Petal Pattern (Body & Sleeves)
- Setup Row:
- Ch 8 (for petal base).
- Row 1:
- Ch 3, sc in 3rd ch, ch 5, dtr in 3rd ch, ch 3, sc in 3rd ch.
- Start petal: Yarn over three times, insert, pull through two, keep unfinished. Rep for three times total, then pull through all loops for ‘petal’.
- Between petals: Ch 3, sc, ch 5, dtr, etc.
- Continue for desired width/length.
- Subsequent Rows:
- Work petals offset in zigzag; for each petal:
- Ch 3, work petal as above, ch 3, sc, rep.
- Always pick up foundation stitch at correct position, using two strands for stable fabric.
- Repeat for both panels and sleeves.
- Work petals offset in zigzag; for each petal:
Panel Construction & Joining
- Confirm panel measurements:
- Bodice: ~60 cm × desired length (measure after working 18 rows).
- Sleeves: ~35 cm × panel width.
- Join Shoulders:
- Align panels RS together, pick up half stitches (not full stitch) for smooth join.
- Use tapestry needle for seamless join; repeat for both shoulders.
- Attach Sleeves:
- Align sleeve panel with armhole edge, join as above using tapestry needle and half-stitch method.
- Side Seams:
- Join sides and underarm sleeve length, following same method for joining.
- Neckline:
- Connect motifs for neckline (chain, dtr, join neatly).
- Use single strand technique for unobtrusive seam.
- For improved finish, turn work and keep joins on inside.
Hem & Edging
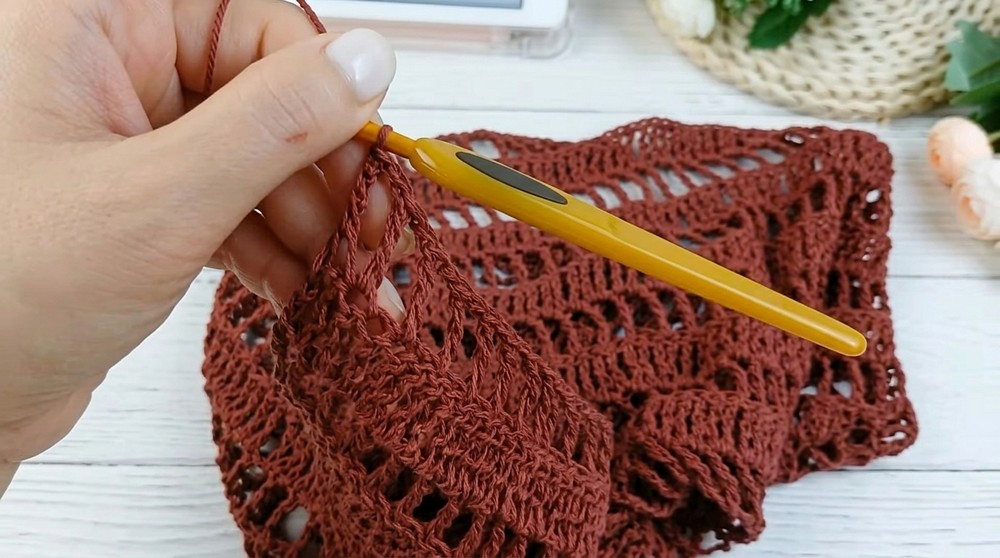
- Hem:
- Switch to 6 mm hook for single crochet edge.
- Pick up stitches evenly along hemline, sc around.
- Ensure stitch count aligns with pattern structure for neat edge.
- Additional Rows (optional):
- Repeat sc edge for extra structure.
- Work one sc in each foundation stitch, chain, or dtr across.
Finishing
- Weave in all ends.
- Block with steam for smooth fabric and evenly shaped petals.
- Use markers for joining and shaping, adjust as needed for best fit.
Conclusion
This Jasmine Stitch pullover combines a net pattern with decorative petals for a dramatic, yet wearable garment. Accurate measuring of finished rows is essential for sizing. Modular construction and joining techniques ensure a professional finish.
Pattern Corrections & Tips
- Tip: Never measure your garment by chain stitches—wait until first rows are established.
- Pattern Correction: Ensure ‘petal’ stitches are joined through two strands, not one, for structural stability.
- Tip: Use tapestry needle, work joins on the inside, and pick up only half stitches for refined seams.
- Steam blocking: Essential for smoothing stitches and shaping garment.
- Adjustment: Customize panel width/length, sleeve width, and neckline as desired.
- Edge: Use a smaller hook for sc hem to prevent flare.