Free Crochet Barefoot Sandals Pattern That Looks Stunning
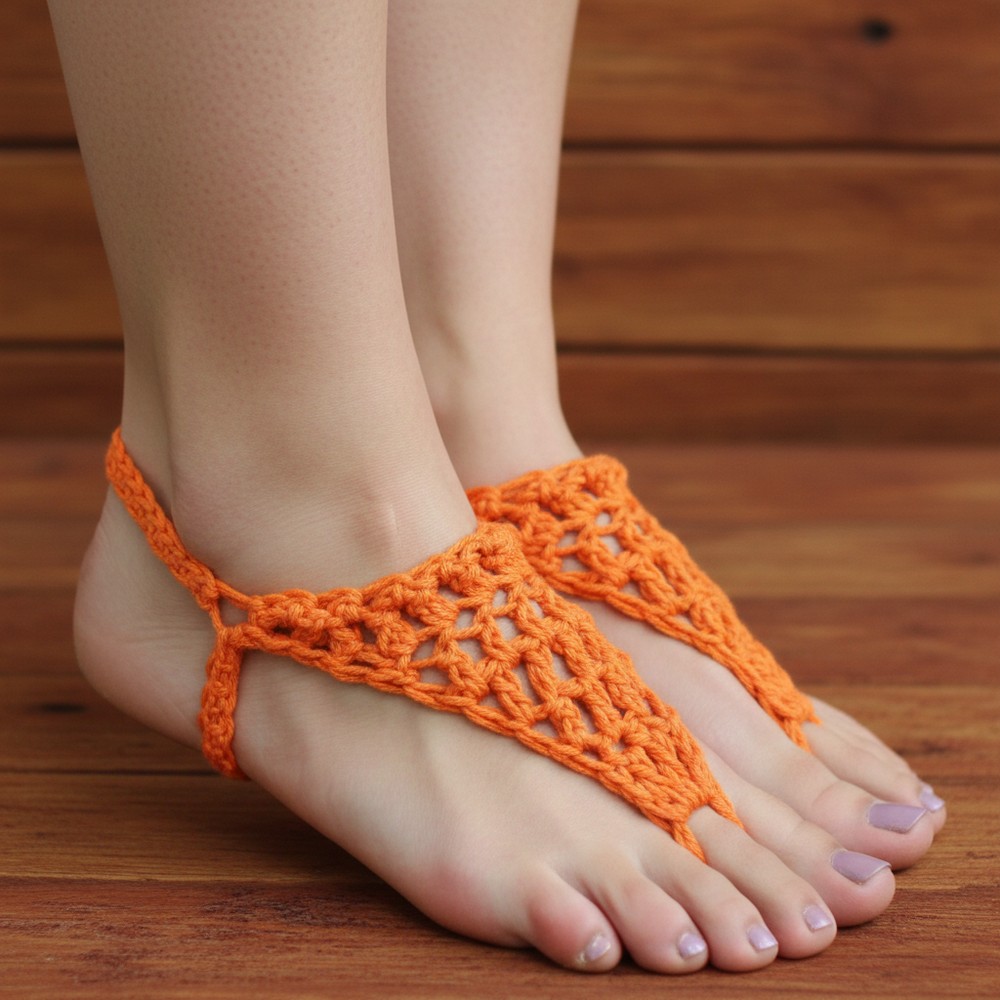
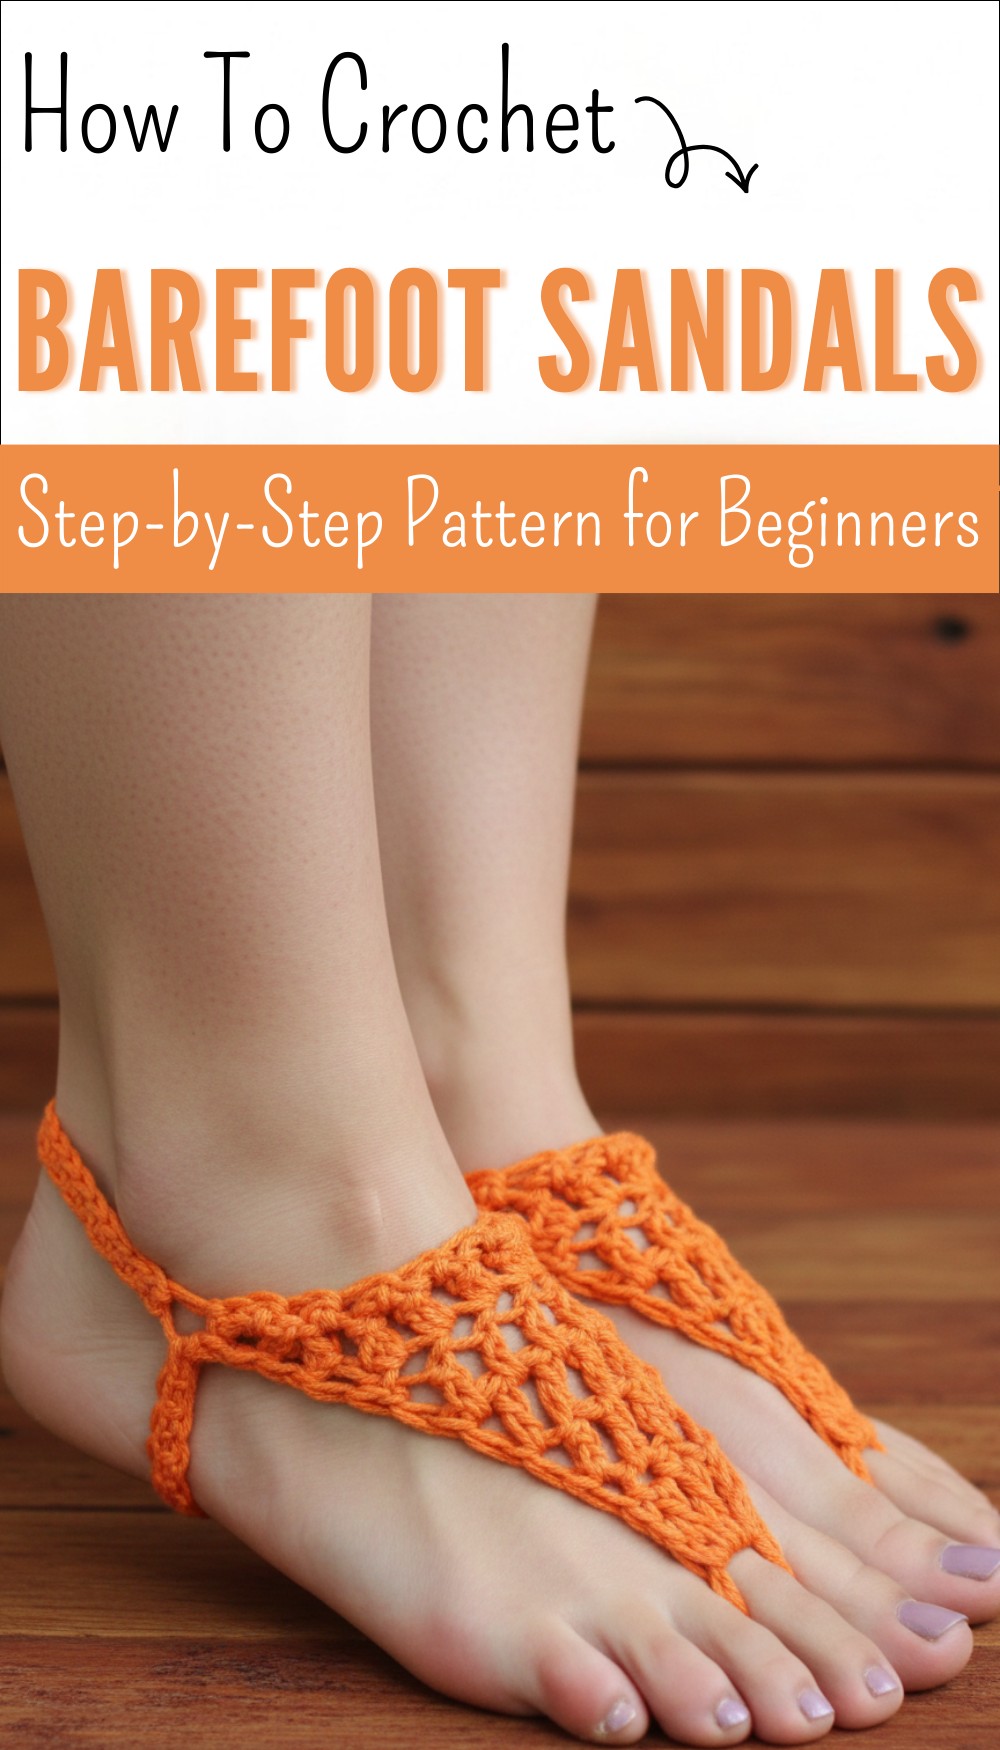
Beautify your beach outings with this Free Crochet Barefoot Sandals Pattern that offers a floral touch for your feet and stays very relaxing.
There’s something truly charming about the idea of adorning your feet with delicate crochet pieces that feel both natural and stylish. If you’re looking for a fun and breezy accessory for warm weather, a free crochet barefoot sandals pattern might be just the project to try. This type of accessory is perfect for those who want the freedom of bare feet with a touch of handmade elegance.
Beautiful Free Crochet Barefoot Sandals Pattern for Summer Style
Barefoot sandals are a lightweight crochet project that wraps gently around your feet without the need for soles, making them ideal for beach days, yoga sessions, or even casual summer strolls. The style is often intricate yet airy, featuring openwork patterns that feel soft against the skin. The shape typically consists of a loop around the second toe connected by decorative chains or motifs to a band that secures around the ankle. This creates a graceful, almost jewelry-like look that highlights the natural beauty of your feet.
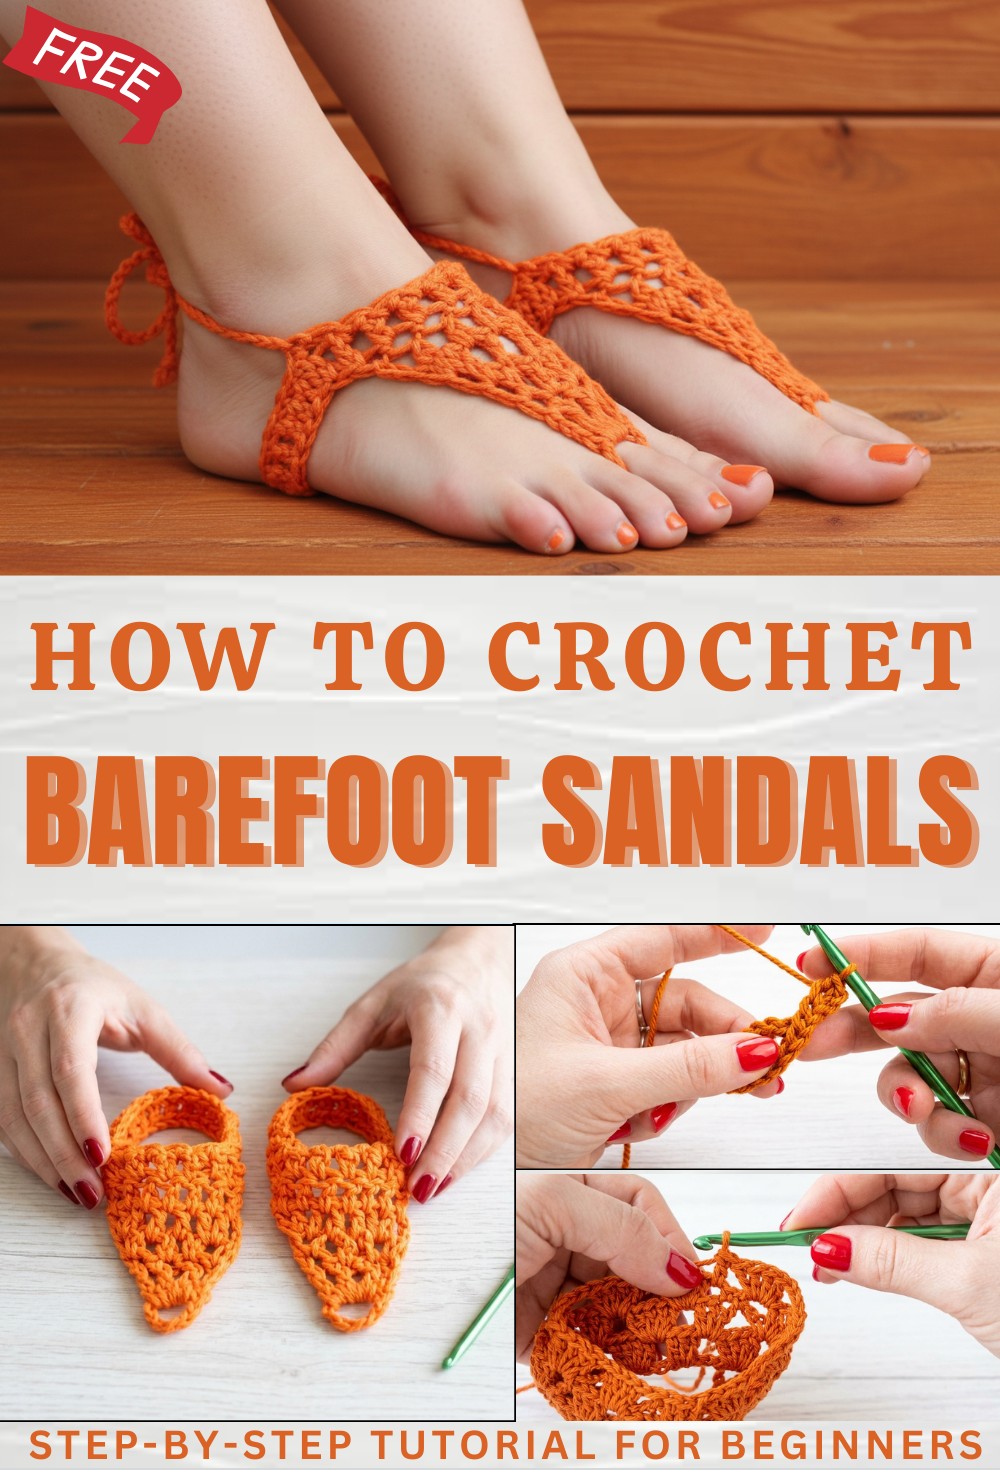
One of the best things about this pattern is its adaptability. Most designs come with guidance on sizing or include adjustable straps, so they fit comfortably on various foot sizes. When working on this project, I usually recommend using cotton or bamboo yarns because their smooth texture and natural breathability complement the delicate stitch patterns, ensuring the sandals are comfortable and durable.
These sandals often comes from boho and beach vibes, aiming for a look that’s both fun and feminine. They make wonderful gifts for bridesmaids, summer lovers, or anyone who appreciates handmade accessories. Plus, there’s so much room to get creative, adding beads, shells, or colorful yarn can make each pair truly unique. If you love quick projects that brighten your style, this free crochet barefoot sandals pattern is definitely a must-try.
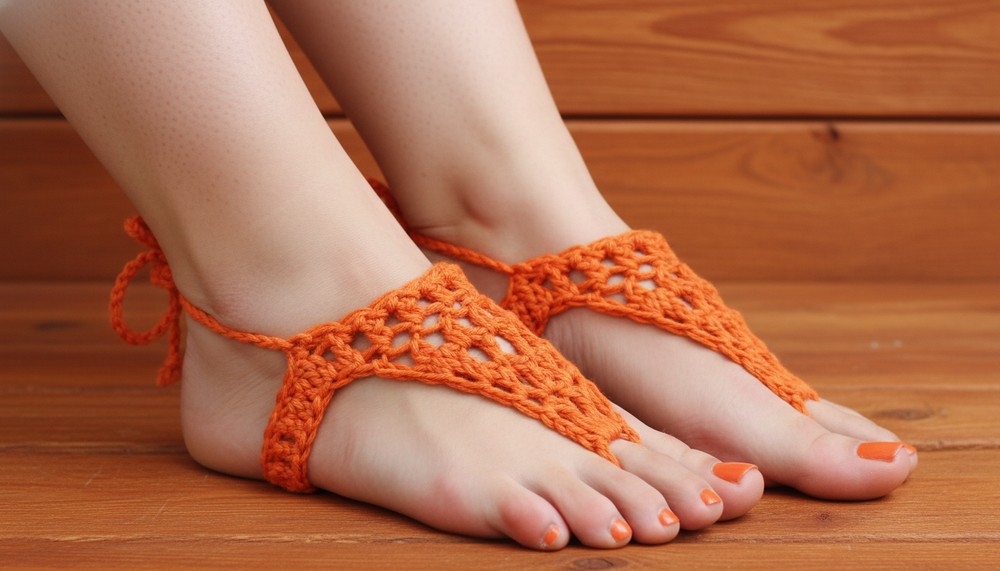
Simple Crochet Barefoot Sandals Pattern
Materials
- Yarn: 100% cotton yarn (worsted weight recommended for durability)
- Hook: K (6.5 mm) crochet hook
- Optional: Yarn/tapestry needle for weaving in ends, scissors
Key Abbreviations (US Terms)
- ch = chain
- sc = single crochet
- dc = double crochet
- sl st = slip stitch
- hdc = half double crochet
- st(s) = stitch(es)
- YO = yarn over
Special Notes
- Cotton stretches after wear. Make the sandal snug when first trying on.
- This sandal is written for a women’s shoe size 7–8; adjust foundation and strap length for other sizes.
- Pattern uses a unique, elongated crochet stitch (quadruple crochet alternative); see Step 6 below for instructions.
Pattern
Toe Loop
- Make a slip knot.
- Ch 9.
- Join with a sl st to the first ch to form a ring (this goes around the second toe).
- Ch 4.
- Secure tail—weave/cut off, as it is now enclosed.
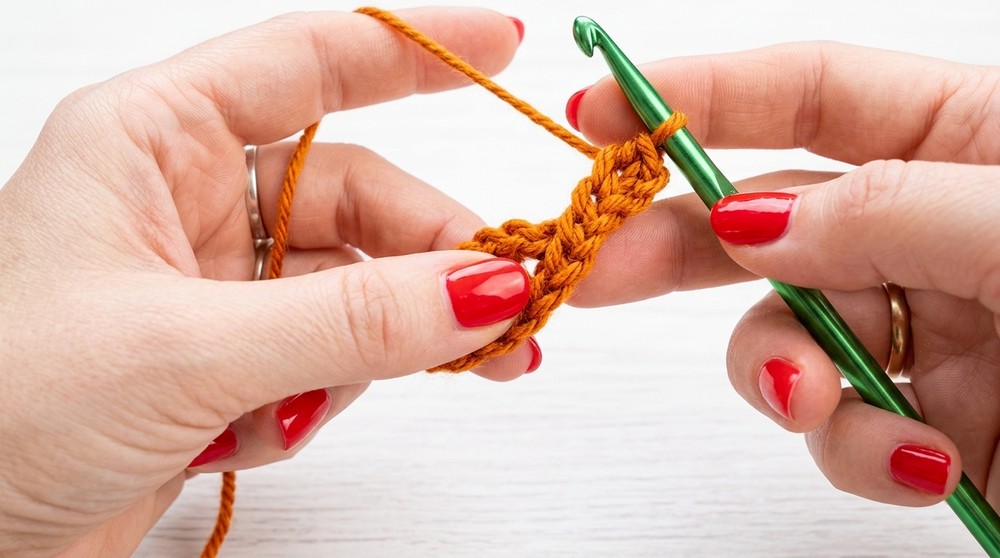
Triangle Base
Special Elongated Quadruple Crochet (used below)
- YO once, insert hook into stitch, pull loop through (2 loops on hook). YO, draw through one loop (2 loops remain). YO, draw through two loops. YO, draw through remaining one loop, YO and draw through final two.
- Repeat the sequence to get total four stitches across the row:
- In the ring, make 4 of the special elongated quadruple crochets (see above for instructions).
- Ch 3, turn.
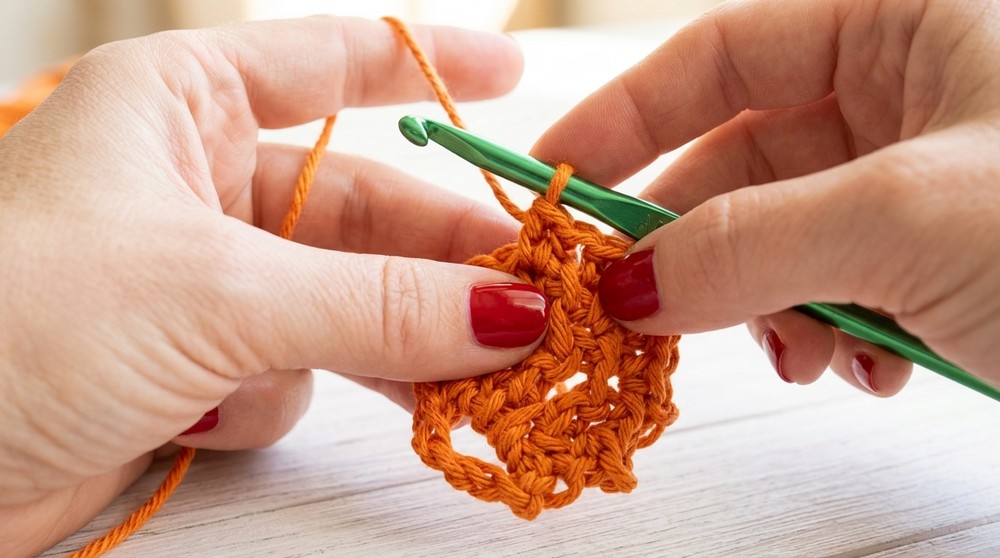
Ladder Section
- Into the top of the first quadruple crochet:
- sc, ch 3
- Move to the top of the next quadruple crochet:
- sc, ch 3
- Repeat for next two quadruple crochets (total 4 chain loops across row).
- Secure one extra time if desired.
- Ch 3, turn.
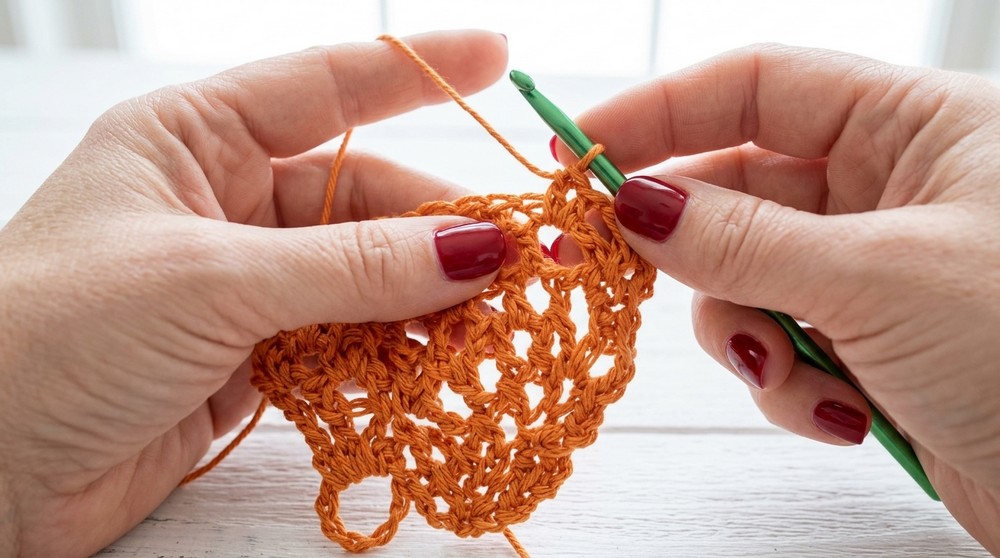
Building the Triangle
- In the first ch-3 loop:
- 2 dc
- In the next ch-3 loop:
- 1 dc
- Repeat 1 dc in each of the next 2 ch-3 loops.
- In the last ch-3 loop:
- 3 dc (for the point)
- Ch 3, turn.
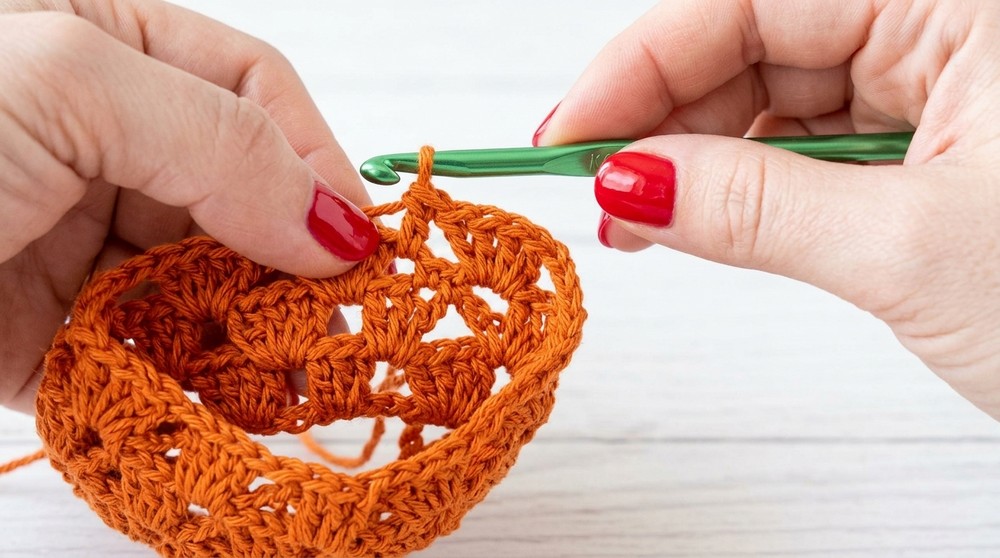
Filling Out the Triangle
- 1 dc in every space/chain/previous dc across (should total 7 dc after this row).
- Ch 3 at the end of the row.
Upper Edge Loops
- On the top of the triangle, (ch 3, sc in next st) across to create small loops—these will help anchor the ruffle and foundation for the heel strap.
Ruffle Foundation / Ankle Strap Start
You will work along the upper loops and create a ruffly edge, which can also extend as the heel strap.
- In first ch-3 loop: hdc, ch 2, YO, insert into hdc, pull through, YO and pull through all 3 loops.
- Ch 2, YO, insert into previous st, pull through, YO and pull through all 3 loops; repeat across until you reach the desired length for the ankle (test fit snugly as you go).
- Make sure length comfortably fits around your ankle when slightly stretched.
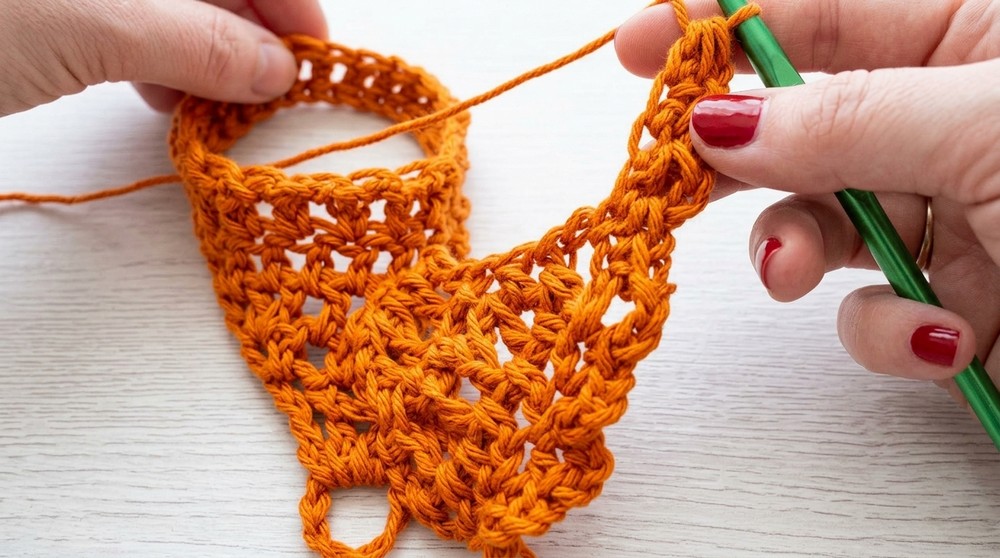
Optional: Second Row for Thicker Strap
If you prefer a thicker or less “dainty” heel, sc in each ch-2 space all the way around the loops and strap foundation.
Single Crochet Edge
- sc across each ch-2 loop of the ruffle base and all the strap stitches for a firmer, less ruffly finish; continue around the entire edge for a smooth look.
- When you reach each corner:sl st into the adjacent toe or heel strap to anchor and avoid gaps.
- Continue sc around to the other corner (opposite side of the triangle).
- End with a sl st, cut yarn, and weave in ends.
Assembly
- Weave in all ends securely.
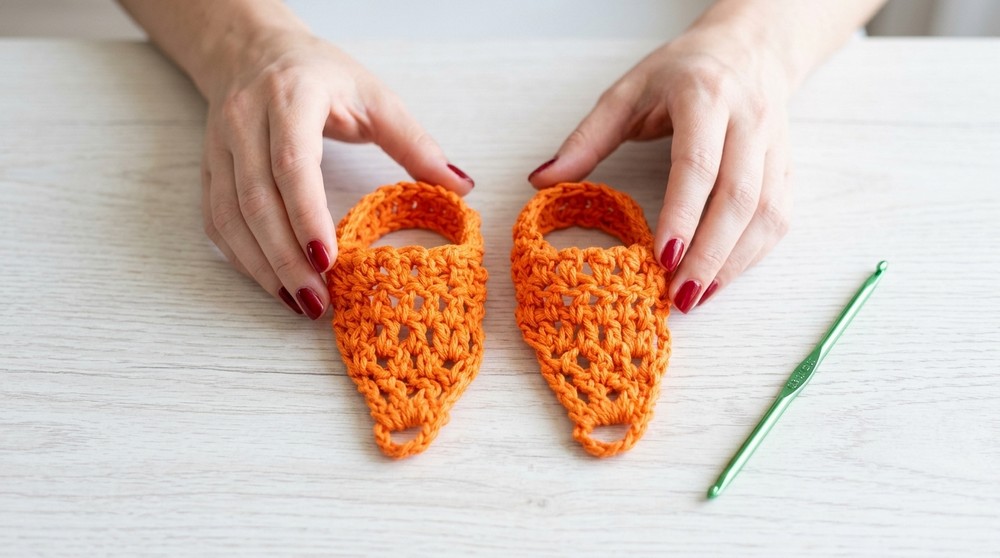
- Make a second sandal following the same instructions.
Conclusion
Congratulations! You have finished a pair of beautiful, durable barefoot sandals — perfect for summer wear. The snug fit will stretch slightly after use, providing comfort and staying secure during outdoor or beach activities.
Pattern Correction
- Be sure to check for evenness in each row and do not accidentally add or skip stitches.
- The special elongated stitch acts as a unique triangle base; substitute with treble or regular double crochet if necessary for a more standard look.
Tips
- Measure the ruffled foundation strap directly on your ankle for a custom fit.
- For a super secure join, use a yarn needle to weave back and forth into the base of each strap after fastening off.
- Consider adding beads or charms before the final edge for extra flair.